03 marca 2015

By Fire and Sword - new players, new game. Ogniem i Mieczem - nowi gracze, nowa gra.

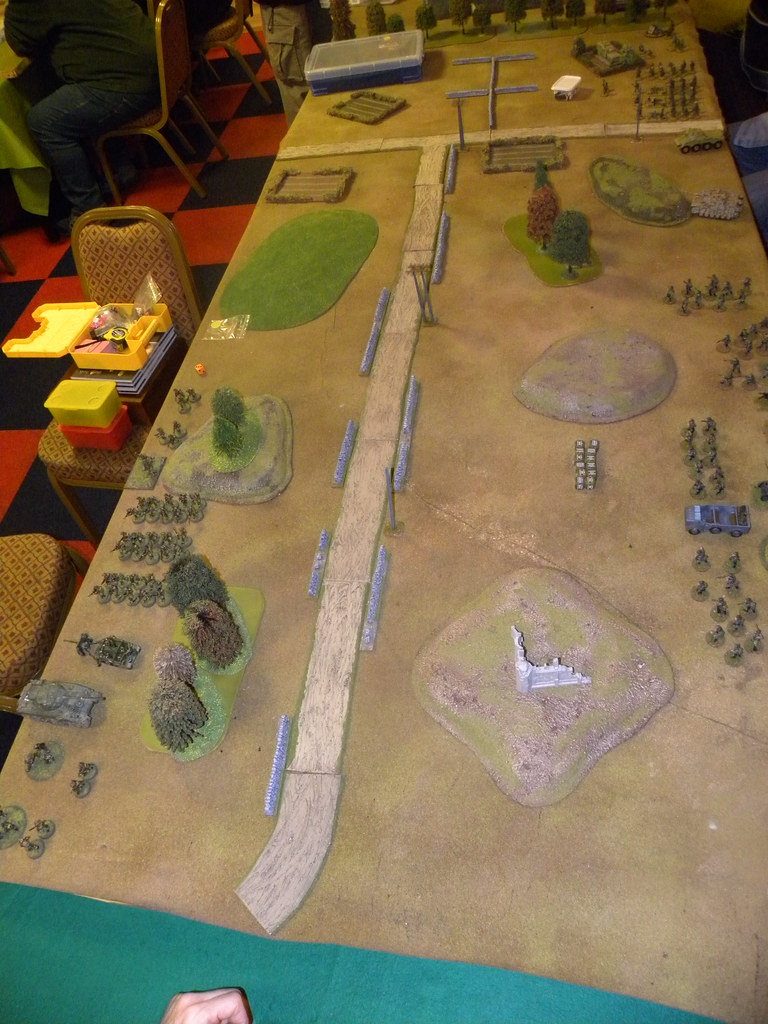
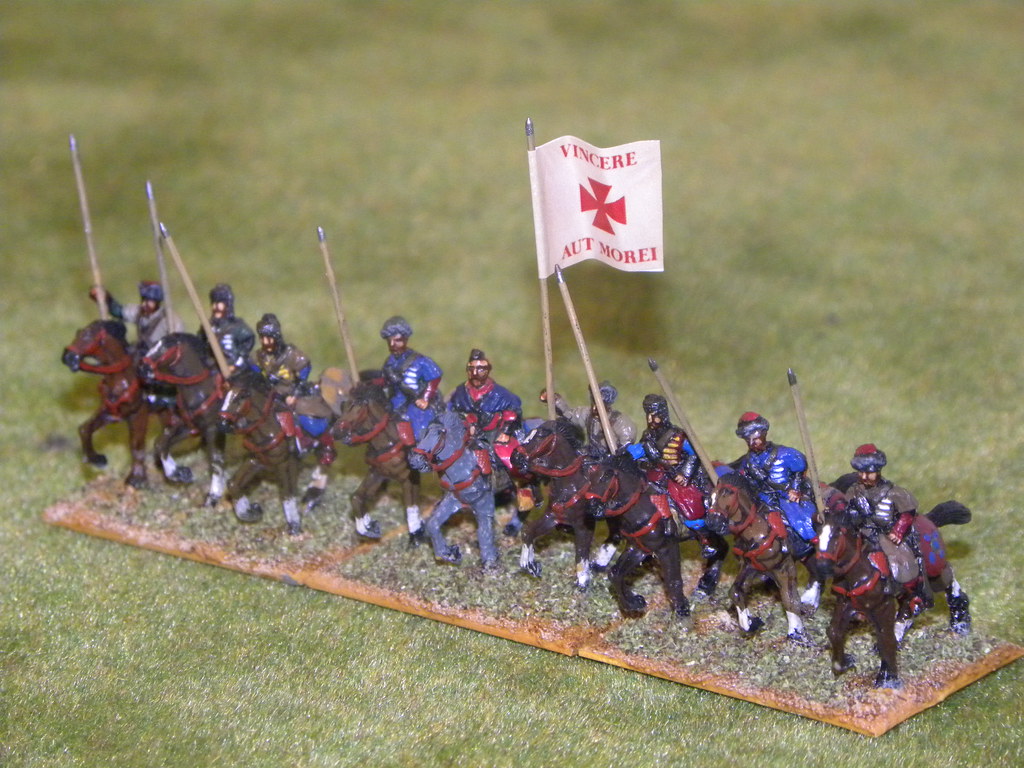
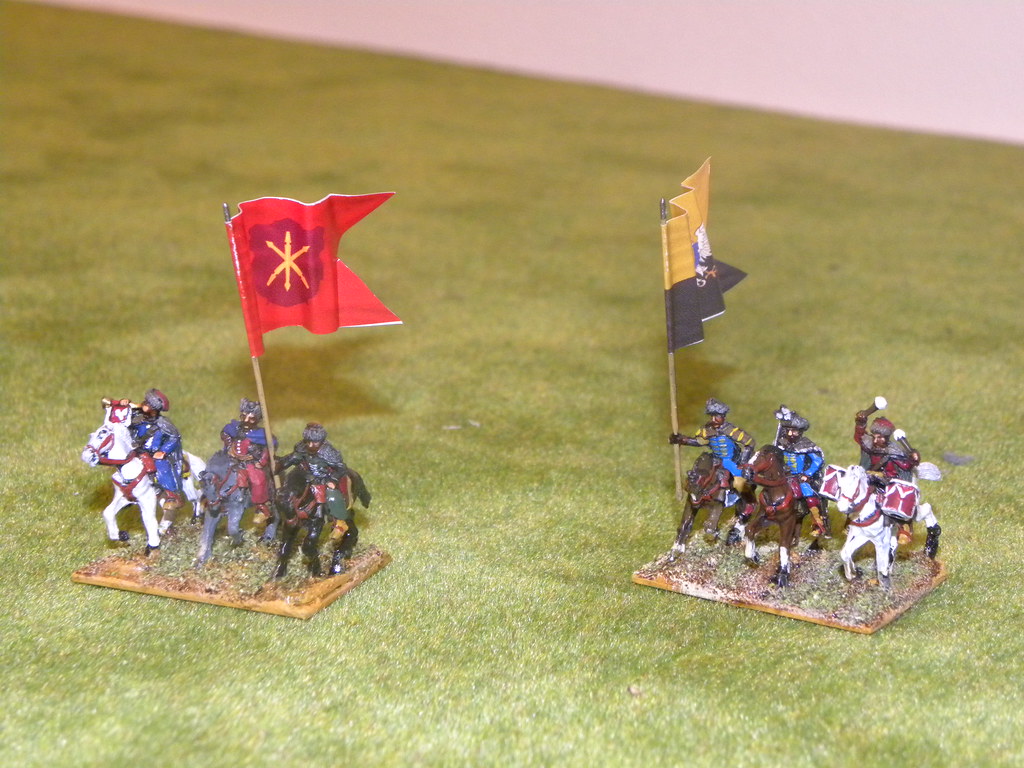
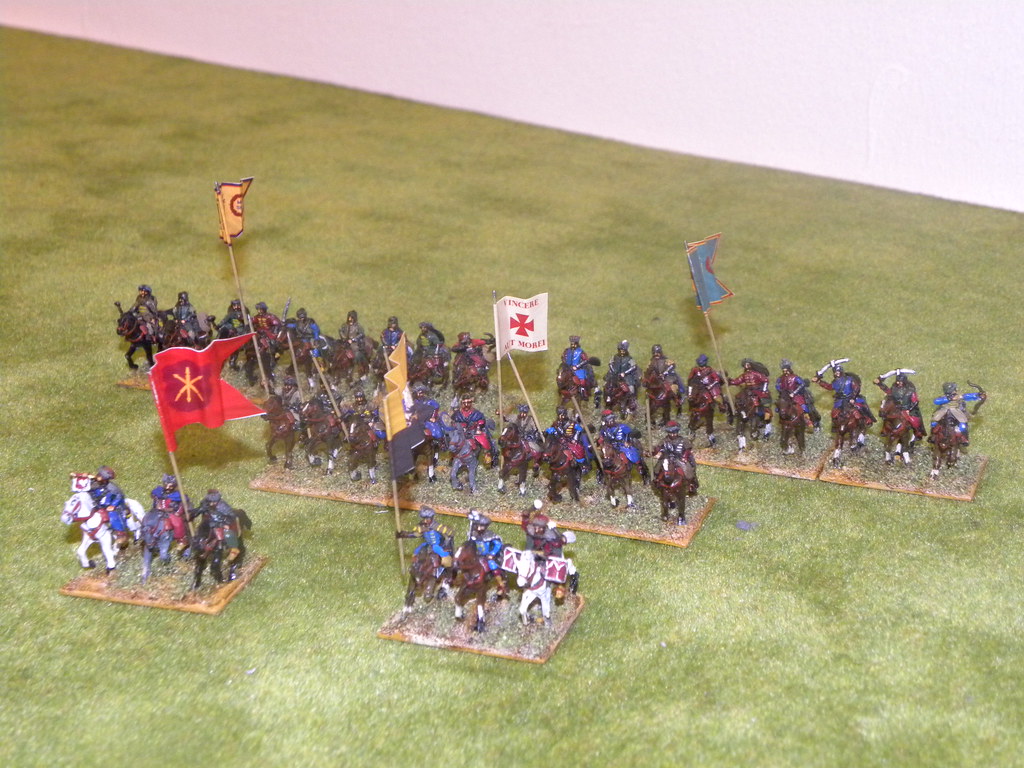
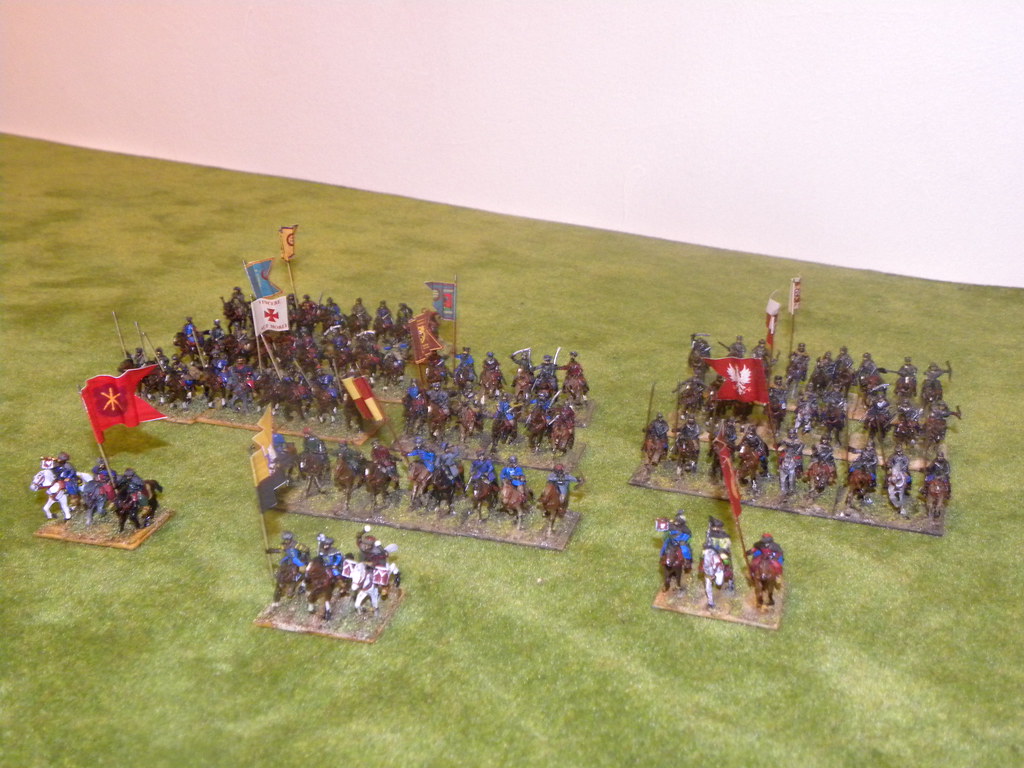
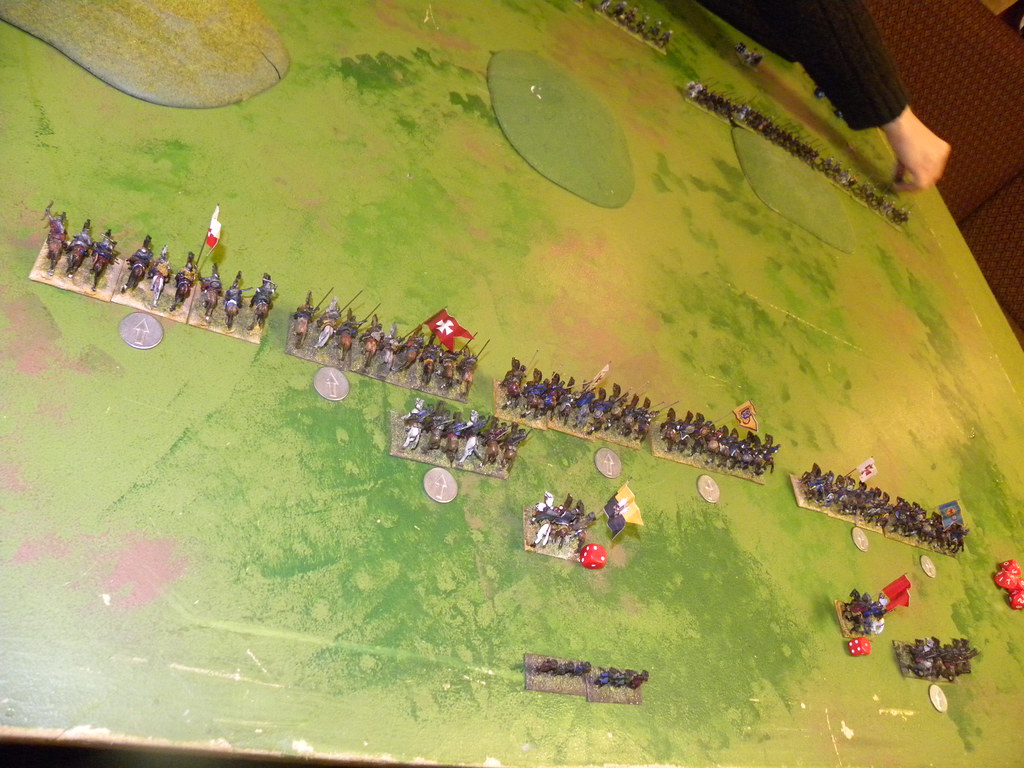
This game I was planned few weeks ago. I have invited few gamers, however some of them were not able to attend, but this not problem and still will be opportunity to have some game. All right, back to the game. For this one, played last Thursday I have invited Neal and Sandy. Sandy have a large collection of 15mm Osmans, so we decided to use it against my Poles. I was umpired the game, the same as commanded the Polish forces together with Neal, who will be building another Polish forces for this game - good new fo me!
Tą grę zaplanowałem już kilka tygodni temu. Zaprosiłem do niej kilka osób, niestety części z nich nie udało się wziąć w niej udziału, jednak nie jest to problemem, ponieważ na pewno nadarzy się jeszcze wiele okazji by spotkać się przy stole. Powracamy zatem do gry. Do tej rozegranej w ostatni czwartek zaprosiłem Sandiego i Neala. Sandy posiada dużą kolekcję Osmanów w skali 15mm i postanowiliśmy ich użyć przeciwko moim Polakom. Oprócz prowadzenia gry również dowodziłem polskimi oddziałami wspólnie z Nealem, który notabene będzie budował siły Rzeczpospolitej do tej gry - co mnie ogromnie cieszy!

SCENARIO/SCENARIUSZ: Patrol fight.
UMPIRING/PROWADZENIE GRY: Bartek Żynda
SCENERY/SCENERIA: SESWC
MODELS&FIGURES/ MODELE I FIGURKI: Sandy Gilespie, Bartek Żynda

1. Forces. Siły.


POLES/POLACY
(Bartek Żynda, Neal)

Polish Skirmish forces (1667-76)

Colonel (4 orders)
Rotamaster (1 order)

Pancerni banner with rohatynas (3 bases)
Cossack style cavalry banner with rohatynas (3 bases)
2 x Cossack style cavalry banner (3 bases)
2 x Pancerni banner (3 bases)
2 x Dragoons banner (2 bases)

OSMANS/OSMANI
(Sandy Gilespie)

European Eyalet Skirmish forces

Sanjakbey (3 orders)
Aga (1 order)

6 x Ala of European Sipahi (3 bases)
Segbani (10 bases)
2 x Jemat beshli (3 bases)
Jemat gönüllü (3 bases)

2. The game. Gra.


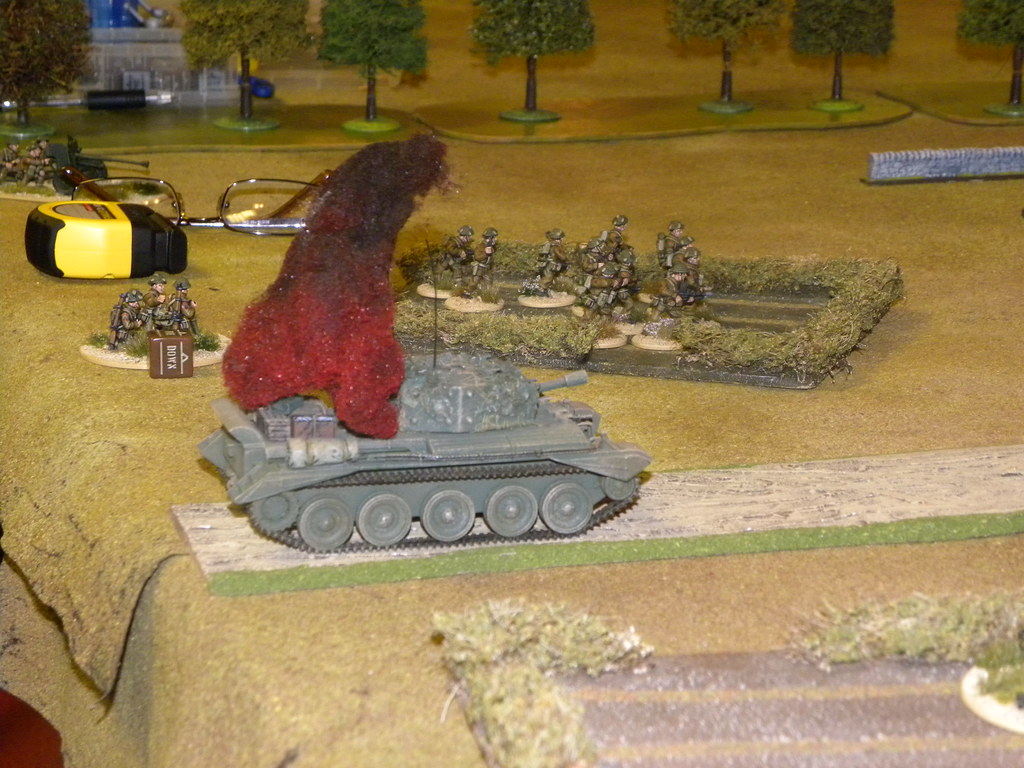
Because our forces have similar points in strength and recce, we have played the Patrol Fight scenario. Quickly I realised the mistake in my list. I should not replacing Cossacks style cavalry on Dragoons, as the first one would be much better in this kind of battle, The infantry was useless in this game, as it was in majority the cavalry battle. Very quickly I have realised the true strength of the Osman cavalry and specially the European Sipahi and their long spears!!! Because of them my attack has been stopped and repulsed and then new units charged on me, crushing them very easily. Besides of the spears and armour, Sandy had magnificent dice rolling too. Our game finished after 5 turns with Osman strategic victory. Both gentlemen we are happy from the game and its mechanic, so more games to come in the future!
Ponieważ nasze siły były porównywalne w punktach siły i zwiadu, rozgrywaliśmy Walkę Patroli. Dość szybko zdałem sobie sprawę z mojej błędnej listy. Nie powinienem zamieniać jazdy kozackiej na dragonów, ponieważ ci pierwsi byli by lepsi w tego rodzaju bitwie. Piechota była bezużyteczna w tej grze, ponieważ w większości była to bitwa kawaleryjska. Dość szybko przekonałem się tez o  prawdziwej sile osmańskiej kawalerii, szczególnie europejskich sipahów i ich kopiach!!! Ze względu na nich mój atak został zatrzymany i odparty i nowe oddziały zaszarżowały na mnie, miażdżąc mnie z łatwością. Oprócz kopii i pancerza,Sandy miał tez niesamowite rzuty kośćmi. Nasza gra skończyła się po 5 turach ze strategicznym zwycięstwem Osmanów. Obaj panowie byli zadowoleni z gry i jej mechaniki, więc spodziewajcie się następnych gier.


25 lutego 2015

Caen 1944. #1 - Update. Uzupełnienie.

As I promised, the forces lists used during the game:
Tak jak obiecałem, listy użyte w grze:

Link to the game:
Link do gry:

http://asienieboje.blogspot.co.uk/2015/02/caen-1944-1.html

GERMANS/NIEMCY:
John Glass:

CO: 1st Lieutenant + 1 rifleman (regular)
1st Heer Grenadier: NCO + LMG team + 6 riflemen - panzerfaust (regular)
2nd Heer Grenadier: NCO + LMG team + 6 riflemen - panzerfaust (regular)
3rd Heer Grenadier: NCO + LMG team + 6 riflemen (regular)
4th Heer Grenadier: NCO(AR) + 2 LMG teams + 5 men with AR - 2 panzerfausts (veteran)
Sniper team (veteran)
Heavy mortar (veteran)
Light Howitzer (veteran)
SdKfz 234/2 Puma (regular)
StuH 42 (regular)

Campbell Hardie:

HQ: Major + 2 riflemen

1st Platoon (inexperienced)
CO: 1st Lieutenant + 2 riflemen
1st Infantry: NCO(SMG) + LMG team + 7 riflemen - panzerfaust
2nd Infantry: NCO(SMG) + LMG team + 7 riflemen - panzerfaust
Medium mortar

2nd Platoon (inexperienced)
CO: 1st Lieutenant + 2 riflemen
1st Infantry: NCO(SMG) + LMG team + 7 riflemen - panzerfaust
2nd Infantry: NCO(SMG) + LMG team + 7 riflemen - panzerfaust
Medium mortar

2 Motorbikes/sidecar
PaK 36 gun
PaK 38 gun


ALLIED/ALIANCI:

BRITISH/BRYTYJCZYCY:
Ian Carter:

Infantry Platoon (all regular):
CO: 1st Lieutenant + 1 rifleman
FOA: 1 man
1st Infantry: NCO(SMG), LMG team, 6 riflemen
2nd Infantry: NCO(SMG), LMG team, 6 riflemen
3rd Infantry: NCO(SMG), LMG team, 6 riflemen
Piat team
Medium mortar
Vickers MG team
6pdr gun
Centaur tank

Paras Platoon (all veteran):
Paras CO: 2nd Lieutenant + 2 riflemen
1st Paras: NCO, LMG team, 5 riflemen - all with AT grenades
2nd Paras: NCO, LMG team, 5 riflemen

POLES/POLACY:
Bartek Żynda:

(all regular)
CO: 2nd Lieutenant + 1 SMG + 1 rifleman
FOA: Officer + 1 SMG + 1 rifleman
FMO: Officer (SMG) + 2 riflemen
1st Infantry: NCO(SMG)+ LMG team + 1 SMG + 6 riflemen - all with AT grenades
2nd Infantry: NCO(SMG)+ LMG team + 1 SMG + 6 riflemen - all with AT grenades
3rd Infantry: NCO(SMG)+ LMG team + 1 SMG + 6 riflemen - all with AT grenades
Piat team
Sniper team
Medium mortar
6pdr gun + tow (Universal Carrier)
Sherman Firefly tank

24 lutego 2015

Berwick uppon Tweed 1938 (#3)

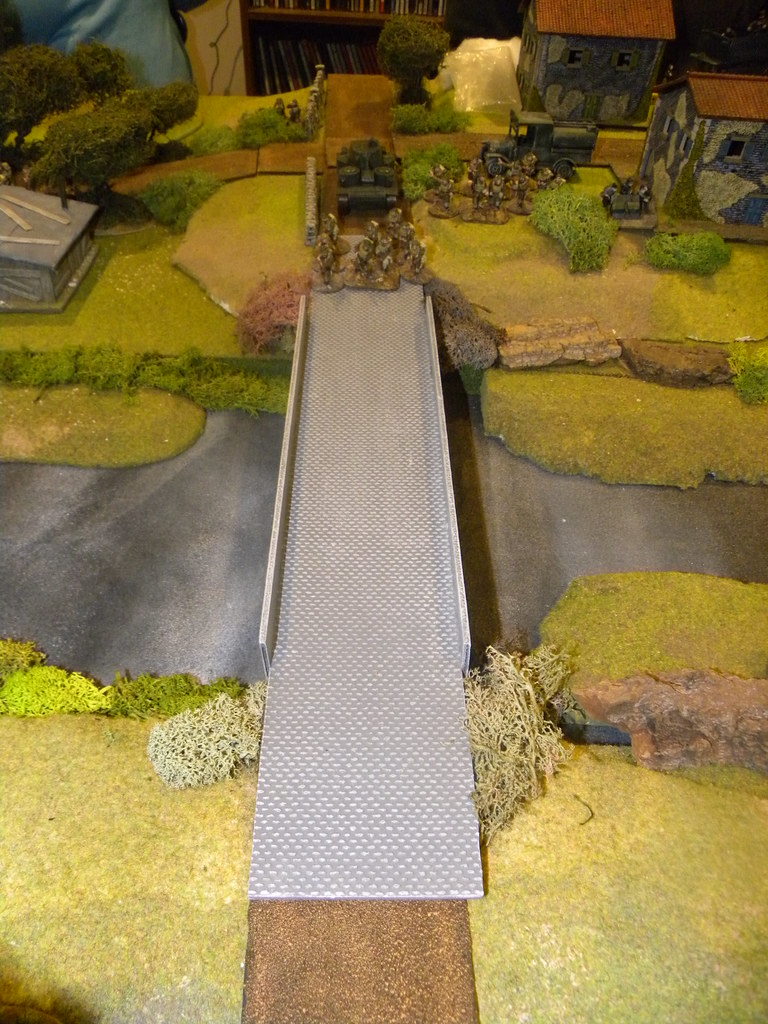
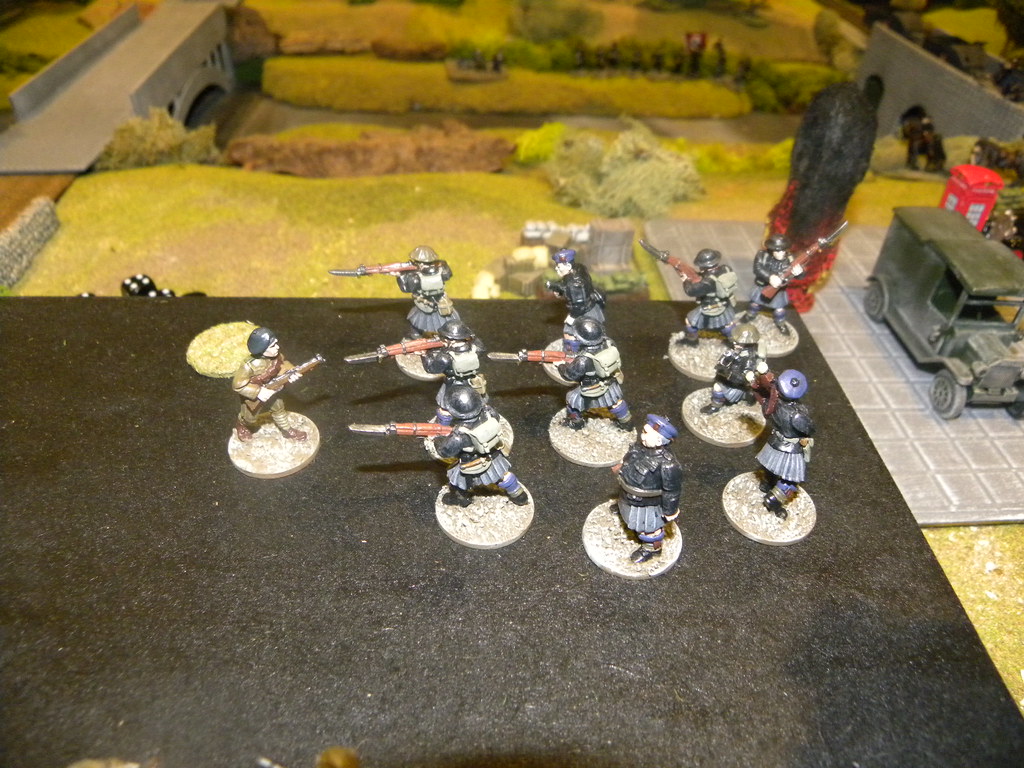
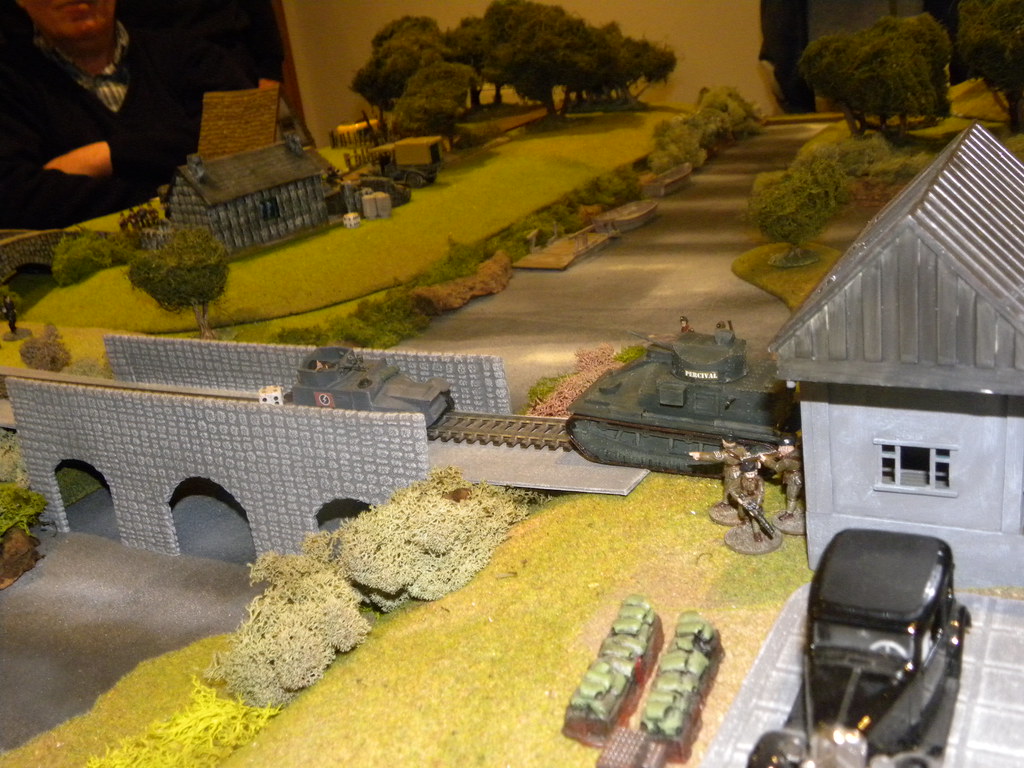
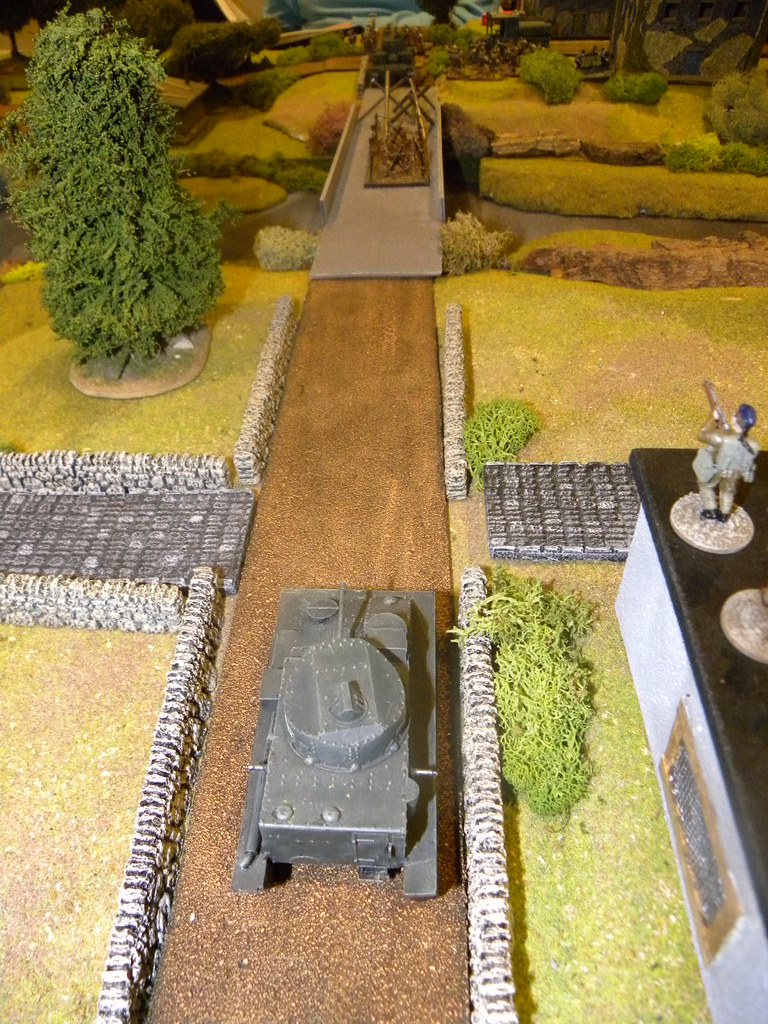
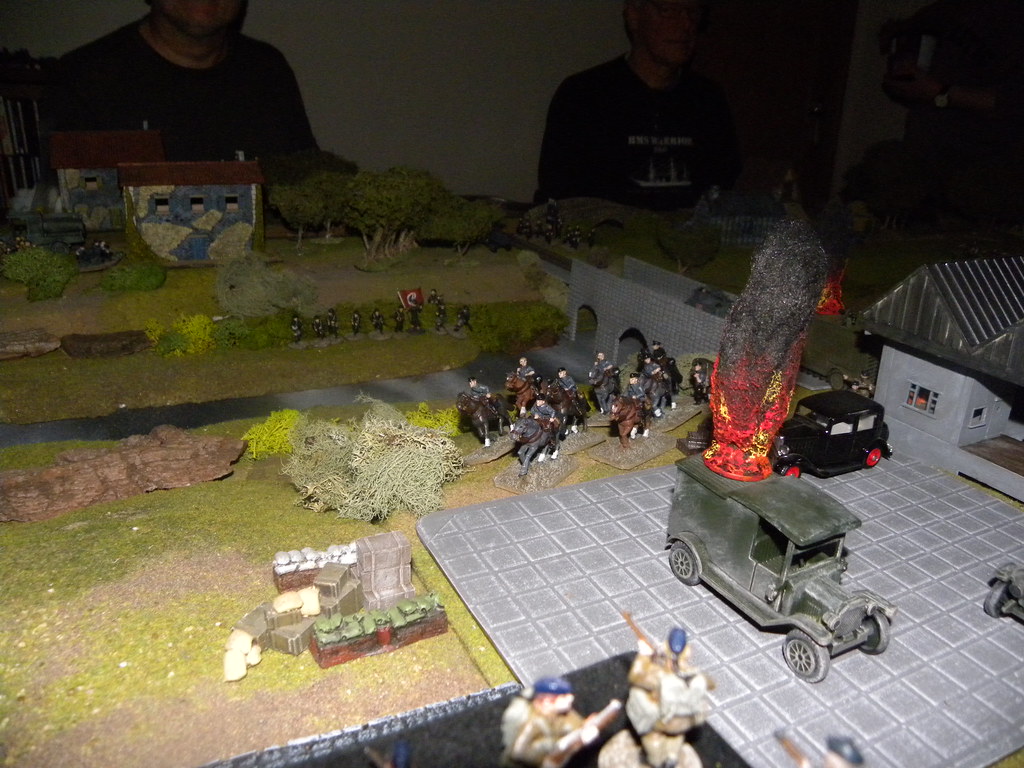
Last Wednesday we had our third game of the Battle of Berwick in 1938 during the Very British Civil War. The game was played on the amazing table created by Hugh Wilson. We used again the Bolt Action rules with the special use of Night Fighting rules for the first six turns.
W ostatnią środę rozegraliśmy naszą trzecią grę Bitwy o Berwick w 1938 roku stoczonej podczas Bardzo Brytyjskiej Wojny Domowej. Gra została rozegrana na niesamowitym stole stworzonym przez Hugha Wilsona. Do gry użyliśmy ponownie zasad Bolt Action ze specjalnym użyciem przepisów Nocnej Walki dla pierwszych sześciu tur.

Past games:
Poprzednie gry:


SCENARIO/SCENARIUSZ: Tim Watson, Colin Jack
UMPIRING/PROWADZENIE GRY: Hugh Wilson
SCENERY/SCENERIA: Hugh Wilson
MODELS&FIGURES/ MODELE I FIGURKI: Colin Jack

1. Forces. Siły.


SCOTS/SZKOCI
(Dave O'Brian, Bartek Żynda, Tim Watson)

List will be updated soon.
Lista będzie podana później.

ANGLIAN & FASCISTS/ANGLOWIE i FASZYŚCI
(Donald Adamson, Bill Gilchrist, Ray Neal, Colin Jack)

List will be updated soon.
Lista będzie podana później.

2. The Game. Gra. 


For the first six turns we used the special Night Fighting rules comes from the Bolt Action supplement Battleground Europe. The idea of that were first, to help Anglian forces to made their way through the Bridges and from the second, to check this rules how they works. Anglian forces during the night managed to clear the second Bridge and take the Rail Station, but they were stopped at the warehouse and pushed back to the Station. This finished the night and Scots decided to call for the airplane with the first daylight...
Przez pierwsze sześć tur korzystaliśmy z specjalnych zasad walki nocnej pochodzących z suplementu do Bolt Action pt.: Battlegroup Europe. Wykorzystaliśmy je ponieważ po pierwsze chcieliśmy wspomóc siły angielskie mogły przebić się w końcu przez mosty i po drugie by sprawdzić jak te zasady pracują. Siłom Anglów podczas nocy udało się oczyścić następny most (drogowy) oraz opanować stację kolejową, ale zostali zatrzymani przy magazynach i z powrotem odepchnięci do stacji. To zakończyło noc, z brzaskiem dnia Szkoci wezwali do pomocy samolot...

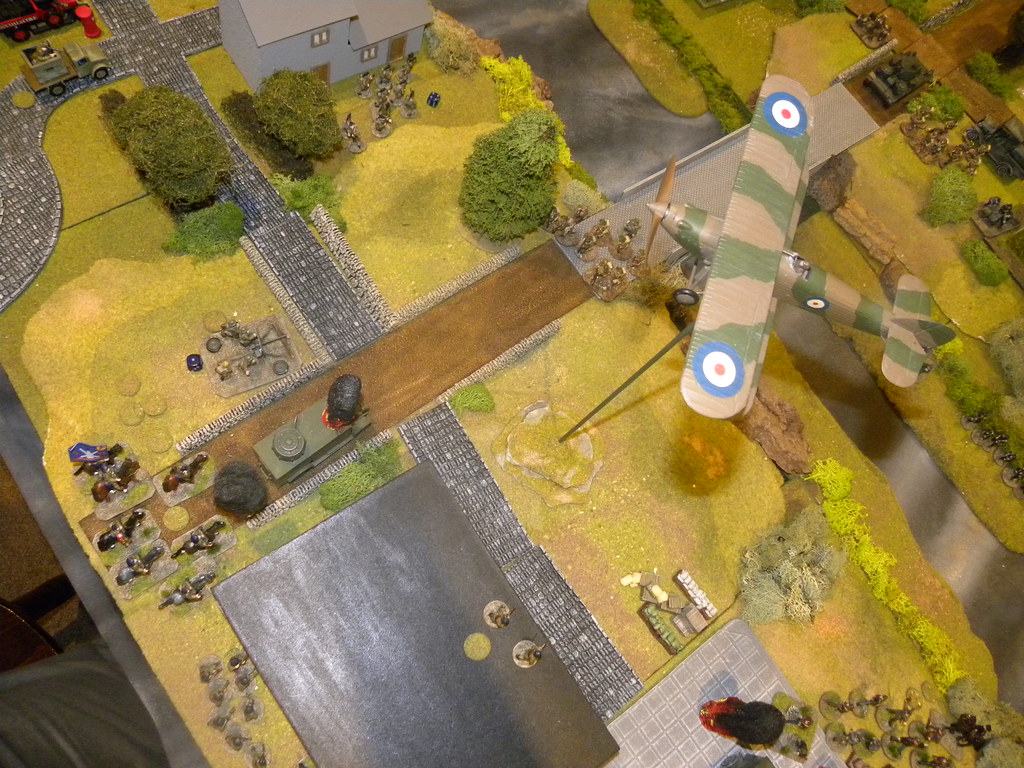
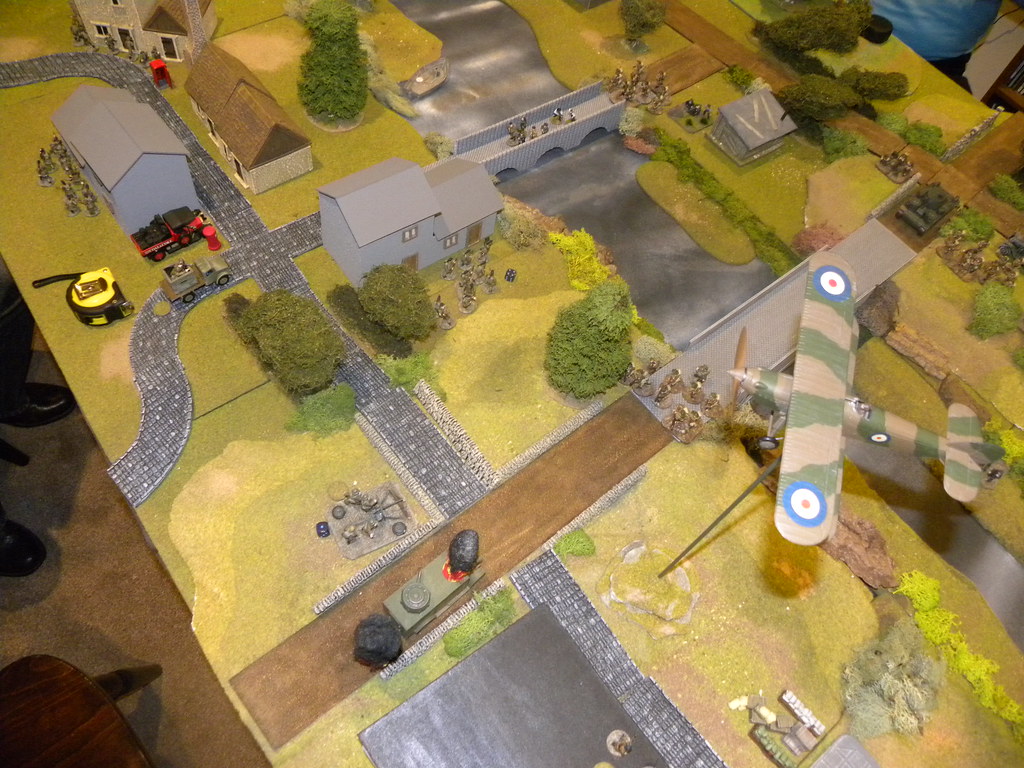
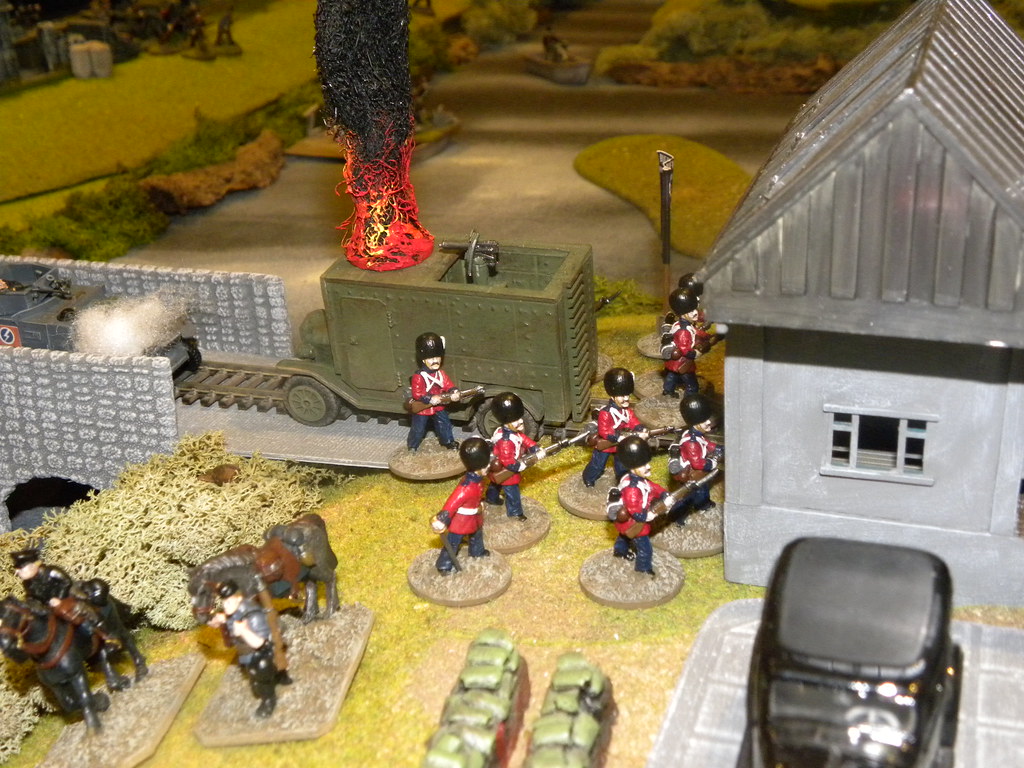
Believe or not, but the plane again hit his own troops for the third time during our whole game! My units suffered the most as I lost the cavalry unit and rest of them were hardly pinned, what allowed Anglian soldiers to cross the Road Bridge but then rest of my units stopped them and forced them back. The same happend with the attack on the Foot Bridge. Anglian Forces has been pushed back and those units who crossed the bridge become annihilated.
Wieżcie lub nie, ale samolot ponownie zaatakował własne oddziały po raz trzeci w ciągu całej naszej gry! Moje oddziały ucierpiały na tym najwięcej, ponieważ strarciłem oddział kawalerii, a reszta oddziałów została poważnie spinowana, co pozwoliło oddziałom Anglów na przekroczenie mostu drogowego, ale wtedy zostały one zatrzymane przez pozostałe moje oddziały i zmuszone do odwrotu. To samo stało się na moście pieszym. Siły angielskie zostały zmuszone do odwrotu, a te które się przedarły zostały unicestwione.

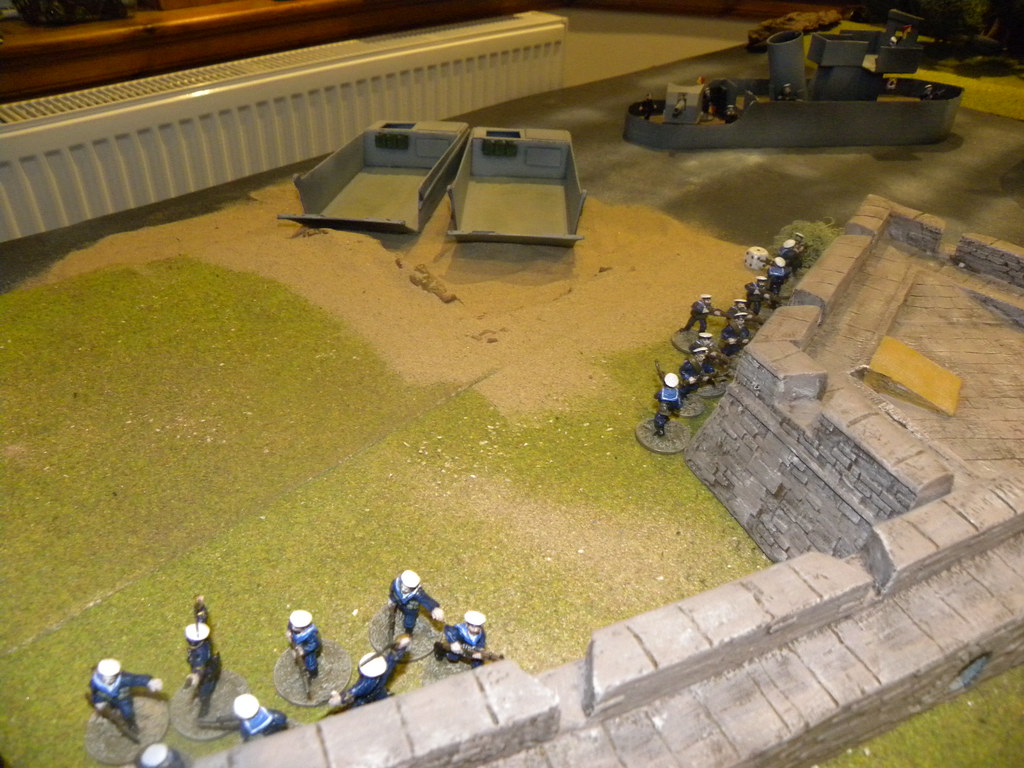
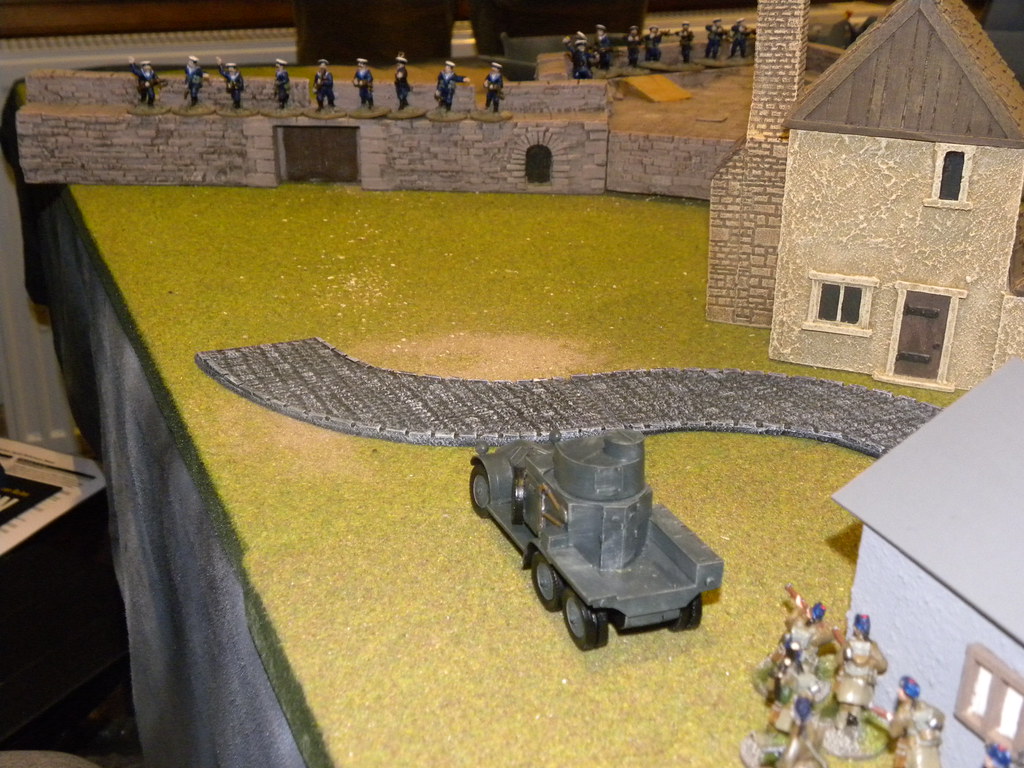
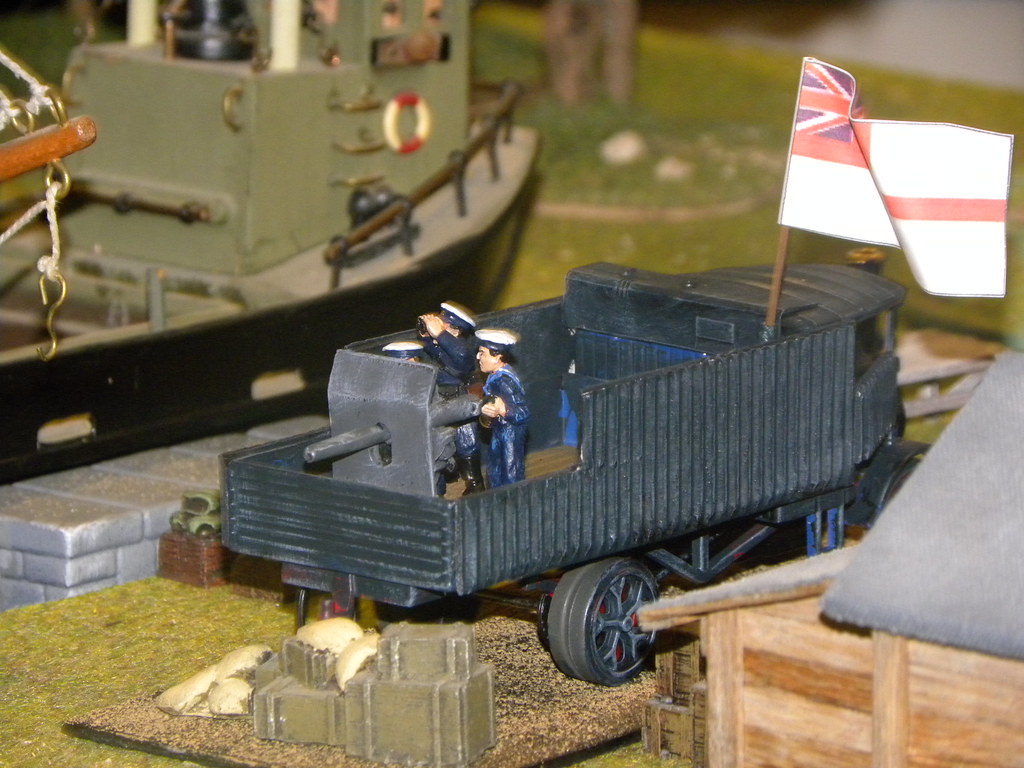
The special place in this relation should have the Navy troops and their surprise tactic. During whole game they were climb on the Berwick walls, then stay there for the turn on two, and then move back off the wall and repeat whole process again and again till the end of the game... Weird...
Na specjalne miejsce w tej relacji zasługują oddziały Marynarki i ich zaskakująca taktyka. Podczas całej gry wspięli się na mury Berwick, pozostali na nich przez jedną lub dwie tury i następnie wycofali się z powrotem pod mury i ten proces powtarzali podczas gry wielokrotnie... Dziwne...

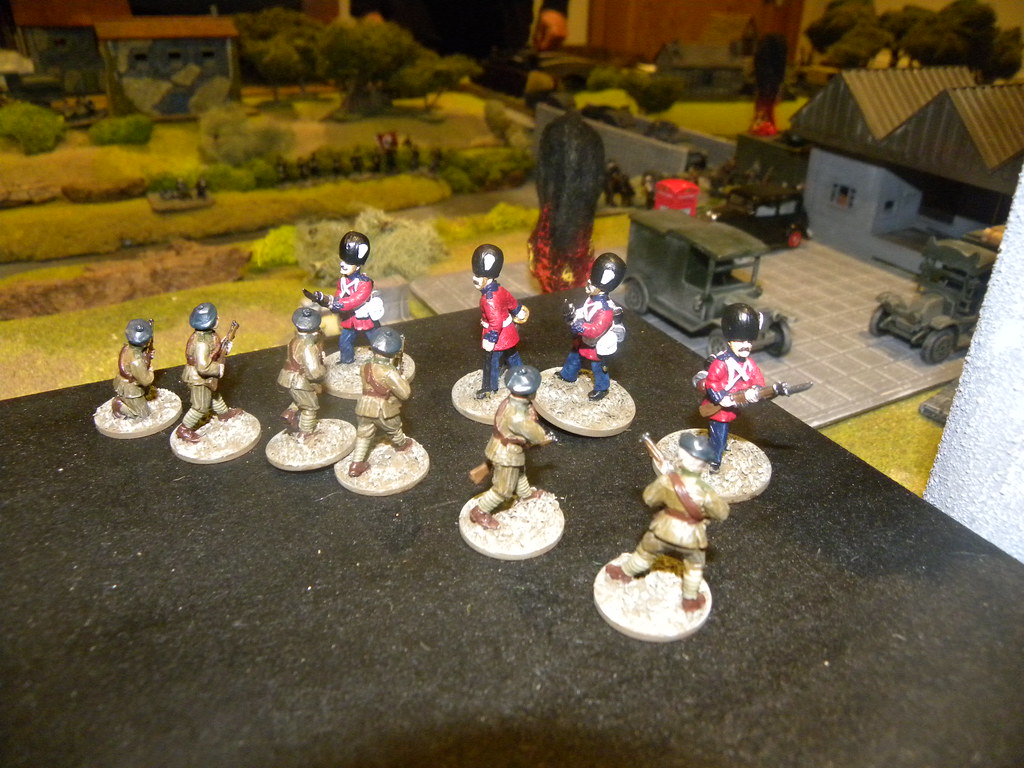
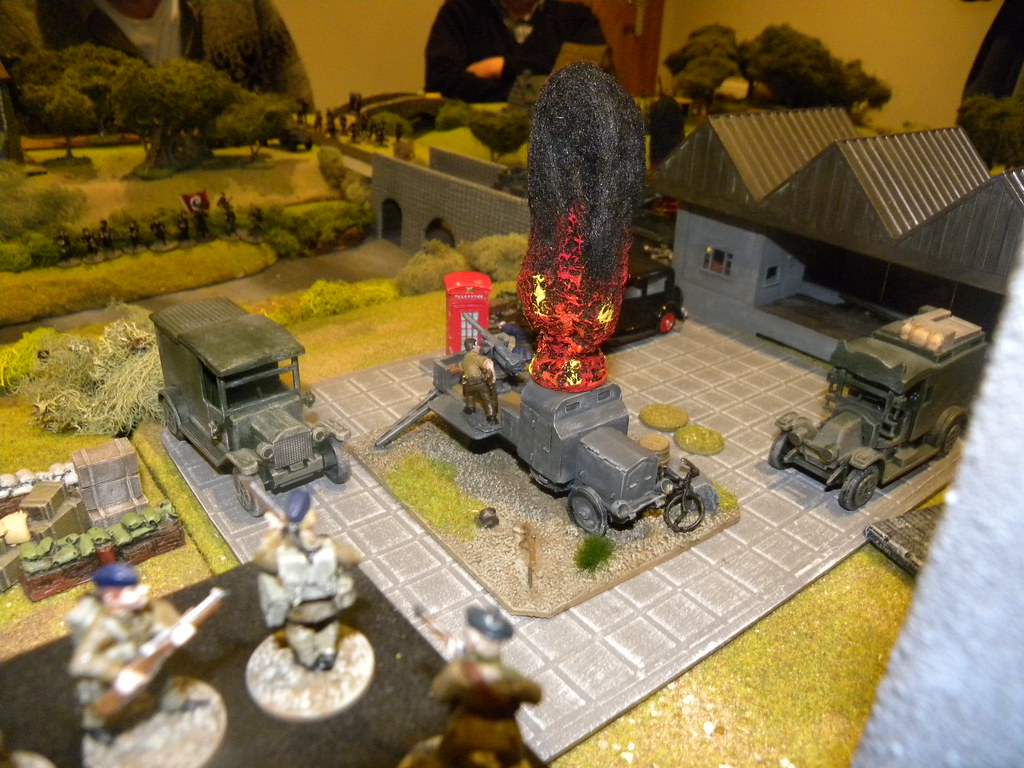
The most fierce battle was about the Station and the Warehouse. During the night Anglian took the Station but then they were pushed back by Scots. Next comes the Guards. The Veterans for the first time cleared the whole Station and attacked the Warehouse where they had been beaten by Scottish defenders. The next unit of Fascist tried to take the Warehouse again, but again was destroyed by defenders. Then Scots received reinforcements and managed to bring the unit of infantry, who retake the part of the station, so when the game finished, half of the Station was in Anglian hands and half in Scottish.
Najbardziej zacięte walki toczyły się o stację kolejową i magazyny. Podczas nocy Anglowie opanowali stację, jednak wtedy zostali odepchnięci przez Szkotów. Następnie sprowadzono Gwardię. Weterani oczyścili cały dworzec i zaatakowali magazyny, gdzie zostali pobici przez szkockich obrońców. Następnie oddział Faszystów próbował zdobyć magazyny, ale również został zniszczony przez obrońców. Wtedy przybyło szkockie uzupełnienie w postaci oddziału piechoty, które zajęło połowę stacji i pod koniec gry dworzec był w połowie w rękach angielskich i w połowie w rękach szkockich.

3. Summary. Podsumowanie.


The game finished with the draw in my opinion, because the Berwick itself has been defended (we still awaited for another tank and the AT gun), however Scotts will not be able to keep this town against new assault and new forces, so possibly next game would finished with Anglian victory and retaking the Berwick.
Gra zakończyła się remisem w mojej opinii, ponieważ Berwick został obroniony (wciąz oczekiwaliśmy na przybycie czołgu i kolejnego działa ppanc.), jednakże Szkoci nie byli by w stanie utrzymać tego miasta przeciwko kolejnemu szturmowi i nowym oddziałom i w przypadku następnej gry najprawdopodobniej Anglowie odnieśli by zwycięstwo i odzyskali Berwick.

Not all of us liked the Night Fighting rules. For me they were ok, however I've simplified them a little and put the vision test just after the received order dice, what shortened whole process.
Nie wszystkim podobały się zasady nocnej walki. Jak dla mnie były ok, jednak lekko je uprościłem i sprawdzenie widoczności przeniosłem zaraz po otrzymaniu kości rozkazu, co znacznie skróciło cały proces.

Bill's relation on his blog with the pictures of Dave O'Brian:
Relacja Billa na jego blogu ze zdjęciami Dave'a O'Briana:

More pictures on my Flickr:
Więcej zdjęć na moim Flickr:

17 lutego 2015

Caen 1944. #1

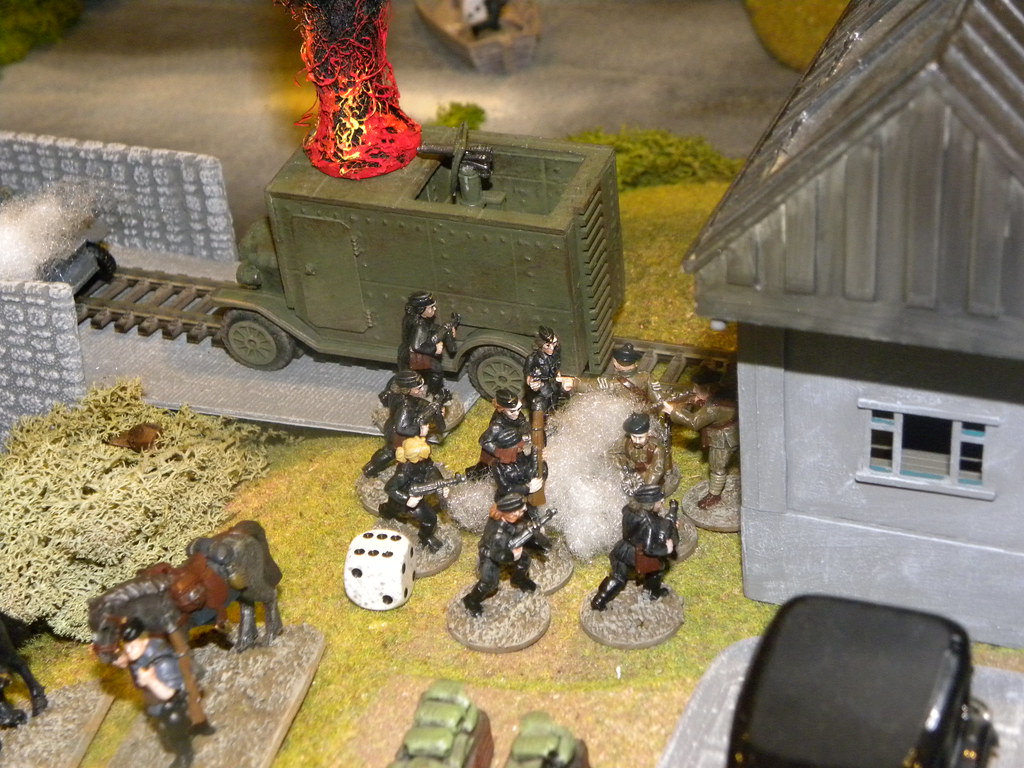
Last Thursday we have started our campaign game Caen 1944. It is 10 players game (5 for Allies and 5 for Germans). All campaign rules has been set up by John Glass. For all games we will be using the Bold Action rules. We agreed the 1200/1500 pts forces. I have joined the Allied with my 28mm Poles. 
w ostatni czwartek rozpoczeliśmy naszą grę kampanijną pt. Caen 1944. Jest to gra, w której zaangażowanych jest 10 graczy (5 dla Aliantów i 5 dla Niemców). Wszystkie zasady kampanii zostały przygotowane przez Johna Glassa. Dla wszystkich gier będziemy używać zasad Bolt Action i sił na 1200/1500 pkt. Ja dołączyłem do Aliantów z moimi Polakami w skali 28mm.

SCENARIO/SCENARIUSZ: No. 3 from the main book./Trzeci scenariusz z głównego podręcznika.
SCENERY/SCENERIA: John Glass, SESWC
MODELS&FIGURES/ MODELE I FIGURKI:  Ian Carter, John Glass, Campbell Hardie, Bartek Żynda.

1. Forces. Siły.


All lists available at this place:
Wszystkie listy dostępne w tym miejscu:

http://asienieboje.blogspot.co.uk/2015/02/caen-1944-1-update-uzupenienie.html

2. Introduction. Wprowadzenie.


Allied safely landed in Normandie. So far they stuck on the beaches, however they started to move inland. They first big objective was town of Caen. Marshal Montgomery (Donald Adamson) prepared his plan and gave his orders to his troops. One of them was to outflank the town from the west. This was the task for British forces(Ian Carter) and the Poles (Bartek Żynda).
Alianci bezpiecznie wylądowali w Normandii. Jak na razie utknęli na plażach, jednak rozpoczęli swój marsz wgłąb lądu. Pierwszym celem miło być miasto Caen. Marszałek Montgomery (Donald Adamson) przygotował swój plan i wydał rozkazy swoim oddziałom. Jednym z nich było oskrzydlenie miasta od zachodu. Było to zadanie dla oddziałów Brytyjskich (Ian Carter) i Polaków (Bartek Żynda).
My Poles started at the Gold Beach and moved towards Bretteville, where they met the British under the command of Ian Carter (they attacked from Juno Beach). The way to Caen was blocked by German forces commanded by Campbell Hardie and John Glass. The battle has started...
Moi Polacy zaczęli na plaży Gold i ruszyli w kierunku Bretteville, gdzie spotkali Brytyjczyków pod dowództwem Iana Cartera (oni atakowali z plaży Juno). Drogę do Caen zablokowały im niemieckie siły pod dowództwem Campbella Hardiego i Johna Glassa. Bitwa się zaczęła...


3. The game. Gra.


This will be rather short report from the game. I can only said that it was so busy game, that I only made few pictures from them. Germans decided to defend only two objectives from three and left one without any protection. Game started with very accurate Royal Navy bombardments. Germans get hardly pinned, however they managed sort this out very quickly. After this Allied enter the table. Unlucky for Ian, he was attacking through the open ground just in front main John's forces. This hardly pinned British forces, who started losing teams. By losing the teams you are losing the order dice and this slow my advantage down. Shortly Campbell joined John and both started pushing Ian harder and harder. Finally I managed to move my forces  towards objectives and finally took the one of them. Now for the victory we needed the central objective. First softened its defends with off table artillery and after this prepared for final assault. Unfortunately for us I badly rolled for the extra turn and the game finished on 6th turn. We managed to take only one objective, so the game finished with a draw. Our forces have been stopped and awaiting for the new orders.
To będzie raczej krótki raport z gry. Mogę tylko powiedzieć, że gra była tak zajmująca, że wykonałem zaledwie kilka fotek. Niemcy zdecydowali się bronić jedynie dwóch celów gry z trzech i jeden pozostawili zupełnie bez ochrony. Gra zaczęła się od bardzo celnego ognia Royal Navy, Niemcy zostali ciężko przygnieceni, jednak bardzo szybko sobie z tym poradzili. Po tym zaatakowali Alianci. Pechowo dla Iana, atakował on w otwartym polu, tuz naprzeciwko głównych sił Johna. To z kolei bardzo spinowało Brytyjczyków, którzy poczęli tracić swoje oddziały. Gdy tracisz swoje oddziały, tracisz też dostępne kości rozkazów i to bardzo spowolniło moje natarcie. Wkrótce Campbell dołączył do Johna i razem zaczęli mocniej naciskać na Iana. W końcu udało mi się ruszyć moje oddziały w kierunku celów gry i w końcu zająć jeden z nich. Teraz do zwycięstwa potrzebowaliśmy opanować centralny cel gry. Wpierw zmiękczyliśmy obronę naszą artylerią spoza stołu i po tym przygotowaliśmy się do ataku. Niestety dla nas bardzo źle rzuciłem na efekt ekstra tury i nasza gra zakończyła się w szóstej. Udało nam się opanować jeden cel gry, czym zapewnilismy sobie remis. Nasze oddziały zostały zatrzymane i oczekują nowych rozkazów.

To be continued...
Ciąg dalszy nastąpi...

14 lutego 2015

Berwick uppon Tweed 1938 (#2)

After long period of time and plenty of surprising circumstances we finally managed to play the second Berwick game at Hugh's. After that, when Scots captured this city, Anglian and Fascist forces decided to recapture it. We used the again Bolt Action rules.
Po dość długim czasie i wielu nieoczekiwanych zdarzeniach udało nam się w końcu rozegrać u Hugha drugą grę bitwy o Berwick. Po tym jak Szkoci opanowali to miasto, siły Anglo-Faszystowskie postanowiły odbić je. Do naszej gry, znów użyliśmy zasad Bolt Action.

For your remind, That how the first game was played:
Dla przypomnienia, tak rozegraliśmy pierwszą grę:


SCENARIO/SCENARIUSZ: Tim Watson
UMPIRING/PROWADZENIE GRY: Colin Jack
SCENERY/SCENERIA: Hugh Wilson
MODELS&FIGURES/ MODELE I FIGURKI: Colin Jack, Tim Watson, Hugh Wilson

 1. Forces. Siły.


ANGLIAN and FASCIST:
ANGLOWIE i FASZYŚCI:
(Donald Adamson, Bill Gilchrist, Ray Neal, Dave)

List will be updated soon.
Lista będzie podana później.

SCOTS:
SZKOCI:
(Dave O'Brian, Tim Watson, Bartek Żynda)

List will be updated soon.
Lista będzie podana później.

2. The game. Gra.


The Anglo-Fascist plan, was almost the copy of our attack from the previous game with the small exception that the Royal Navy decided to land on the Berwick beach instead of the Docks and in that way they got an extra naval guns support. The rest of troops were attacking the three bridges. However Scots have prepared themselves for that and all bridges had obstacles.
Plan ataku sił anglo-faszystowskich był prawie dokładną kopią naszego ataku z poprzedniej gry, z tą różnicą, że siły Royal Navy zdecydowały się lądować na plaży w Berwick a nie w Dokach i tym zyskali wsparcie dział ich marynarki. Reszta oddziałów atakowała trzy mosty, jednakże Szkoci przygotowali się na taką ewentualność i wszystkie mosty zostały zablokowane przeszkodami.

The biggest progress during the battle did royal Navy. They managed to land, remove the troops defending the city walls, however they never made the way through to the city, as they met some resistance here with Armoured Car and some infantry.
Największy postęp podczas bitwy wykonały oddziały Marynarki Wojennej. Udało im się desant, wyczyściły mury miejskie z obrońców, jednak nigdy nie wkroczyły do miasta, ponieważ napotkały opór w postaci samochodu pancernego i pewnej ilości piechoty.

The hardest fight were about the Rail Bridge. Anglo-Fascist forces managed to remove the obstacles from the bridge and almost cross it. Some troops landed on the second bank of the river but has been destroyed by Rail Station defenders. Finally Scots stopped the enemy progress in that place and that part of Berwick was safe.
Najcięższe walki toczyły się o most kolejowy. Anglo-faszystom udało się odblokować most i prawie go przekroczyć. Części siłom udał się też desant na drugi brzeg rzeki, jednak tam zostali pokonani przez siły broniące stacji kolejowej. W ostateczności Szkotom udało się zastopować postęp wrogich wojsk i ta część Berwick została ocalona.

The other two bridges remain undefeated, however one bridge was unblocked. The Anglian forces were surprisingly attacked by own plane and hardly pinned (few turns before it happend, Scotish plane attacked own troops in the castle...). That helped to defend the rest the bridges and the town. Berwick remain in Scotish hands. Game will be continued...
Pozostałe dwa mosty zostały niezdobyte, jednak jeden z nich został odblokowany. Anglowie zostali tu niespodziewanie zaatakowani przez własny samolot i bardzo mocno spinowani (kilka tur wcześniej szkocki samolot zaatakował własne oddziały w zamku...). To pomogło utrzymać resztę mostów i miasto. Berwick pozostało w szkockich rękach. Gra będzie kontynuowana...

3. Links. Linki.


My gallery on Flickr:
Moja Galeria na Flickr:

Dave O'Brian's gallery on Facebook:
Galeria Dave O'Briana na Facebooku:

Bill's relation on his blog:
Relacja Billa na jego blogu:

09 lutego 2015

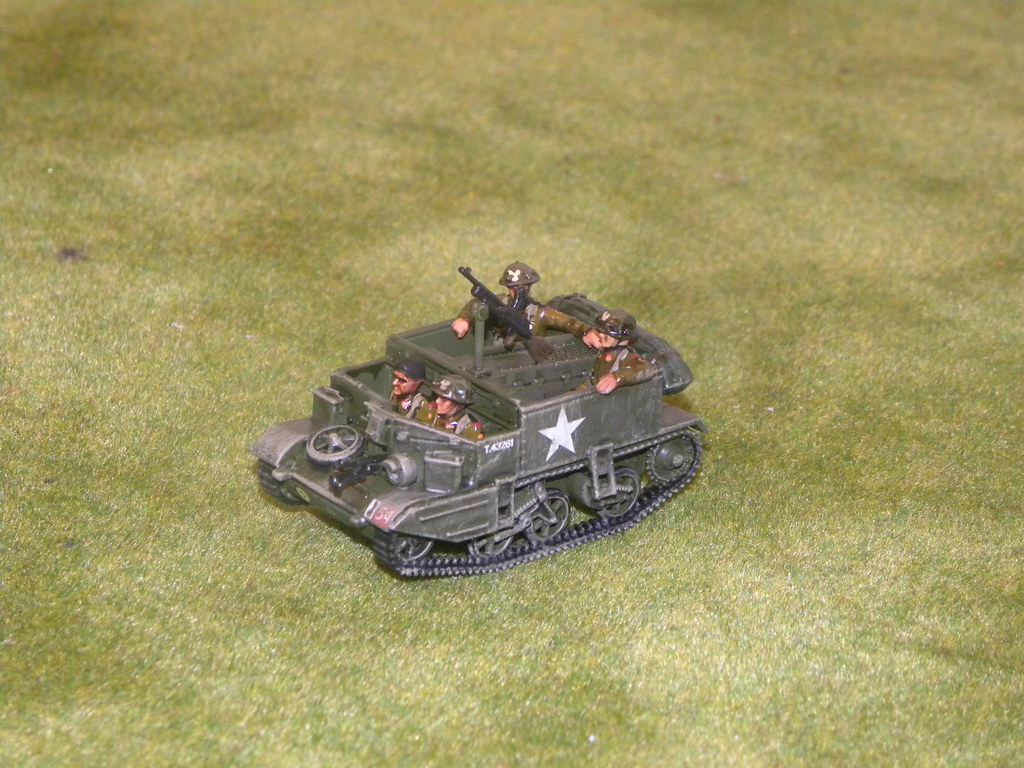
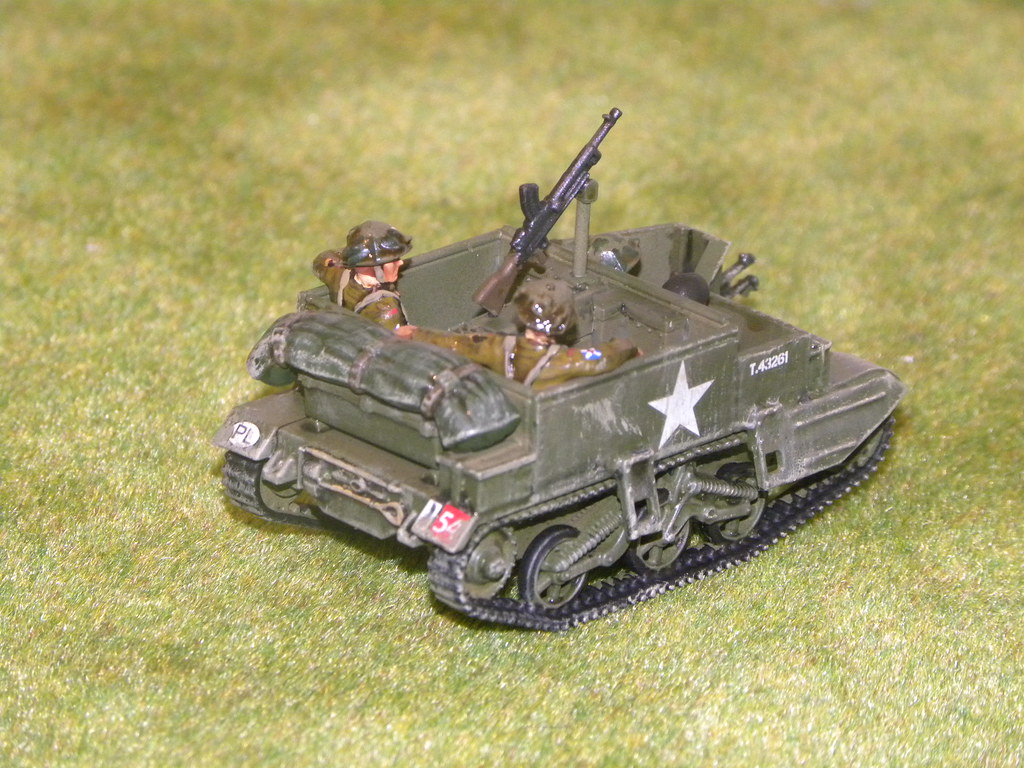
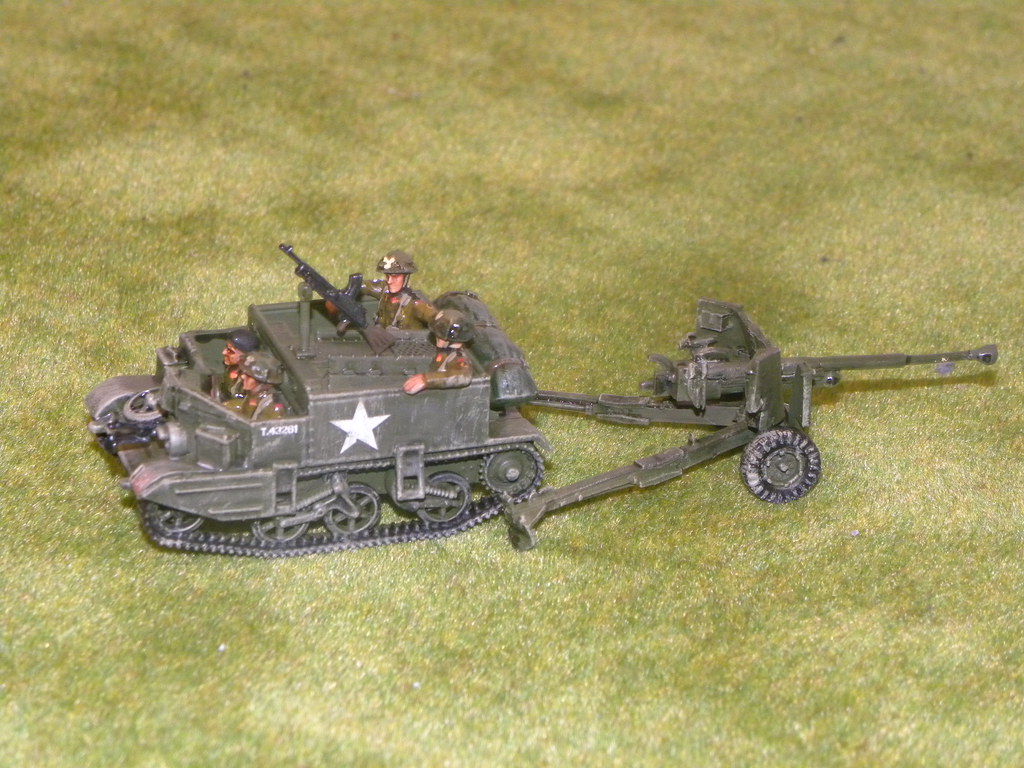
10. Pułk Dragonów - sześciofuntówka z Universal Carrier. 10th Dragoons - 6pdr gun with Universal Carrier.
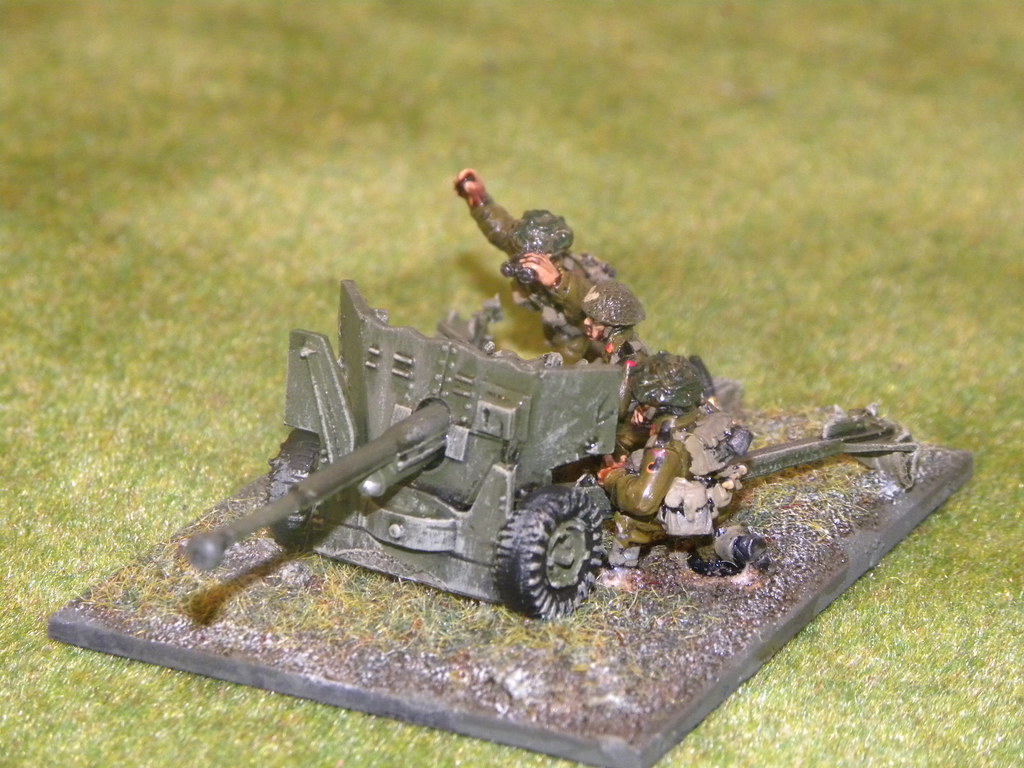
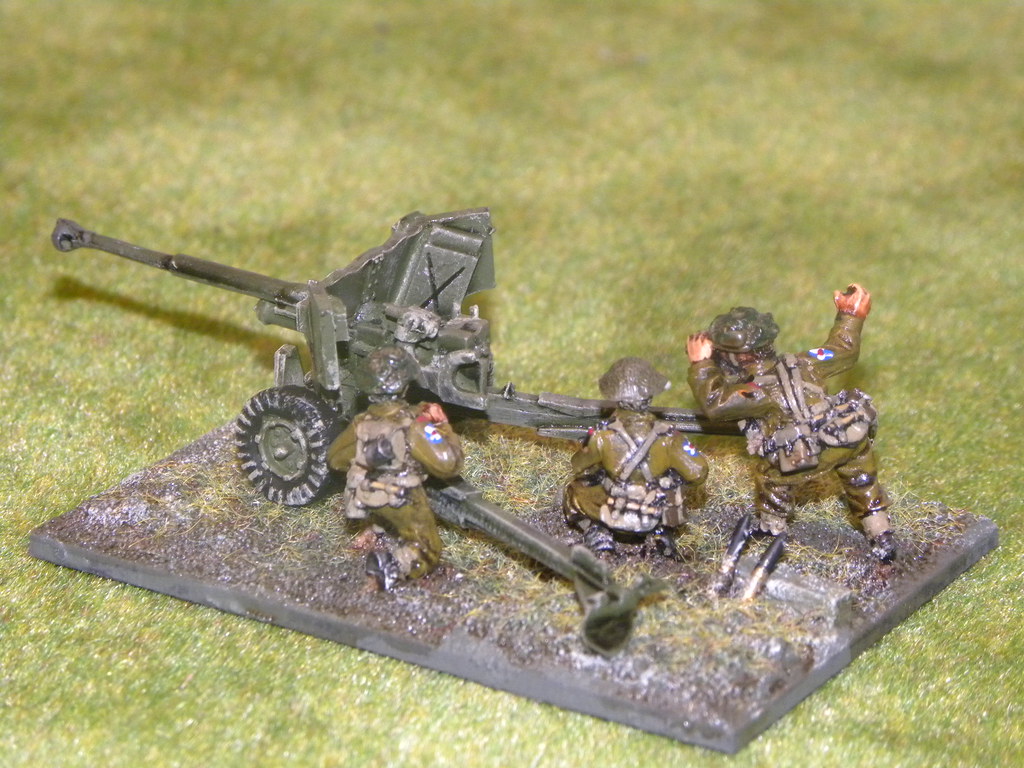
Nowe uzupełnienia dla mojego 10. Pułku Dragonów. Tym razem wszystkie modele i figurki pochodzą od Warlord Games.
New reinforcements for my 10th Dragoons. This time all models and figures are from Warlord Games.

Universal Carrier:

Sześciofuntówka:
6pdr gun:

Sześciofuntówka jest zdejmowalna i można ją "doczepić" do carriera:
6pdr is removable and can be 'attached' to the carrier:

Nowy officer:
New officer:

Teraz moje siły są gotowe na kampanię, która zaczyna się już w ten czwartek! 
Now my forces are ready for the campaign, which is going to start this Thursday!

08 lutego 2015

RON - Nowy zaciąg. P-LC - New units.

Nowy zaciąg do moich oddziałów do Ogniem i Mieczem. Tym razem to trzy chorągwie jazdy kozackiej (jedna z rohatynami) i dwie podstawki dowódców. Wszystkie figurki pochodzą od Wargamera.
New units for my forces for By Fire and Sword. This time they are three banners of Cossack style cavalry (one with rohatynas) and two command bases. All figures are from Wargamer.

Jazda Kozacka z rohatynami:
Cossack style cavalry with rohatynas:

Jazda Kozacka:
Cossack Style Cavalry:

Dowódcy:
Commanders:

Wszystkie nowe jednostki:
All new units:

Mój cały podjazd:
My whole skirmish set: