Pokazywanie postów oznaczonych etykietą ACW. Pokaż wszystkie posty

07 marca 2024

ACW Valour and Fortitude.

Last Thursday, we played another game with the Valour and Fortitude rules. Even though I'm not entirely convinced by the simplicity of these rules, we had another game as they are popular among other players. This time we played a different period: the American Civil War.


SCENARIO: Peter Mearns
UMPIRING
Mike Evans, Peter Mearns
SCENERYPeter Mearns, SESWC
FIGURES & MODELSPeter Mearns


1. Forces.


USA
(Campbell, Mike, Michael)

All Seasoned

1st Infantry Brigade

3 x Infantry Regiment
2 x Gun (Rifled)

2nd Infantry Brigade

3 x Infantry Regiment
2 x Gun (Rifled)

3rd Infantry Brigade

3 x Infantry Regiment
2 x Gun (Rifled)

4th Infantry Brigade

3 x Infantry Regiment

5th Infantry Brigade

3 x Infantry Regiment

Cavalry Brigade

2 x Cavalry Regiment


CSA
(Bartek, David, Peter)

All Veterans

1st Infantry Brigade

4 x Infantry Regiment
2 x Gun (Rifled)

2nd Infantry Brigade

4 x Infantry Regiment
2 x Gun (Smoothbore)

3rd Infantry Brigade

4 x Infantry Regiment

4th Infantry Brigade

4 x Infantry Regiment

Cavalry Brigade

2 x Cavalry Regiment


2. The Game.

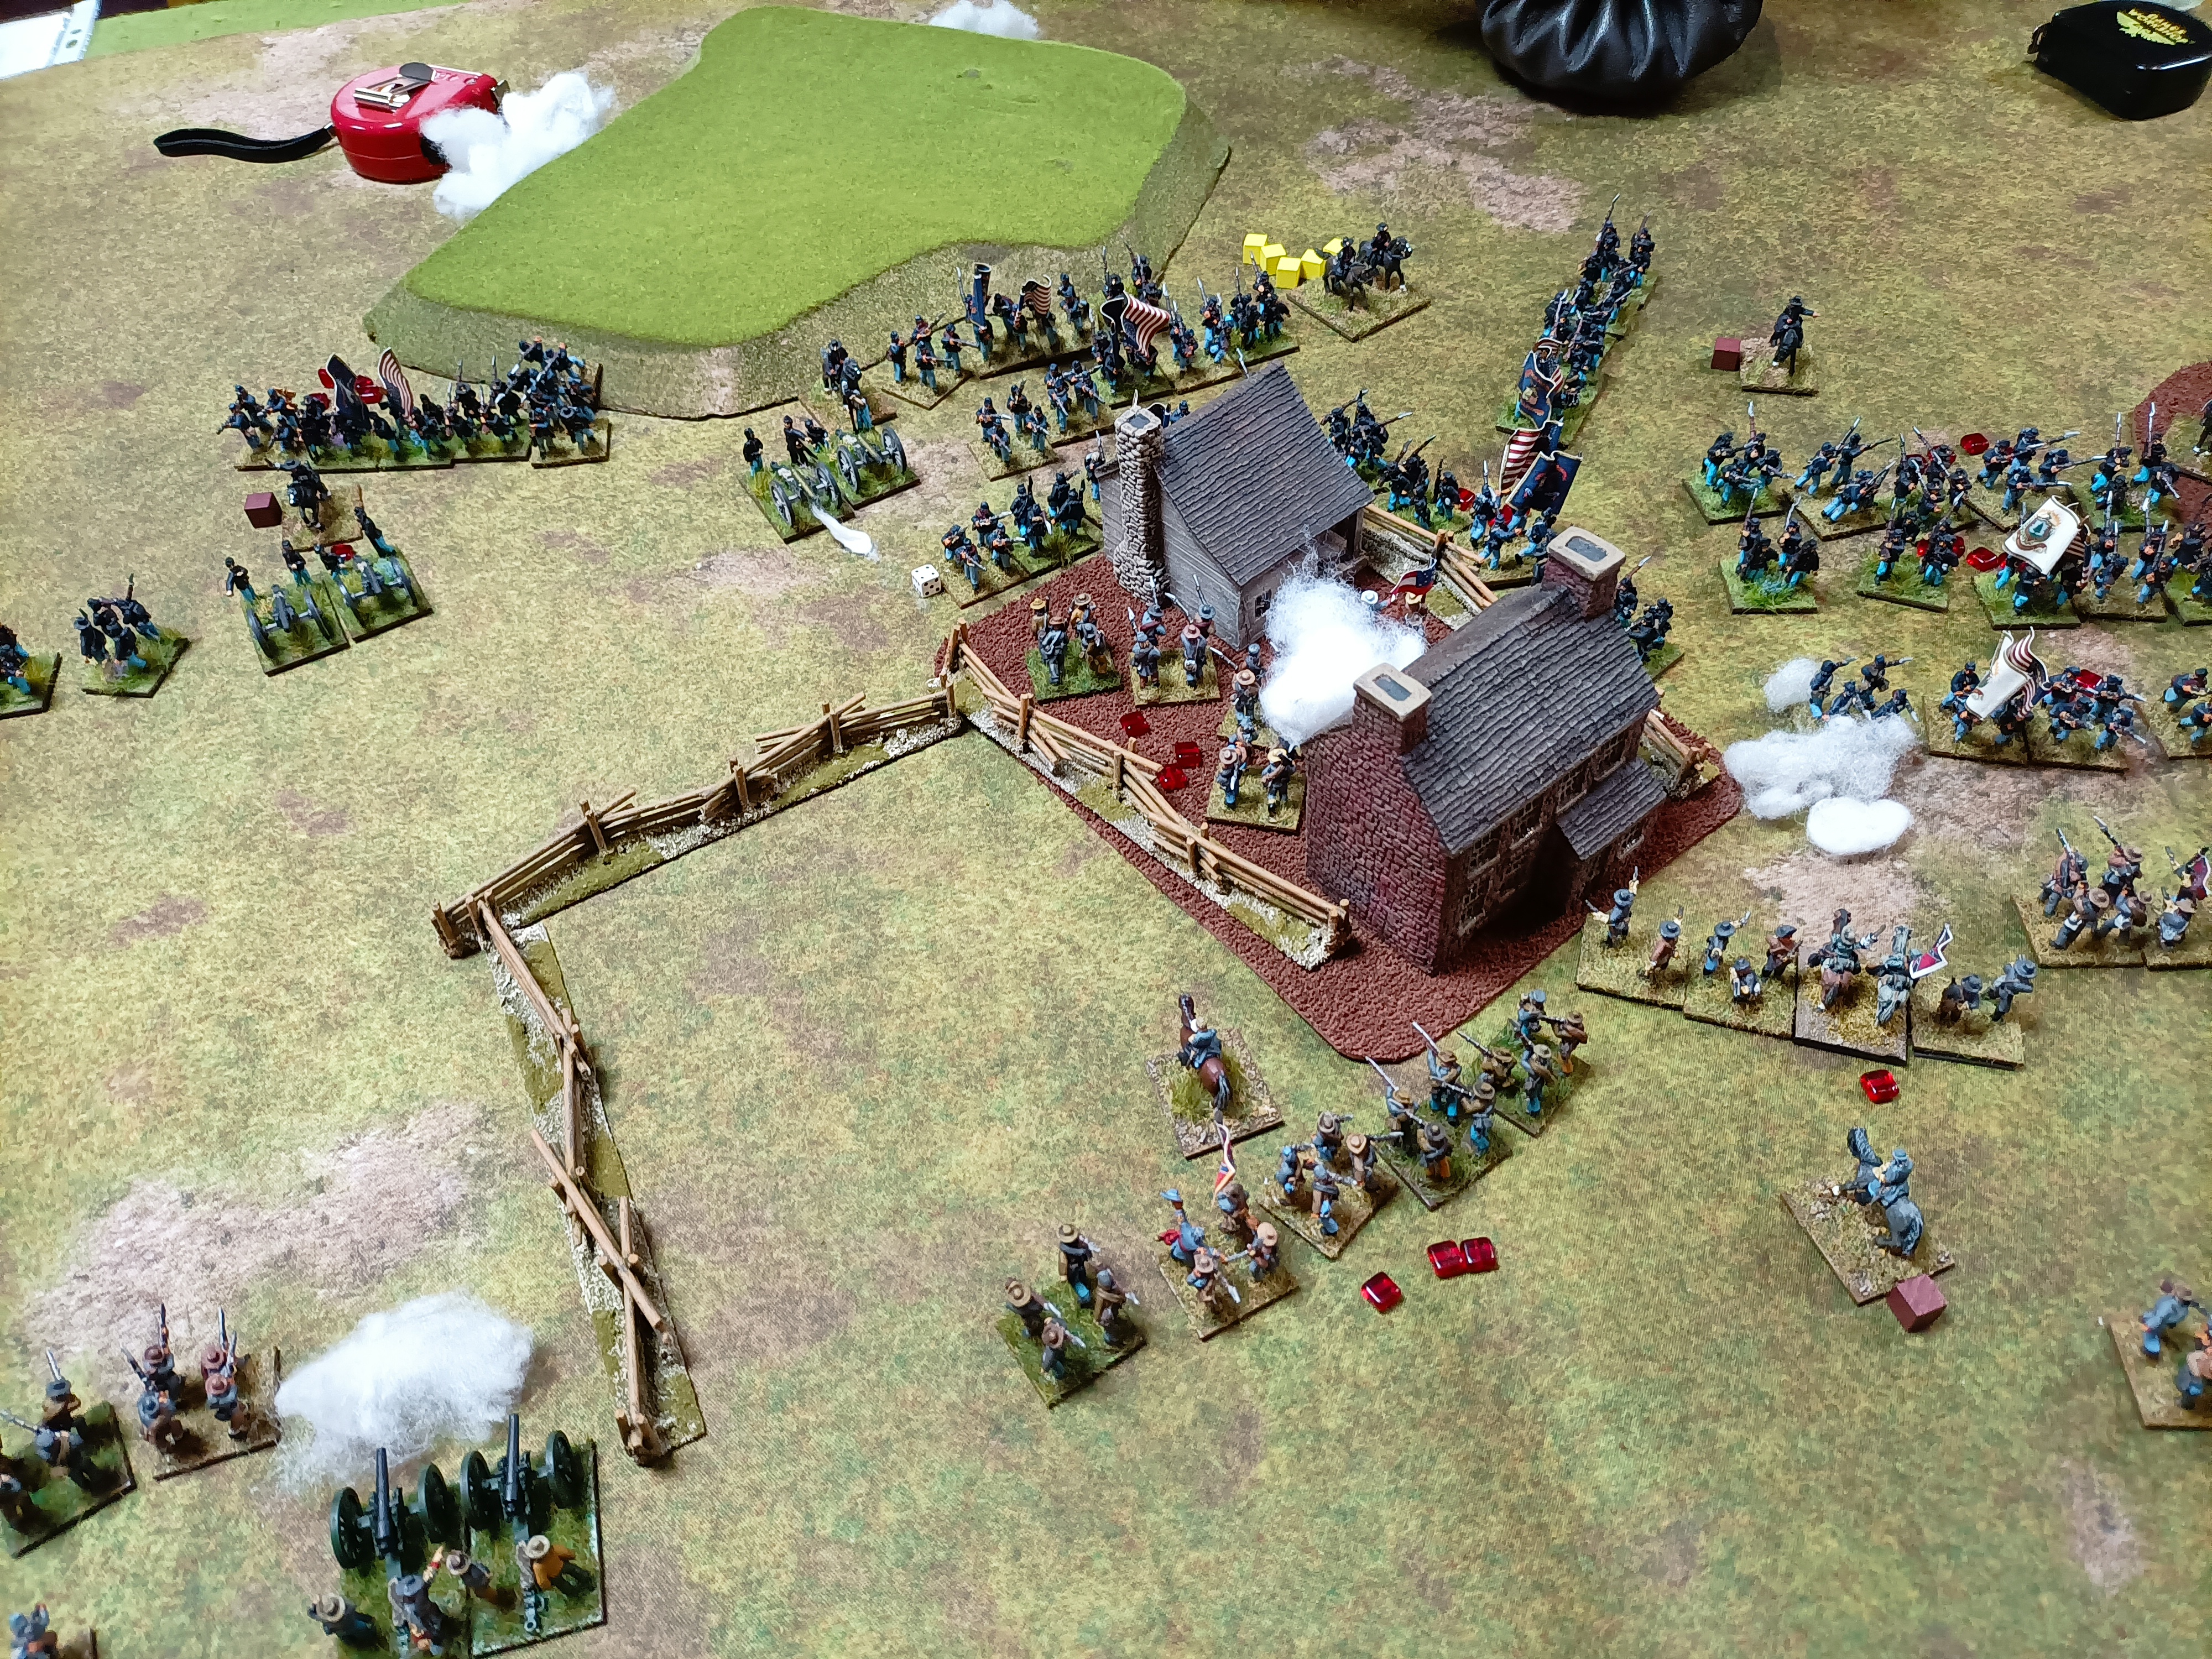
There were two buildings on the table, which both sides were trying to capture. The Confederates took the building on our left, and the Union took the one on our right. The Union forces launched a concentrated attack on the building on our left, which was then taken by them. However, we counterattacked and managed to retake the building. The Union then changed their tactic and started bombing the building, which proved to be effective as our units became shaken quickly. Nonetheless, I was able to withdraw the unit from the building and reinforced it with a new one, buying us some time. Eventually, the Union forces on the left decided to charge, but we were able to repulse them. As a result, the building on the left remained in Confederate hands.


To our right, David was being supported by Peter as they slowly moved towards the other building. Mike seemed to not pay attention to the situation on the other end of the battlefield and left his cavalry in the building. However, he provided massive support with his infantry who protected the flank. But only one. That was a mistake and David used it to his advantage. He charged towards the building and after a fierce melee, he finally managed to take it. Now, two buildings were in Confederate hands. The Union soldiers attempted to retake it, but they were unable to concentrate their forces as Peter kept putting pressure on them. Finally, the game ended in a Confederate victory.


3. Links.

CAMPBELL (SESWC):

https://www.facebook.com/Seswc.co.uk/posts/801322422025091

FLICKR:

https://www.flickr.com/photos/asienieboje/albums/72177720315306529

20 lipca 2023

Cross Keys 1862.

Pickett's Charge again with Peter's 15mm figures. This time he chose the battle of Cross Keys (8th June 1862), the scenario from Paul D. Stevenson from Guns at Gettysburg. Scenarios 4. Stonewall. Battles of  General T.J. Jackson, CSA.

Ponownie zasady Pickett's Charge z figurkami w skali 15mm z kolekcji Petera. Tym razem wybrał on bitwę pod Cross Keys (8.06.1862) według scenariusza od Paula D. Stevensona Guns at Gettysburg. Scenarios 4. Stonewall. Battles of  General T.J. Jackson, CSA.


SCENARIO / SCENARIUSZ: Paul D. Stevenson
UMPIRING / PROWADZENIE GRY: Peter Mearns
SCENERY / SCENERIA: Peter Mearns, Michael Schneider, SESWC
FIGURES & MODELS / FIGURKI I MODELE: Peter Mearns

1. Forces. Siły.


UNION / UNIA
(Mike, Tim, Michael)

CLUSERET

2 x Infantry

BOHLEN

4 x Infantry
1 x Gun

KOLTES

3 x Infantry
1 x Gun

SCHENCK

5 x Infantry
1 x Gun

MILROY

4 x Infantry (Green)
1 x Gun

STAHEL

5 x Infantry
1 x Gun

8th NY
1 x Infantry


CONFEDERATES / KONFEDERACI
(Bartek, Peter)

STEUART

2 x Infantry (Elite)
1 x Gun

PATTON

2 x Infantry (Veteran)
1 x Gun

ELZEY

3 x Infantry
1 x Gun

TRIMBLE

3 x Infantry

WALKER

2 x Infantry (Veteran)

GUN BATTERY:
2 x Gun


REINFORCEMENTS:

TAYLOR

3 x Infantry


3. The game. Gra.

The game started with the 8th NY charge. This time Germans managed to survive, without heavy losses (mainly thanks to the low Peter's dicing). However, the Union unit was forced to withdraw. The normal attrition warfare started. Together with Peter, we divided our forces and tasks between us. Peter's to defend the Pence House (he took command of Trimble, Walker and Taylor brigades) and I with the rest of the forces had to defend Mill Creek Ridge. I decided to keep the ridge with most forces and one brigade (Elzey) move forward, took positions at Flory farm and try to slow down Union's assault.

Gra rozpoczęła się od szarży 8. regimentu z Nowego Jorku. Tym razem Niemcom udało się przetrwać bez większych strat (głównie dzięki słabym rzutom kośćmi Petera). Jednakże, zostali zmuszeni do odwrotu. Normalna walka na wyniszczenie się rozpoczęła. Razem z Peterem rozdzieliliśmy siły i zadania pomiędzy nas. Peter miał bronić Pence House (do tego zadania objął komendę nad brygadami: Trimbla, Walkera i Taylora) natomiast ja z resztą sił miałem bronić Mill Creek Ridge. Zdecydowałem się wysunąć jedną brygadę do przodu i zająć farmę Flory (brygada Elzeya) a resztą sił bronić grani.


Elzey's brigade kept their position very bravely. However, it was exposed to concentrated artillery fire. It suffered massive losses but kept Union forces away from the ridge. Finally had to withdraw (losing one regiment). Thier space was taken by the incoming Taylor's brigade.

Brygada Elzeya dzielnie broniła swoich pozycji. Jednak była ona wystawiona na skoncentrowany ostrzał artyleryjski Unii. Poniosła duże straty, jednak utrzymywała siły Unii z dala od grani. W końcu musiała się wycofać (tracąc jeden regiment). Jej miejsce zajęła nadchodząca brygada Taylora.


The sacrifice of Elzey's brigade helped Peter to defend Pence House. Union having Confederate forces in the centre of the battlefield was unable to attack with all forces. That gave the Rebels a huge advantage and allowed them to finally force Union forces to retreat. Pence House was still in Confederate hands at the end of the game.

Poświęcenie brygady Elzeya pomogło Peterowi w obronie Pence House. Unia, mając siły Konfederatów pośrodku pola bitwy, nie mogła atakować całością sił. To dało Rebeliantom dużą przewagę i pomogło w końcu zmusić siły Unii do odwrotu. Pence House pozostał w rękach Konfederatów do końca gry.


Union, unable to move through the centre of the table, had to use a detour. It took a lot of time to do it, but finally, they did it. Now, they were able to make an assault on the ridge. Most of the charges were repelled, however, one unit managed to reach the top of the ridge, forced one of the Confederate regiments to withdraw, but then was destroyed by Rebels guns on the case shot range. The Mill Creek Ridge was still in Rebel's hands, so the whole game finished with Confederate Victory!

Unia, nie mogąc atakować przez centrum stołu, musiała użyć okrężnej drogi. Zajęło to olbrzymią ilość czasu, jednak w końcu się udało. Teraz, byli oni gotowi do ataku na grań. Większość szturmów zostało odpartych, jednakże jeden oddział wspiął się na grań, zmusił oddział konfederacki do odwrotu, ale zaraz potem został zniszczony przez kartaczami z dział konfederackich. Mill Creek Ridge pozostało więc w rękach rebelianckich, co dało im też zwycięstwo w grze! 


3. Links. Linki.


MICHAEL:

to be updated soon (possibly...)

SESWC:


FLICKR:

10 lipca 2023

Groveton 28.08.1862.

This time the game we had the previous Thursday. Peter brought his 15mm collection of ACW and prepared the game, which we played with Picket's Charge rules. He chose the real engagement for the game, the battle of Groveton, fought on the 28th of August 1862.

Tym razem gra z poprzedniego czwartku. Peter przynióśł swoją kolekcję do wojny secesyjnej w skali 15mm i przygotował doń grę, którą rozegraliśmy przy użyciu zasad Picket's Charge. Do gry wybrał historyczną bitwę pod Groveton, stoczoną 28 sierpnia 1862 roku.


SCENARIO / SCENARIUSZ: Peter Mearns
UMPIRING / PROWADZENIE GRY: Peter Mearns
SCENERY / SCENERIA: Peter Mearns, SESWC
FIGURES & MODELS / FIGURKI I MODELE: Peter Mearns

1. Forces. Siły.


UNION / UNIA
(Alasdair, Angus, Ian, Peter)

1st Brigade

4 x Infantry (Veteran)
1 x Gun

2nd Brigade

4 x Infantry
1 x Gun

3rd Brigade

4 x Infantry
1 x Gun

4th Brigade

4 x Infantry
1 x Cavalry
1 x Gun

REINFORCEMENTS

5th Brigade

4 x Infantry
1 x Gun

6th Brigade

4 x Infantry
1 x Gun


CONFEDERATES / KONFEDERACI
(Bartek, David, Mike, Michael)

1st Brigade

4 x Infantry
1 x Gun

2nd Brigade

4 x Infantry
1 x Gun

3rd Brigade

4 x Infantry
1 x Gun

4th Brigade

4 x Infantry
1 x Gun

REINFORCEMENTS

5th Brigade

4 x Infantry
1 x Gun

6th Brigade

4 x Infantry
1 x Gun


3. The game. Gra.

The primary Confederate positions were alongside the railway embankment, which had to be taken by the Yankees. Soon both sides moved to the fence line in front of the Rebel's lines. Both sides started to exchange fire, yet, Rebels hold thier positions and forced the Union to withdraw. 

Główne linie obrony Konfederatów znajdowały się wzdłuż nasypu kolejowego, który miał być zdobyty przez Jankesów. Wkrótce obie strony zbliżyły się do linii płotów, które znajdowały się przed liniami Rebeliantów. Obie strony rozpoczęły wymianę ognia, który zmusił siły Unii do wycofania się. 


On Rebel's left, their forces moved to the river and there tried to stop incoming Yankees. They managed to do it and then they moved with freshly arrived reinforcements to attack them. They succeeded and push the enemy back far beyond the objective line.

Na rebelianckiej lewej flance ich oddziały ruszyły ku rzece, gdzie próbowały zatrzymać nadciągających Jankesów. Udało im się to i przy użyciu świeżych posiłków ruszyły na nich. Akcja się powiodła. Przeciwnik został odrzucony na pozycje wyjściowe.


The biggest success Union had on Rebel's rights. Two Union brigades managed to cross the embankment and attack Rebel's flank. Confederates managed to withdraw thier forces from the danger and create a second line of defence, where the Union assault has been stopped. That stopped the game with a draw as none of the sides controlled the whole line of the embankment.

Największe sukcesy Unia osiągnęła na prawej flance Rebeliantów. Dwie brygady Unii przekroczyły nasyp i uderzyły na rebeliancka flankę. Konfederatom udało się wycofać oddziały i stworzyć druga linię obrony, gdzie atak jankeski się załamał. To zakończyło grę remisem, ponieważ żadna ze stron nie kontrolował w pełni nad nasypem. 


3. Links. Linki.


FLICKR: