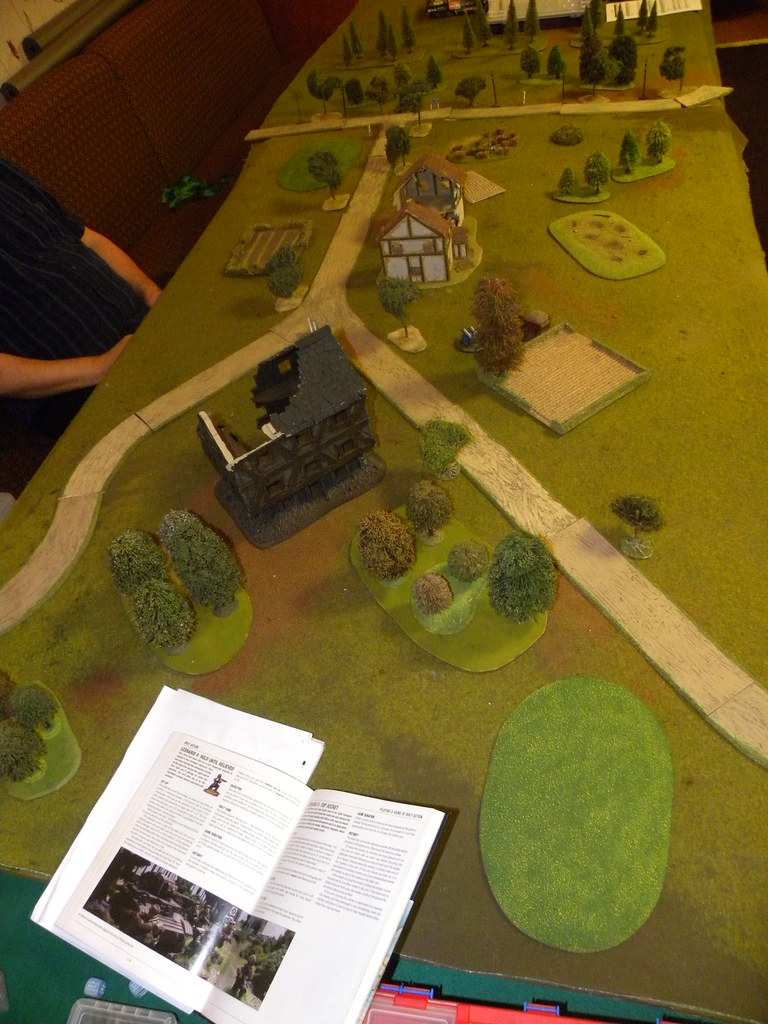
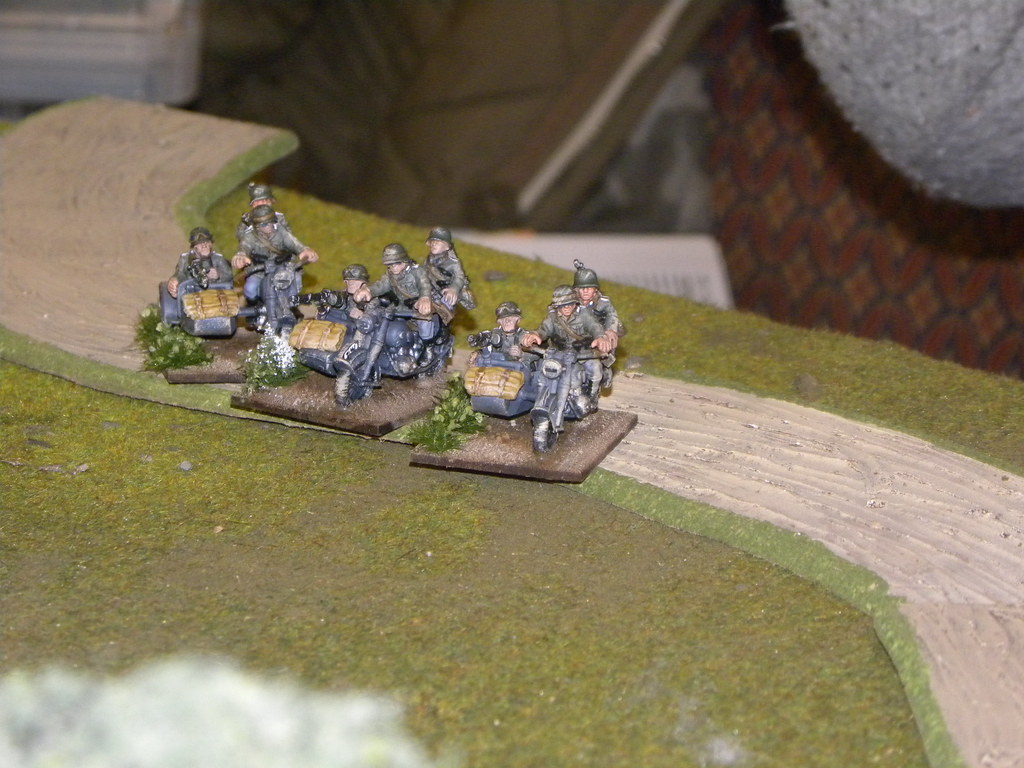
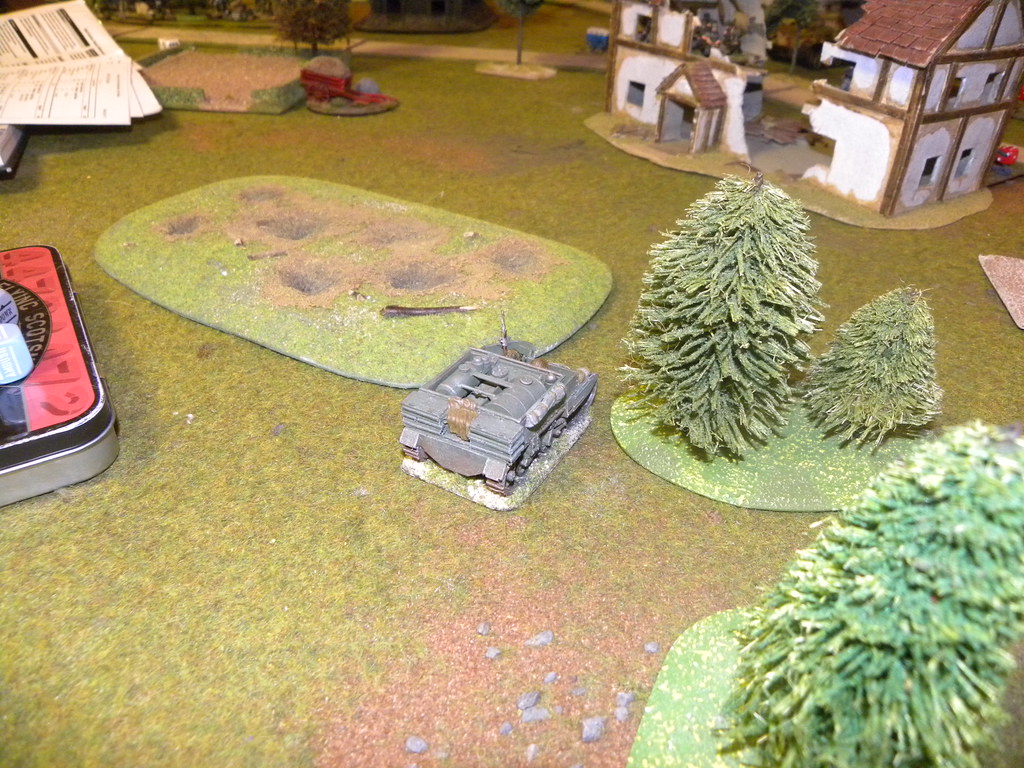
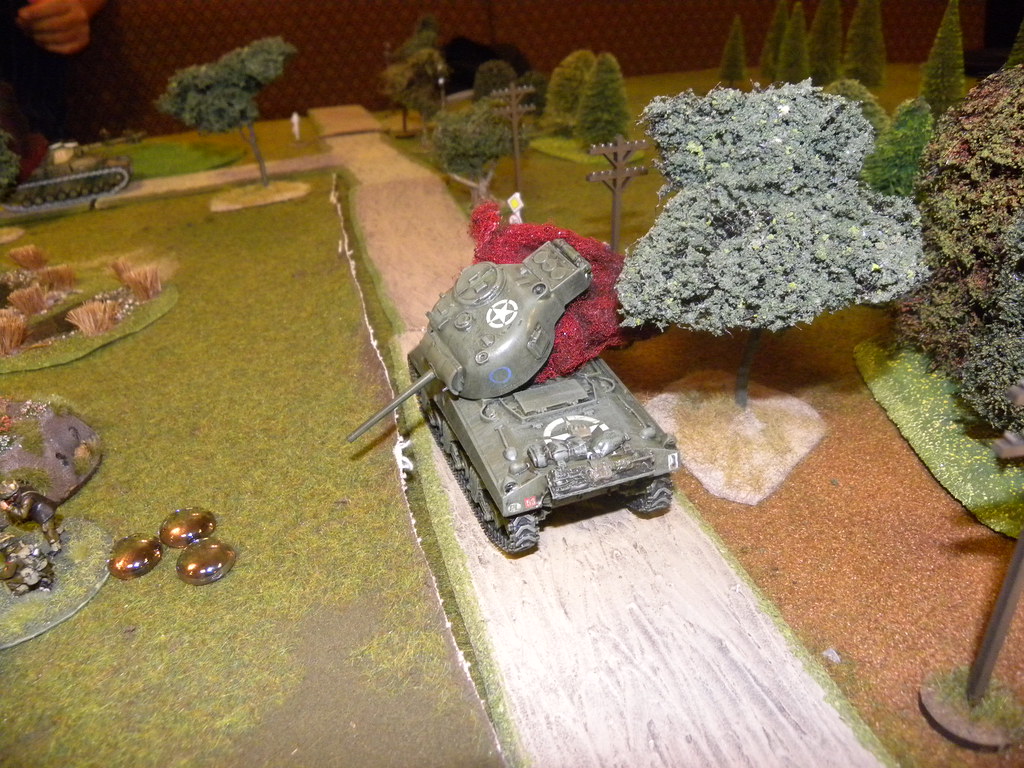
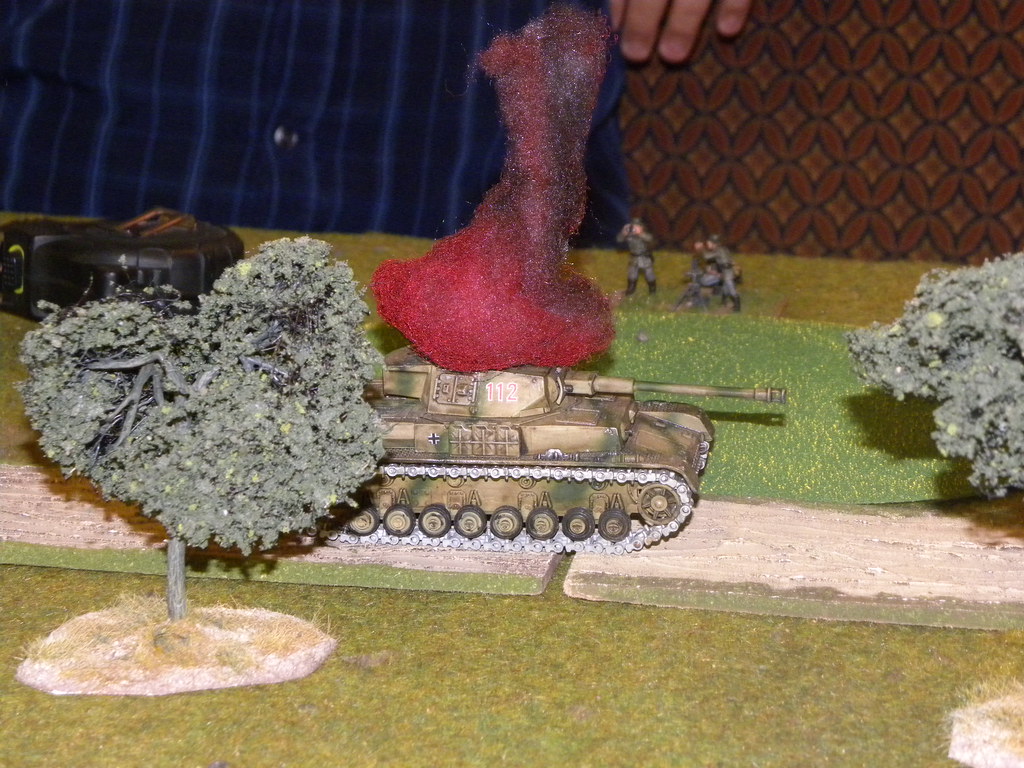
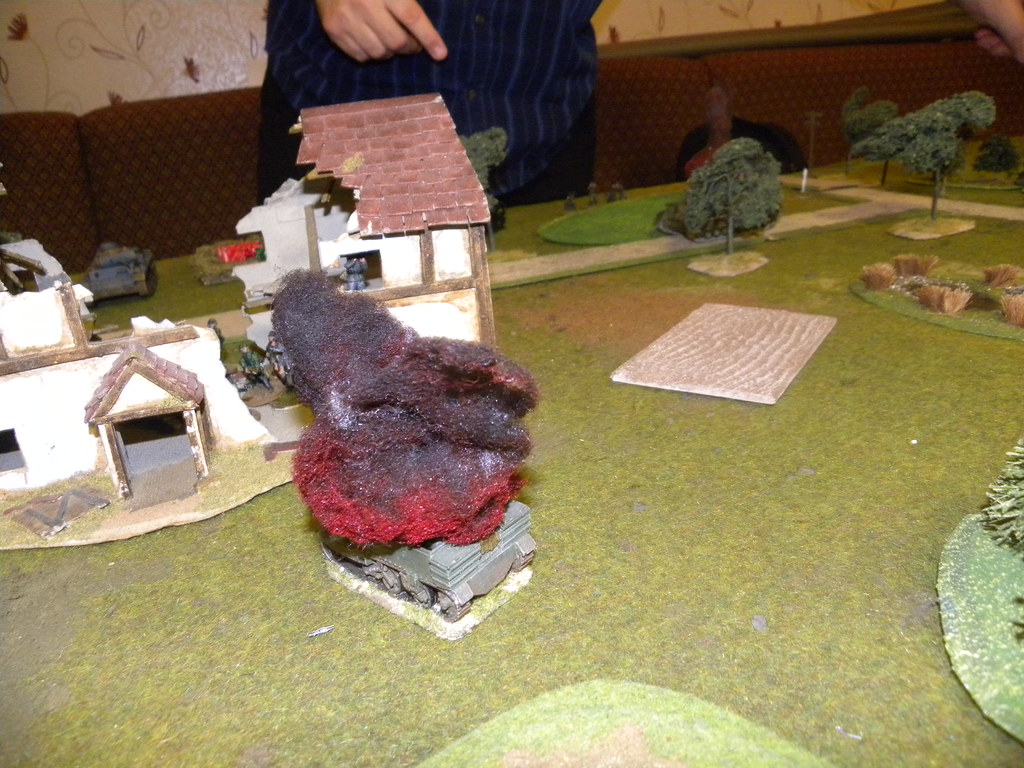
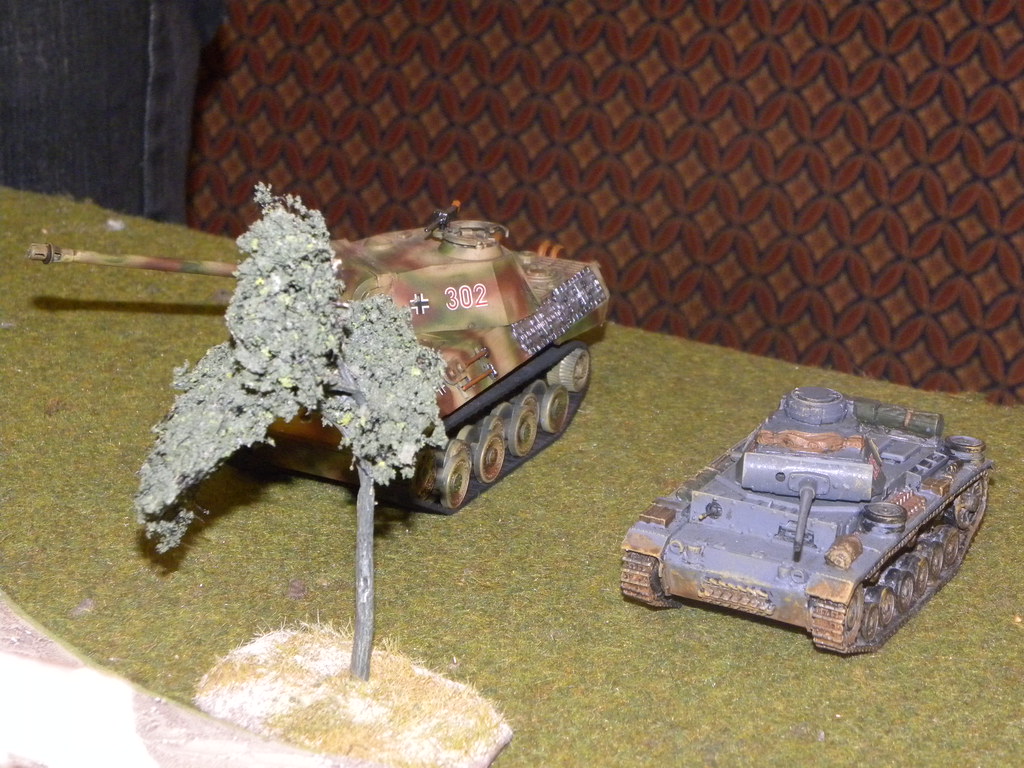
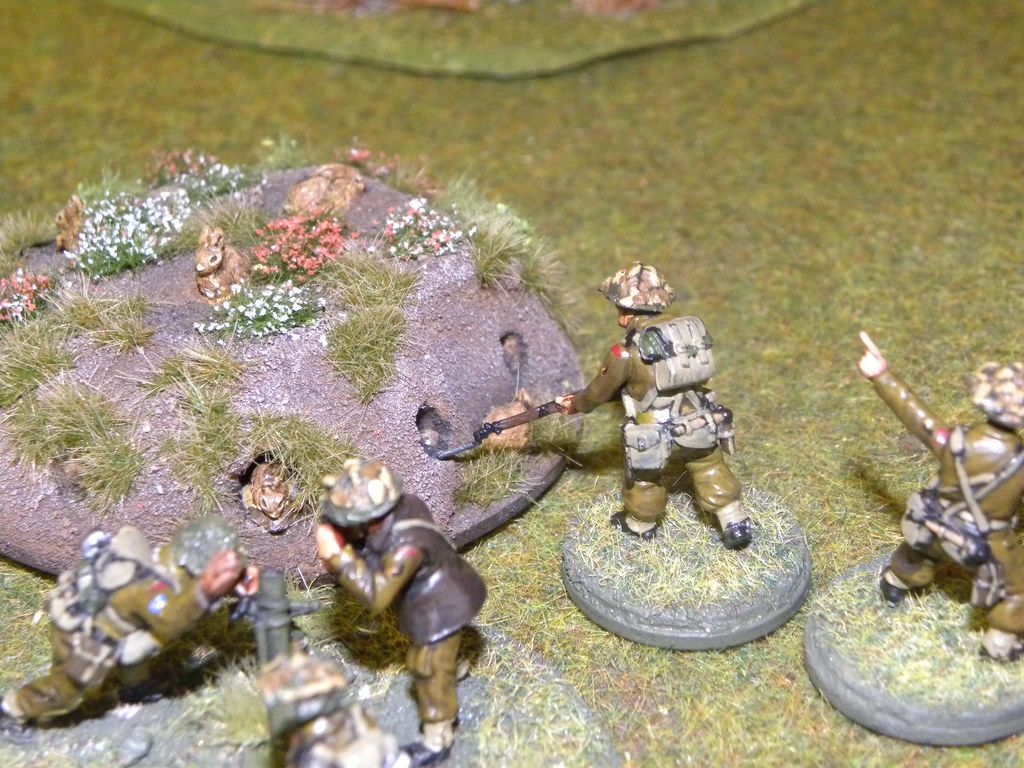
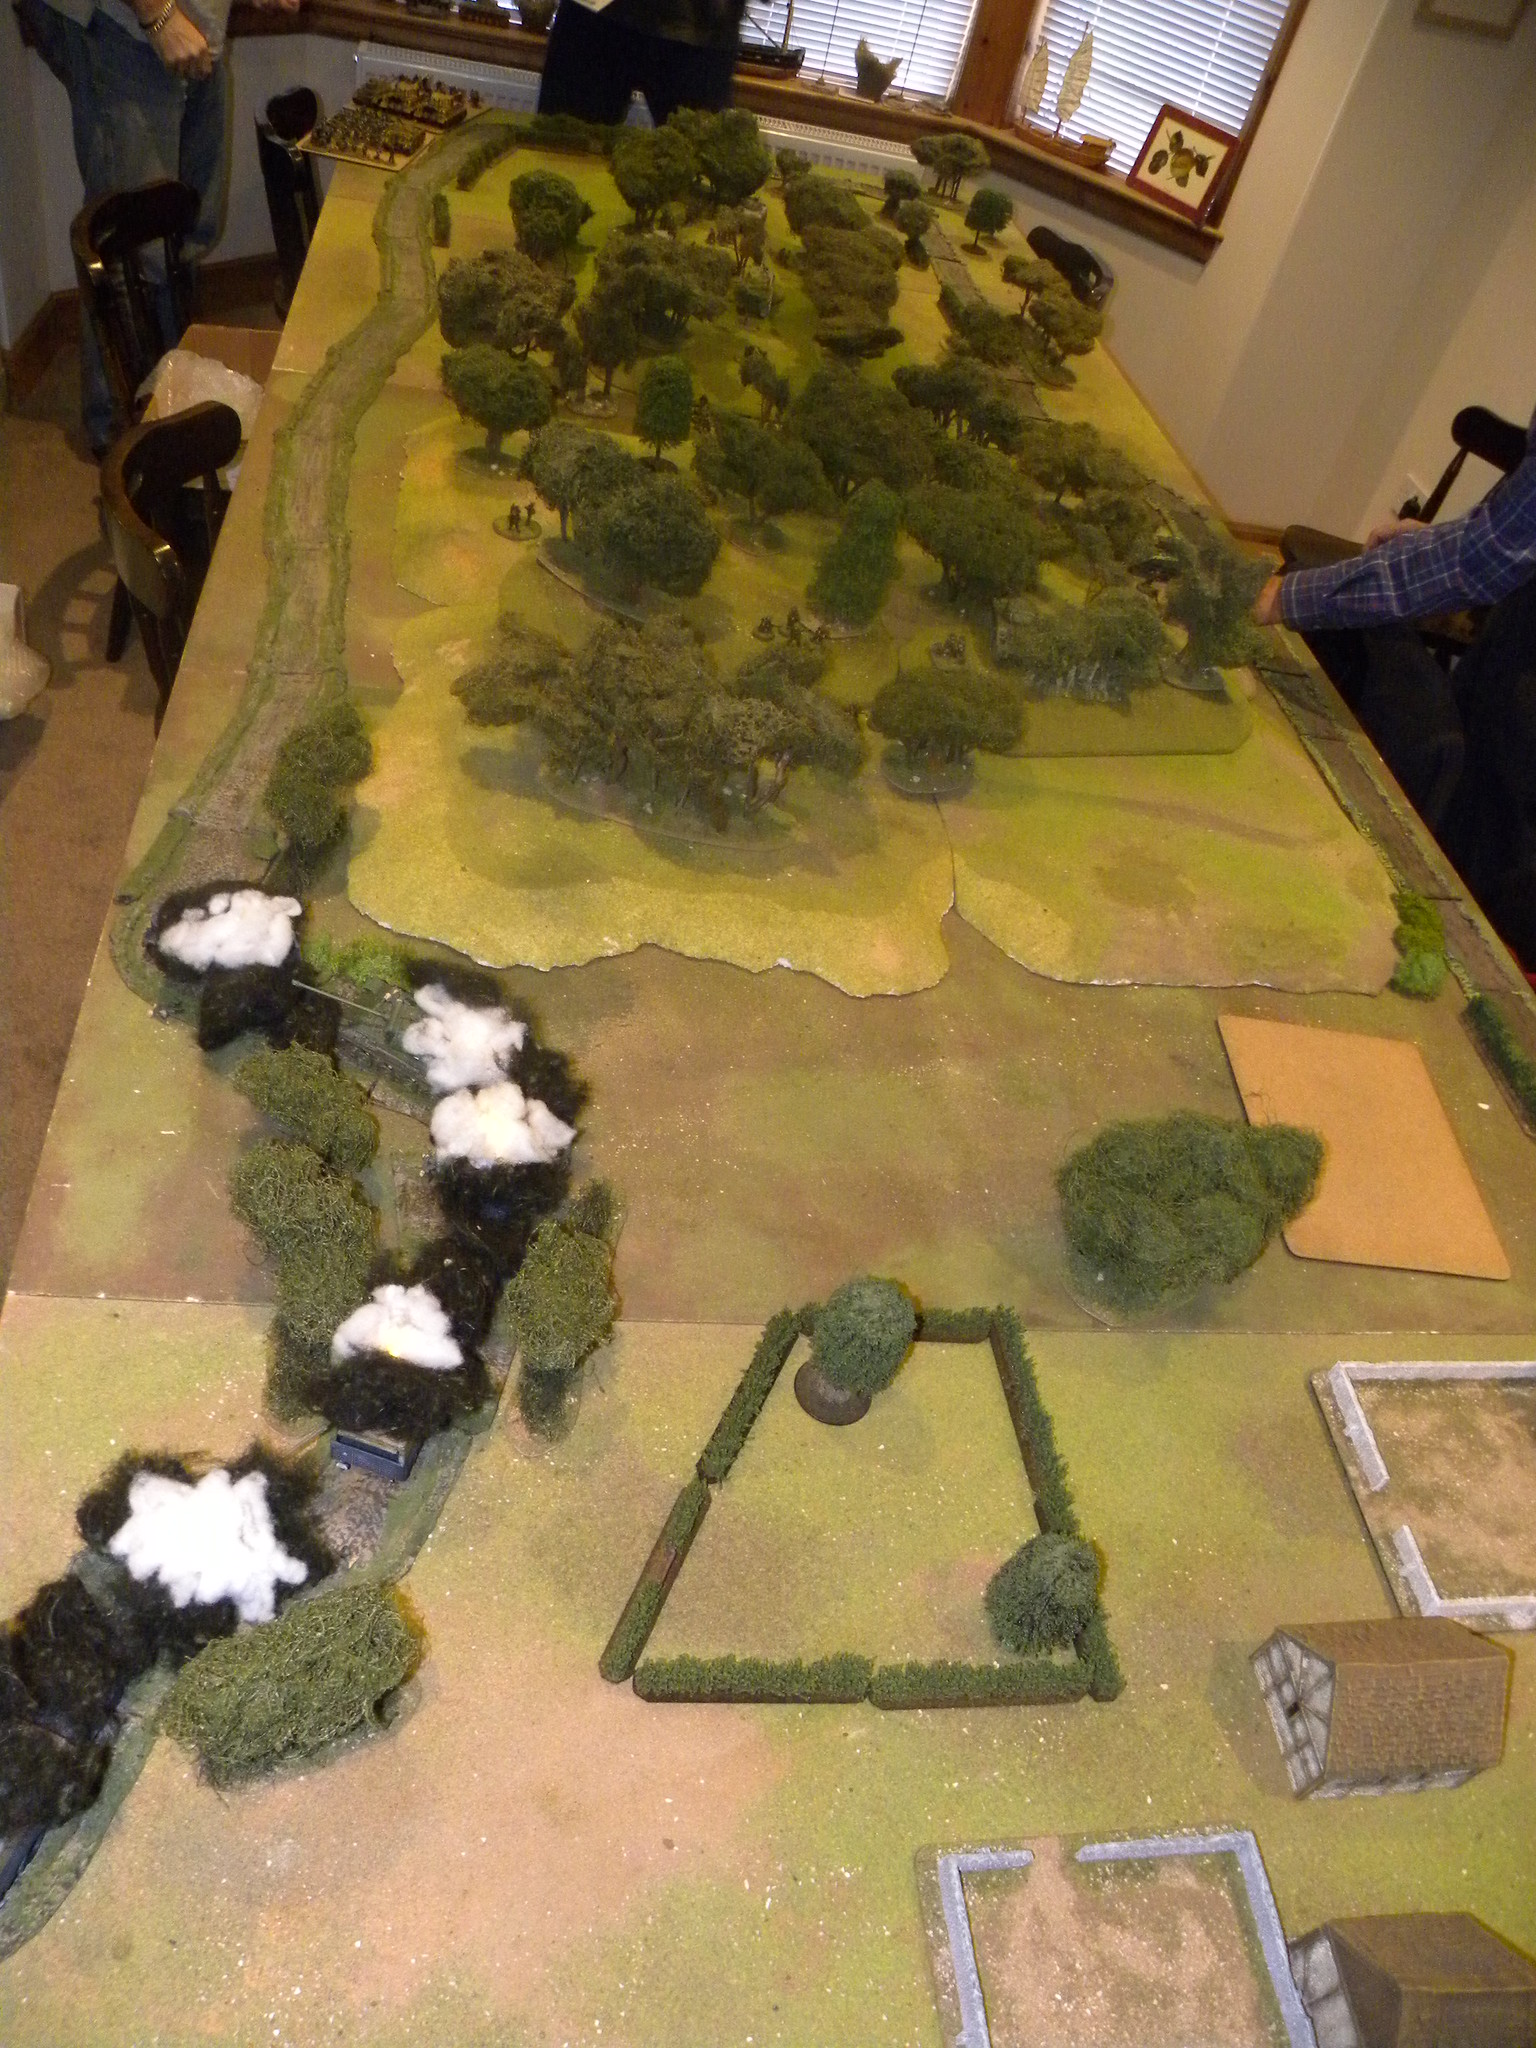
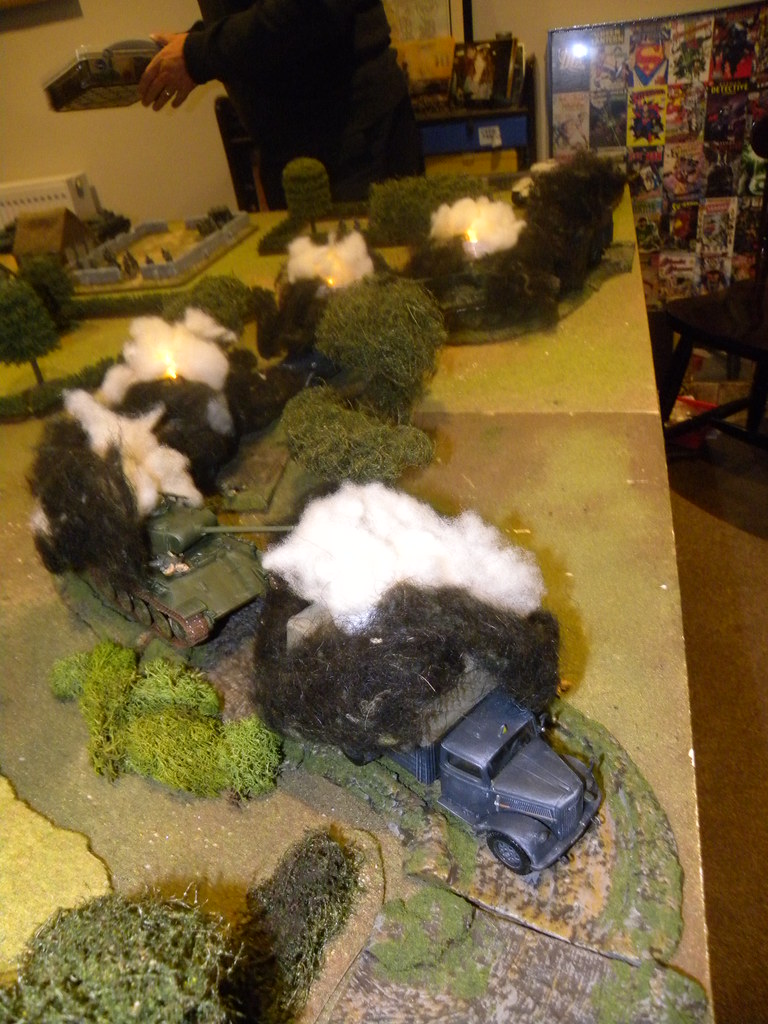
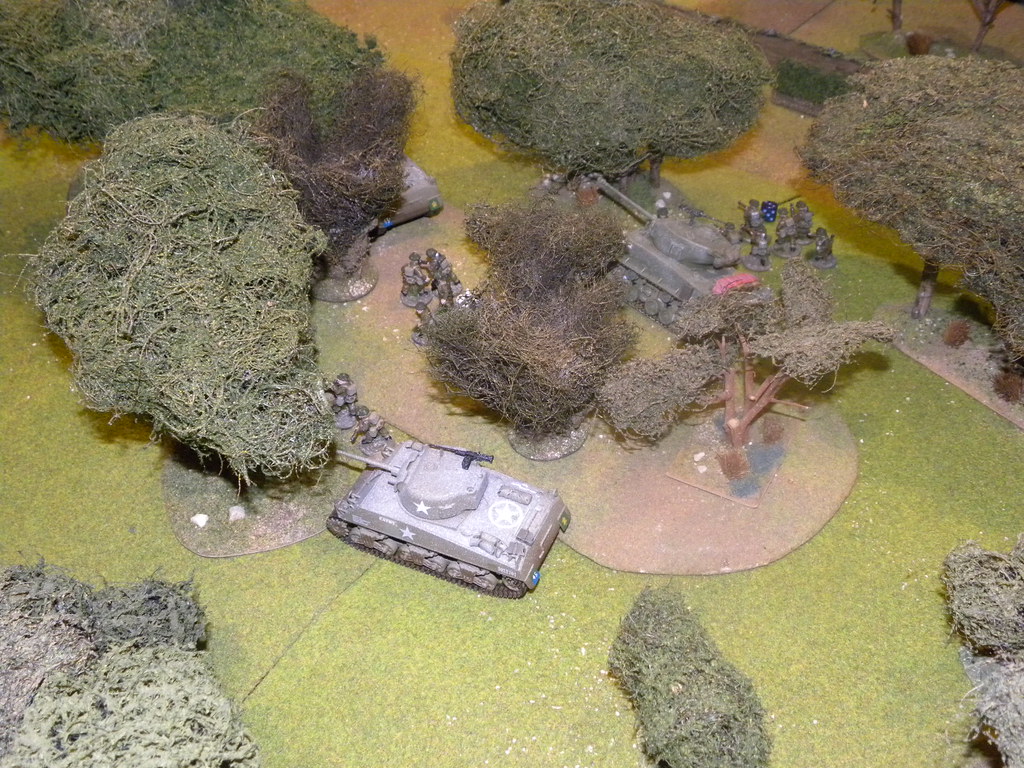
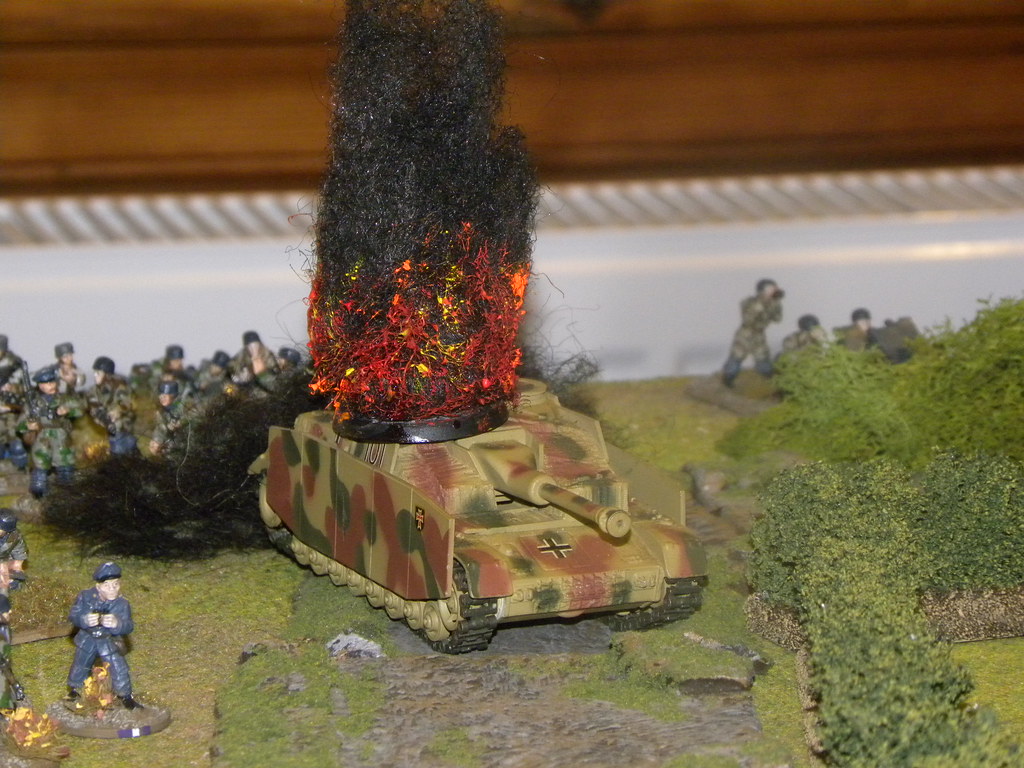
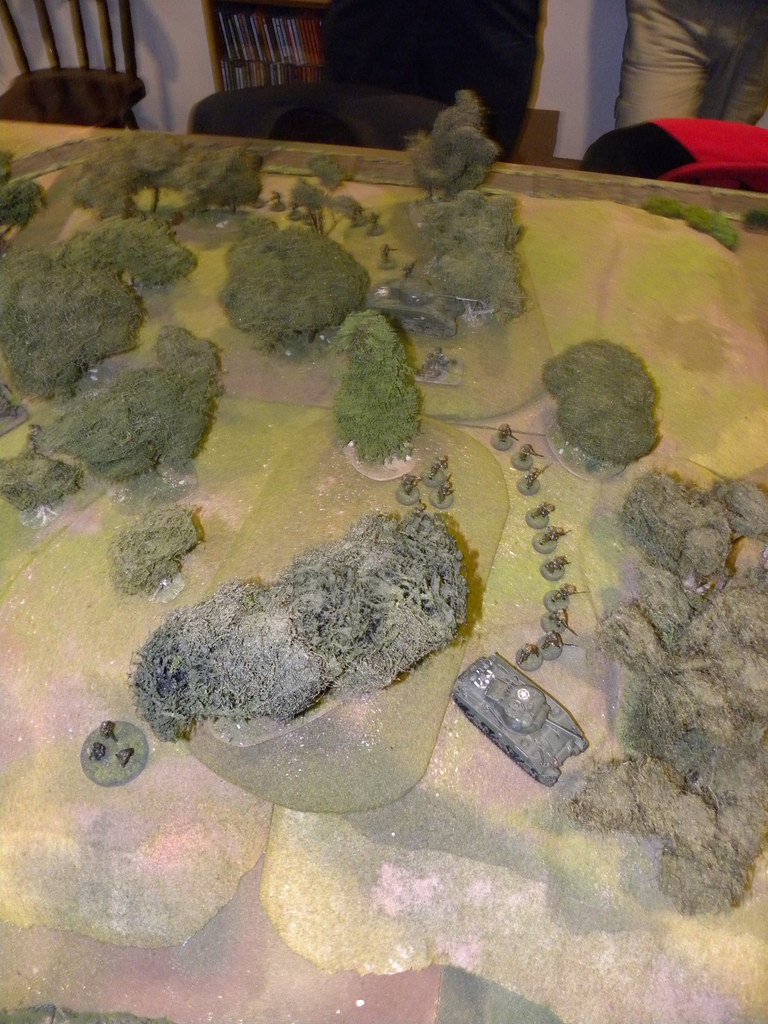
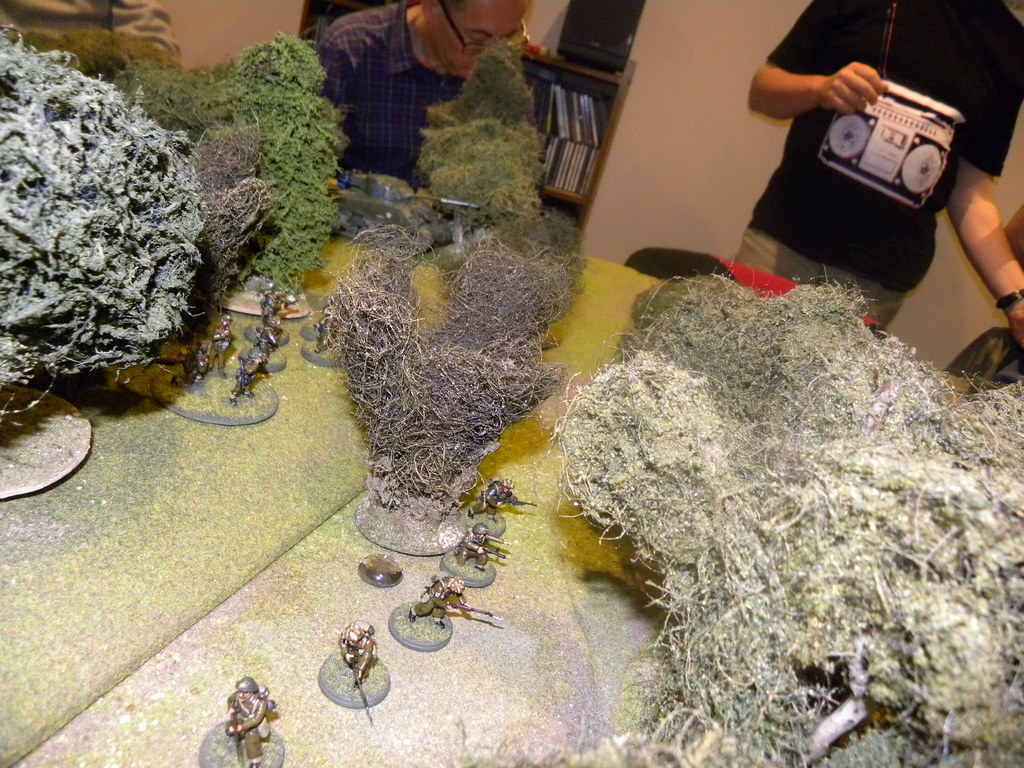
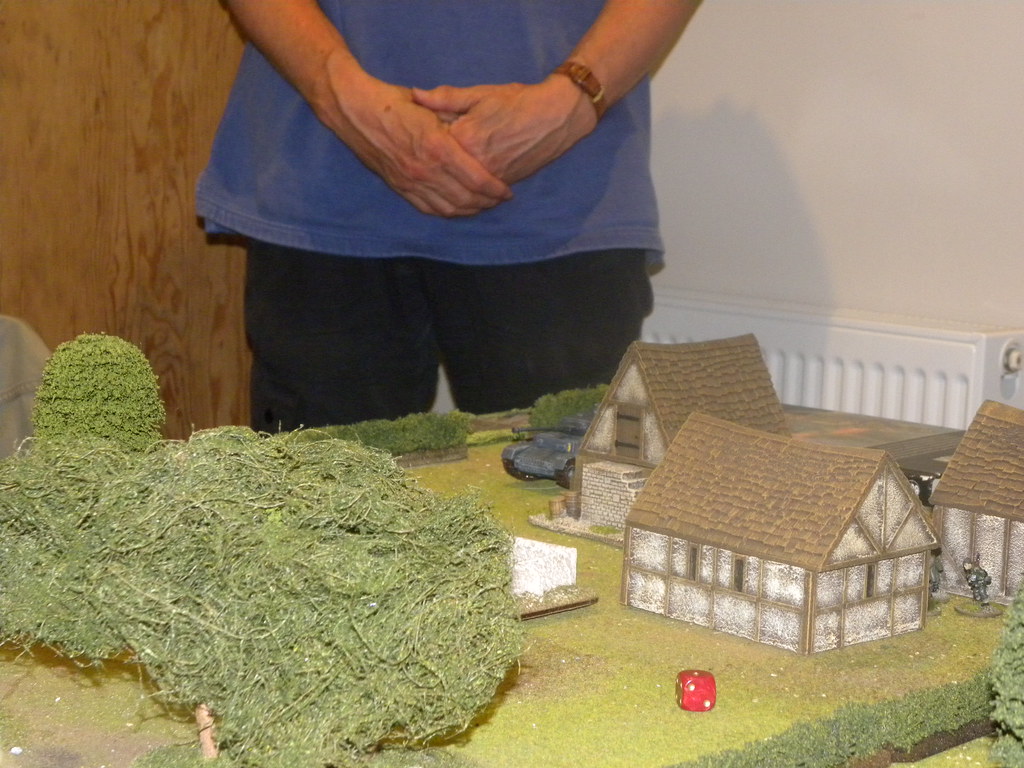
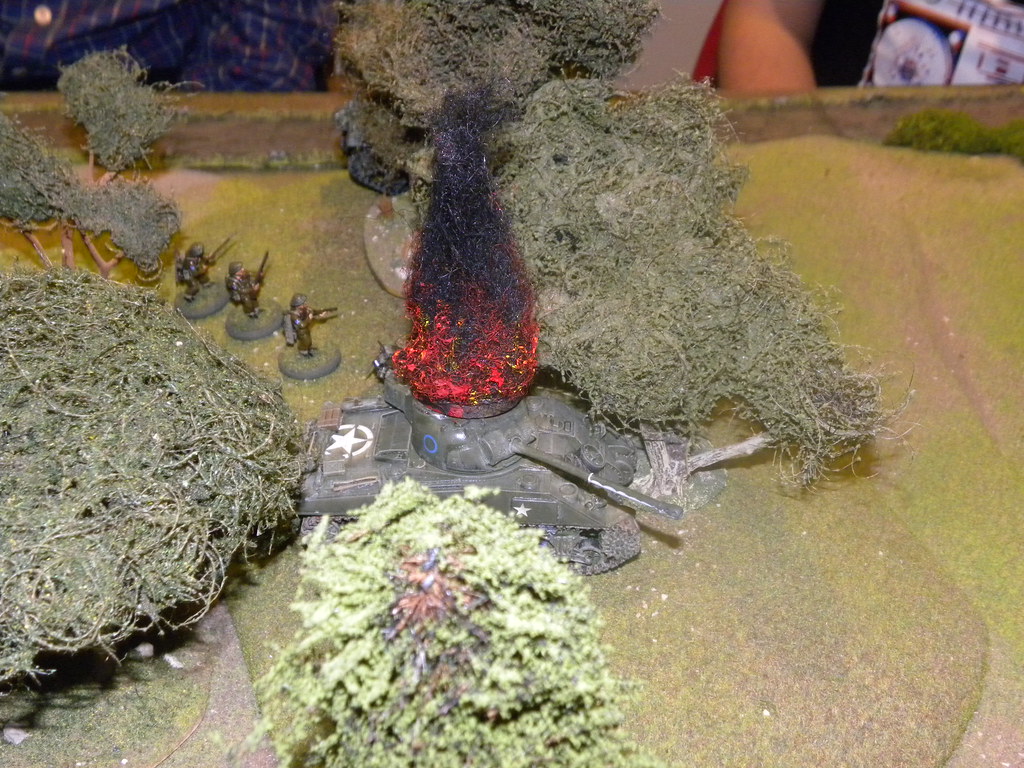
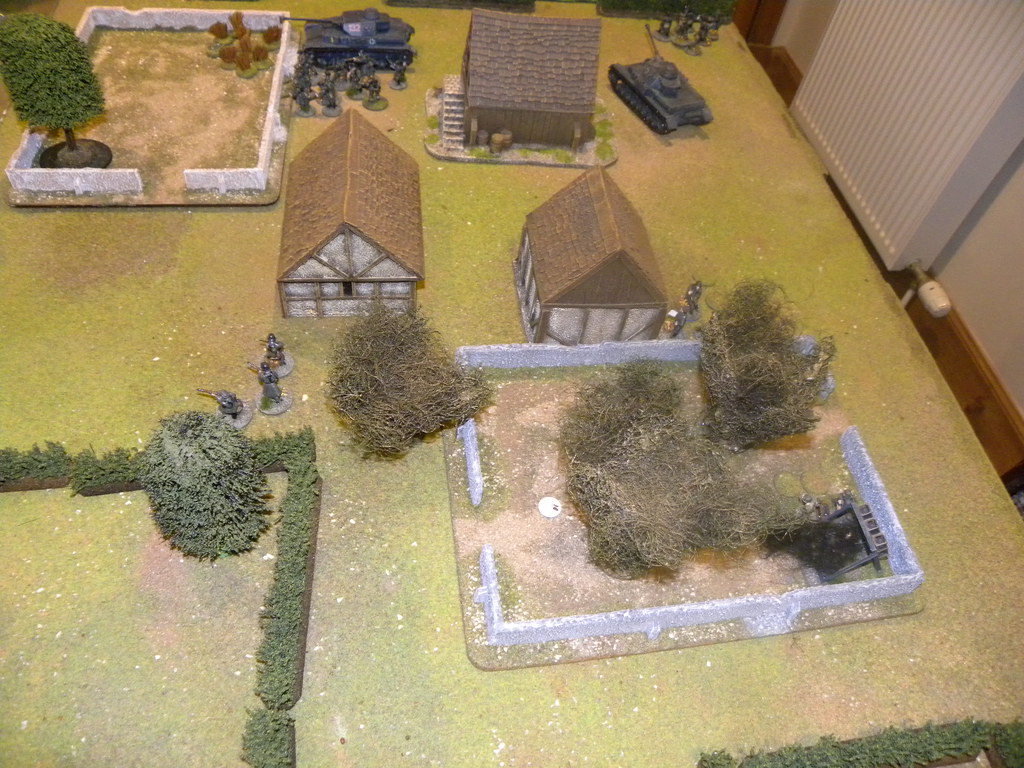
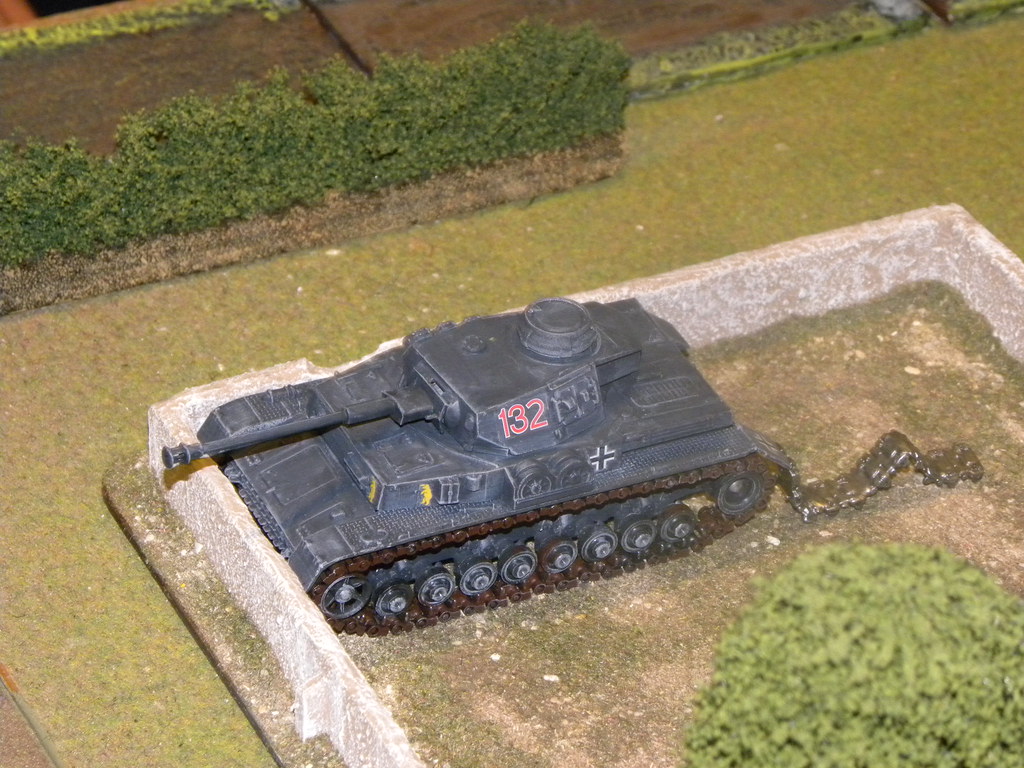
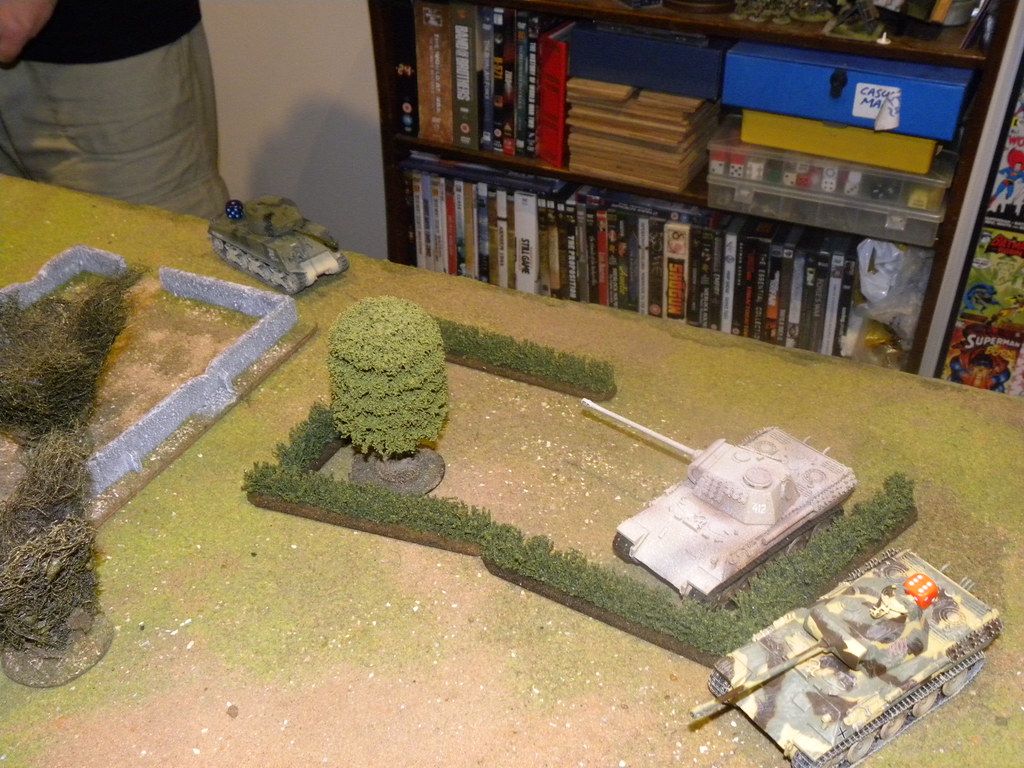
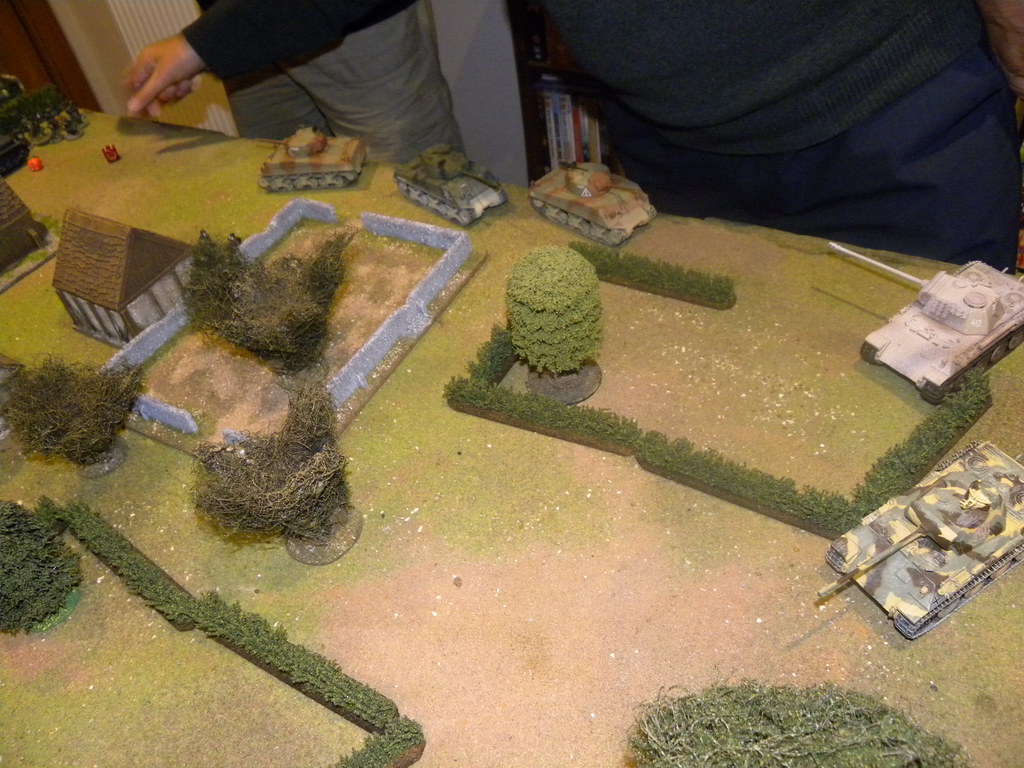
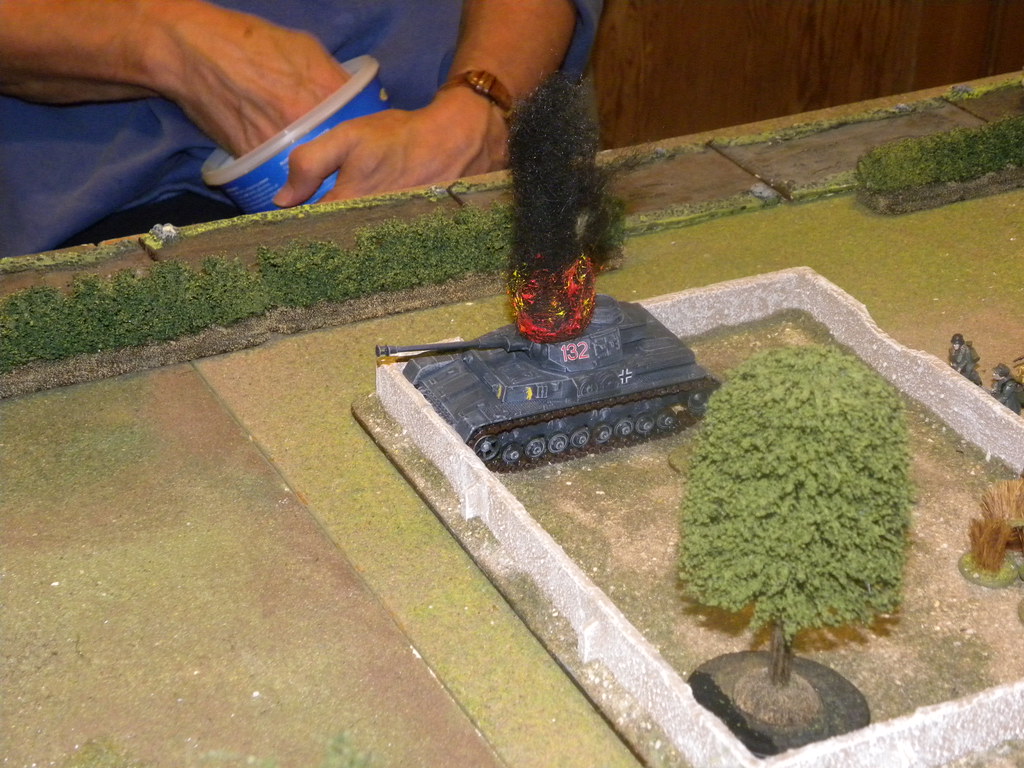
Last Wednesday we all met at Hugh for big Bolt Action game. Colin Jack after my suggestions prepared the scenario for our game. He gave a chance to re fight the battle fought by Poles at Mont Ormel in August 1944. For the game Hugh built a fantastic table, including the road full of destroyed German vehicles, called by Poles "Dog's Field", by analogy to the original medieval battlefield, where the same as the road was full of dead Germans and their animals.
W ostatnią środę, spotkaliśmy się u Hugha na dużą grę z systemem Bolt Action. Colin Jack po moich sugestiach przygotował scenariusz dla naszej rozgrywki. Dał nam szansę na wcielenie się w polskie oddziały walczące pod Mont Ormel w sierpniu 1944 roku. Do tej gry Hugh przygotował niesamowity stół, który uwzględniał drogę pełną zniszczonych niemieckich pojazdów, zwanych przez Polaków "Psim Polem", przez analagię do oryginalnej średniowiecznej bitwy, gdzie tam i tu pełno było ciał zabitych Niemców i ich zwierząt.
SCENARIO/SCENARIUSZ: Colin Jack
UMPIRING/PROWADZENIE GRY: Colin Jack
SCENERY/SCENERIA: Hugh Wilson
FIGURES&MODELS/FIGURKI i MODELE: Colin Jack, Bartek Żynda
1. Forces. Siły.
POLES/POLACY
(Dave O'Brian, Martin Gibson, Bartek Żynda)
1st (Polish) Armoured Division
(all regular)
2 x HQ: CO+2 rifles + Medic
FOO (Artillery or Air)
5 x Infantry Squad (NCO + 8 rifles + LMG)
MMG team
2 x 3'' Mortars
2'' Mortar
2 x Tank Platoon (2 x Shermans Mk. V + Firefly)
17 pdr gun + tow
CANADIANS/KANADYJCZYCY
(Hugh Wilson)
4th (Canadian) Armoured Division
(all regular)
HQ: CO + 2 rifles + Medic
Infantry Squad (NCO + 8 rifles + LMG) in M5 Halftruck
Tank Platoon (2 x Shermans Mk. V + Firefly)
GERMANS/NIEMCY
2nd SS Panzer Division "Das Reich"
(Ray Neal)
(all inexperienced/green)
HQ: CO + 2 rifles + Medic + FOO
Infantry Squad: (NCO + 8 rifles + LMG)
Panzerschreck team
2 x PzKpfw IV
2 x PzKpfw VI Tiger
3rd Falschirmjager Division
(Tim Watson)
(all regular)
HQ: CO + 2 rifles
3 x Infantry Squad (NCO + 8 rifles + LMG)
MMG team
Light howitzer
StuG III
4th SS Panzergrienadier Regiment "Das Fuhrer"
(Bill Gilchrist)
(all inexperienced/green)
HQ: CO + 2 rifles
3 x Infantry Squad (NCO + 8 rifles + LMG)
MMG team
Nebelwefer
2 x PzKpfw IV
2 x PzKpfw V Panther
2. Orders. Rozkazy.
ALLIED/ALIANCI
Allied units are attempting to seal off the Falaise pocket with thousands of German troops trapped inside. The Canadians have reached St. Lambert-sur-Dives and the Americans have reached Bourg-St-Leonard. Between those forces the Poles have reached Mont Ormel and have dug in to await the anticipated German assault. They are already short of ammunition and supplies, but have a commanding view of the surrounding country. The Poles must hold on until the Canadians can break through and relieve them. All Polish infantry may be dug in and tanks on Mont Ormel will count as hull-down.
Oddziały alianckie próbują zamknać kocioł pod Falaise z uwięzionymi tam tysiącami Niemców. Kanadyjczycy dotarli do St. Lambert-sur-Dives a Amerykanie osiągnęli Bourg-St-Leonard. Pomiędzy nimi Polacy osiągnęli Mont Ormel gdzie okopali się w oczekiwaniu na niemiecki atak. Brakuje im amunicji i zaopatrzenia, jednak ich pozycja góruje nad okolicą. Polacy muszą się utrzymać do momentu aż Kanadyjczcy przedrą się do nich i ich uwolnią z okrążenia. Wszystkie polskie oddziały piechoty mogą zacząć grę okopane, a wszystkie czołgi znajdujące się na Mont Ormel, będą traktowane jako hill-down*.
GERMANS/NIEMCY
Allied units are attempting to seal off the Falaise pocket with thousands of German troops trapped inside. Many different units are attempting to break out but they have to force the Poles off Mont Ormel from where they have a commanding view of the entire area...
Oddziały alianckie próbują zamknać kocioł pod Falaise z uwięzionymi tam tysiącami Niemców. Wiele różnych oddziałów prubuje się wyrwać na zewnątrz, jednak na ich drodze znaleźli się Polacy zajmujący górujące nad okolicą pozycją na Mont Ormel...
* hull-down (Colin's house rule) - if tank firing its gun at the tank, which position is above the firing tank it gave -1 to hit/ jeśli czołg strzela od innego czołgu znajdującego się powyżej strzelającego to daje to -1 do trafienia.
3. The Game. Gra.
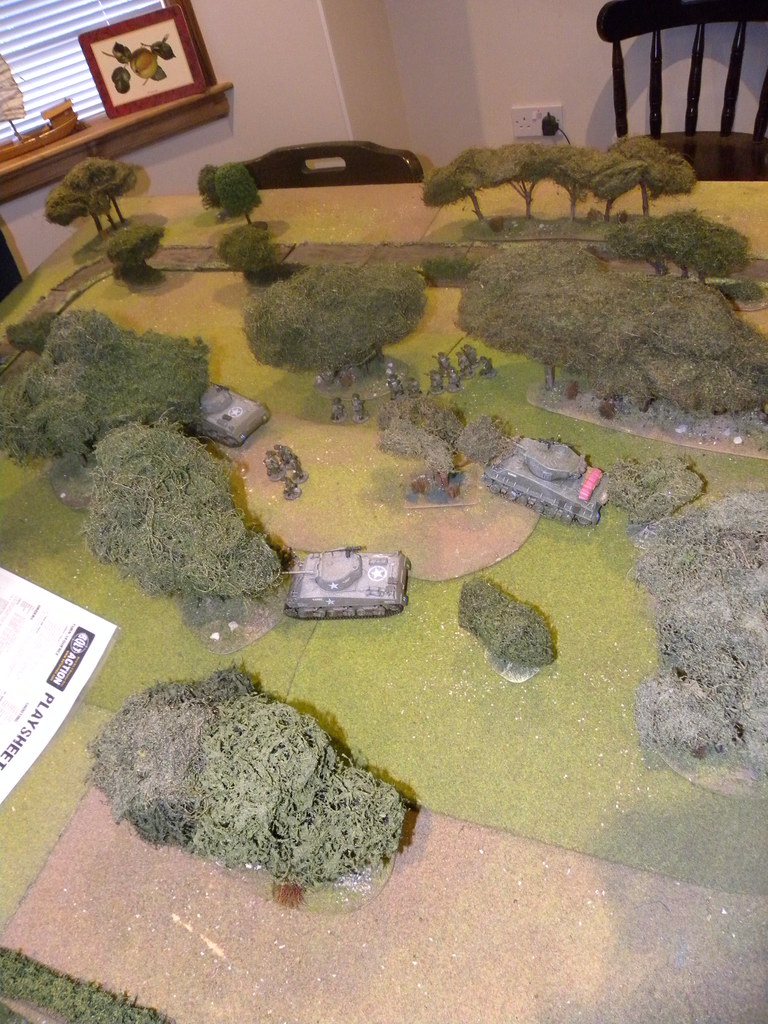
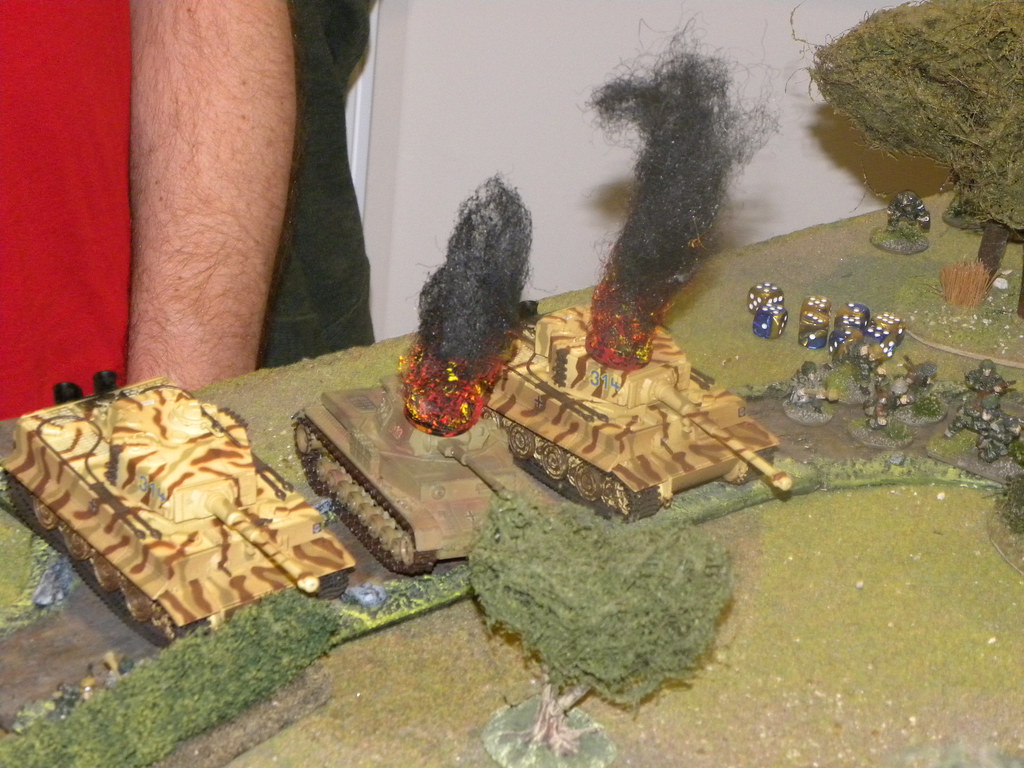
As the Polish commander I spread our forces on two groups and 2'' Mortar, 17pdr and Infantry squad in central position, ready to bring the support to western or eastern group if necessary. Germans started the game with their heavy cats, however they had been stopped by accurate firing from Dave's tanks. Then Germans tried to break the Poles by using the artillery barrage, but it did not broke them. Poles stand still and carried on. When finally the situation becomes dramatical for Poles, and Dave lost two tanks (for the price of three German tanks destroyed), he received the support from one of my 3'' Mortars. The accurate fire silent the light Howitzer, 2 Infantry squads and something else (I don't remember now). Germans finally managed to climb on the mount, but the situation on the other side of the battle was cleared enough, so this assault would be easily stopped.
Jako polski dowódca rozdzieliłem nasze siły na dwie grupy oraz moździerz dwu calowy, 17 funtówkę i oddział piechoty w centrum, gotowe wesprzeć wschodnią lub zachodnią grupę, gdy zajdzie taka potrzeba. Niemcy zaczęli grę ciężkimi kotami, jednak zostali zastopowani przez bardzo celny ogień prowadzony przez czołgi Dave'a. Wtedy Niemcy postanowili złamać Polaków nawałą artyleryjską, lecz im się to nie udało. Polacy wytrwali i kontynuowali walkę. Kiedy jednak w końcu sytuacja stała się dla Polaków i Dave stracił dwa czołgi (za cenę trzech utraconych przez Niemców), otrzymał wsparcie moch 3 calowych Moździerzy. Celny ogień uciszył lekka haubicę oraz dwa oddziały piechoty oraz coś jeszcze (niestety pamięć mnie juz zawodzi). Niemcom w końcu udało się wedrzeć na wzgórze, jednak sytuacja po drugiej stronie była juz na tyle klarowna, że ten atak mógł zostać z łatwością zastopowany.
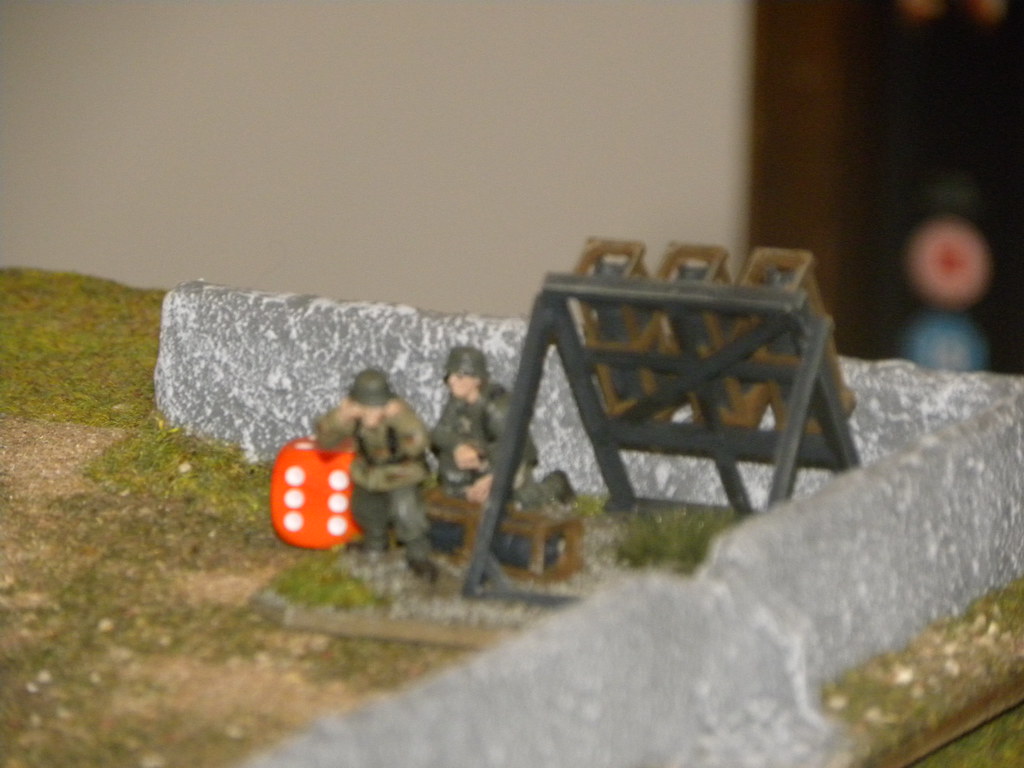
On the other side of the mount the Germans started assault to break off the pocket. But they did not moved forward and instead they decided to break Poles by accurate fire. Specially very dangerous was German Nebelwerfer. It managed to destroy one of the HQ, MMG and heavily pinned one of the infantry unit. Both Panther and supported their Pz IV (the second Pz IV was hidden behind the buildings) fought with Martin's Sherman's. Unfortunately for us, Germans managed to knock down our Firefly. As the situation started to be very serious I pushed all my reserves to support Martin. First I called the Artillery and pinned Nebelwerfer, then I managed to hit it from my 17 pdr and destroy it. My second 3" Mortar started to pinning German infantry. Then Bill decided to push all his forces against us, but then something bad for him happen...
Po drugiej stronie góry Niemcy rozpoczęli atak, by wyrwać się z okrążenia. Nie ruszyli jednak do przodu a własnym ogniem próbowali złamać Polaków. Szczególnie bardzo niebezpieczny był niemiecki Nebelwerfer. Udało się mu zniszczyć jedno z moich dowództw, ckm oraz mocno spinować jeden z moich oddziałów. Obie Panthery i wspierający je Pz IV (drugi schronił się za budynkami) walczyły z Shermanami Martina. Nieszczęśliwie dla nas, Niemcom udało się zniszczyć naszego Firefly. Kiedy sytuacja stała się bardzo powazna, pchnąłem tam wszystkie moje rezerwy, by wesprzeć Martina. Wpierw wezwałem artylerię i spinaowałem Nebelwerfera i potem udało mi się go wyeliminować moją 17 funtówką. Mój drugi 3 calowy moździerz rozpocząl pinowanie niemieckiej piechoty. Wtedy Bill zdecydował się pchnąć swoje oddziały do przodu, ale coś złego dla niego się stało...
It were the Canadians. They just arrived. Now tank fought other tanks on the close range. Finally the Canadians together with Poles overwhelmed Germans. No German tank remain at this end of the table. The game finished with Allied victory.
To byli Kanadyjczycy. Właśnie przybyli. Teraz czołgi walczyły z innymi czołgami na bliskim zasięgu. W końcu Kanadyjczycy razem z Polakami przytłoczyli Niemców. Wkrótce też nie pozostał zaden sprawny niemiecki czołg po tej stronie stołu. Gra zakończyła się alianckim zwycięstwem.
5. Links. Linki.
Tim's relation on his blog:
Relacja Tima na jego blogu:
Dave's relation on Facebook:
Relacja Dave'a na Facebooku:
My gallery on Flickr:
Moja galeria na Flickr: