Pokazywanie postów oznaczonych etykietą Nimitz. Pokaż wszystkie posty

19 lipca 2026

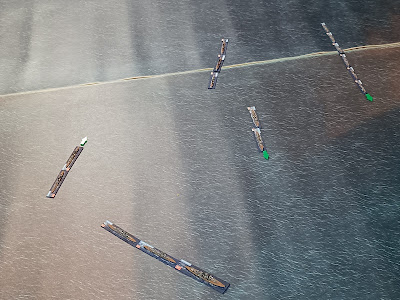
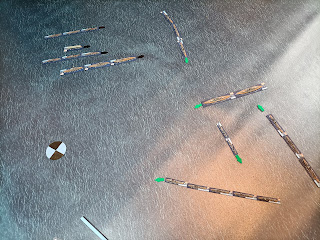
Nimitz (Dewey): Battle of Busan 1905.

The Russo-Japanese War of 1905: a hypothetical scenario in which part of the Russian fleet attempts to break through the Japanese blockade, using the Nimitz rules with the Dewey supplement for the pre-dreadnought era.


SCENARIO: Tim Chant
UMPIRING:
Tim Chant
SCENERY: SESWC
FIGURES & MODELS: Tim Chant


1. Forces.


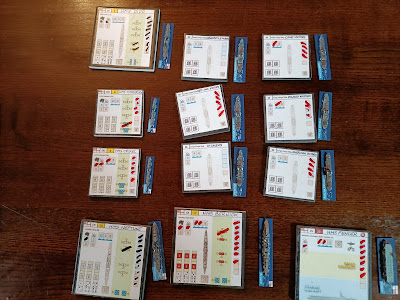
IMPERIAL RUSSIAN NAVY

1st Squadron (Bartek)

OSLYABLA
ADMIRAL SENIAVIN
SISSOIL VIELIKY

2nd Squadron (Пётр)

VLADIMIR MONOMAKH
ADMIRAL NAKHIMOV
AVRORA

3rd Squadron (David)

OLEG
IZUMRUD

4th Squadron (David)

GROZNY
BYEDOVY


IMPERIAL JAPANESE NAVY

1st Squadron (Mike)

SHIKISHIMA 
ASAHI
MIKASA
IZUMO

2nd Squadron (Tim)

TSUSHIMA
NISSHIN
KASAGI

 3rd Squadron (Tim)

MURASAME
SHIRANUI
SAZANAMI


2. The Game.

In our scenario, the Russians were tasked with crossing the table from the shortest edge to the opposite side, while the Japanese sought to stop them. I divided our fleet as follows: I commanded the battleships, Pyotr took charge of the armoured cruisers, and David led the lighter cruisers and destroyers. On the opposing side, Mike commanded a battleship squadron, while Tim led the cruisers and destroyers.


I decided to use my Y-shaped tactic again. It involved splitting my main forces—in this case, Pyotr's cruisers and my battleships—and allowing the enemy's main forces into the gap, anticipating that they would try to form a T-shaped formation. This assumption proved correct. David, meanwhile, was ordered first to destroy the Japanese destroyers and then attempt to break through the remaining enemy ships toward our objective. He slightly modified these orders, a change that proved decisive in our game and ultimately secured our victory.


As I expected, the first battle broke out between our destroyers, David's cruisers, and the Japanese destroyers, but once my battleships joined the fight, the fate of the Japanese destroyers was sealed: they were all sunk.


Soon, the heavy guns opened fire, and Mike Squadron found itself caught in the crossfire between all our forces. Tim's cruisers were still too far away and were only slowly entering the fight. Even so, we managed to sink the first of the Japanese battleships, Shikishima. David then launched a successful torpedo attack on Asahi with his destroyers, scoring a hit. She remained afloat for the moment, but the damage to the ship did not bode well. Although both of our destroyers were sunk, their sacrifice and achievements exceeded our wildest expectations.


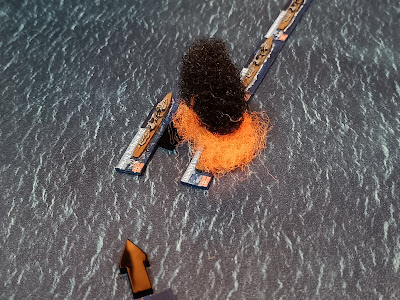
Tim's cruisers finally entered the fray, engaging Pyotr's ships. Both sides suffered heavy damage, and the Avrora was struck by a torpedo from one of the Japanese cruisers. At that moment, 10 p.m. struck, and it was time to end the game. The Japanese lost two battleships, the Asahi finally sank, and three destroyers went down. The Russians, on the other hand, lost only two destroyers, although the fate of the Avrora still hung in the balance. It was a very successful game.


3. Links.


20 lipca 2025

Nimitz: 1905 Russo-Japanese War.

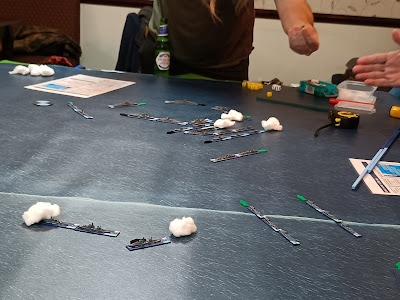
The Russo-Japanese War of 1905 at sea was the focus of our recent game. Tim brought his collection of ships from that war, and this time we decided to use the Nimitz rules. These rules are much simpler than the Tsushima we used before, and they are also more enjoyable to play. We had six players, with three on each side, representing a Russian fleet attempting to break through the Japanese blockade. It truly is a classic of the genre.


SCENARIO: Tim Chant
UMPIRING: 
Tim Chant
SCENERY: SESWC
FIGURES & MODELS: Tim Chant


1. Forces.


IMPERIAL RUSSIAN NAVY

1st Squadron (Bartek)

Oslyabya
Sissoi Veliky
Navarin
Admiral Nakhimov
Izumrud

2nd Squadron (Peter)

Oleg
Aurora
Dmitrii Donskoi
Vladimir Monomakh

3rd Squadron (Alasdair)

Admiral Seniavin
General Admiral Graf Apraksin
Imperator Nikolai I 
Admiral Ushakov


IMPERIAL JAPANESE NAVY

1st Squadron (David)

Shikishima
Fuji
Mikasa
Asahi
Azuma


2nd Squadron (Jimmy)

Kasuga
Chitose
Iwate
Niitaka
Izumi

 3rd Squadron (Ben)

Kasagi
Tokiwa
Nisshin
Otowa
Asawa
Yakumo


2. The Game.

Our scenario resembled the actual Battle of Tsushima. The Russians needed to break through the Japanese blockade. Our plan involved our two strongest squadrons—mine and Alasdair's—sailing at full speed along the long edges of the table. Peter was designated to act as a decoy for the Japanese fleet. We assumed that the Japanese would focus their efforts on one squadron—in our plan, that was Peter's —while the other two squadrons would attempt to breach the Japanese defences.


I had almost predicted the behaviour of the Japanese fleet. Ben and David led their two squadrons against mine, while Jimmy positioned himself in the centre of the battlefield to face Peter. Alasdair remained at a safe distance. The Russians fired first, and my ships caused significant damage to the Kasagi. However, the Japanese soon opened fire, concentrating their efforts on Oslabya, which was the lead ship of my team.


Jimmy had divided his squadron into three teams and primarily engaged in combat against Peter, while occasionally targeting my squadron and Alasdair's. His efforts finally paid off when he successfully launched a torpedo attack, sinking the Dimitri Donskoi. As the game entered its decisive phase, we were unable to complete it due to running out of time. The Russians still had most of their forces afloat, although the Japanese retained the initiative. Despite the Russians having already lost two ships by that point, we concluded that the game ended in a draw.


3. Links.

SESWC:

https://www.facebook.com/groups/631841809210352

FLICKR:

https://www.flickr.com/photos/asienieboje/albums/72177720327654720

05 kwietnia 2024

Cape Pasta 1940.

Campbell is famous for his ability to rapidly prepare large fleets for games. He worked on ships for operations in the Mediterranean, during the Second World War, in a quiet manner. Currently, he has both the Royal Navy and the Regia Marina. Last Thursday, a new collection was introduced in a fictional scenario, which was based on a real battle that took place near Cape Stilo. The game was played using the Nimitz rules.


SCENARIO: Campbell Hardie
UMPIRING: 
Campbell Hardie
SCENERY: SESWC
FIGURES & MODELS: Campbell Hardie


1. Forces.


ROYAL NAVY
(Gordon, Mike, Peter)

FORCE A:

HMS Aurethusa
HMS Aurora
HMS Gloucester
HMS Manchester

FORCE B:

HMS Warspite

HMS Havock
HMS Ilex
HMS Vendetta

FORCE C:

HMS Malaya
HMS Royal Sovereign

HMS EAGLE

HMS Hardy
HMS Hasty
HMS Hero
HMS Hostile
HMS Intrepid


REGIA MARINA
(Alasdair, Bartek, Michael)

1st Fleet

Andrea Doria
Caio Duilio

Scipio Africano
Atillo Regolo 
Luigi Di Cadorna
Armando Diaz
Giuseppe Garibaldi

Circe
Francesco Crispi
Fulmine
Folgore
Qunitino Sella

2nd Fleet

Fiume
Zara
Gorizia

Pola
Trento
Trieste

Pompeo Magno
Duca D'Acosta
Attendolo
Monteccoli

Alvise Da Mosta
Ascari
Alpino
Coriazziere


2. The game.

Before the game started, we had two pre-game rounds. During these rounds, both sides launched air attacks. The first two waves of planes came from HMS Eagle, followed by Italian bombers targeting the Royal Navy. The British were much more successful in their attacks, managing to sink the Italian heavy cruiser Fiume, while the Italians only managed to lightly damage the Royal Sovereign. After the pre-games, we moved on to the actual game. The Italians had to engage the British until the end of the game while ensuring that none of their battleships was lost. On the other hand, the Royal Navy had to destroy the Italian battleships without losing any of their own.


Our strategy was straightforward - engage the Royal Navy with all our forces except for the battleships. We hoped that the British would not be able to penetrate our defences and sink our valuable large ships. Our plan worked exceptionally well. We first exchanged fire from our guns, and then both sides launched their torpedoes. The Italians were much more successful in this regard. Eventually, both Italian battleships were able to safely withdraw from the battlefield, and the British suffered more significant losses. The Italians lost Trento, Pompeo Magno, Alpino, Ascari, and Coriazzere, while the Royal Navy lost Arethusa, Gloucester, Aurora, Vendetta, Hardy, Ilex, and Hero.


3. Links.

CAMPBELL (SESWC):

https://www.facebook.com/Seswc.co.uk/posts/815586460598687

FLICKR

https://www.flickr.com/photos/asienieboje/albums/72177720316002760

28 września 2023

Great Hunting! Wielkie Polowanie!

Continuation of our Nimitz game from the previous week. This time, the Royal Navy sent a large task force to intercept German heavy ships.

Kontynuacja naszej gry z zasadami Nimitz z zeszłego tygodnia. Tym razem Royal Navy wysłała duże zgrupowanie by przechwycić niemieckie ciężkie okręty.


SCENARIO / SCENARIUSZ: Mike Evans
UMPIRING / PROWADZENIE GRY: Mike Evans
SCENERY / SCENERIA: SESWC
FIGURES & MODELS / FIGURKI I MODELE: Mike Evans

1. Forces. Siły.


ROYAL NAVY
(Alasdair, Gordon, Peter, Tim)


KRIEGSMARINE
(Andrew, Bartek, Mike, Michael)


2. The game. Gra.

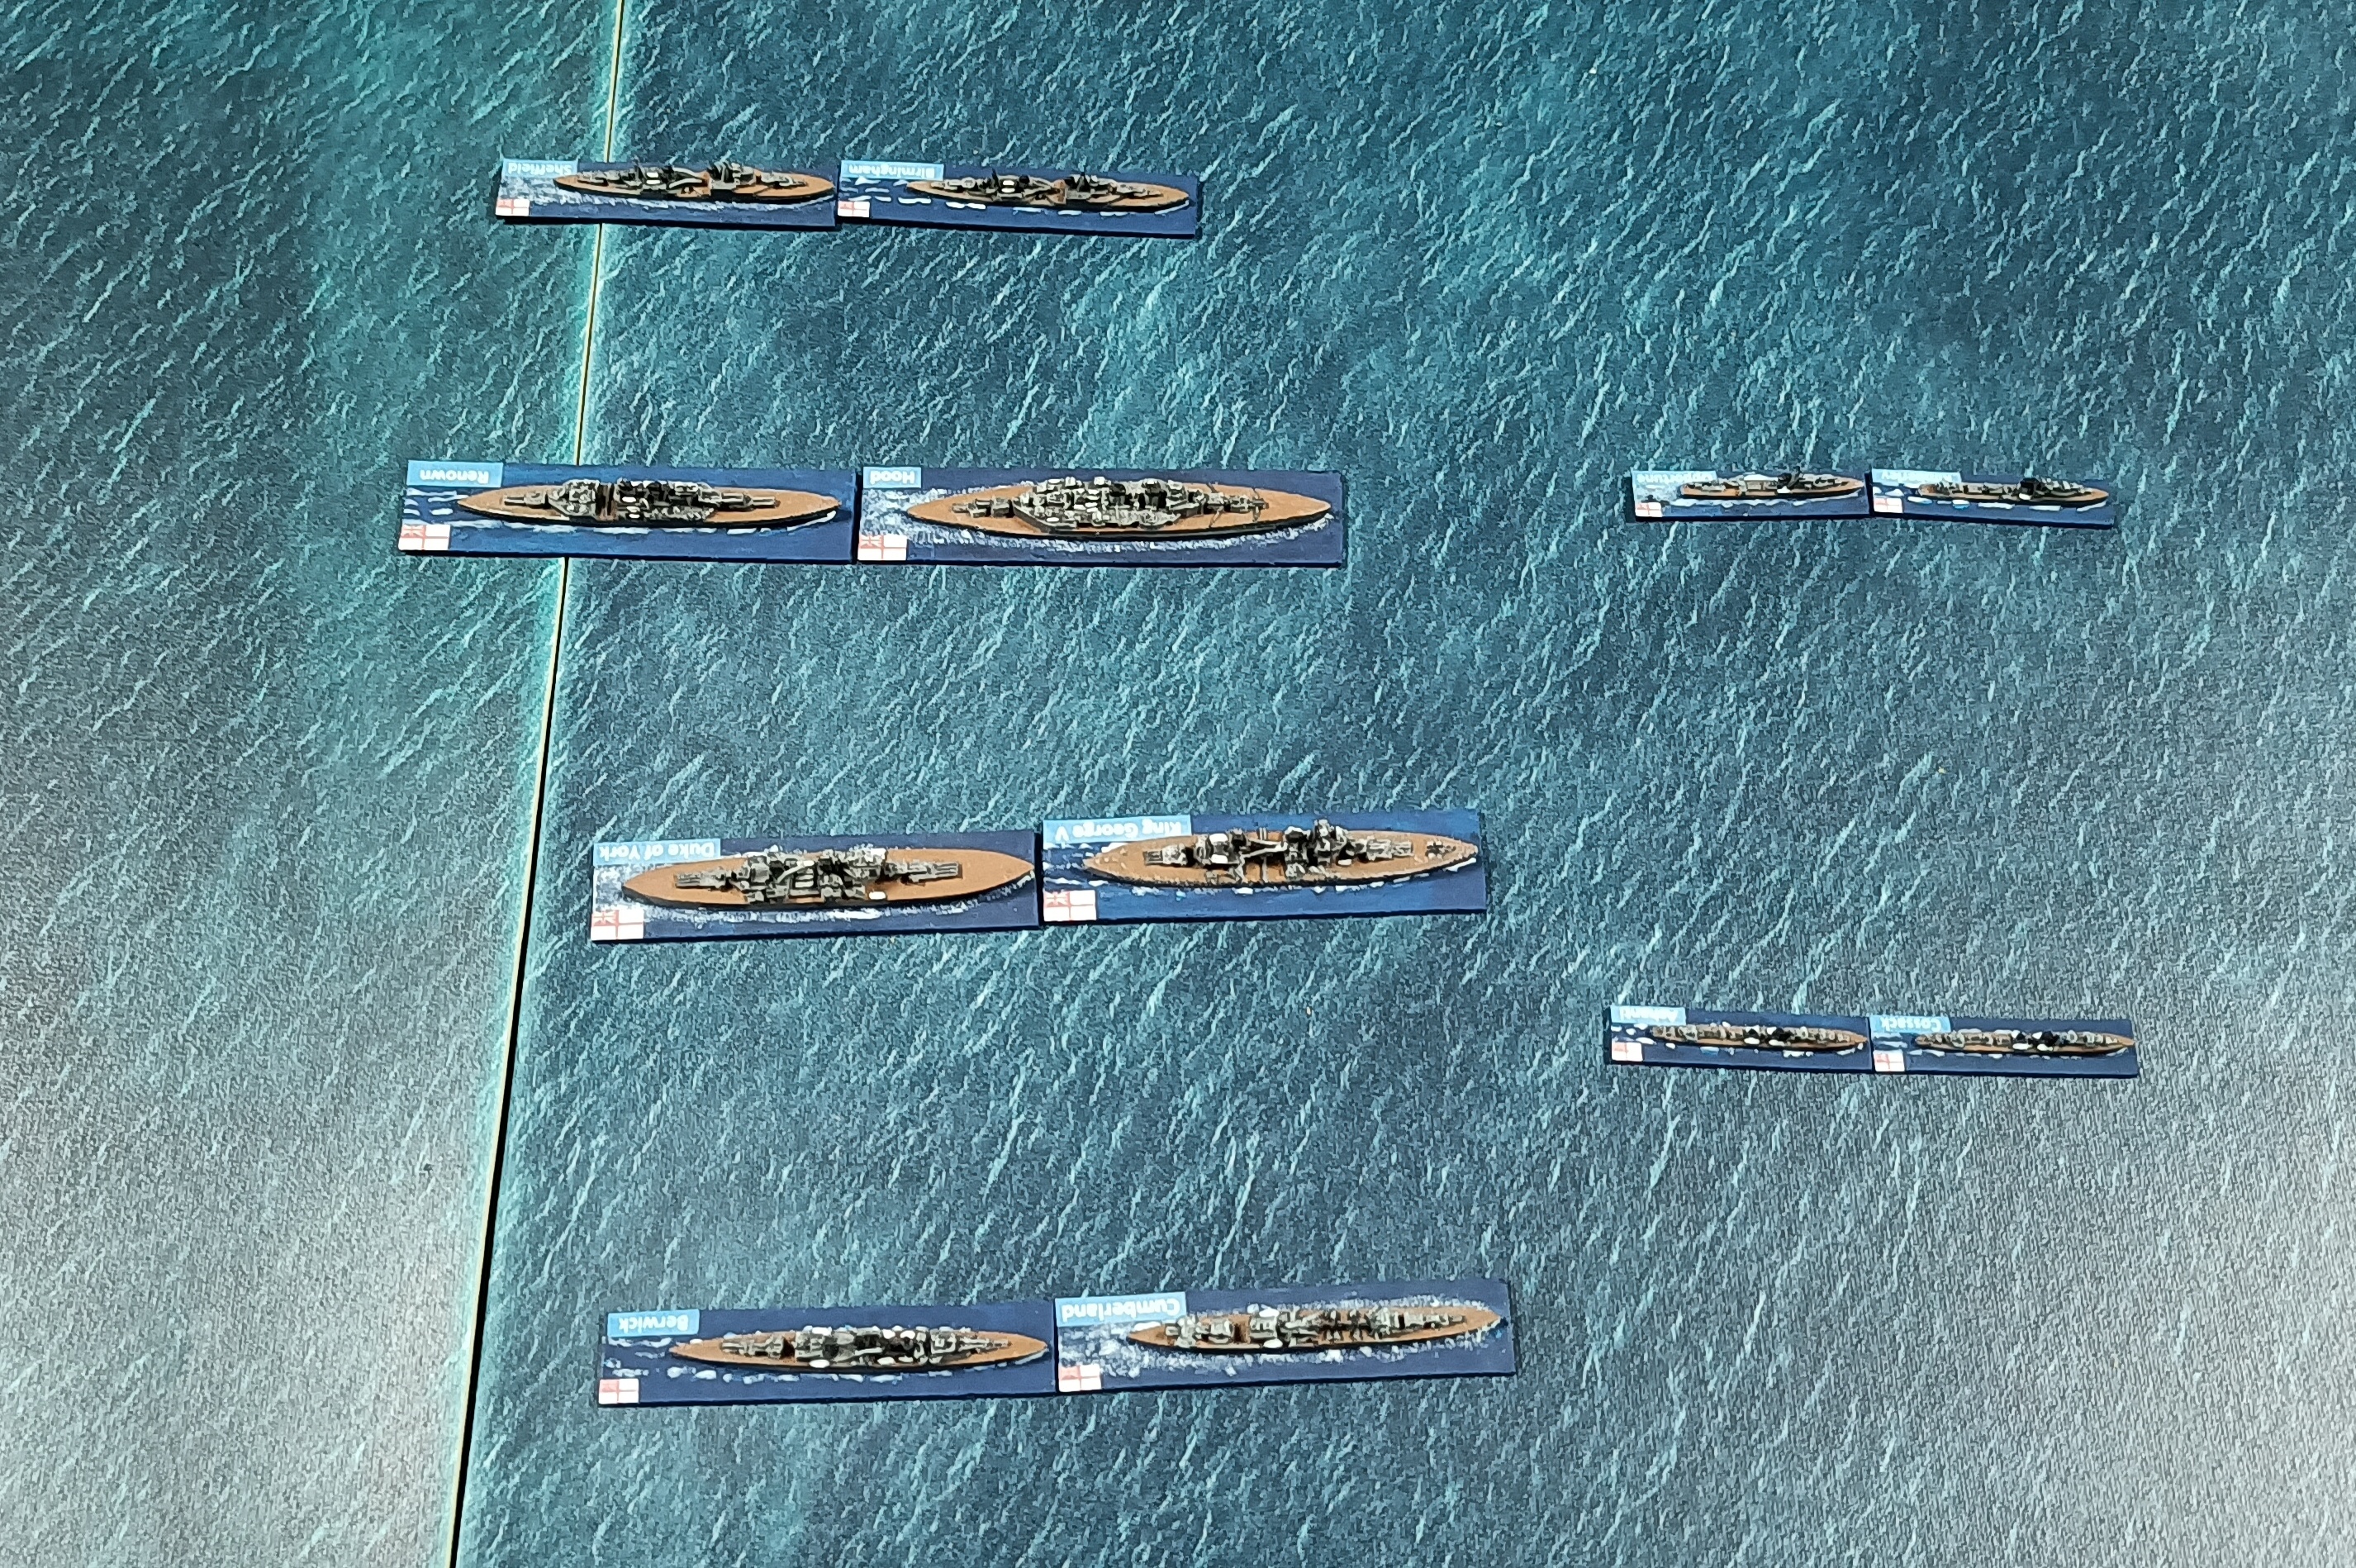
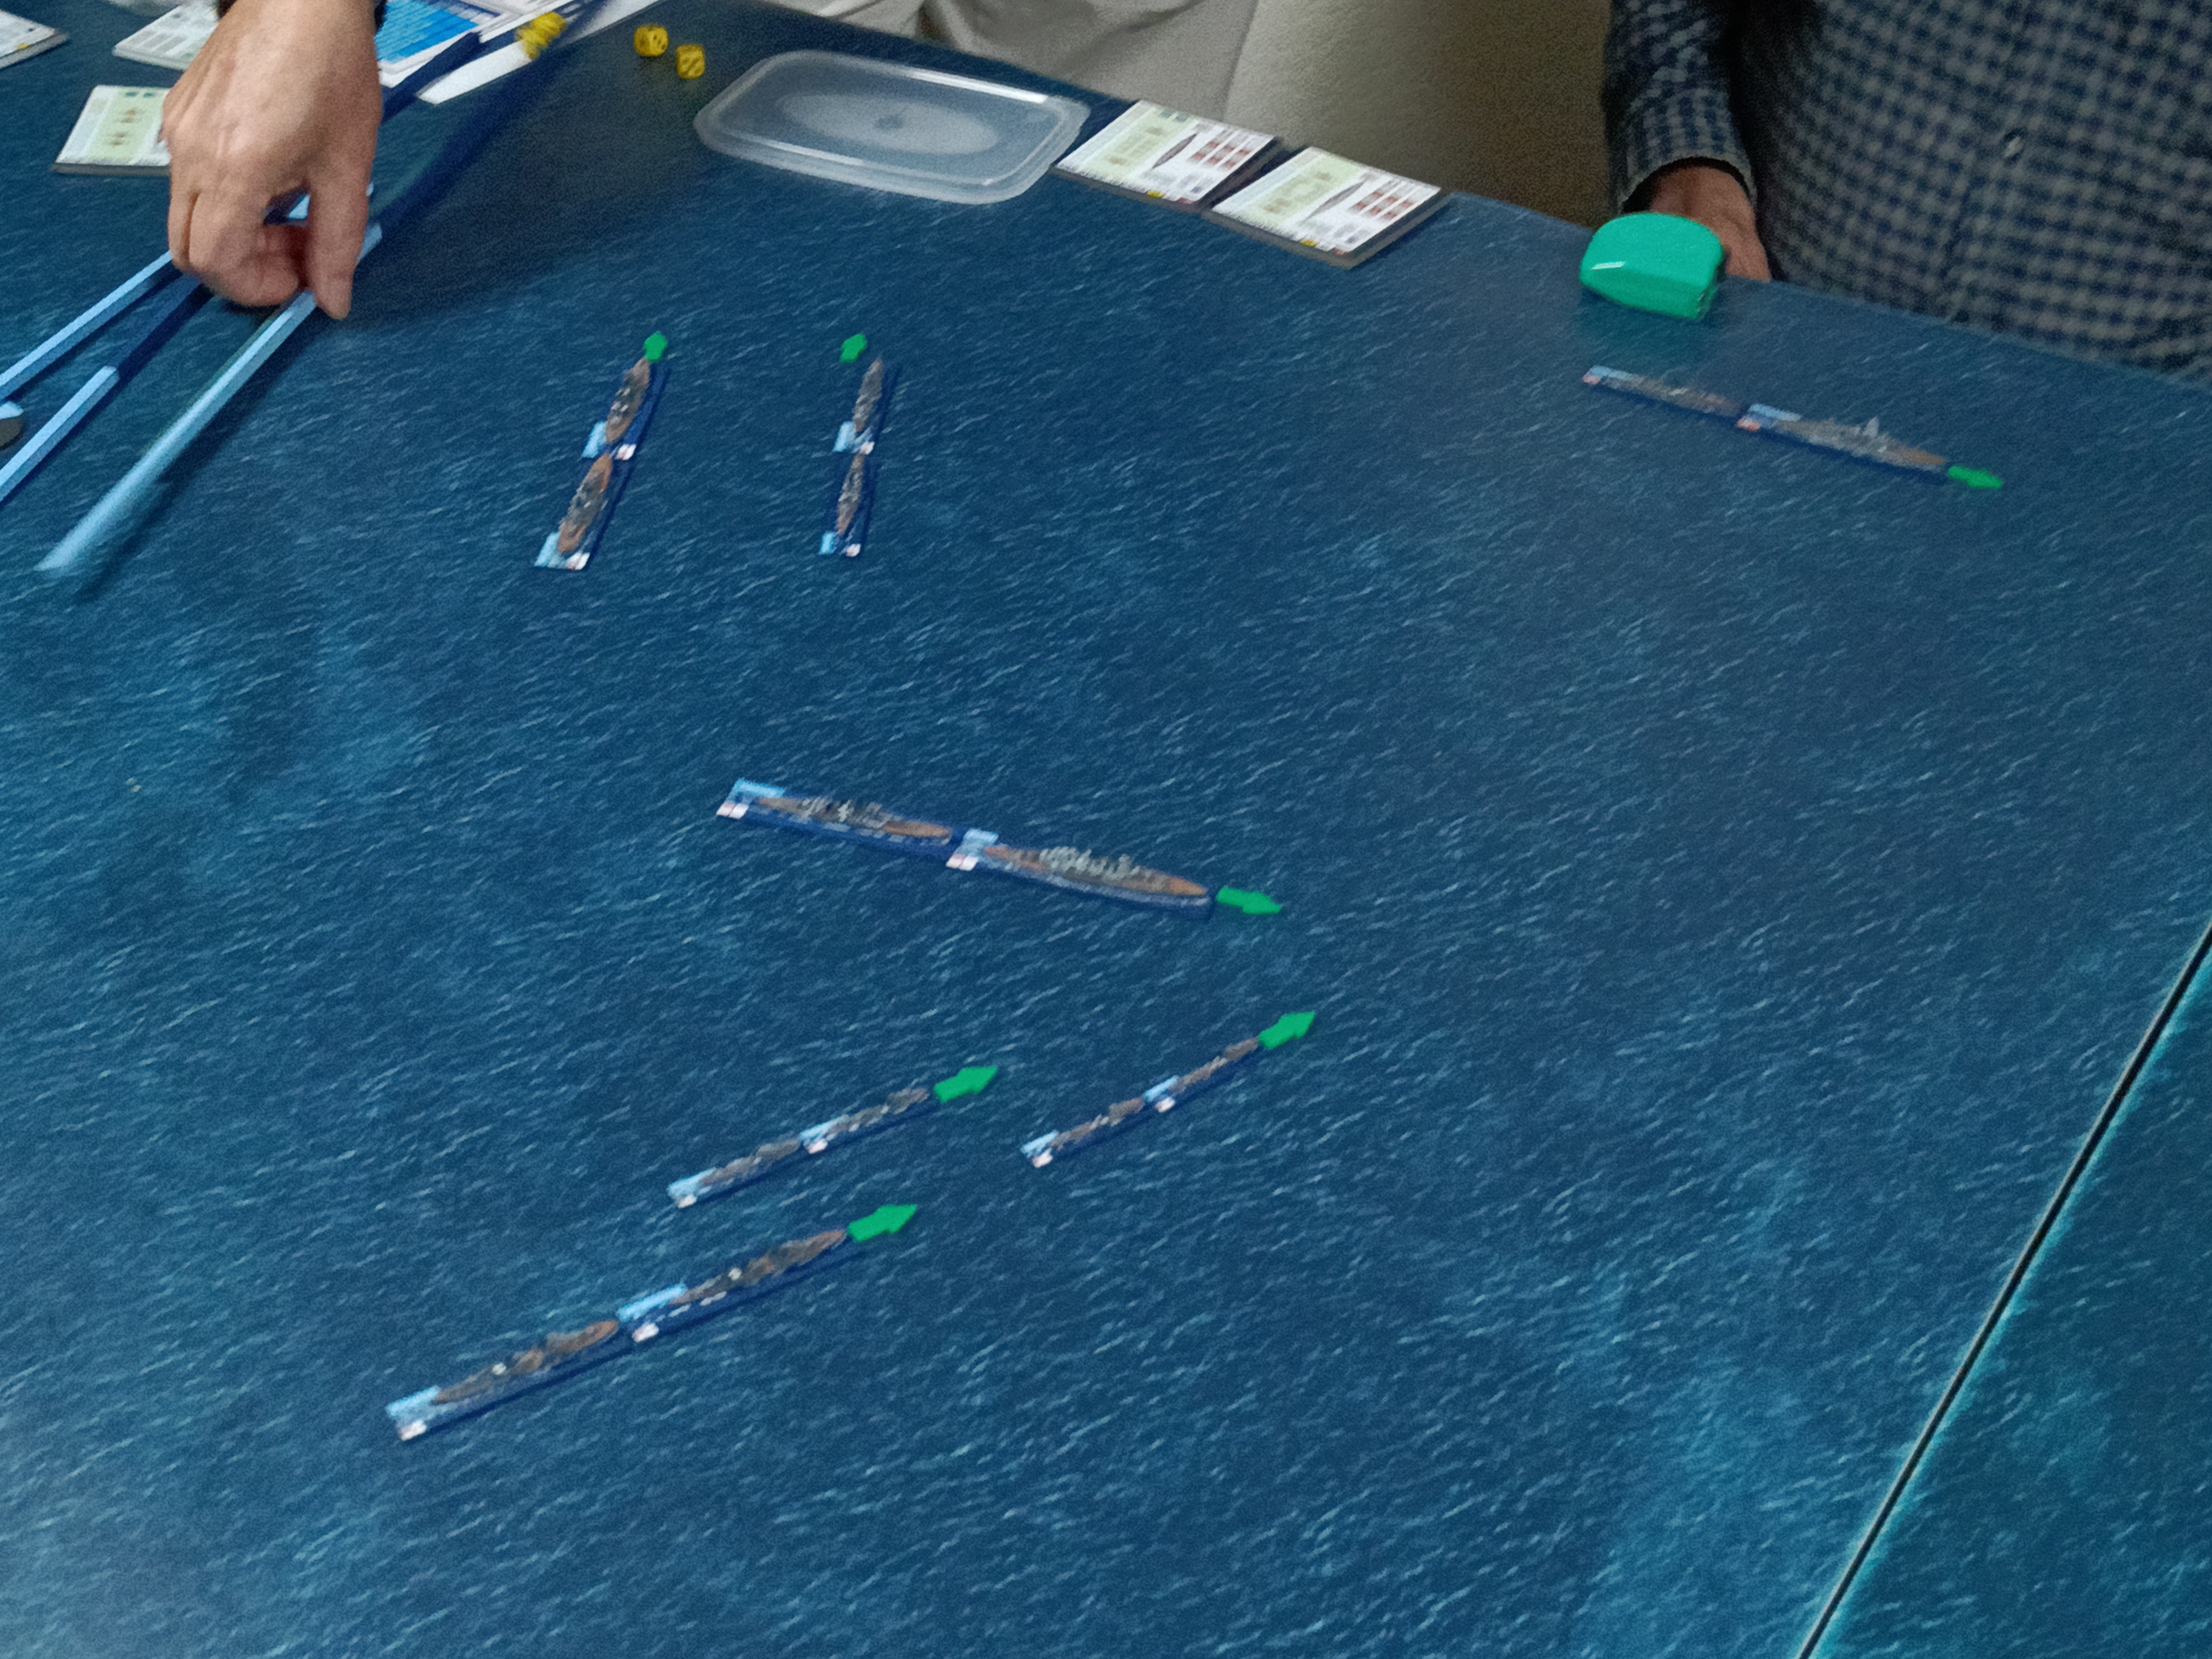
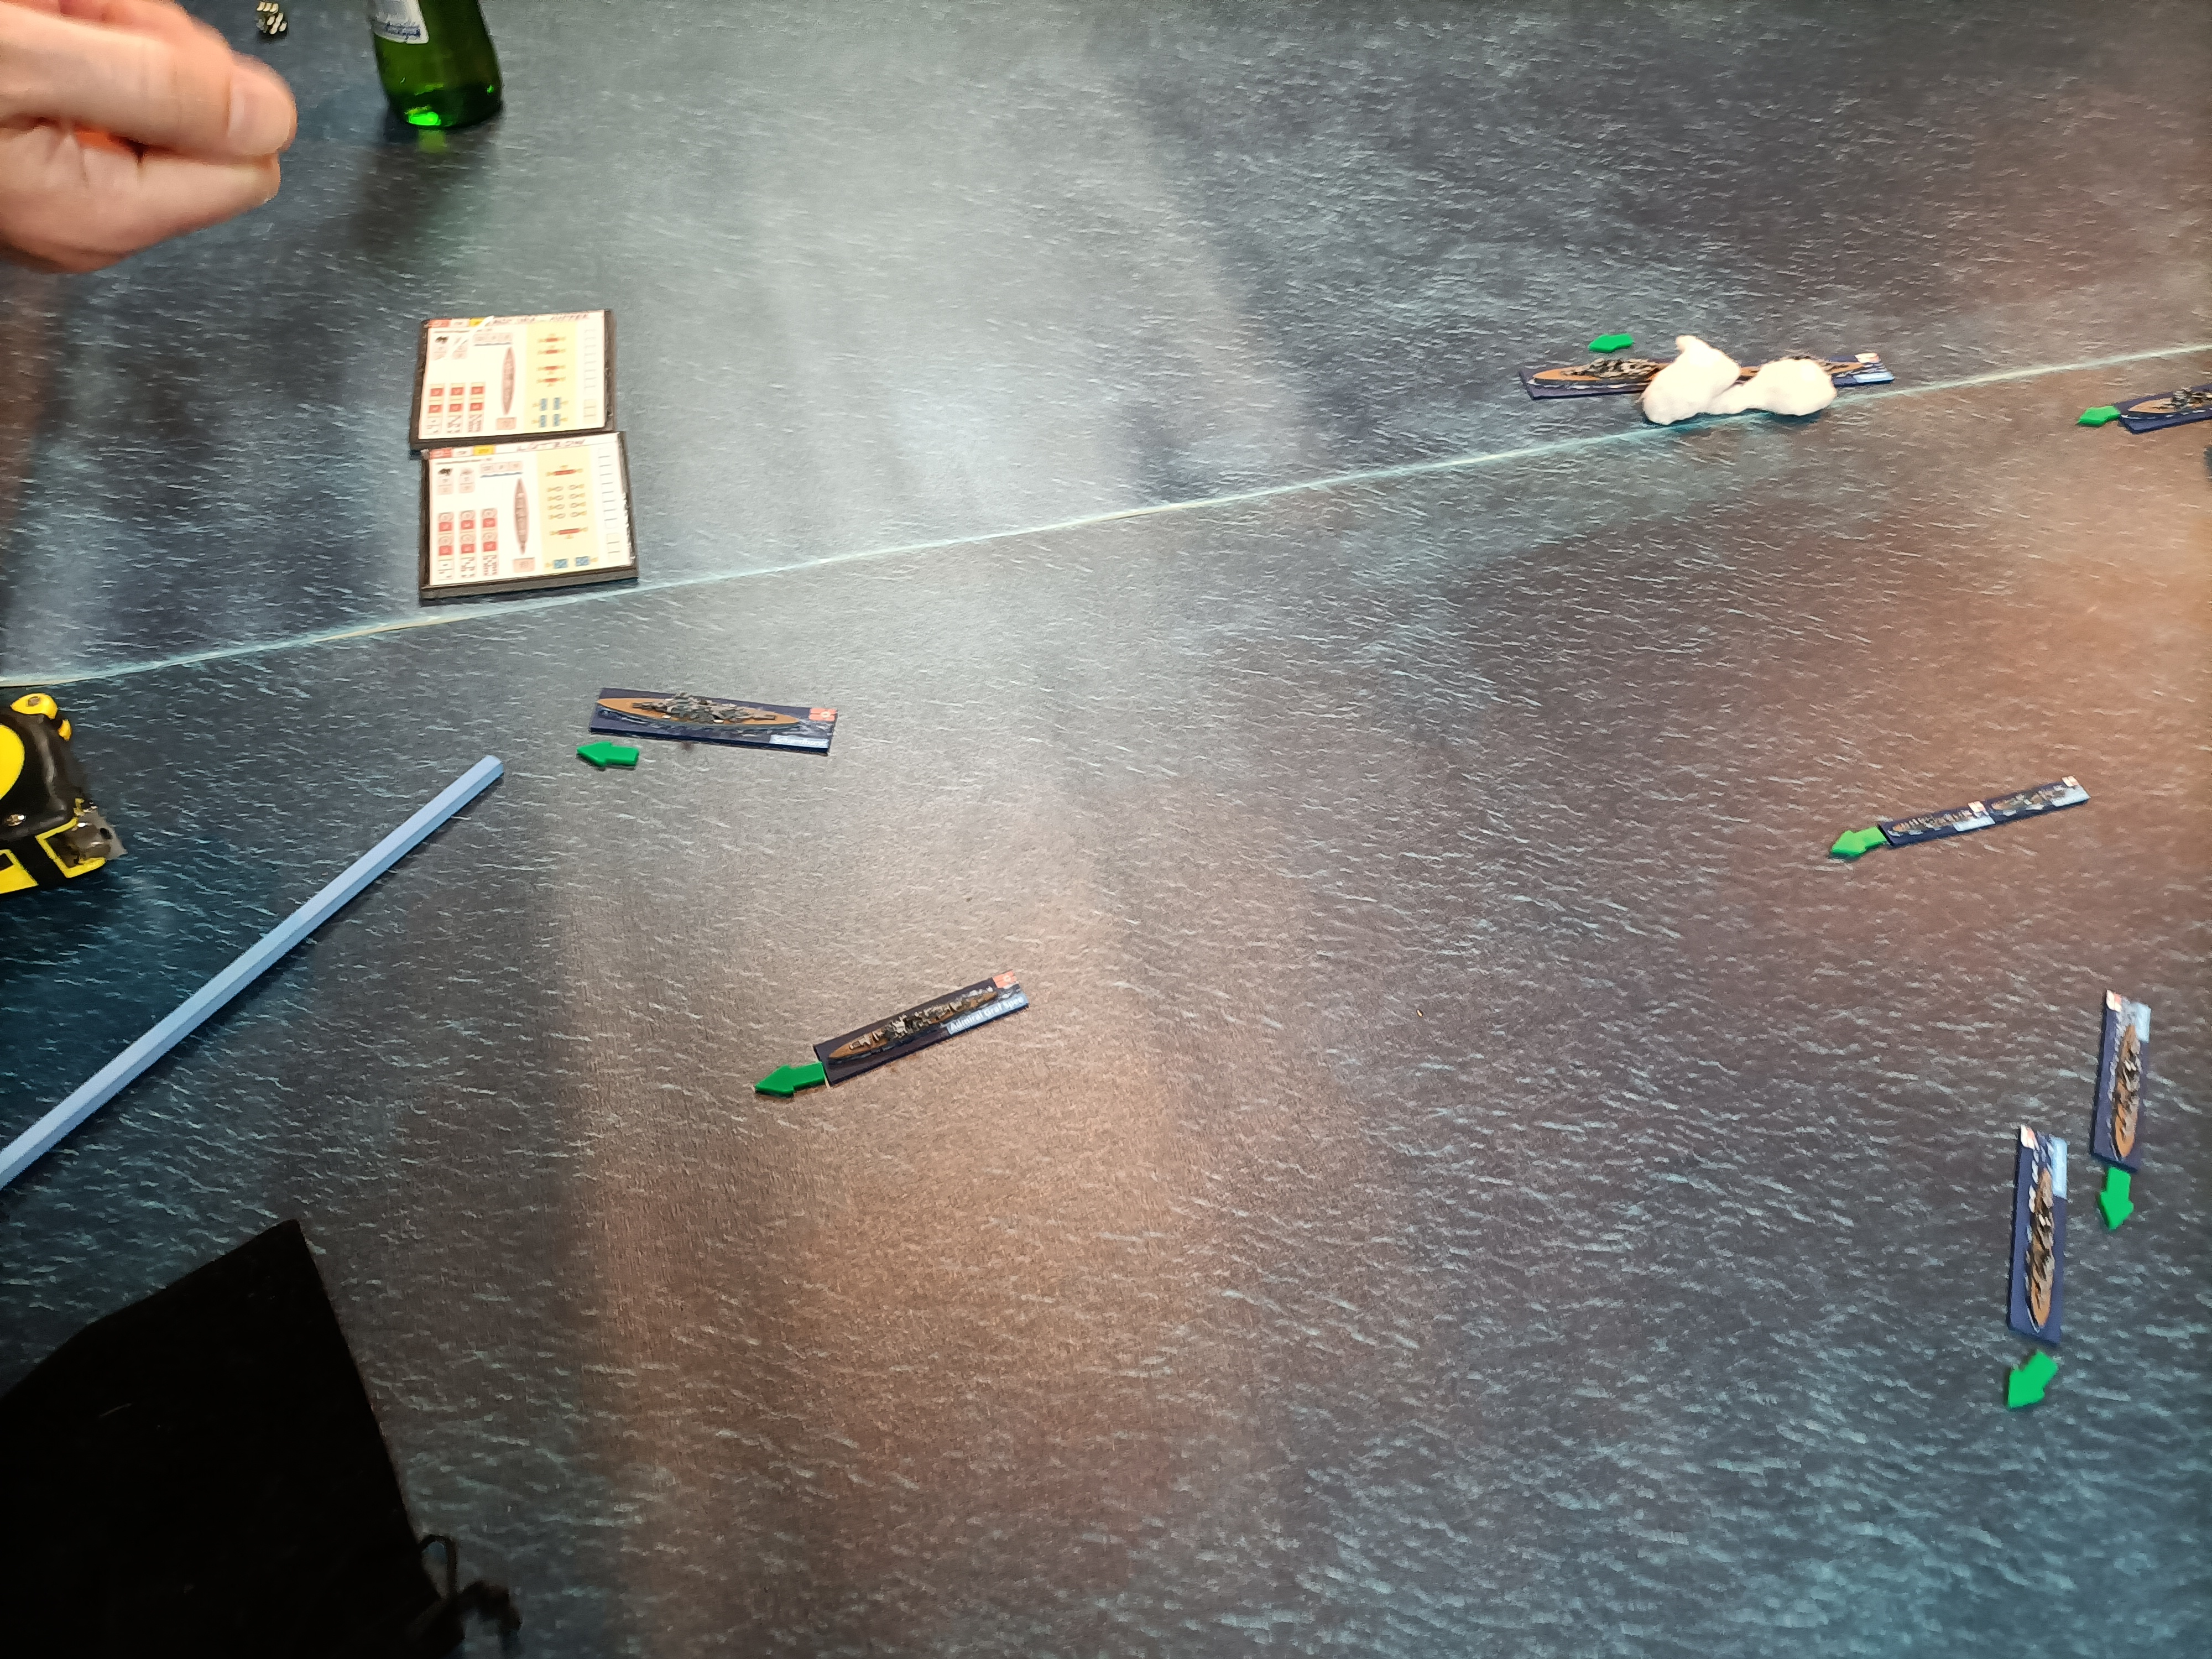
Royal Navy started the game deployed in the centre of the table, whereas the German squadrons entered the table on every corner. The battle started! Our plan again concerned with hitting the smaller ships and avoiding the big ships, especially as at the beginning of the game British had them concentrated in one huge group. For our sake, the Royal Navy moved all their ships against Mike's squadron with Scharnhorst. Mike managed to survive, but all his stern guns were destroyed and was able only to escape. In the meantime, all other German squadrons grouped together and hit British cruisers. However, to save Scharnhorst they had to close range to British big ships. As a consequence the Germans lost Admiral Sheer, however, they managed to sink HMS Berwick and HMS Ashanti. That split the British forces in two. One was the cruisers escaping from German battleships and Sharnhorst being chased by the rest of the Royal Navy. Germans managed to escape and the British lost another ship: HMS Cumberland. This is another loss for the Royal Navy in our little campaign. 

Royal Navy rozpoczęła grę w centrum stołu, natomiast niemieckie eskadry zaczęły w każdym rogu. Bitwa się rozpoczęłą! Nasz plan polegał na uderzeniu w mniejsze okręty i unikania dużych pancerników, szczególnie, że na początku gry Brytyjczcycy mieli je skoncentrowane w jednym miejscu Na nasze nieszczęście Royal Navy ruszyła całą siłą przeciw eksadrze Mikea z Scharnhorstem w jeje składzeie.Mikeowi udało się przetrwać, jednak jego wszystkie rufowe wierze zostały zniszczone i jeduyne, co mógł robić to uciekać. W międzyczasie pozostałe zespoły niemieckie połączyły się i uderzyły w brytyjskie krążowniki. Jednakże, by ocalić Scharnhorsta musieli zbliżyć się do brytyjskich dużych okrętów. Konsekwencją tej decyzji była utrata Armirala Sheera, jednakże Niemcom udało się zatopić HMS Berwick i HMS Ashanti. To rozdzieliło brytyjskie siły na dwie części. Jedna to uciekjące przed niemieckimi dużymi okrętami krążowniki i siły ścigające Scharnhorsta. Niemcom udało się uciec i przy okazji zatapiając kolejny okręt brytyjski: HMS Cumberland. To kolejna porażka Royal Navy w naszej małej kampanii.


3.  Links. Linki.

SESWC:

to be updated soon.

FLICKR:

https://www.flickr.com/photos/asienieboje/albums/72177720311527956

21 września 2023

Great blog update. Wielkie uzupełnienie bloga.

It was some time when I published my last game report. Since then, I had 3 games and I am going to to publish quick relations from them today. 

1. France 1944 with Five Men rules in 54mm.

2. Nimitz in 1/3000 with Germans trying to intercept the convoy. 

3. A little story about an old MacDonald farm from AWI with Black Powder rules in 28mm.


Upłynęło już trochę czasu od mojego ostatniego raportu, a od tego momentu udało się rozegrać 3 gry. Dziś szybkie relacje z tych spotkań:

1. Francja 1944 z zasadami Five Men w skali 54mm.

2. Nimitz w skali 1/3000, gdzie Niemcy próbują przechwycić konwój.

3. Krótka historia o farmie starego MacDonalda podczas wojny o niepodległość Stanów Zjednoczonych w skali 28mm z zadami Black Powder.


1. Depot in France. 1944. Magazyn we Francji. 1944.


SCENARIO / SCENARIUSZ: Mike Evans
UMPIRING / PROWADZENIE GRY: Mike Eccvans
SCENERY / SCENERIA: Mike Evans, SESWC
FIGURES & MODELS / FIGURKI I MODELE: Mike Evans


1. Forces. Siły. 


BRITISH / BRYTYJCZYCY
(John, Tim)

1st Infantry Squad

2 x NCO with SMG
1 x LMG team (2 crew)
6 x Rifle

2nd Infantry Squad

2 x NCO with SMG
1 x LMG team (2 crew)
6 x Rifle

Mortar Squad

1 x NCO with SMG
1 x Light Mortar (2 crew, 3 smokes)


GERMANS / NIEMCY
(Bartek, Michael)

Officer with Pistol

1st Infantry Squad

1 x NCO with SMG
1 x LMG team (2 crew)
5 x Rifle

2nd Infantry Squad

1 x NCO with SMG
1 x LMG team (2 crew)
5 x Rifle


1.2. The game. Gra.

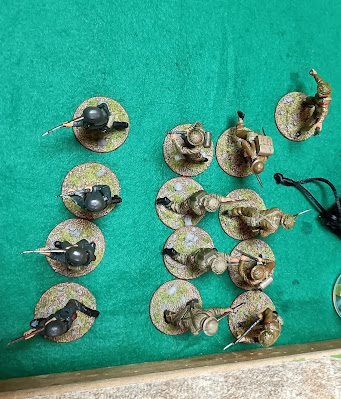
British had to reach the depot on the other table edge. They had to move through the defences of 2 German squads. British decided on a frontal attack, without the use of cover from their mortar (they finally used it, but it was too late). German victory.

Brytyjczycy mieli zdobyć magazyn, znajdujący się na przeciwnej krawędzi stołu. Musieli pokonać obronę dwóch niemieckich drużyn. Brytyjczycy zdecydowali się na frontalny atak, bez użycia zasłony dymnej z ich moździerza (ostatecznie użyli go, ale było już za późno na cokolwiek. Niemieckie zwycięstwo.


Casualties.


1.3. Links. Linki.

FLICKR:

https://www.flickr.com/photos/asienieboje/albums/72177720311354387


2. Destroy PQ9! Zniszczyć PQ9!

SCENARIO / SCENARIUSZ: Mike Evans
UMPIRING / PROWADZENIE GRY: Mike Evans
SCENERY / SCENERIA: SESWC
FIGURES & MODELS / FIGURKI I MODELE: Mike Evans

2.1. Forces. Siły.


ROYAL NAVY
(Alasdair, Gordon, Mike, Tim)

Battleship Squadron

HMS Rodney
HMS Warspite
HMS Revenge

1st Cruisers Squadron

HMS Berwick
HMS Glasgow
HMS Southampton

2nd Cruisers Squadron

HMS Neptune
HMS Orian

3rd Cruisers Squadron

HMS Dido
HMS Hermione
HMS Danae

1st Destroyer Squadron

HMS Jackal
HMS Kimberley

2nd Destroyer Squadron

HMS Ashanti
HMS Cossack
HMS Savage

3rd Destroyer Squadron

HMS Scorpion
HMS Virago
HMS Stord

Convoy PQ9

HMS Fencer
Newcastle Victory
Dickens
Red Oak Victory
America Victory
Poland Victory
Lane Victory


KRIEGSMARINE
(Andrew, Bartek, Campbell, Michael)

1. Flotille

Bismarck
Tirpitz

2. Flotille

Gneisenau
Admiral Hipper
Blucher

3. Flotille

Karlsruhe
Leipzig

4. Flotille

Nurnberg
Emden
Konigsberg

5. Flotille

Z22 Anton Schmitt
Z4 Richard Beitzen
Z9 Wolfgang Zenker
Z8 Bruno Heinemann
Z3 Max Schultz


2.2. The game. Gra.

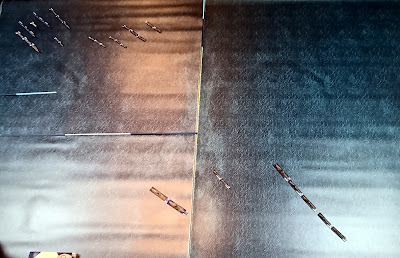
Our plan was to take British cruisers and destroyers off the convoy with forces led by Gneisenau, then both big German ships were to engage big British ships and finally our light cruisers and destroyers were to attack the convoy. Believe it or not, our plan worked very well. Germans destroyed a bunch of British ships and a WHOLE convoy! I have been asked how this system works. First, your ships can move at 3 speeds (fast/normal/slow) or be stationary. There is an initiative roll and the side who won can choose to move first or second. First one side moves all slow-moving ships, then the other side moves its slow ships, then normal and lastly the fast ships. After that comes the shooting phase. The side, that moves first, shots first as well. Shooting takes place in squadrons alternately, the squadron from side A, then the squadron from side B, etc. The first squadron is selected and shooting is resolved. Depending on the ship's speed, the target speed, the number of guns used etc. the D6 is rolled. Then the score is compared with a special table. If the hit is scored, another throw is required with D6. We received the armour penetration value. We compare it with the target armour and if our value is bigger than the armour, the target gets damaged (the difference between our value and armour). Then the special hit is rolled with 2D6. That can lead to explosions (during our game we had 2 explosions: Tirpitz and Anton Schmitt)  or further damage like fire control etc.

Nasz plan polegał na odciągnięciu brytyjskich krążowników i niszczycieli od konwoju, przez zespół prowadzony przez Gneisenau, wtedy oba niemieckie wielkie okręty miały zająć się wielkimi okrętami brytyjskimi i wtedy na konwój miały uderzyć nasze lekkie krążowniki i niszczyciele i go zniszczyć. Wierzcie, lub nie, ale nasz plan zadziałał. Niemcy zniszczyli całą masę brytyjskich okrętów i CAŁY konwój! Zadano mi kilka pytań dotyczących tych zasad. Wpierw wasze okręty mogą poruszać się w trzech prędkościach (szybko/normalnie/powoli) lub być nieruchome. Wykonywany jest rzut na inicjatywę, strona która go wygrała może wybrać by ruszać się jako pierwsza lub druga. Strona pierwsza porusza wpierw wszystkie swoje powolne okręty, potem robi to strona druga, następnie poruszane są okręty normalne i następnie szybkie w ten sam sposób. Potem przechodzimy do fazy strzelania. Strona która poruszała się jako pierwsza, strzela jako pierwsza. Strzelanie odbywa się eskadrami naprzemiennie, eskadra strony A, potem eskadra strony B itd. Pierwsza eskadra jest wybierana i ostrzał jest rozstrzygany. W zależności od prędkości okrętu, prędkości celu, liczby dział itp. wykonujemy rzut K6. Wynik porównujemy z tabelą. Jeśli trafiliśmy wykonujemy kolejny rzut K6 na penetrację pancerza. Tą wartość porównujemy z opancerzeniem celu. Jeśli nasz wynik jest większy, cel otrzymuje zniszczenia (różnicę pomiędzy naszym wynikiem a pancerzem). Następnie kolejny rzut 2K6 jest wykonywany na specjalne zniszczenia. W ten sposób możemy uzyskać eksplozję (w naszej grze 2 okręty zakończyły w ten sposób żywot: Tirpitz i Anton Schmitt) lub dalsze zniszczenia jak np. centrum kierowania ogniem itp.  


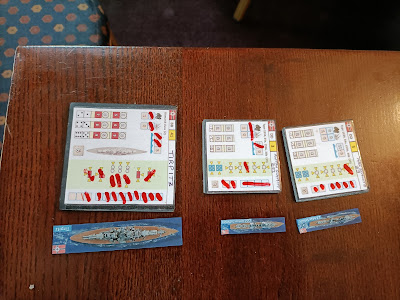
British loses.

German loses.


2.3.  Links. Linki.

SESWC (Campbell):

https://www.facebook.com/Seswc.co.uk/posts/699906892166645

FLICKR:

https://www.flickr.com/photos/asienieboje/albums/72177720311355977


2. Old MacDonald's farm. 1780. Farma starego MacDonalda. 1780.

SCENARIO / SCENARIUSZ: Michael Schneider
UMPIRING / PROWADZENIE GRY: Michael Schneider
SCENERY / SCENERIA: Michael Schneider, SESWC
FIGURES & MODELS / FIGURKI I MODELE: Michael Schneider

3.1. Forces. Siły.


AMERICANS / AMERYKANIE
(Michael)

1st Brigade

2 x Continentals
1 x Militia
1 x Medium Gun
1 x Skirmishers

2nd Brigade

2 x Continentals
1 x Militia
1 x Medium Gun
1 x Skirmishers

3rd Brigade

2 x Continentals
1 x Militia
1 x Medium Gun
1 x Skirmishers

Cavalry Detachment

1 x Dragoons
1 x Light Gun


BRITISH / BRYTYJCZYCY
(Bartek)

1st Brigade

1 x Grenadiers
1 x Line Infantry
1 x Medium Gun
1 x Skirmishers

2nd Brigade (Hessian)

1 x Grenadiers
1 x Line Infantry
1 x Medium Gun
1 x Skirmishers

3rd Brigade

1 x Light Infantry
1 x Line Infantry
1 x Medium Gun
1 x Skirmishers

Cavalry Detachment

1 x Dragoons

REINFORCEMENTS:

4th Brigade

1 x Light Infantry
1 x Line Infantry
1 x Medium Gun
1 x Skirmishers


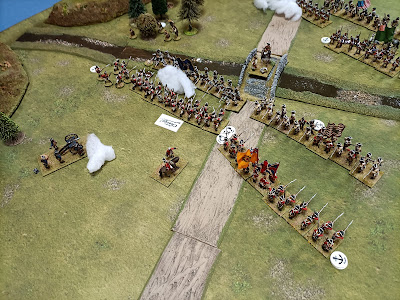
3.2. The game. Gra.

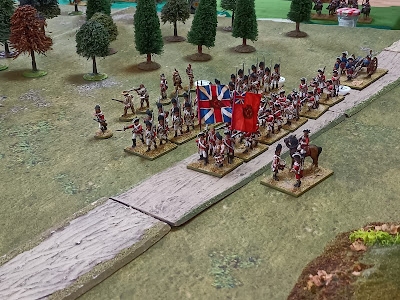
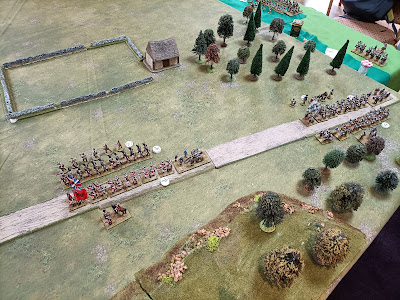
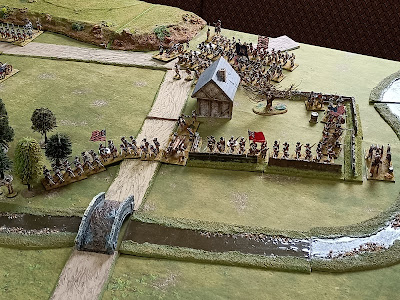
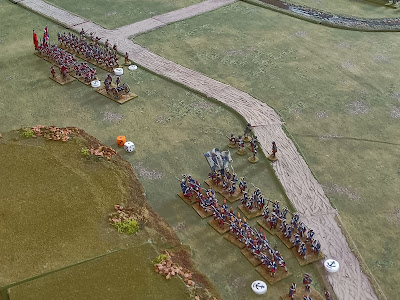
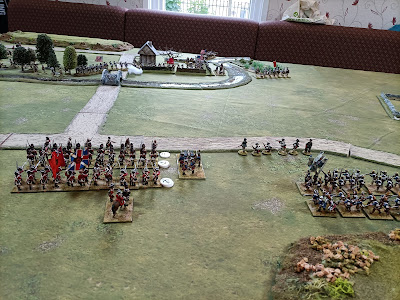
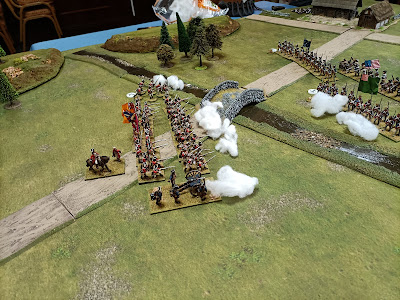
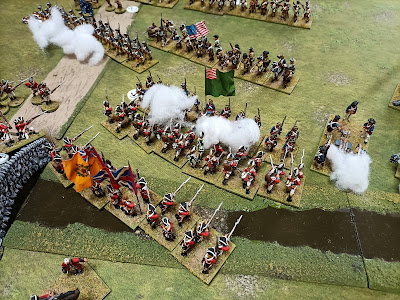
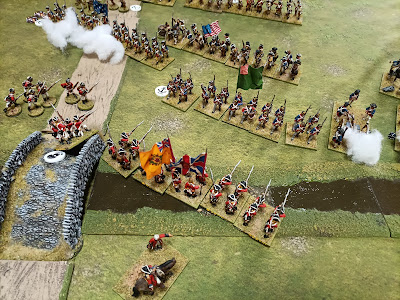
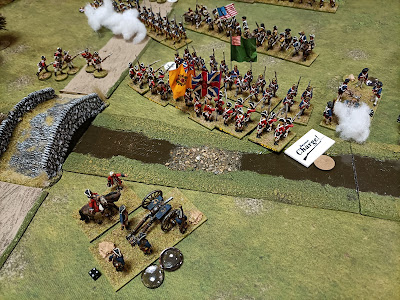
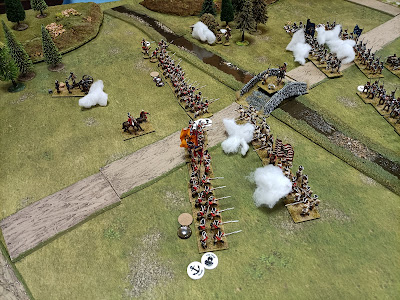
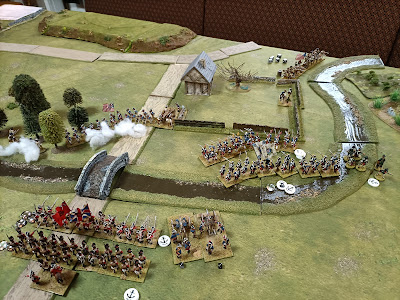
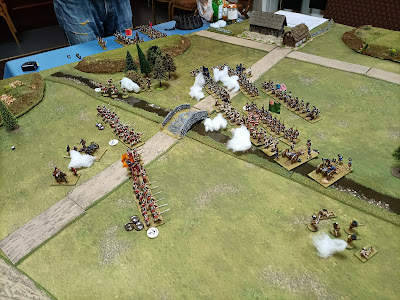
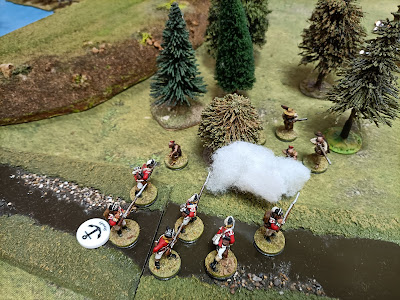
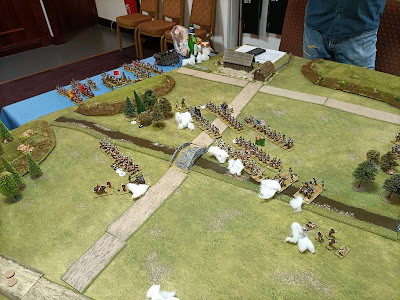
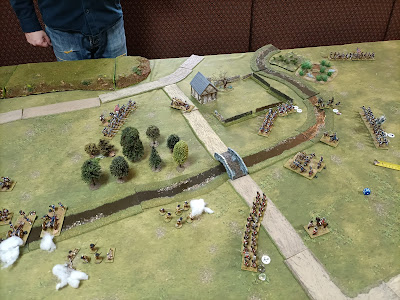
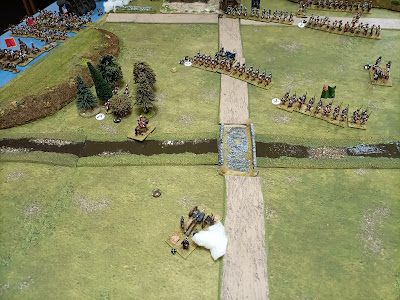
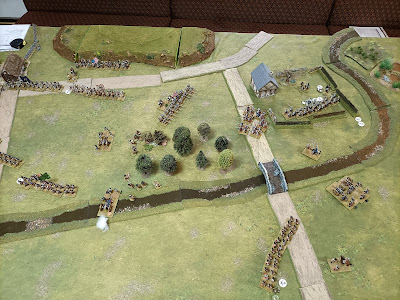
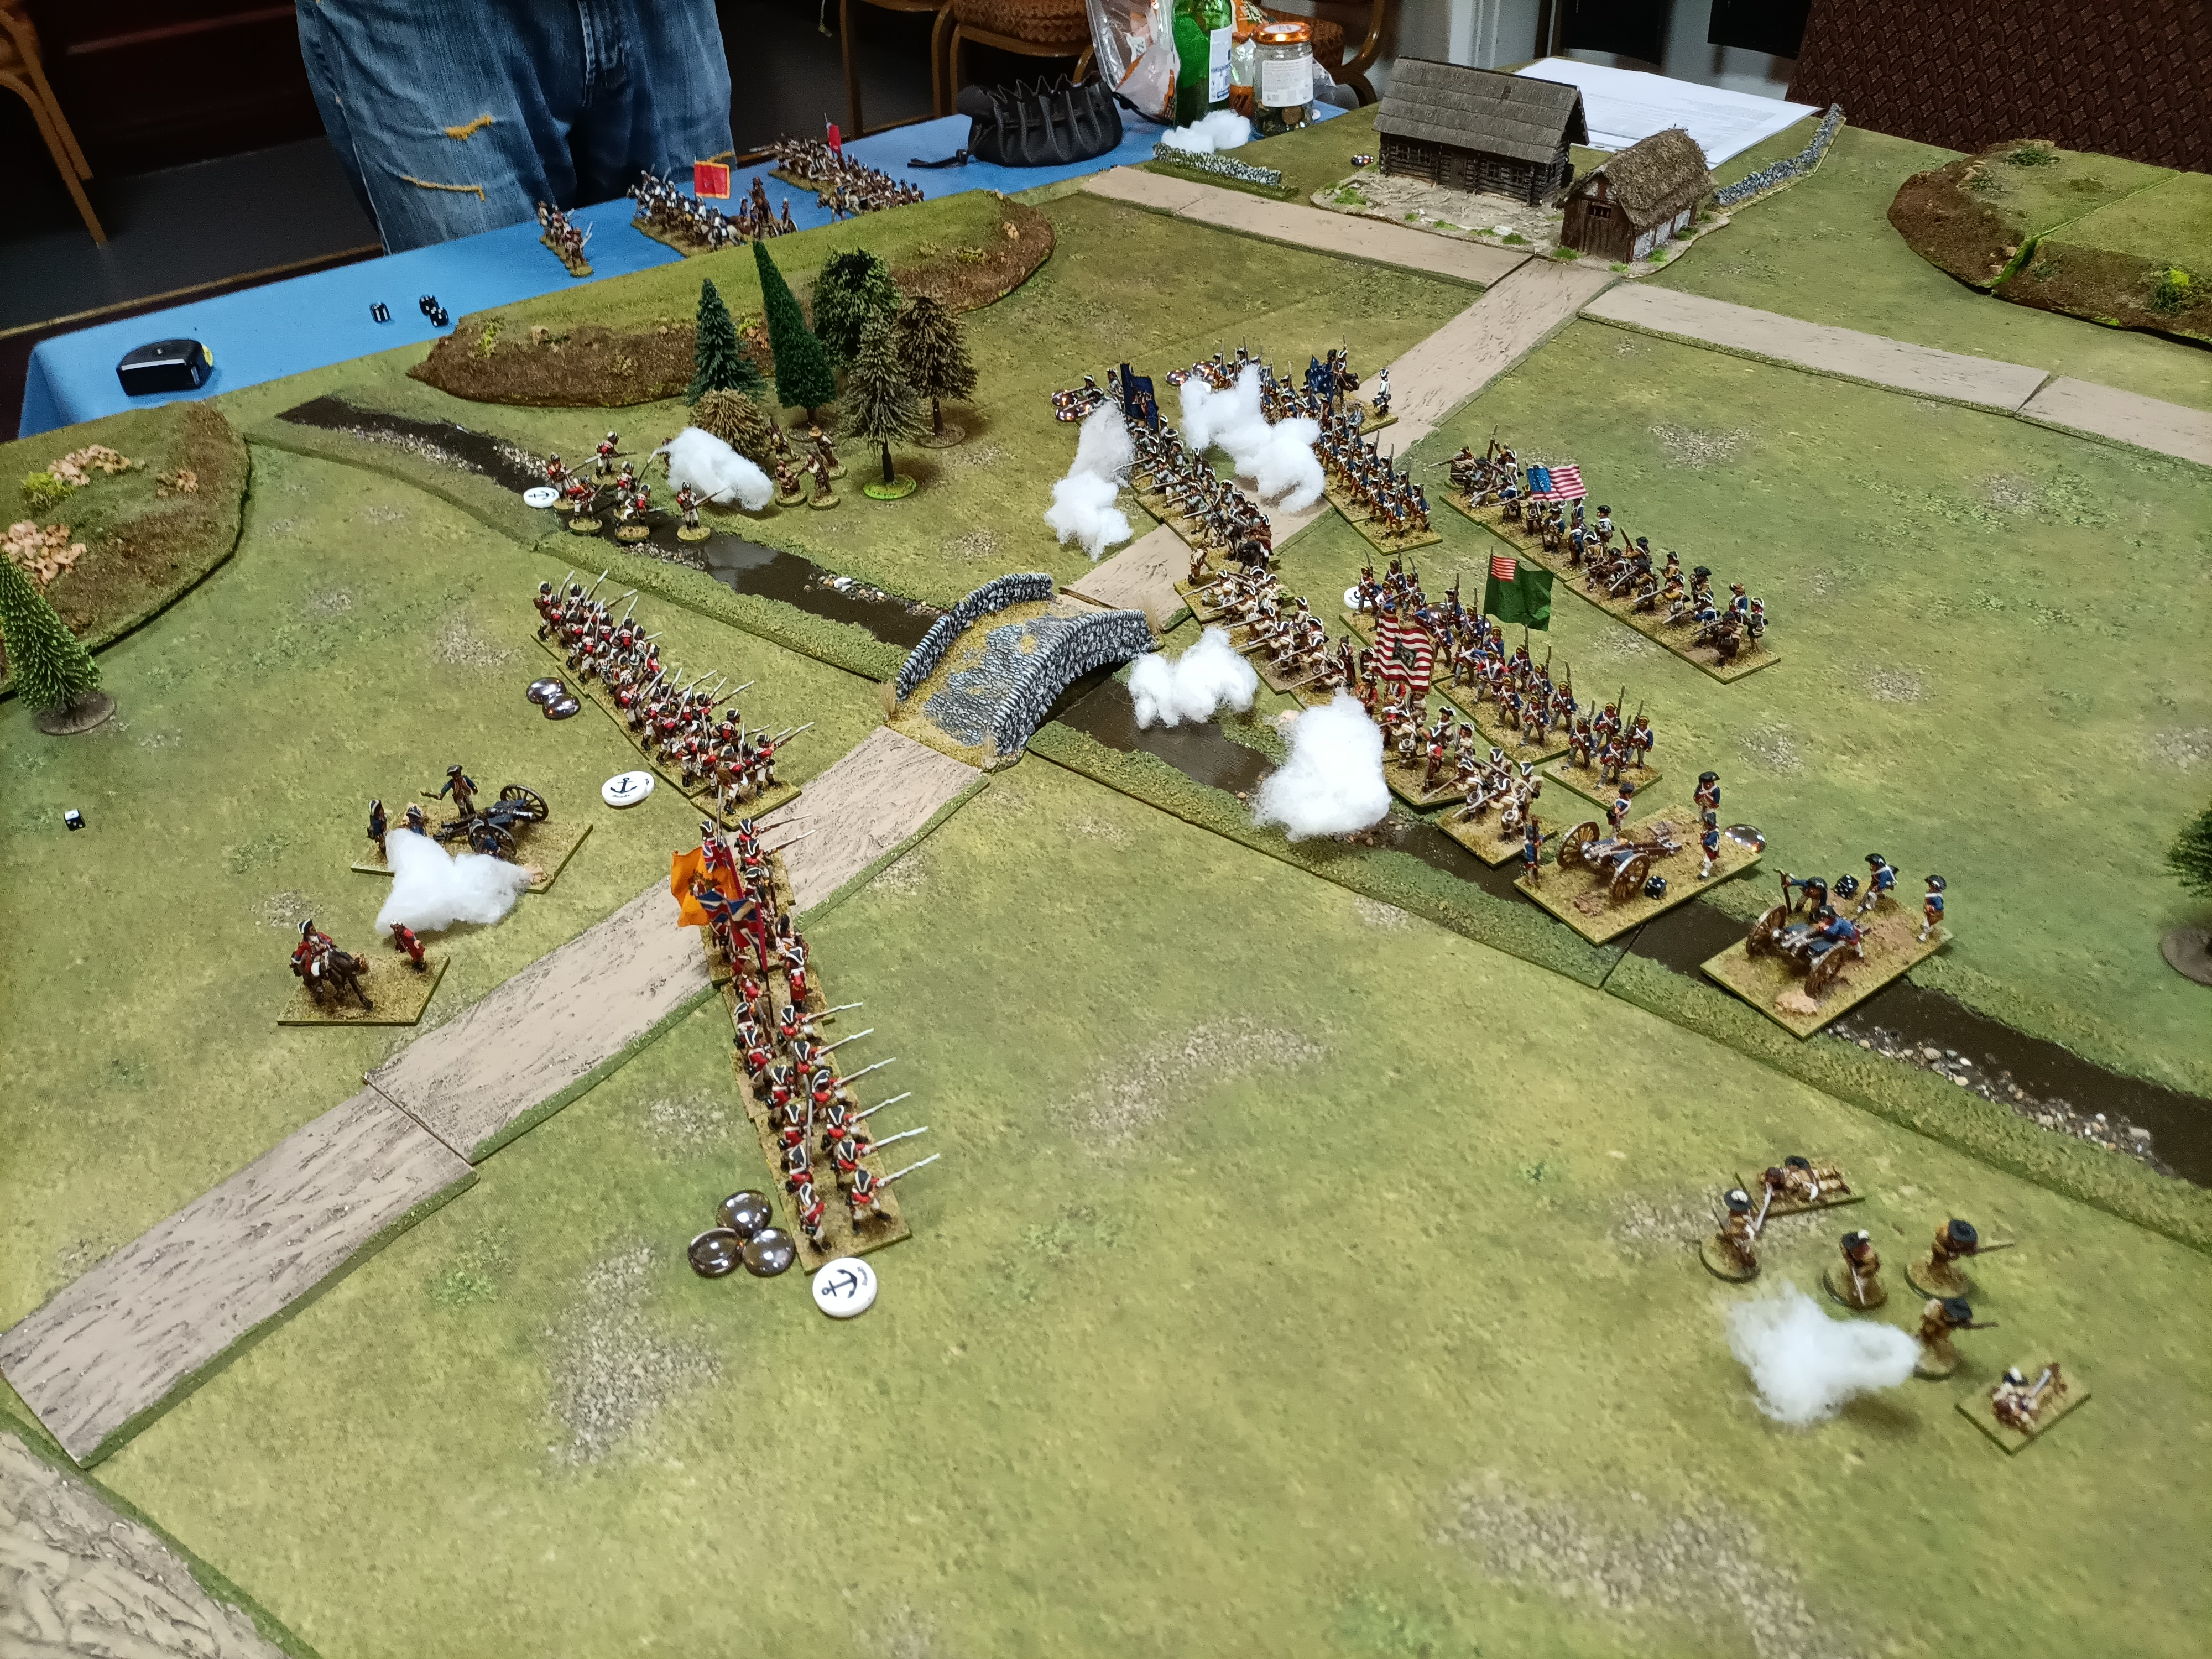
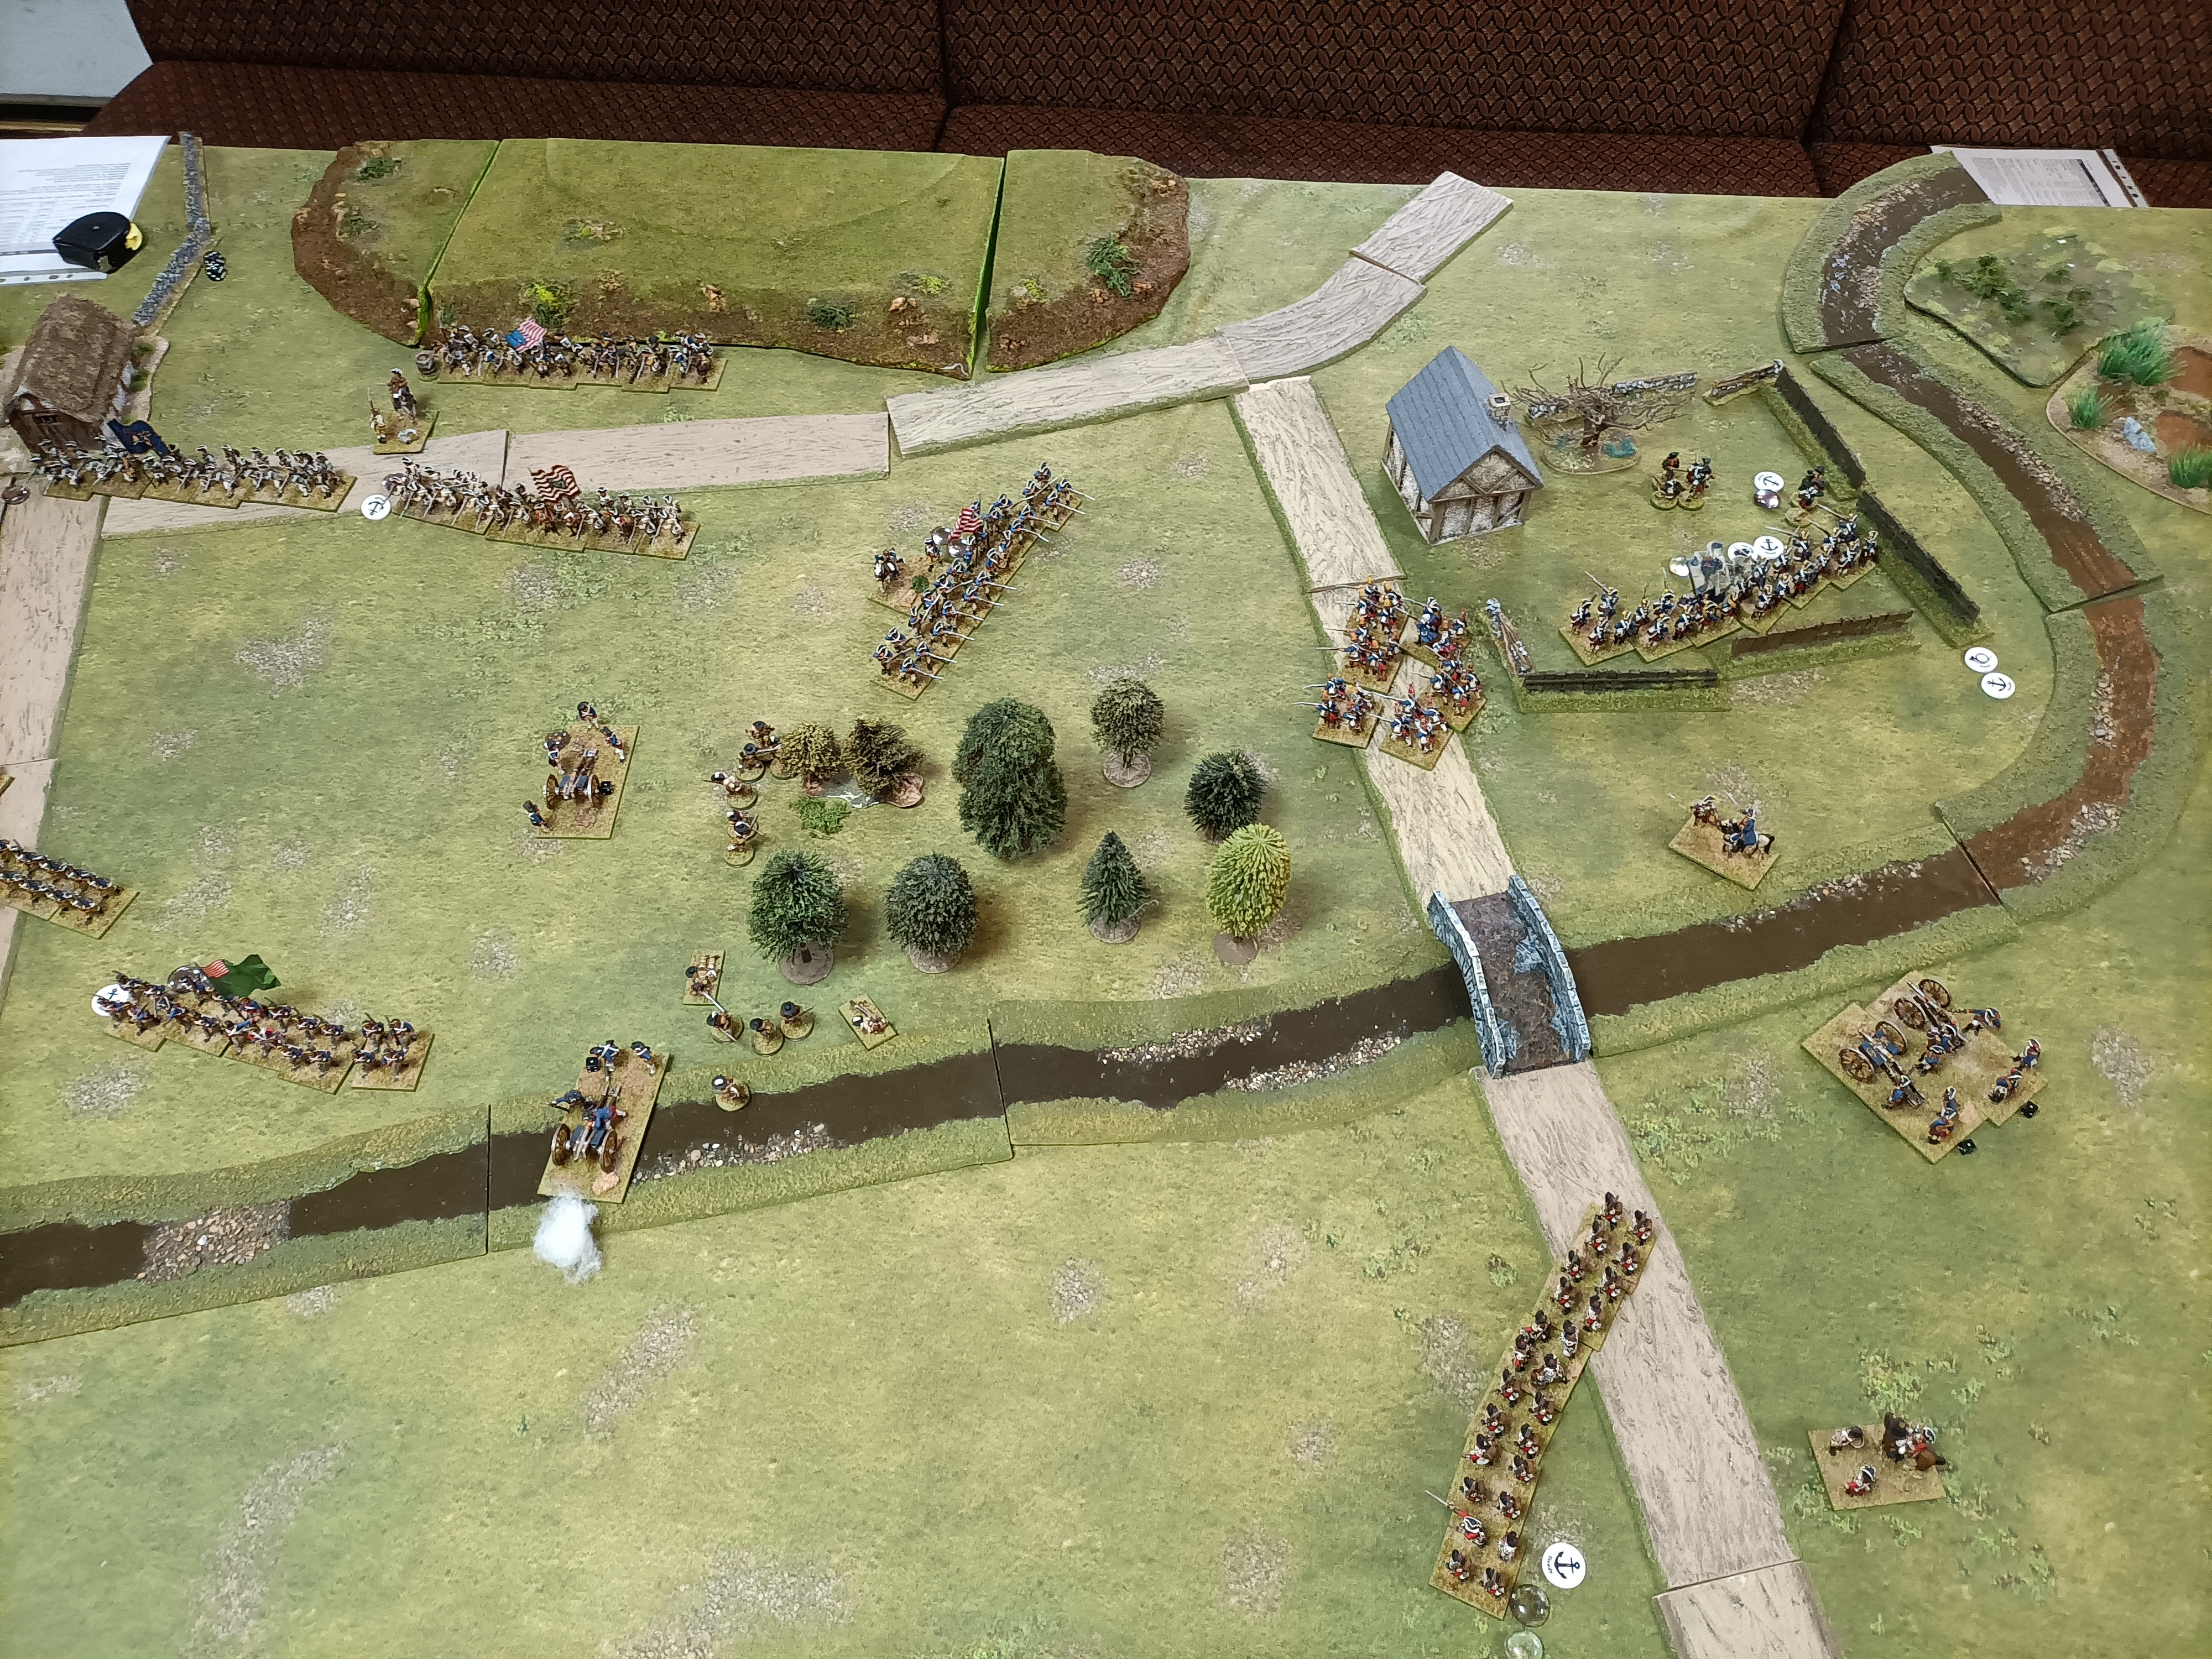
There were 3 farms. The middle one was that famous from the child's song. You all remember it, about the old MacDonald and his animals. The British attack was slow, but finally, I managed to place all forces in positions to attack. It comes of course with some problems. Especially my Dragoons, who blundered 3 times (3 times moved off the table)! I decided to attack Colonists in 2 places. First, the main attack went on MacDonald's farm and the second, who was to distract American forces and take them off my main assault. The supporting attack ended in complete failure and the destruction of the entire brigade. However, Michael agreed to replace the broken brigade with the same new troops. Then I launched my main attack. The British and Hessians attacked the farm under fire from the colonists' guns and captured it. The colonists suffered quite large losses (mainly the Militia, which fled from the battlefield). There was no other way and we had to retreat. However, the British suffered quite high losses and were unable to continue the pursuit. So in the end it's a draw!

Były 3 farmy. Środkowa to ta słynna z dziecięcej piosenki. Na pewno ją znacie, ta o starym MacDonaldzie i jego zwierzętach. Atak brytyjski był powolny, jednak w końcu udało mi się ustawić oddziały do ataku. Nie odbyło się oczywiście bez problemów. Szczególnie prym tu wiedli moi dragoni, który 3 razy wycofywali się z pola walki. Zdecydowałem się na atak Kolonistów w dwóch miejscach. Pierwszy na farmę MacDonalda i drugi, który miał odciągnąć część sił Amerykanów od głównego natarcia. Wspierający atak zakończył się całkowitą porażką i rozbiciem całej  brygady. Michael, jednak zgodził się na to, by całą zniszczoną brygadę zastąpić nową, o tej samej sile. Wtedy przystąpiłem do głównego ataku. Brytyjczycy i Hessowie pod ogniem dział kolonistów zaatakowali farmę i ją zdobyli. Koloniści ponieśli dość duże straty (głównie Milicja, która uciekła z pola walki). Nie było innej drogi i trzeba było się wycofać. Brytyjczycy jednak ponieśli dość wysokie straty i nie byli w stanie kontynuować pościgu. Na koniec więc remis! 


3.3.  Links. Linki.

MICHAEL:

To be updated soon.

FLICKR:

https://www.flickr.com/photos/asienieboje/albums/72177720311379654