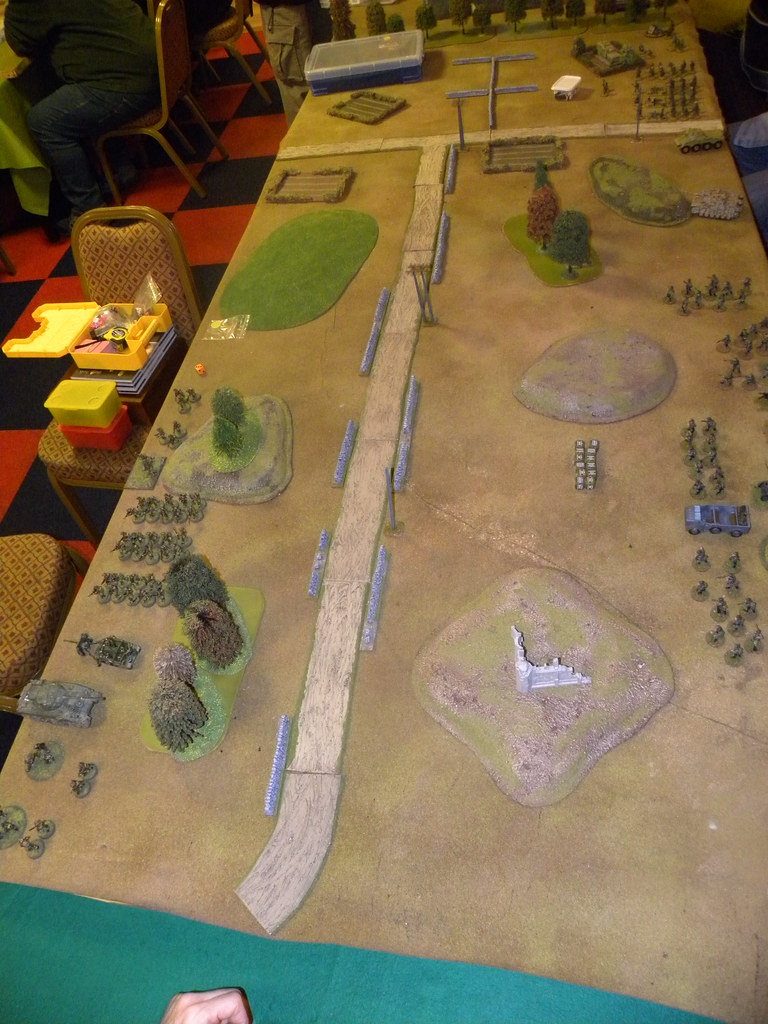
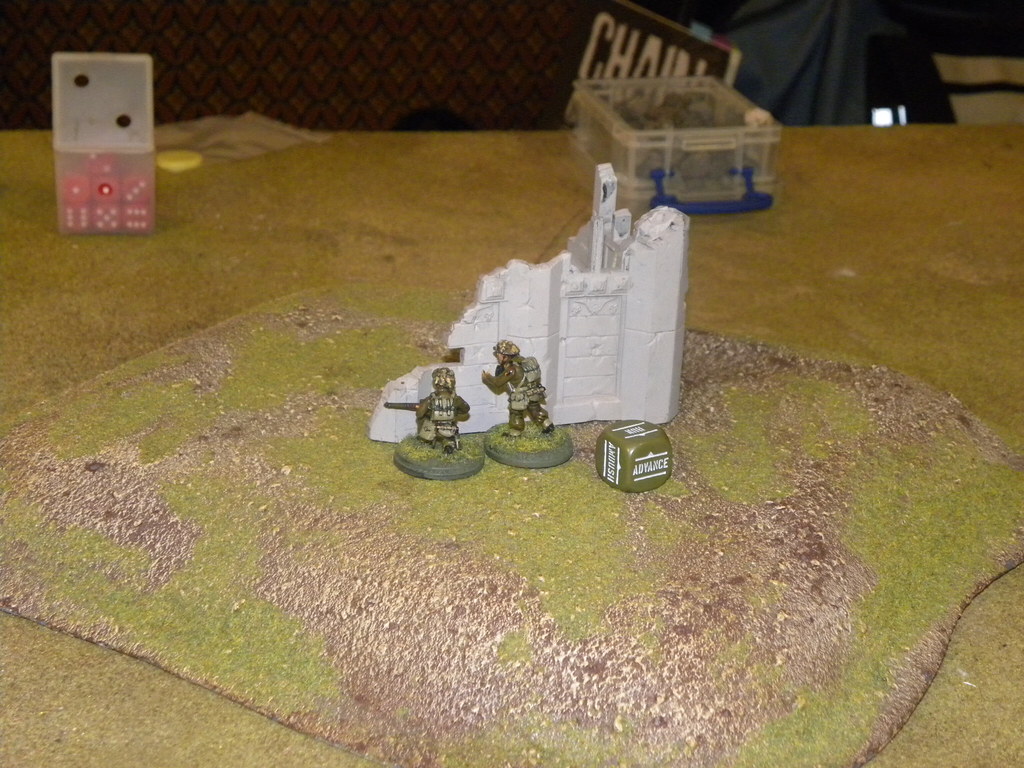
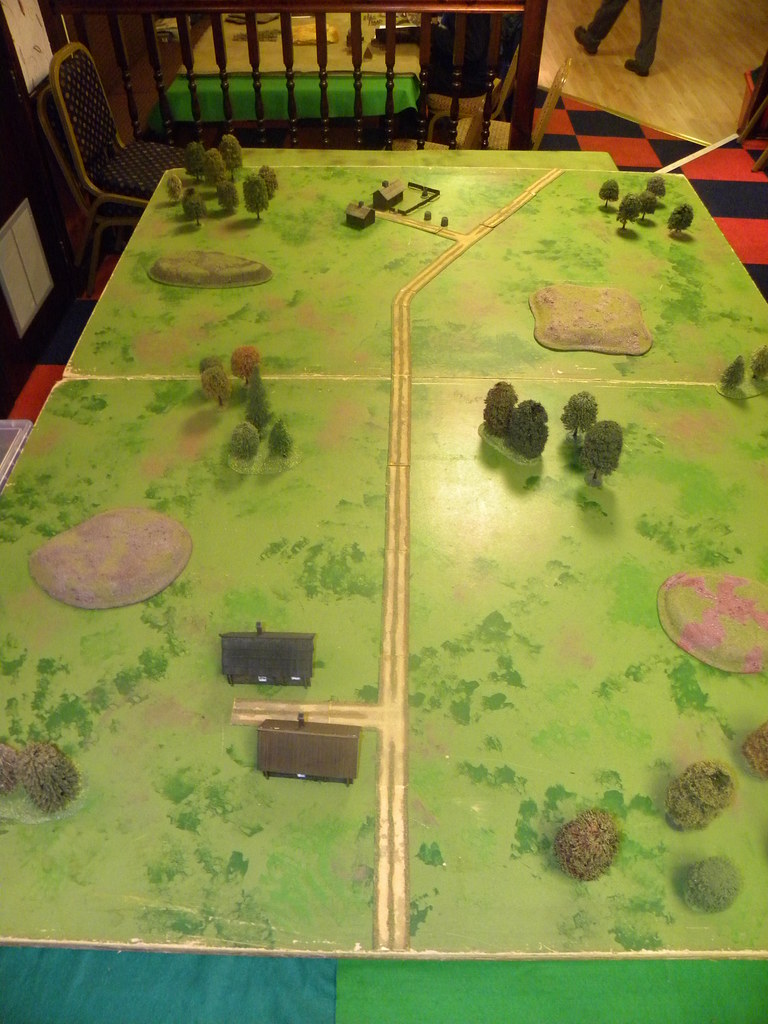
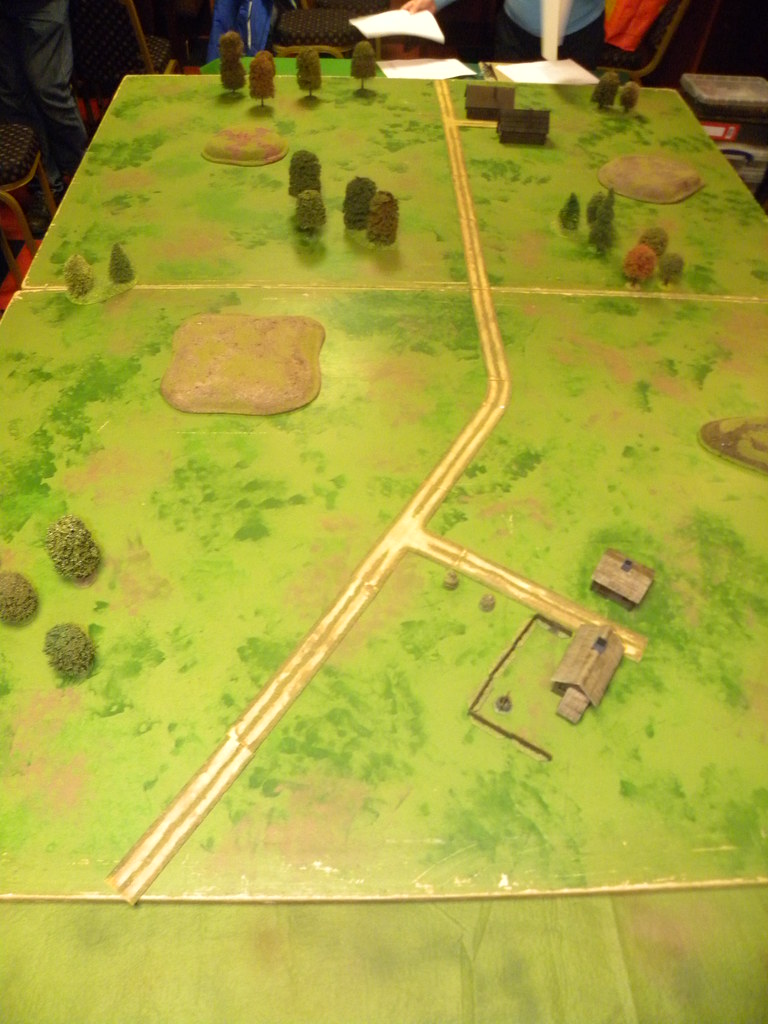
Last Wednesday we had our third game of the Battle of Berwick in 1938 during the Very British Civil War. The game was played on the amazing table created by Hugh Wilson. We used again the Bolt Action rules with the special use of Night Fighting rules for the first six turns.
W ostatnią środę rozegraliśmy naszą trzecią grę Bitwy o Berwick w 1938 roku stoczonej podczas Bardzo Brytyjskiej Wojny Domowej. Gra została rozegrana na niesamowitym stole stworzonym przez Hugha Wilsona. Do gry użyliśmy ponownie zasad Bolt Action ze specjalnym użyciem przepisów Nocnej Walki dla pierwszych sześciu tur.
Past games:
Poprzednie gry:
SCENARIO/SCENARIUSZ: Tim Watson, Colin Jack
UMPIRING/PROWADZENIE GRY: Hugh Wilson
SCENERY/SCENERIA: Hugh Wilson
MODELS&FIGURES/ MODELE I FIGURKI: Colin Jack
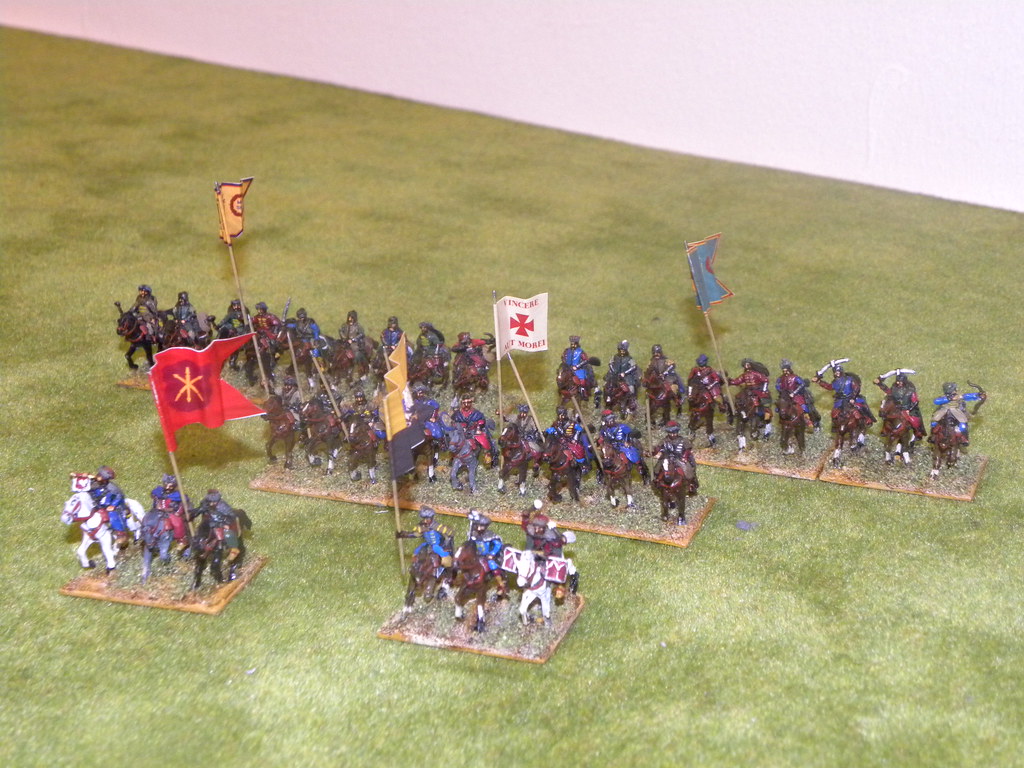
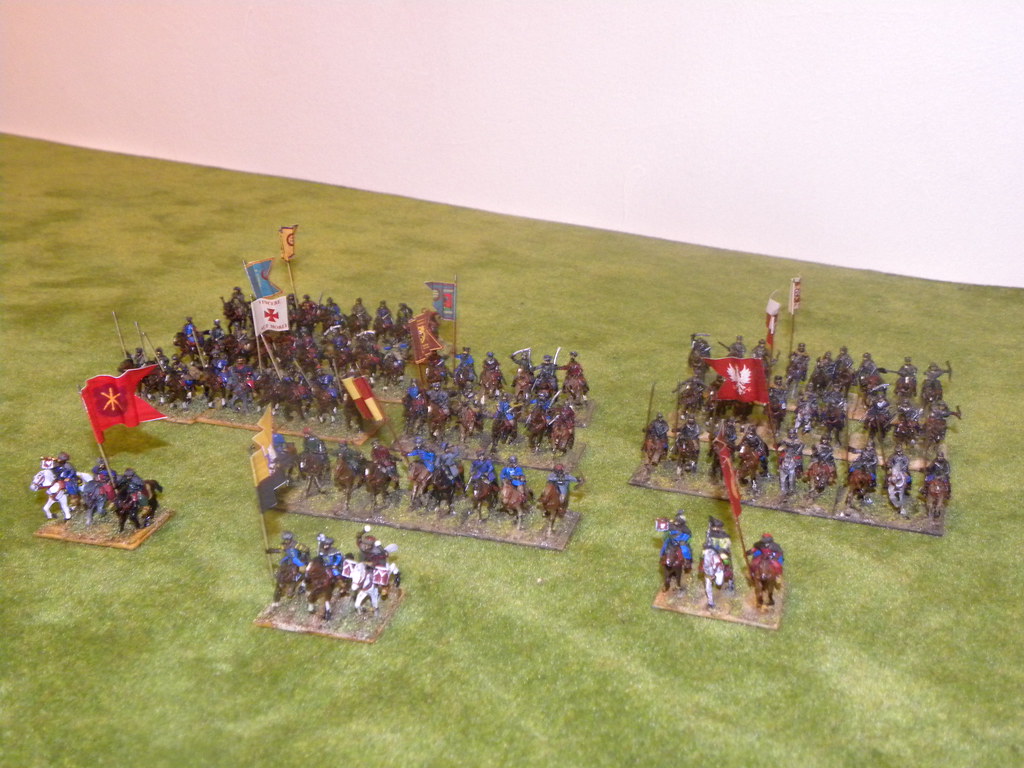
1. Forces. Siły.
SCOTS/SZKOCI
(Dave O'Brian, Bartek Żynda, Tim Watson)
List will be updated soon.
Lista będzie podana później.
ANGLIAN & FASCISTS/ANGLOWIE i FASZYŚCI
(Donald Adamson, Bill Gilchrist, Ray Neal, Colin Jack)
List will be updated soon.
Lista będzie podana później.
2. The Game. Gra.
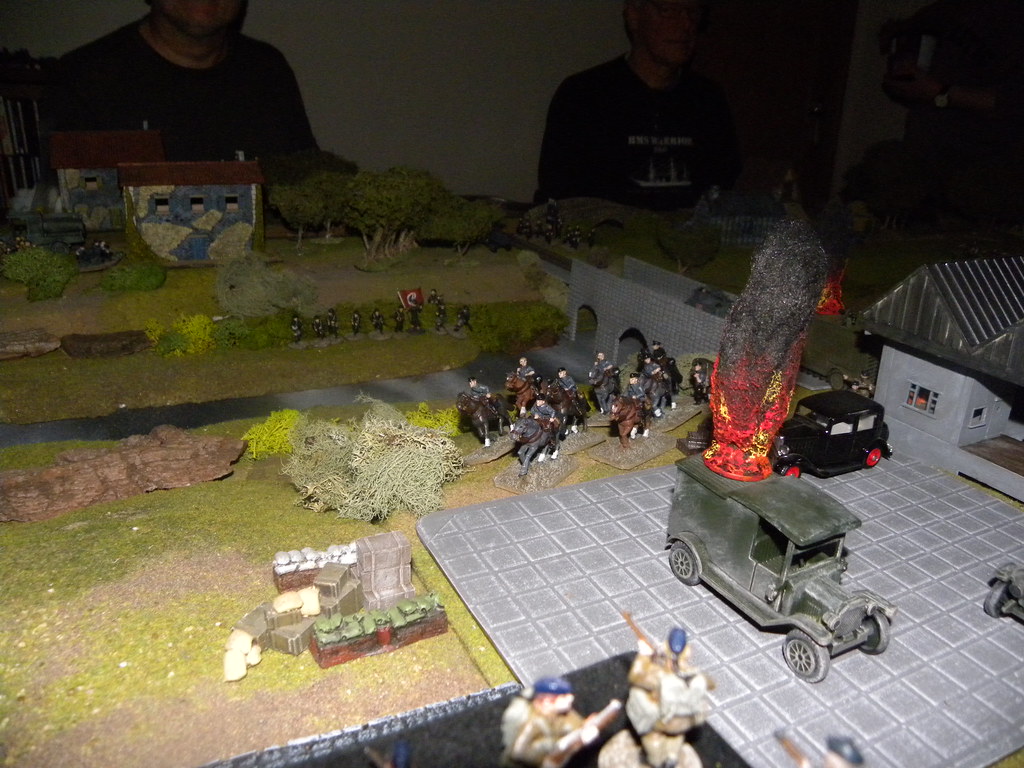
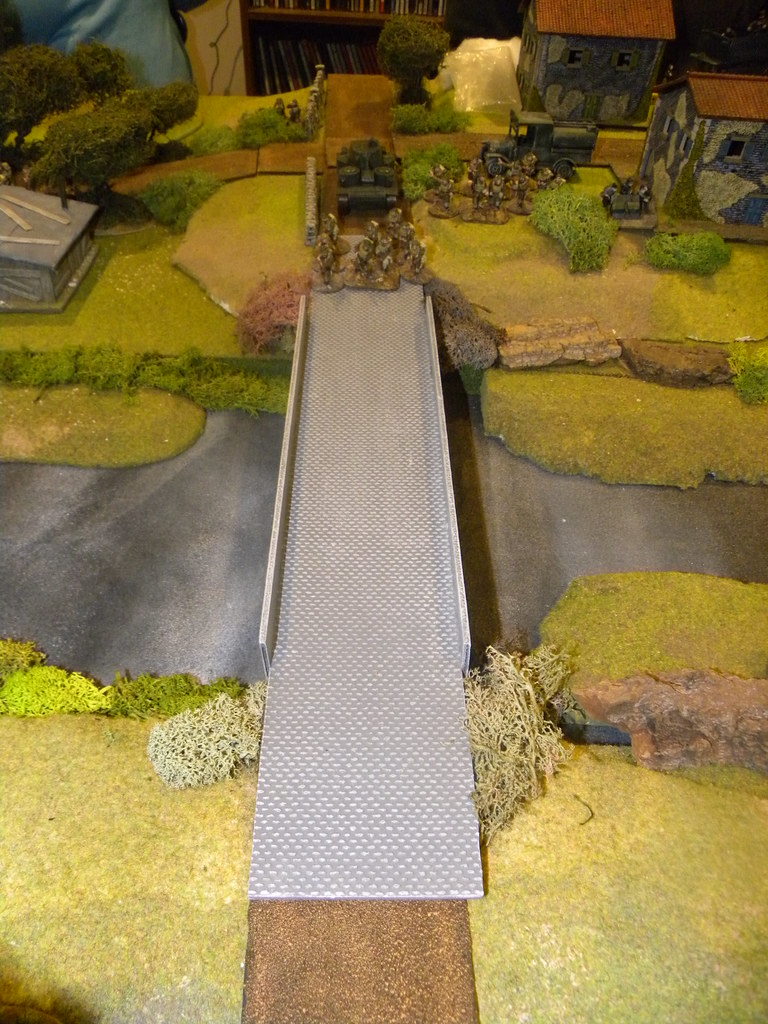
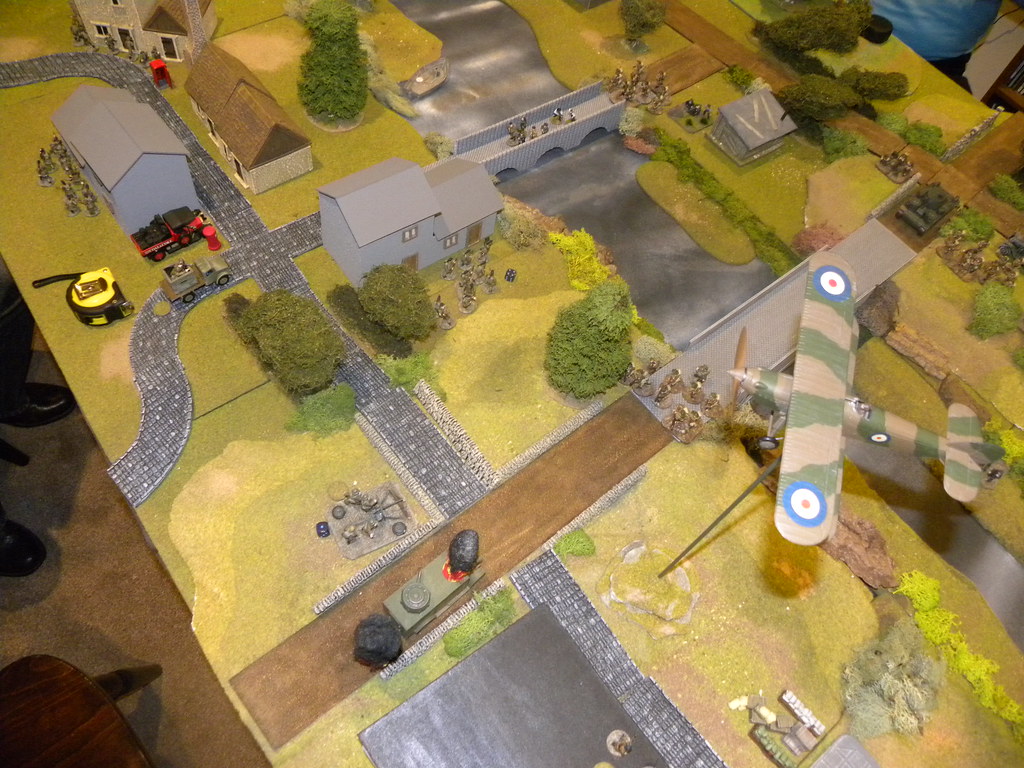
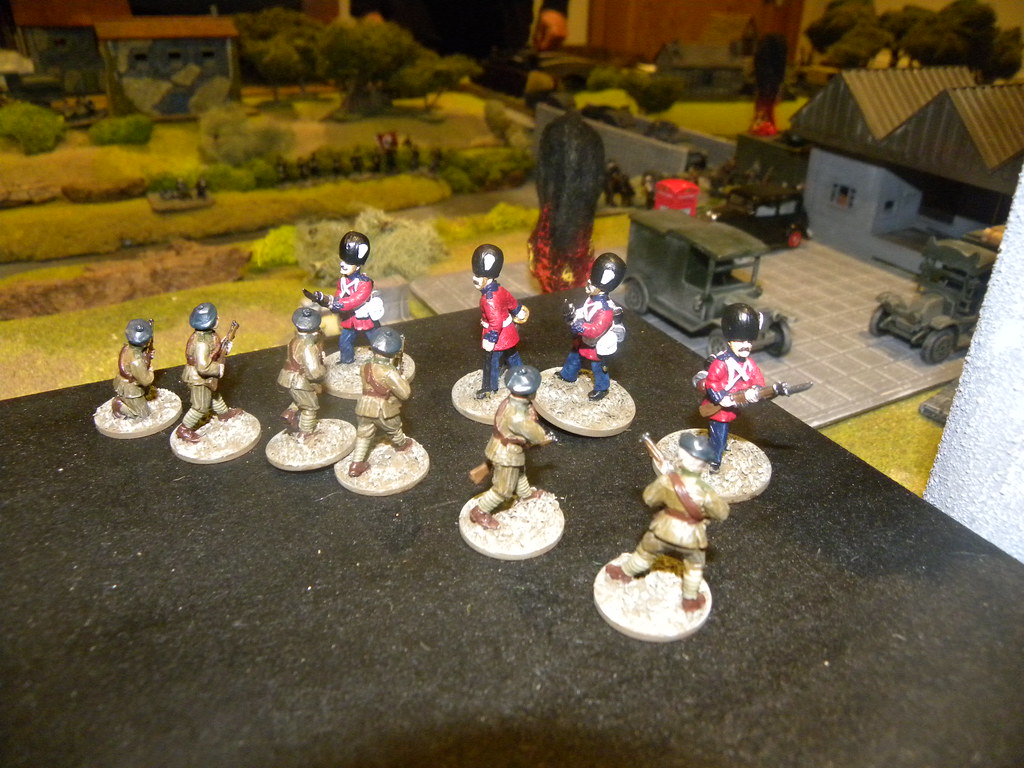
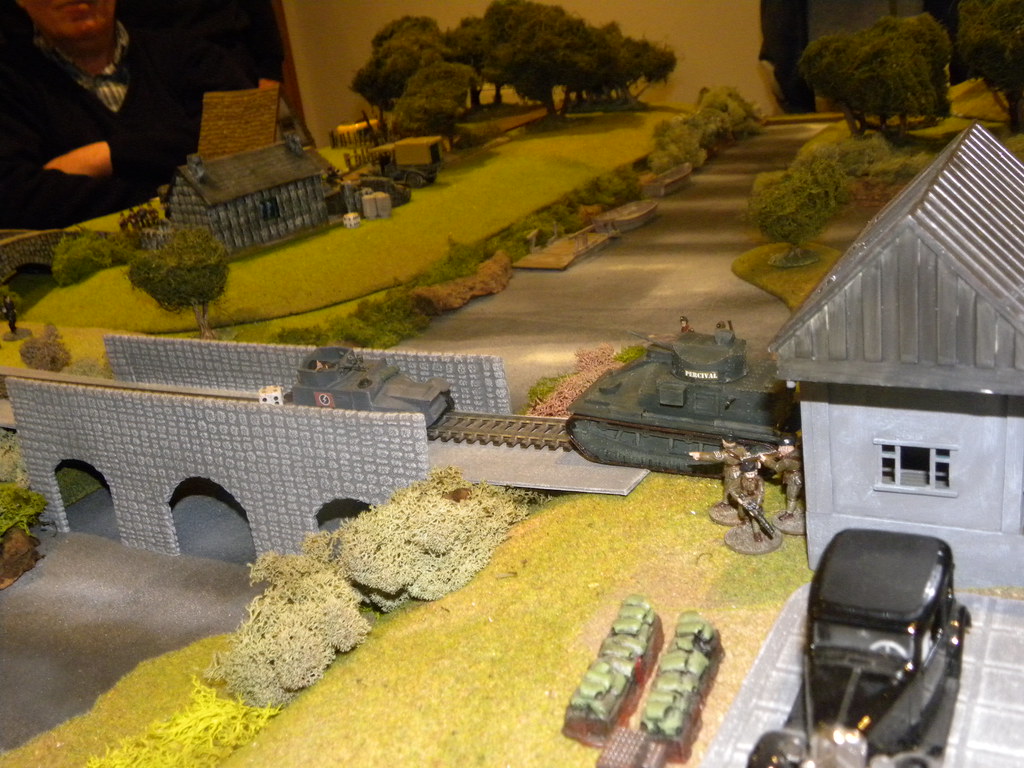
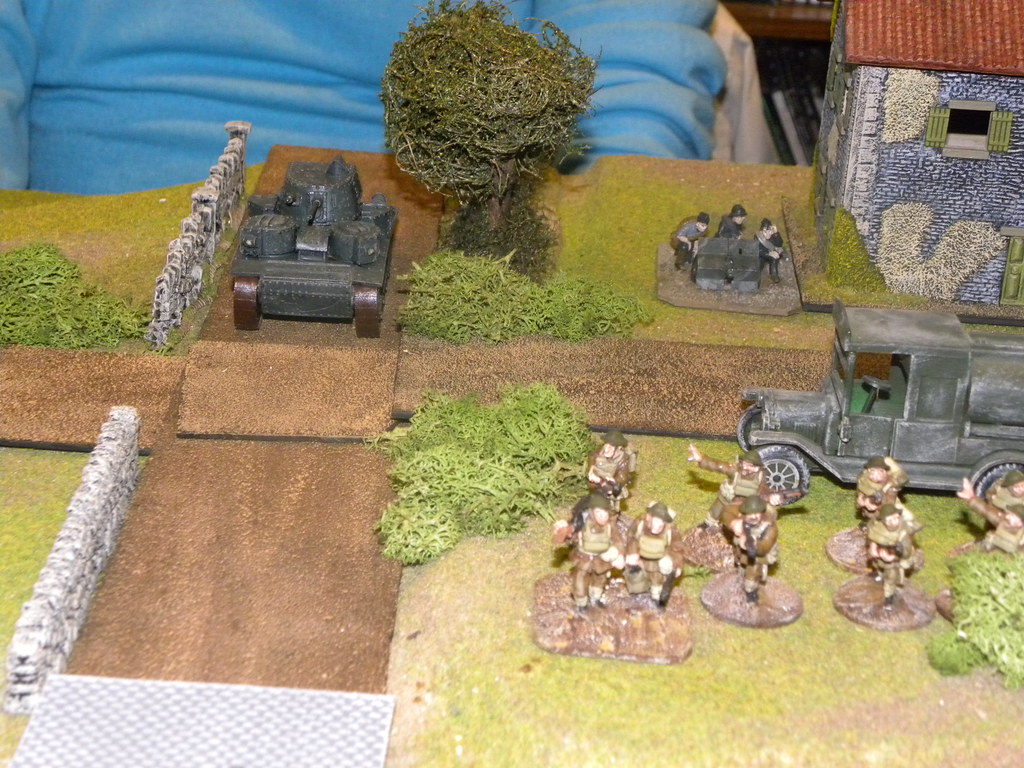
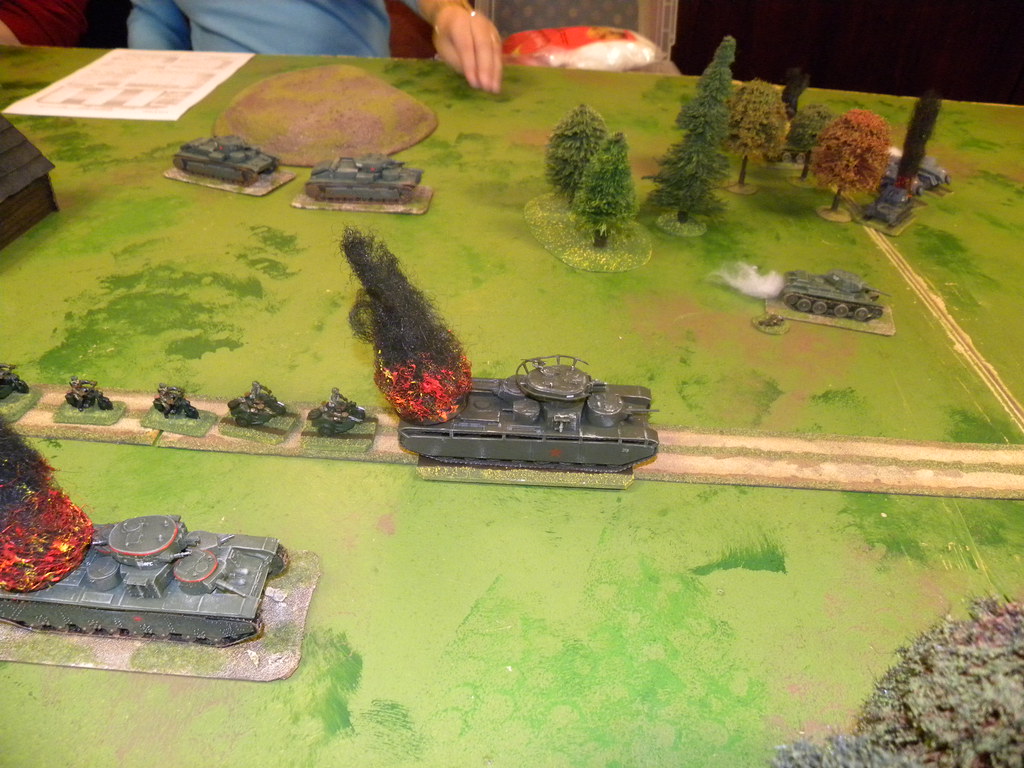
For the first six turns we used the special Night Fighting rules comes from the Bolt Action supplement Battleground Europe. The idea of that were first, to help Anglian forces to made their way through the Bridges and from the second, to check this rules how they works. Anglian forces during the night managed to clear the second Bridge and take the Rail Station, but they were stopped at the warehouse and pushed back to the Station. This finished the night and Scots decided to call for the airplane with the first daylight...
Przez pierwsze sześć tur korzystaliśmy z specjalnych zasad walki nocnej pochodzących z suplementu do Bolt Action pt.: Battlegroup Europe. Wykorzystaliśmy je ponieważ po pierwsze chcieliśmy wspomóc siły angielskie mogły przebić się w końcu przez mosty i po drugie by sprawdzić jak te zasady pracują. Siłom Anglów podczas nocy udało się oczyścić następny most (drogowy) oraz opanować stację kolejową, ale zostali zatrzymani przy magazynach i z powrotem odepchnięci do stacji. To zakończyło noc, z brzaskiem dnia Szkoci wezwali do pomocy samolot...
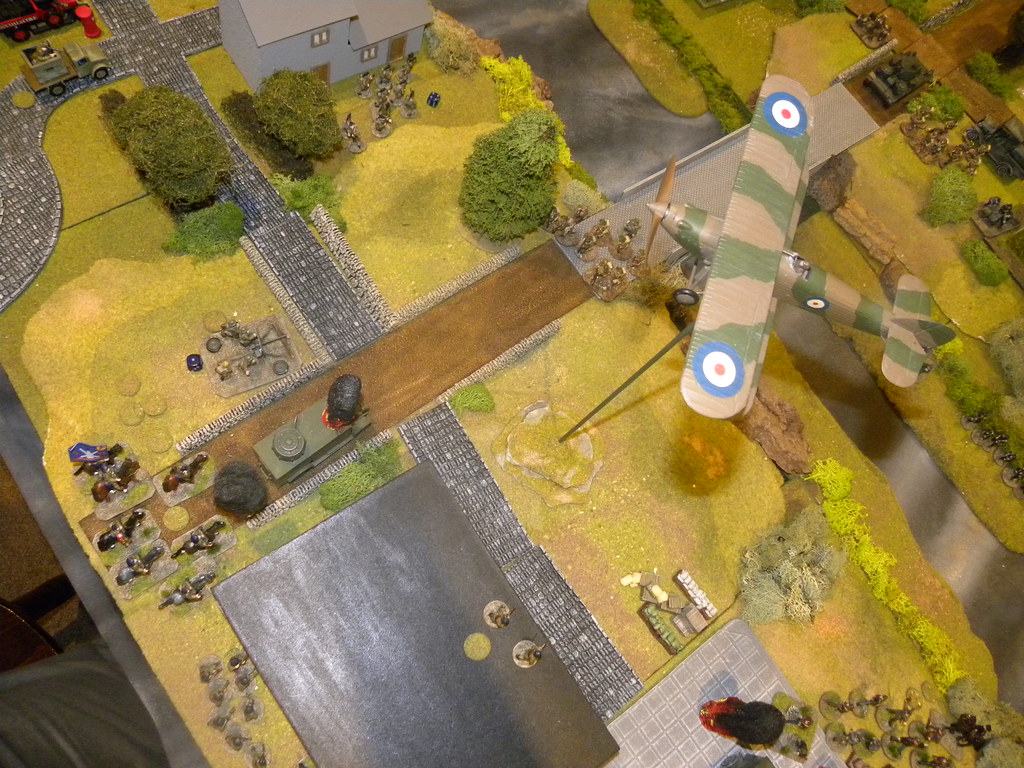
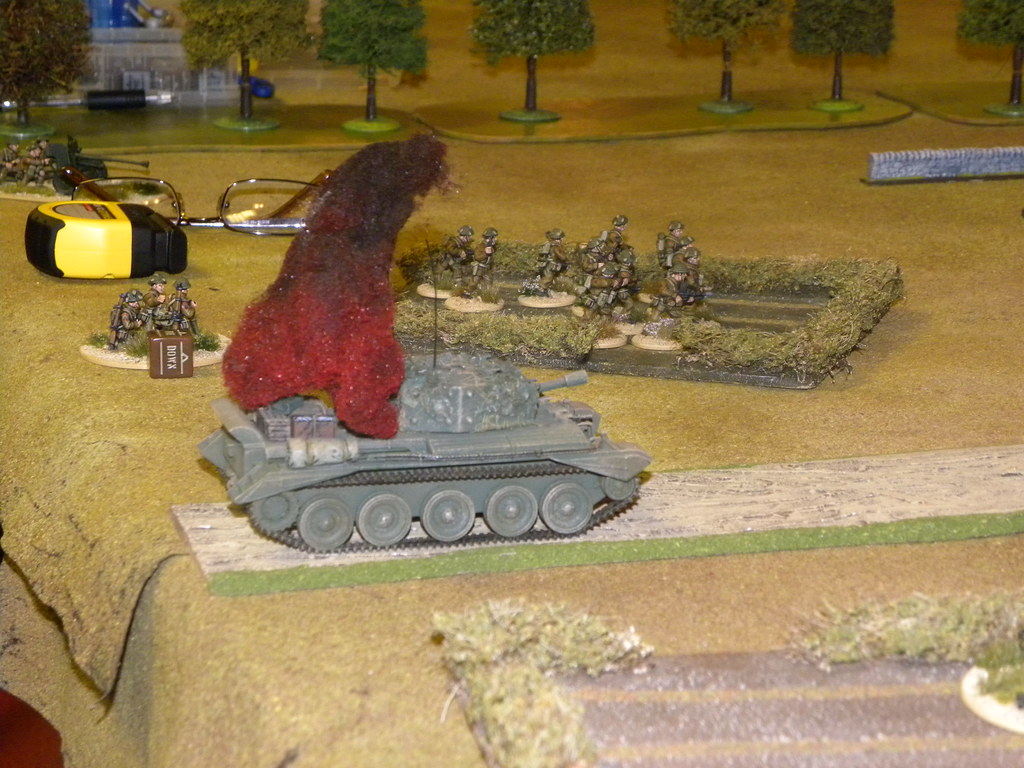
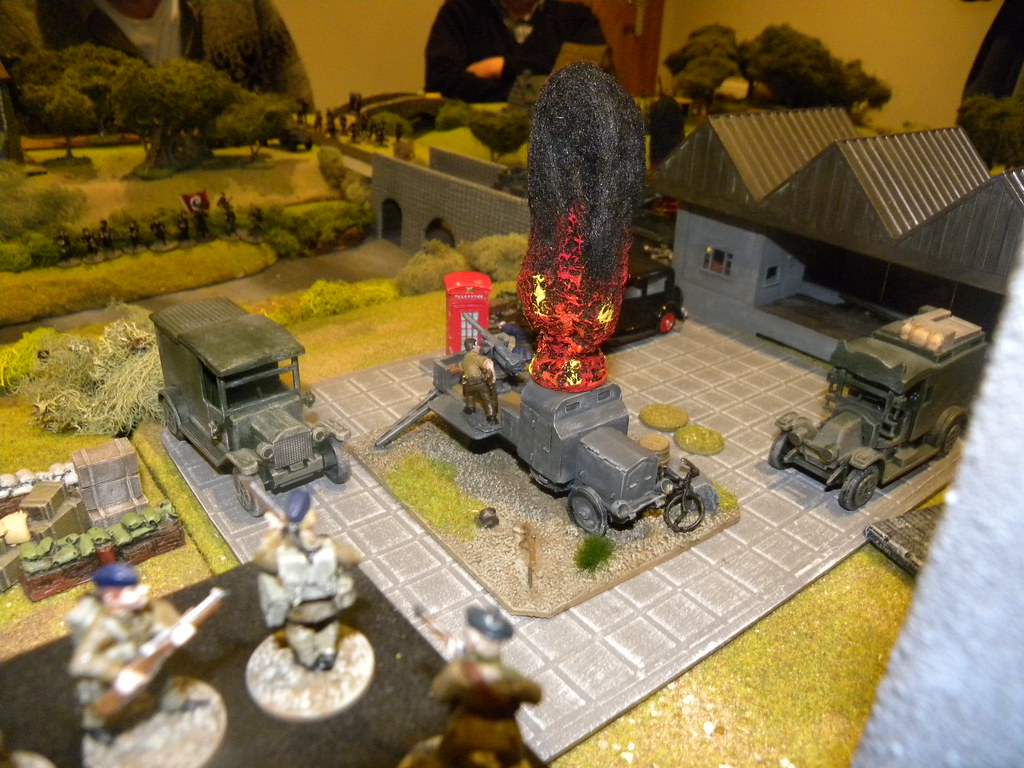
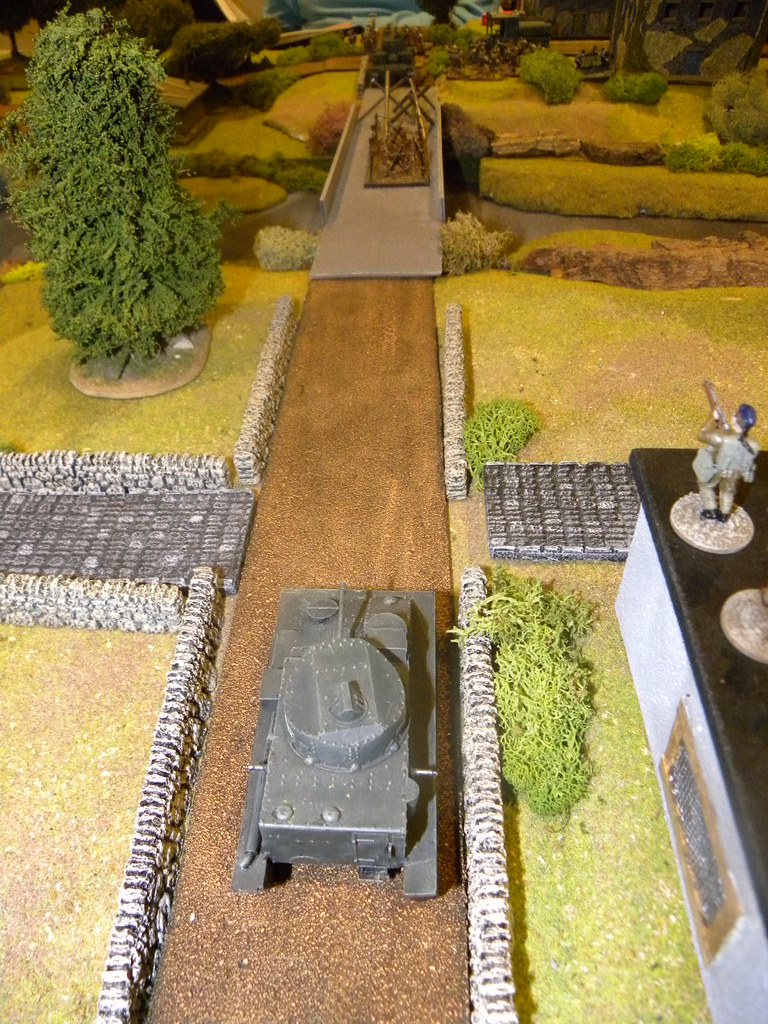
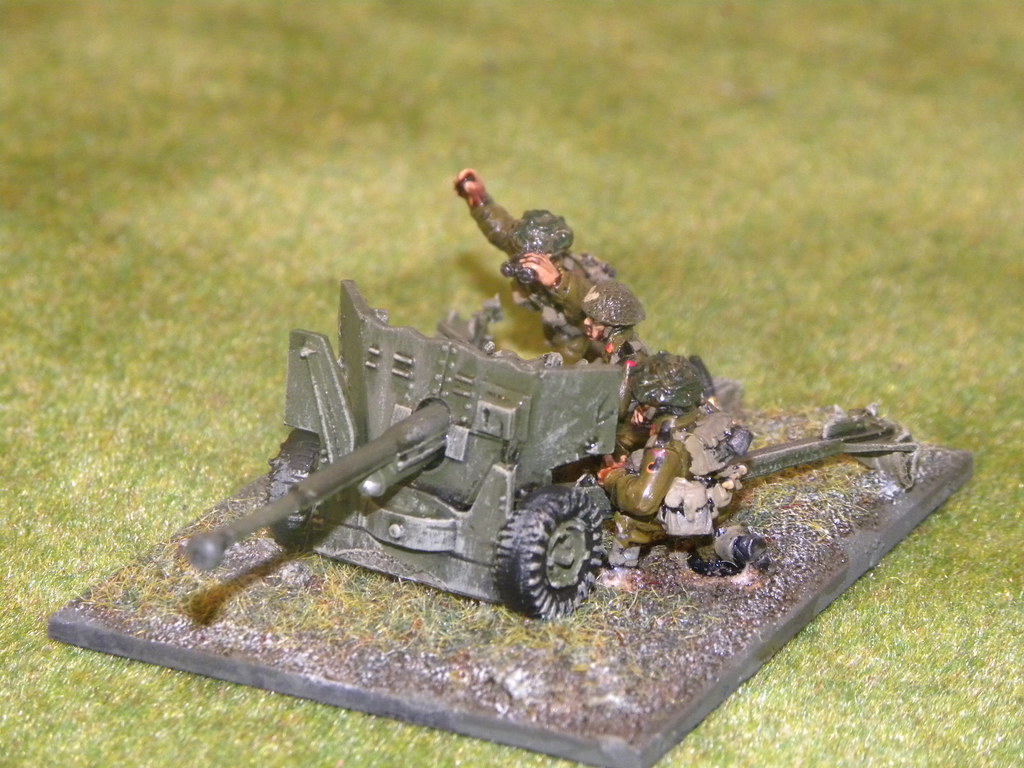
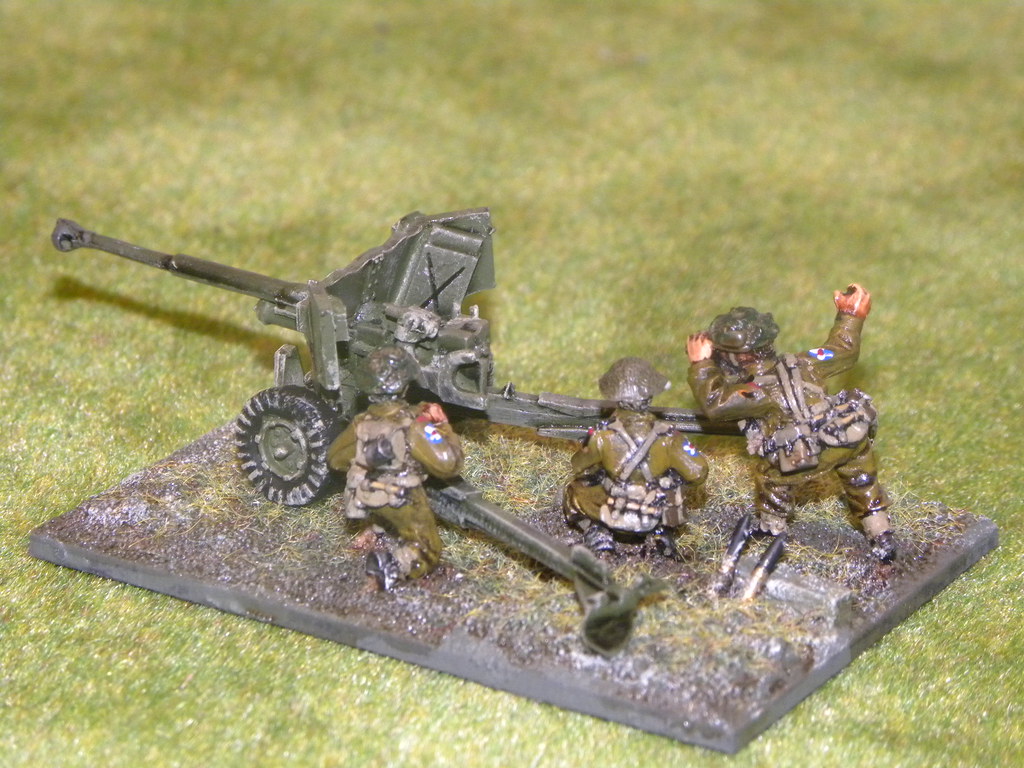
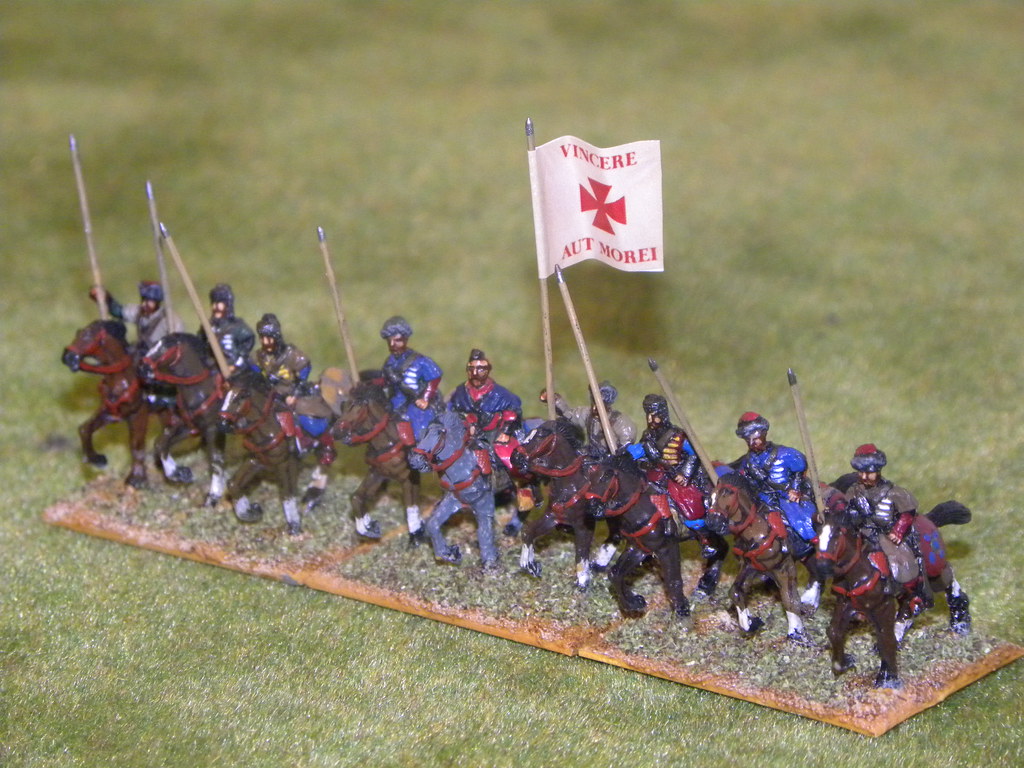
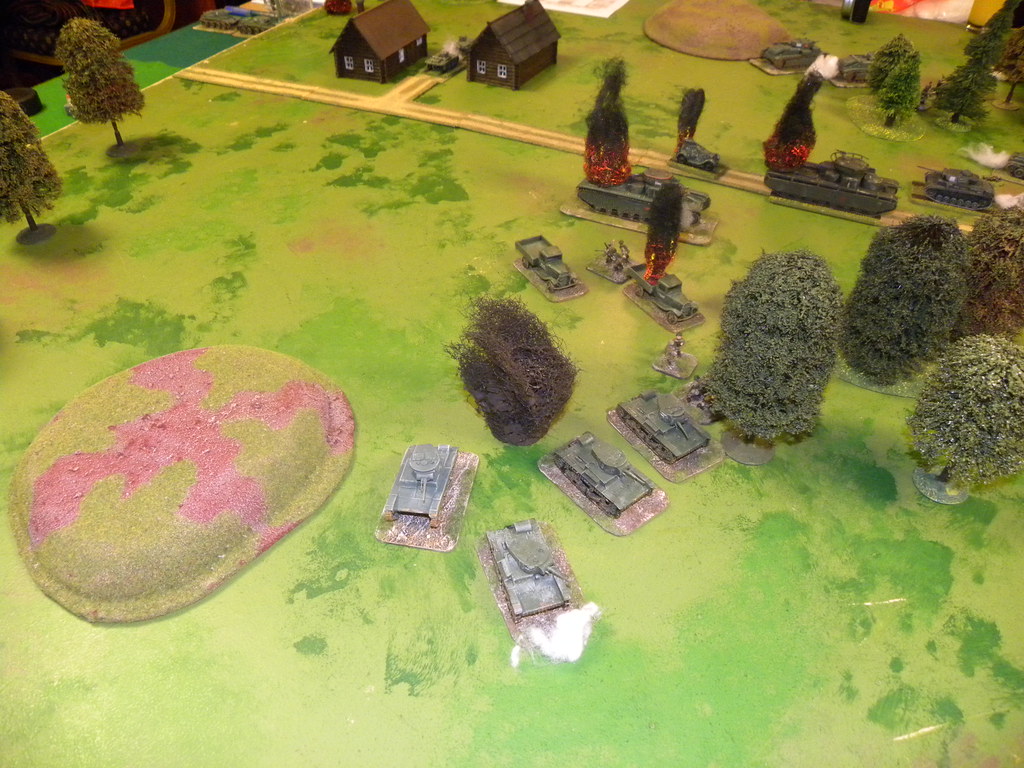
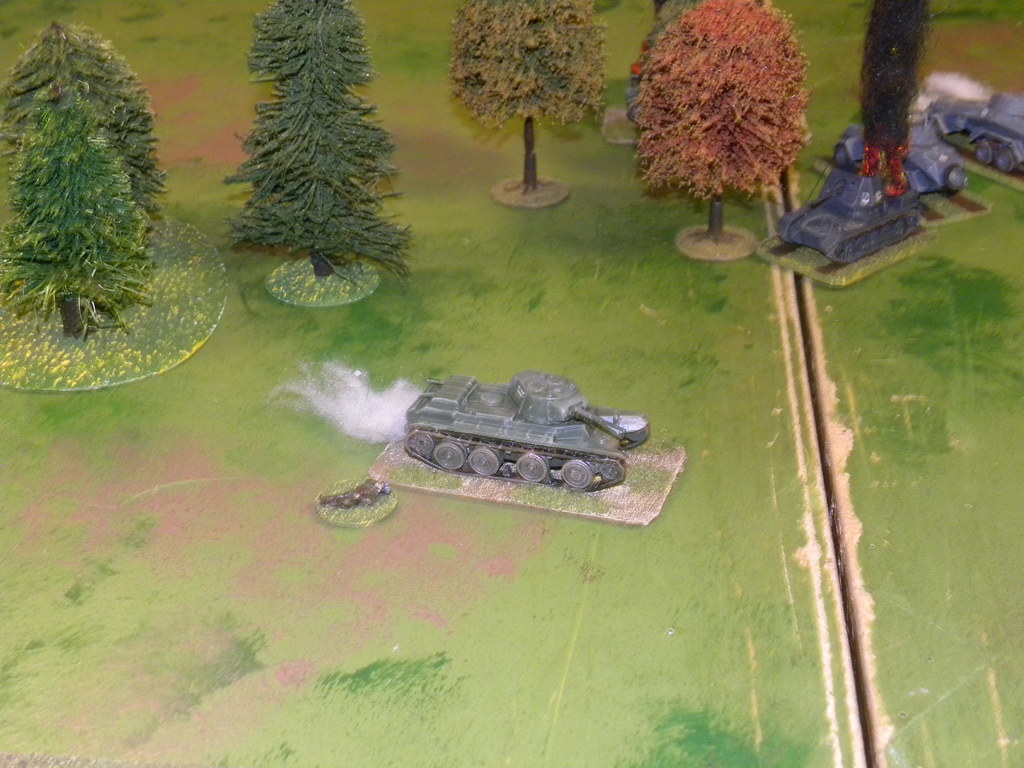
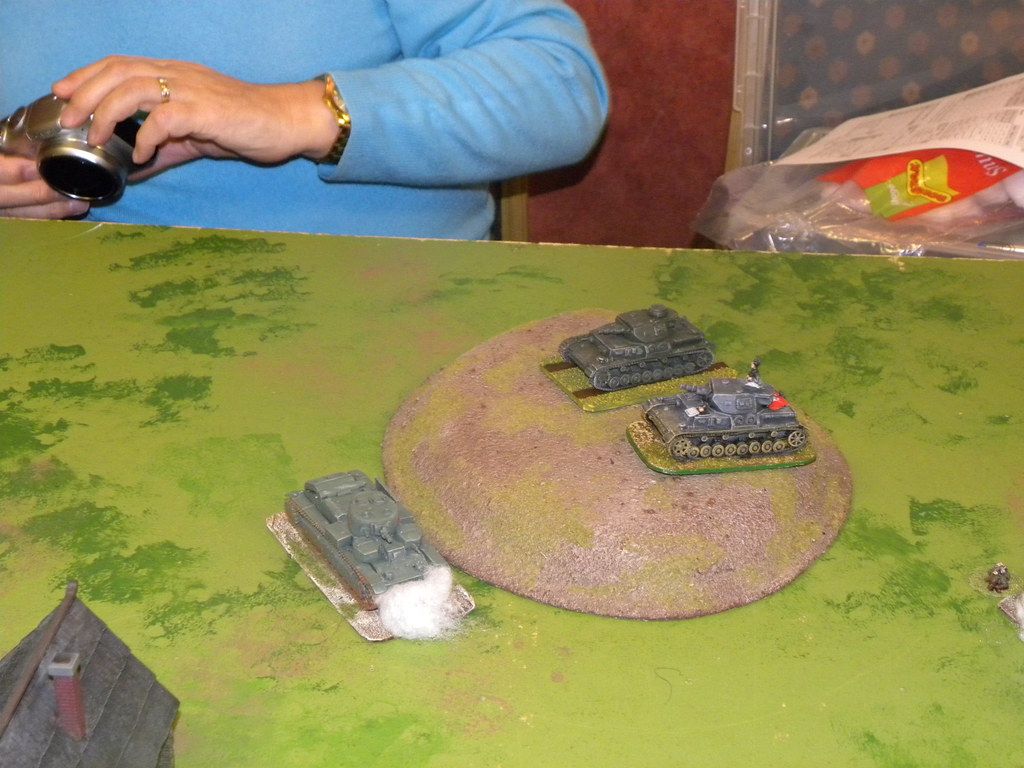
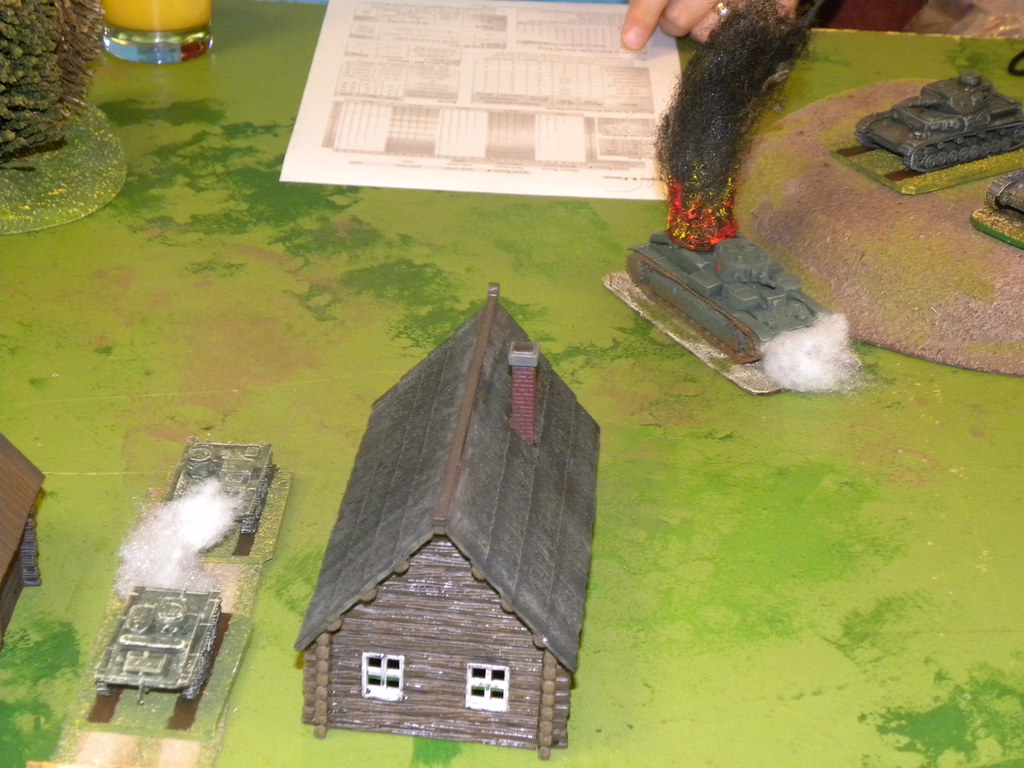
Believe or not, but the plane again hit his own troops for the third time during our whole game! My units suffered the most as I lost the cavalry unit and rest of them were hardly pinned, what allowed Anglian soldiers to cross the Road Bridge but then rest of my units stopped them and forced them back. The same happend with the attack on the Foot Bridge. Anglian Forces has been pushed back and those units who crossed the bridge become annihilated.
Wieżcie lub nie, ale samolot ponownie zaatakował własne oddziały po raz trzeci w ciągu całej naszej gry! Moje oddziały ucierpiały na tym najwięcej, ponieważ strarciłem oddział kawalerii, a reszta oddziałów została poważnie spinowana, co pozwoliło oddziałom Anglów na przekroczenie mostu drogowego, ale wtedy zostały one zatrzymane przez pozostałe moje oddziały i zmuszone do odwrotu. To samo stało się na moście pieszym. Siły angielskie zostały zmuszone do odwrotu, a te które się przedarły zostały unicestwione.
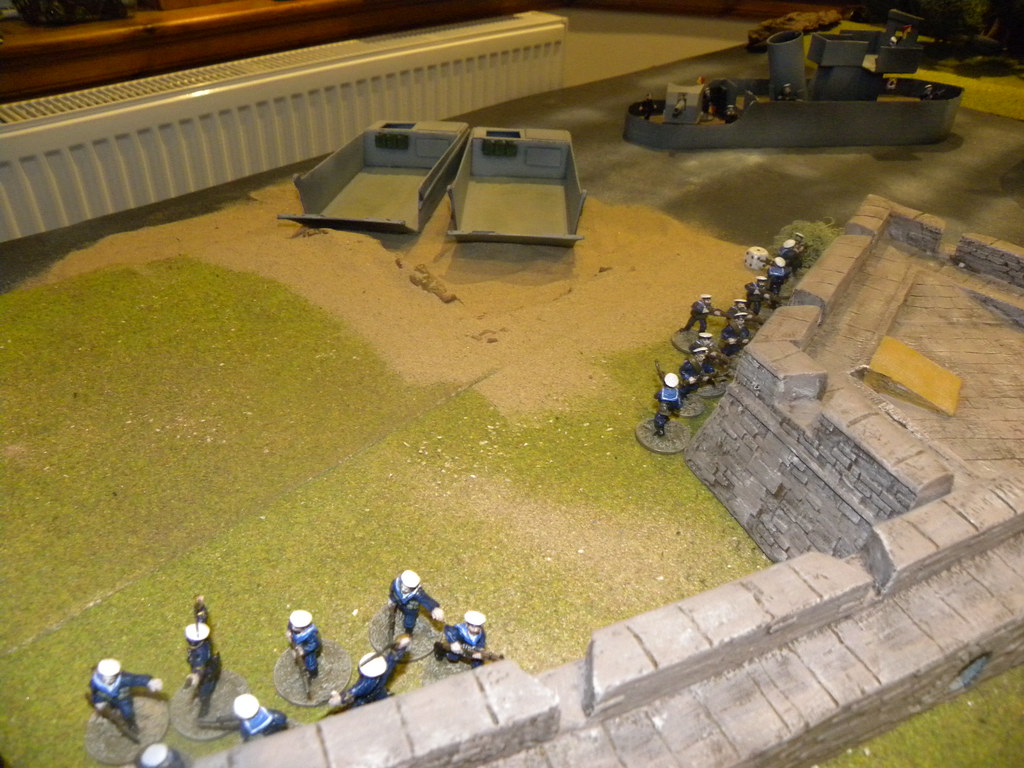
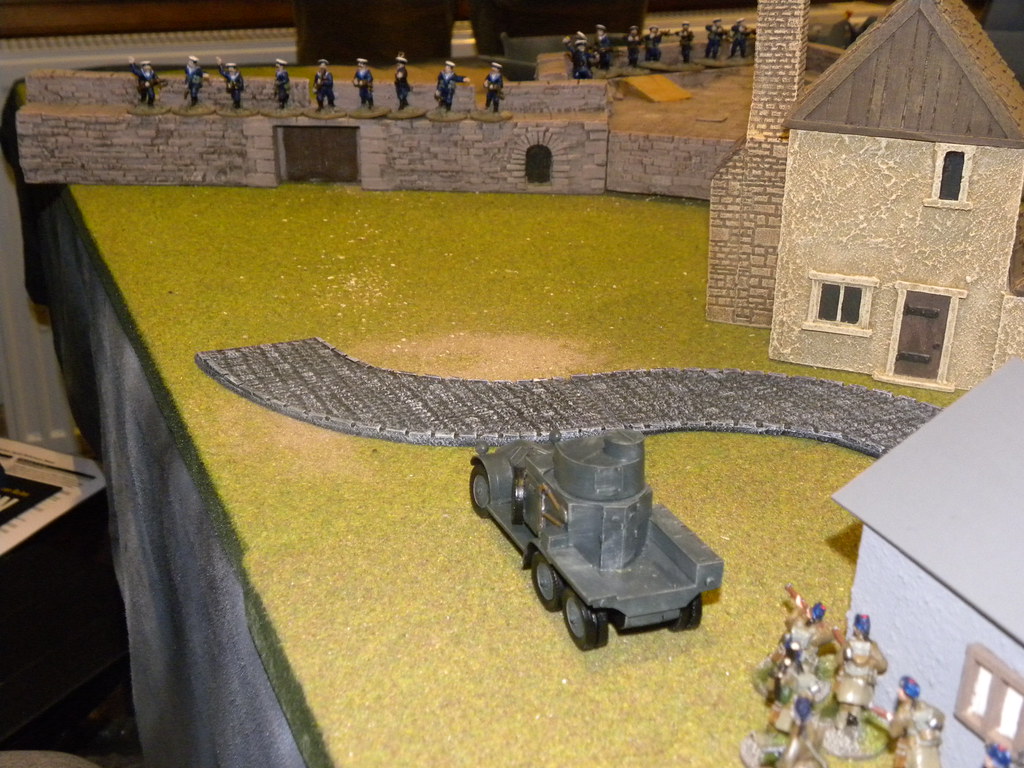
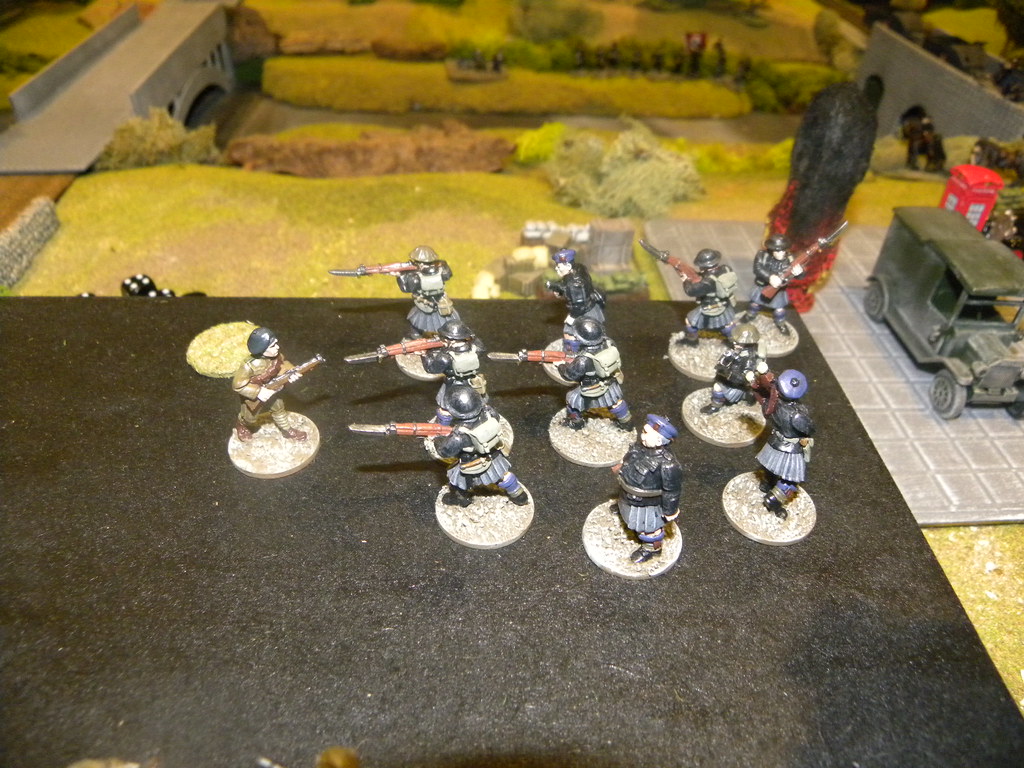
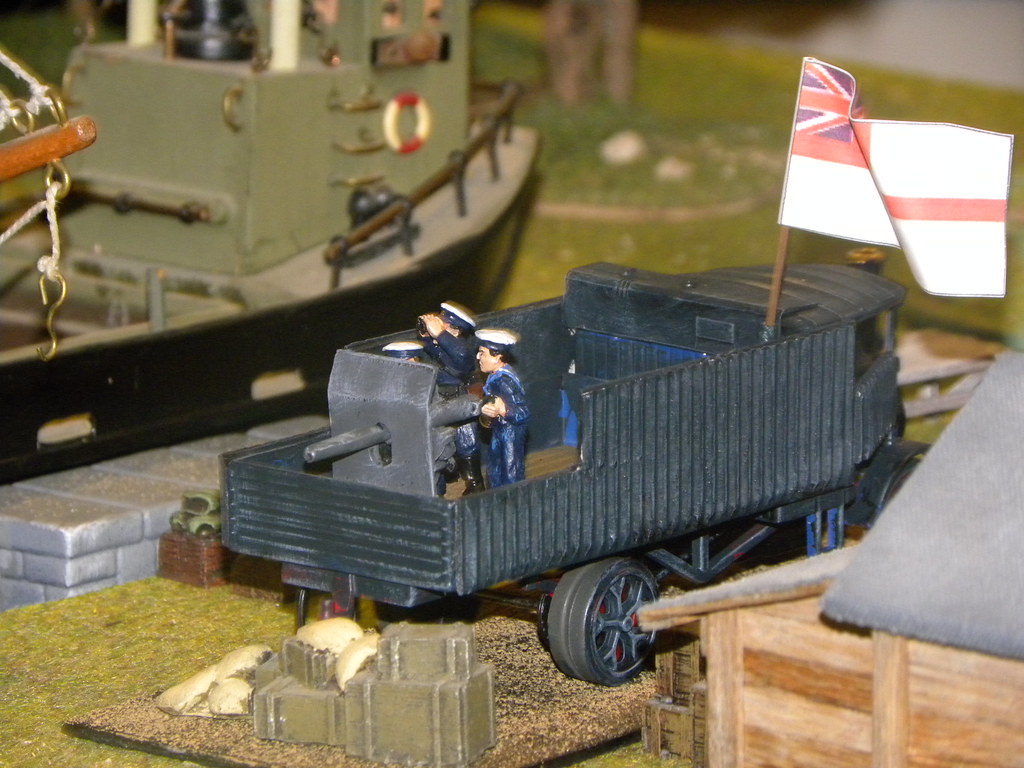
The special place in this relation should have the Navy troops and their surprise tactic. During whole game they were climb on the Berwick walls, then stay there for the turn on two, and then move back off the wall and repeat whole process again and again till the end of the game... Weird...
Na specjalne miejsce w tej relacji zasługują oddziały Marynarki i ich zaskakująca taktyka. Podczas całej gry wspięli się na mury Berwick, pozostali na nich przez jedną lub dwie tury i następnie wycofali się z powrotem pod mury i ten proces powtarzali podczas gry wielokrotnie... Dziwne...
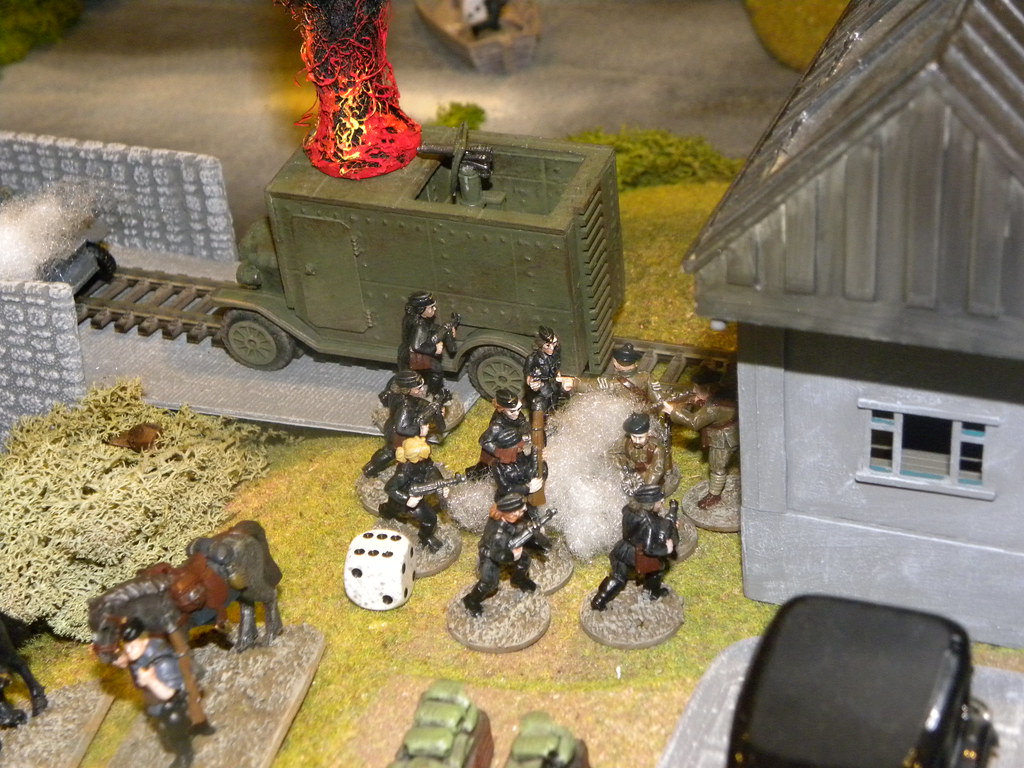
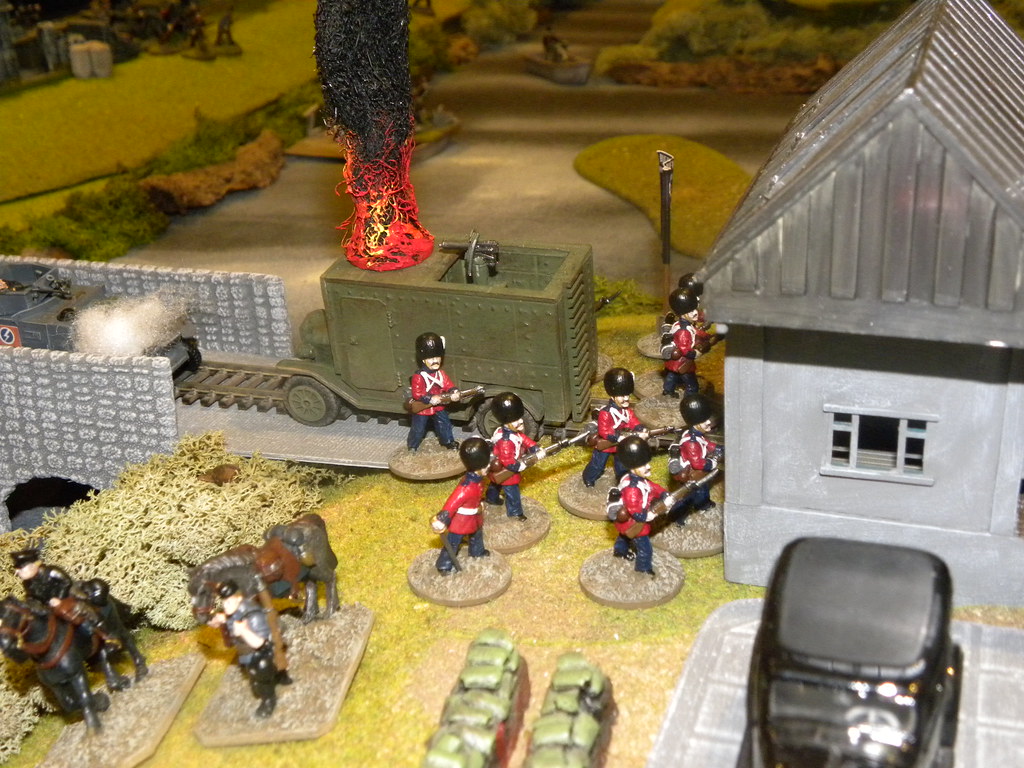
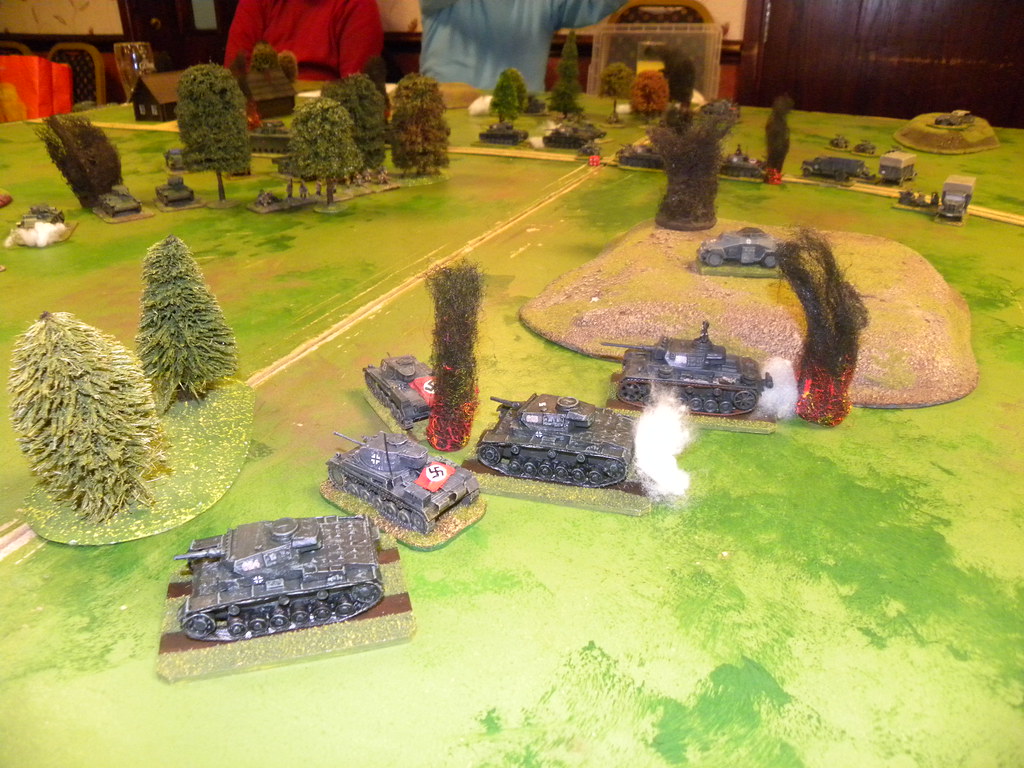
The most fierce battle was about the Station and the Warehouse. During the night Anglian took the Station but then they were pushed back by Scots. Next comes the Guards. The Veterans for the first time cleared the whole Station and attacked the Warehouse where they had been beaten by Scottish defenders. The next unit of Fascist tried to take the Warehouse again, but again was destroyed by defenders. Then Scots received reinforcements and managed to bring the unit of infantry, who retake the part of the station, so when the game finished, half of the Station was in Anglian hands and half in Scottish.
Najbardziej zacięte walki toczyły się o stację kolejową i magazyny. Podczas nocy Anglowie opanowali stację, jednak wtedy zostali odepchnięci przez Szkotów. Następnie sprowadzono Gwardię. Weterani oczyścili cały dworzec i zaatakowali magazyny, gdzie zostali pobici przez szkockich obrońców. Następnie oddział Faszystów próbował zdobyć magazyny, ale również został zniszczony przez obrońców. Wtedy przybyło szkockie uzupełnienie w postaci oddziału piechoty, które zajęło połowę stacji i pod koniec gry dworzec był w połowie w rękach angielskich i w połowie w rękach szkockich.
3. Summary. Podsumowanie.
The game finished with the draw in my opinion, because the Berwick itself has been defended (we still awaited for another tank and the AT gun), however Scotts will not be able to keep this town against new assault and new forces, so possibly next game would finished with Anglian victory and retaking the Berwick.
Gra zakończyła się remisem w mojej opinii, ponieważ Berwick został obroniony (wciąz oczekiwaliśmy na przybycie czołgu i kolejnego działa ppanc.), jednakże Szkoci nie byli by w stanie utrzymać tego miasta przeciwko kolejnemu szturmowi i nowym oddziałom i w przypadku następnej gry najprawdopodobniej Anglowie odnieśli by zwycięstwo i odzyskali Berwick.
Not all of us liked the Night Fighting rules. For me they were ok, however I've simplified them a little and put the vision test just after the received order dice, what shortened whole process.
Nie wszystkim podobały się zasady nocnej walki. Jak dla mnie były ok, jednak lekko je uprościłem i sprawdzenie widoczności przeniosłem zaraz po otrzymaniu kości rozkazu, co znacznie skróciło cały proces.
Bill's relation on his blog with the pictures of Dave O'Brian:
Relacja Billa na jego blogu ze zdjęciami Dave'a O'Briana:
More pictures on my Flickr:
Więcej zdjęć na moim Flickr: