Welcome all of you after Christmas. I hope that it was amazing time for all of you, as it was for me. Today the game, which became our Christmas tradition. It was refight the 2nd Battle of Trenton. A year ago we played the 1st Battle, originally fought on 26th December 1776, and this year we played the 2nd (much more known as the Battle of Assunpink Creek) was fought few days later after the first battle on the 2nd January 1777. Both games was prepared by Michael. For the game we used Black Powder rules.
Witam wszystkich po Bożym Narodzeniu. Mam nadzieję, że dla wszystkich Was był to wspaniały czas, taki jaki był dla mnie. Dzisiaj gra, która stała się naszą bożonarodzeniową tradycją. Było to odtworzenie drugiej bitwy pod Trenton. Rok temu mieliśmy przyjemność odtworzyć pierwszą bitwę, stoczoną 26 grudnia 1776 roku, a w tym roku rozegraliśmy drugą bitwę (bardziej znaną jako bitwa nad Assunpink Creek) stoczoną kilka dni po pierwszej, 2 stycznia 1777 roku. Obie gry zostały przygotowane przez Michaela. Do gry użyliśmy zasad Black Powder.

SCENARIO/SCENARIUSZ: Michael Schneider
UMPIRING/PROWADZENIE GRY: Michael Schneider
SCENERY/SCENERIA: SESWC
FIGURES & MODELS/FIGURKI I MODELE: Michael Schneider, Bill Gilchrist, Angus Konstam
1. Forces. Siły.

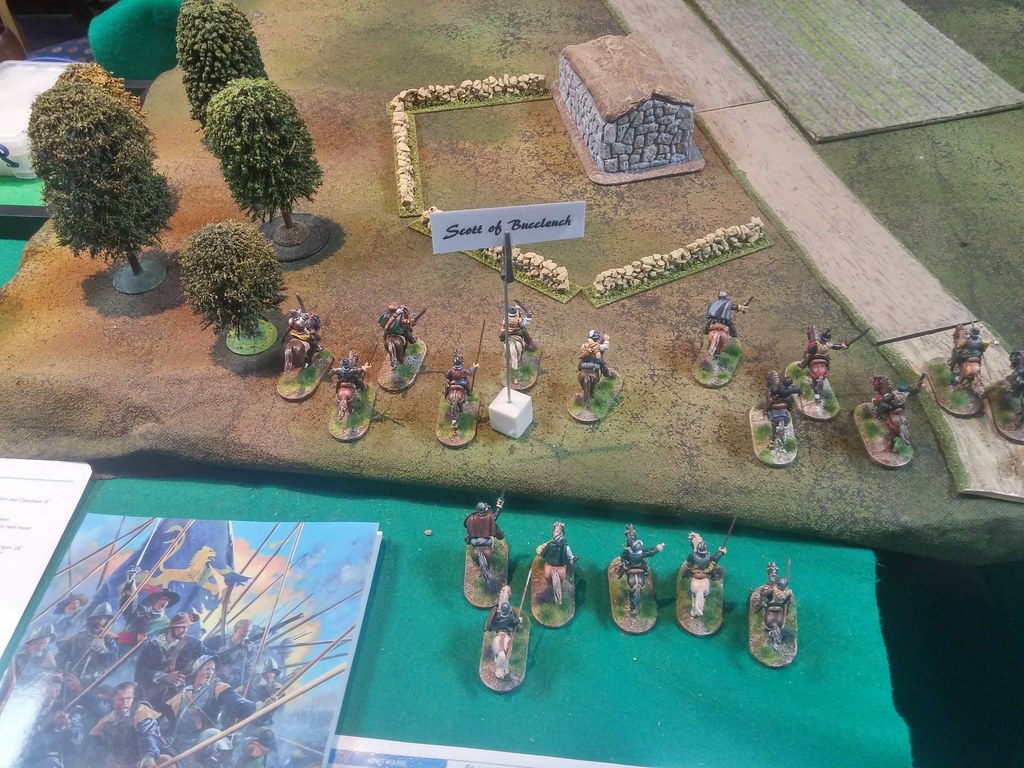
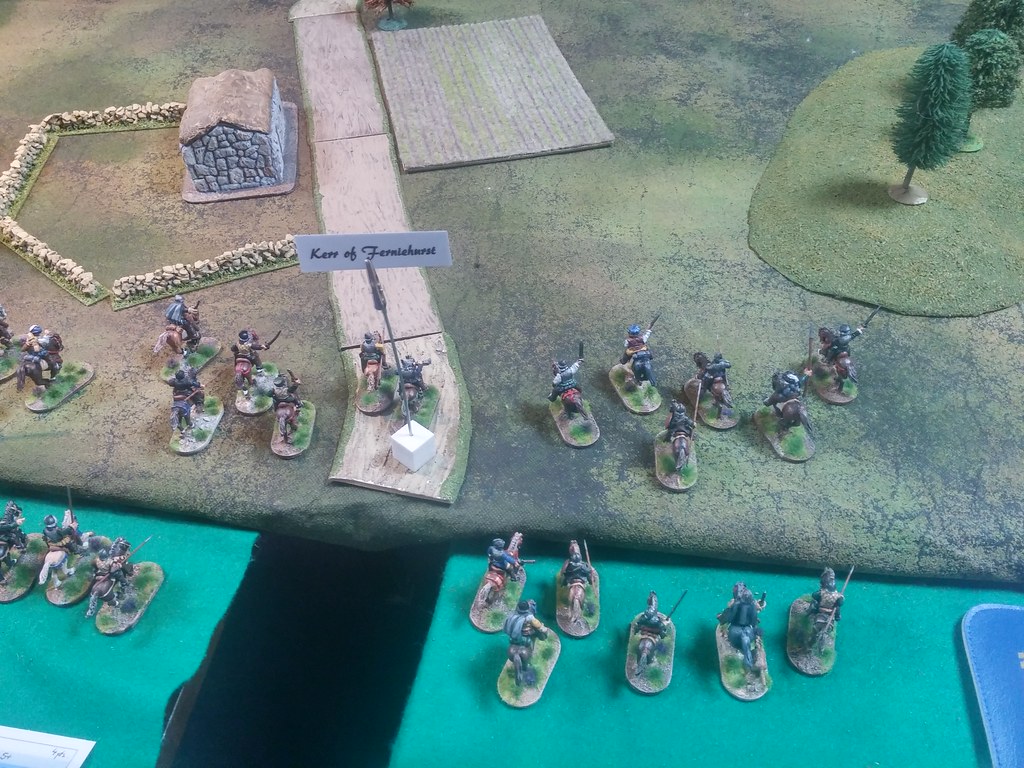
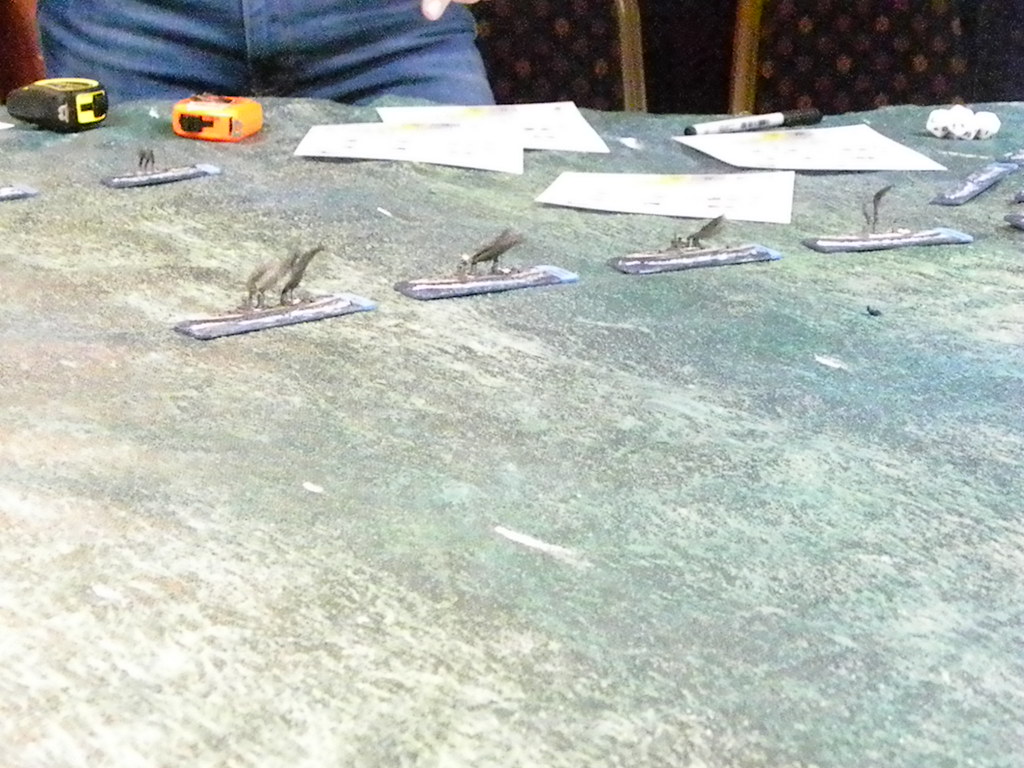
BRITISH/BRYTYJCZYCY
(Michael, Bartek)
Cornwallis's Brigade
2 x Infantry Battalion
1 x Jaeger Battalion
1 x Foot Artillery
1 x Horse Artillery
v. Donop's Brigade
3 x Infantry Battalion
1 x Foot Artillery
Leslie's Brigade (reinforcements, from 5th turn)
4 x Infantry Battalion
1 x Foot Artillery
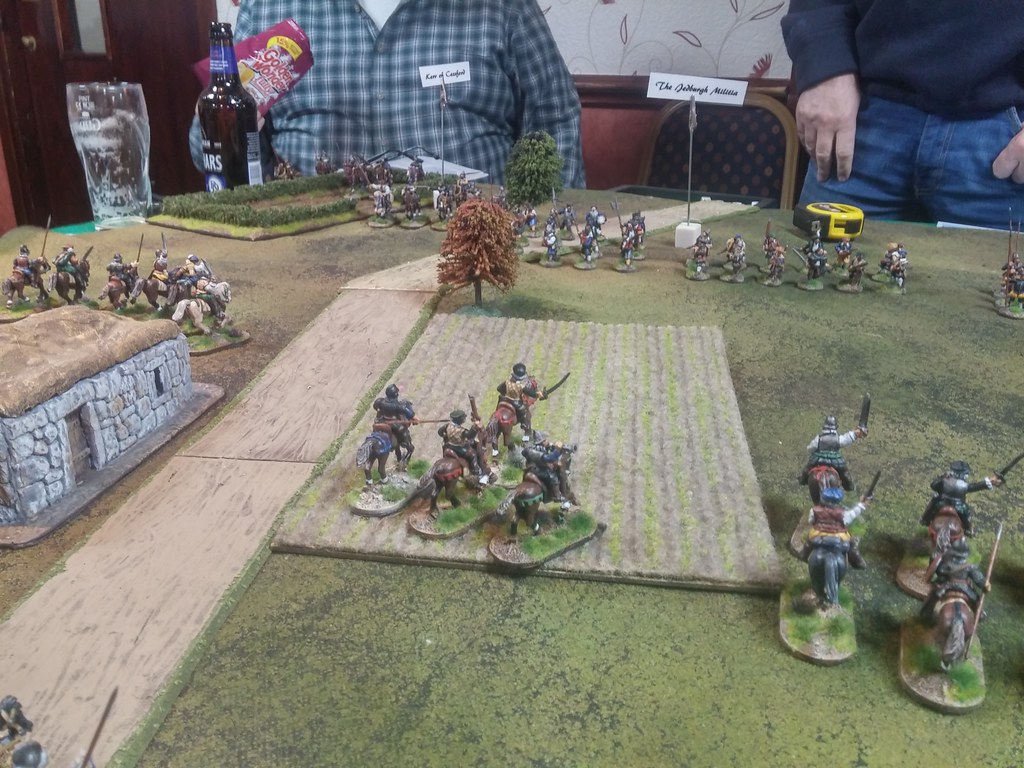
AMERICANS/AMERYKANIE
(Bill, Peter, Dougie, Angus)
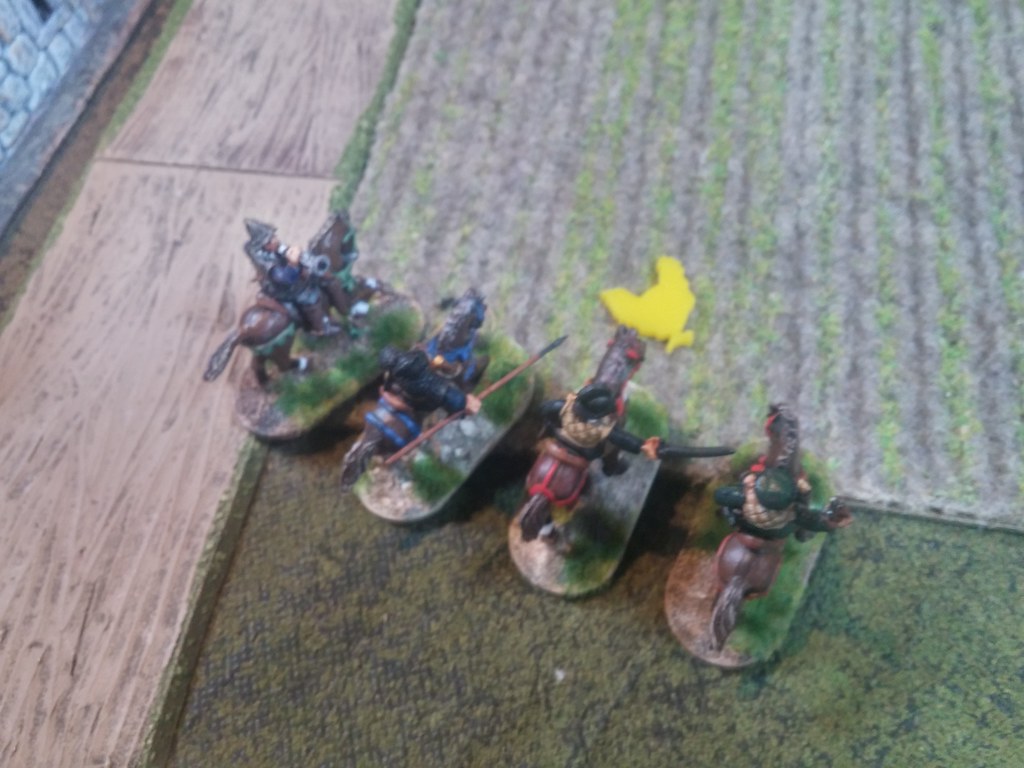
Washington's Brigade
1 x Dragoons
1 x Foot Artillery
1st Brigade
2 x Militia
1 x Foot Artillery
2nd Brigade
2 x Infantry Battalions
1 x Rifles
1 x Foot Artillery
3rd Brigade
2 x Infantry Battalion
2 x Militia
1 x Foot Artillery
4th Brigade
4 x Militia
1 x Foot Artillery
5th Brigade
3 x Infantry Battalion
1 x Foot Artillery
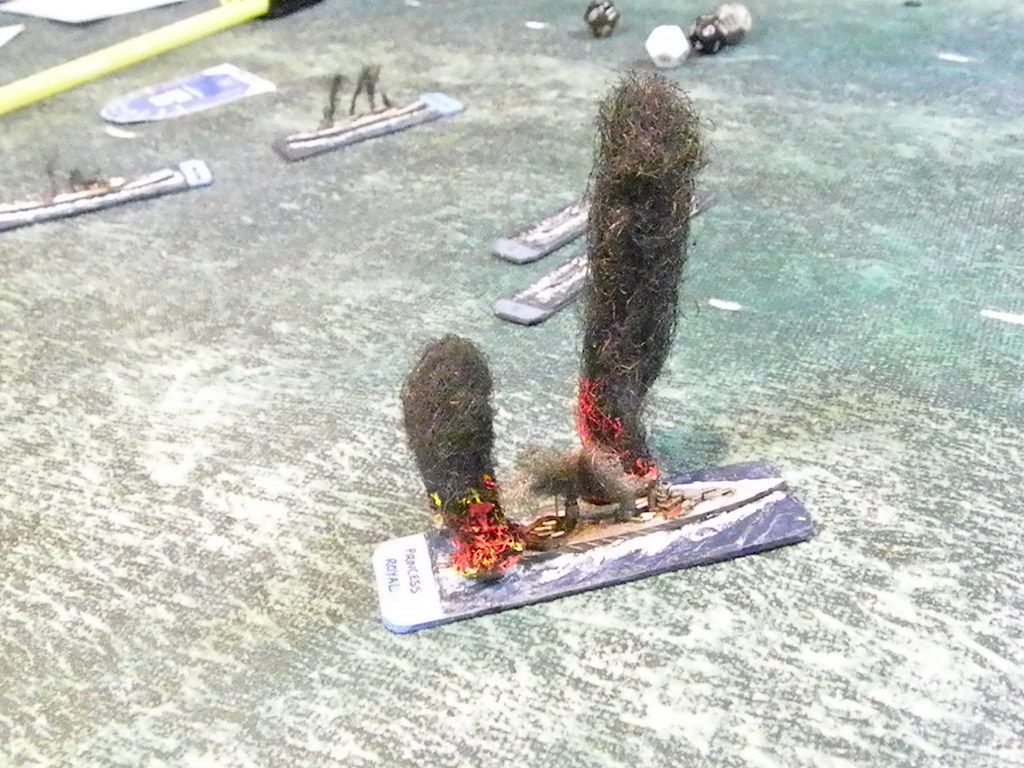
2. The game. Gra.
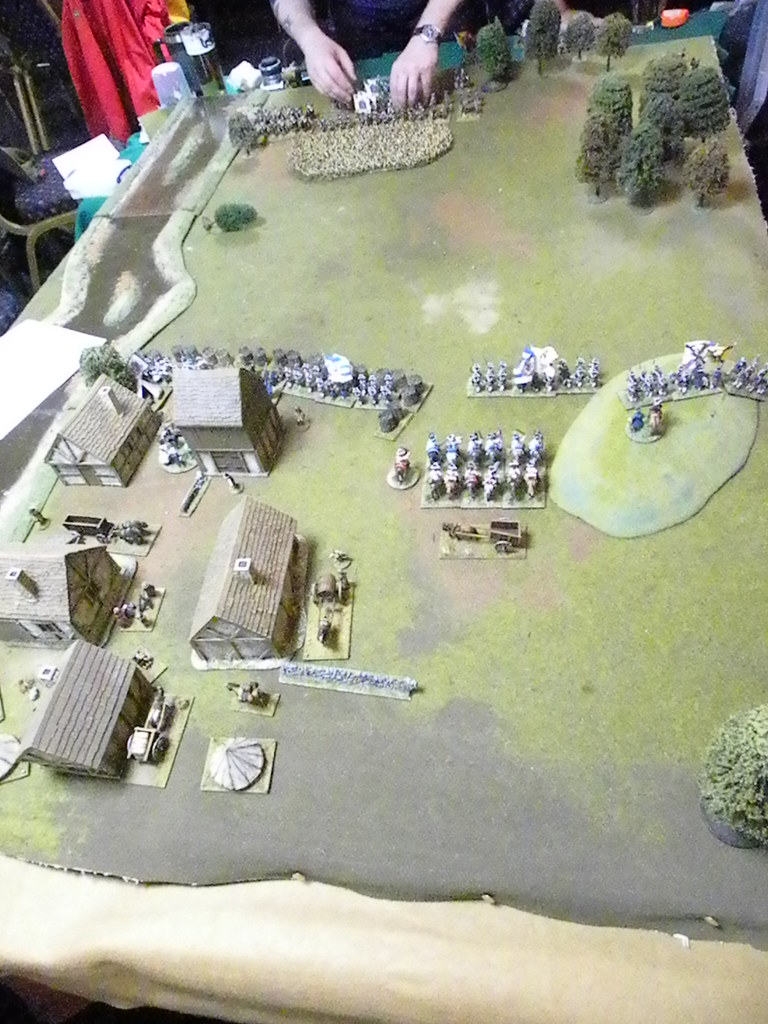
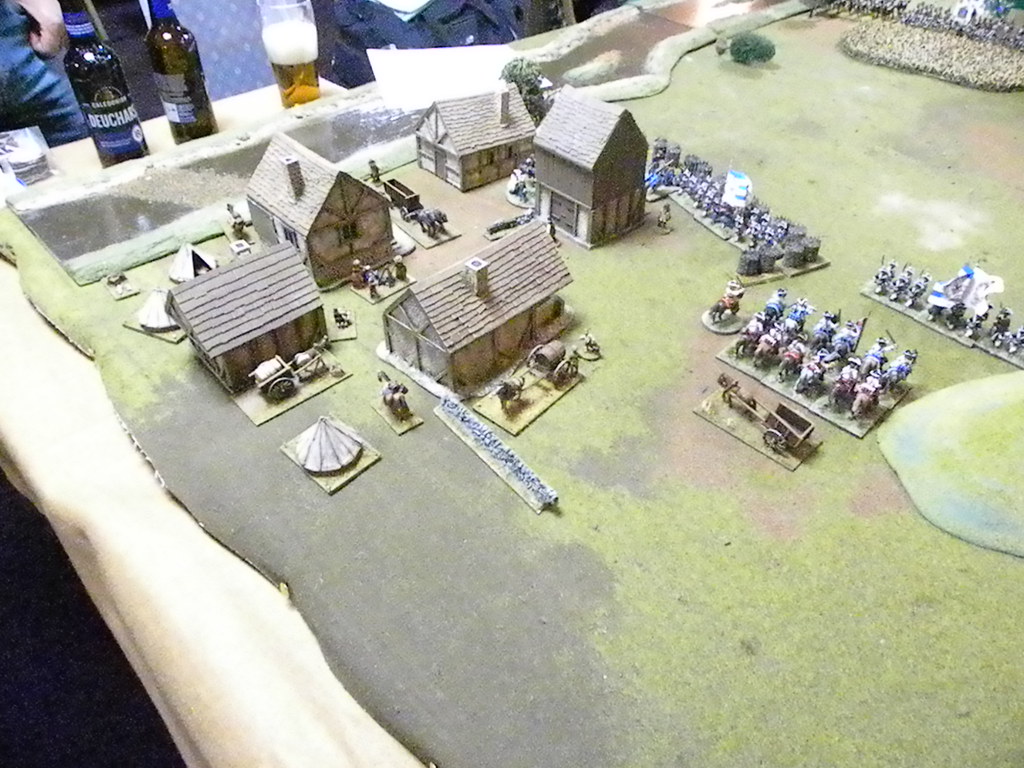
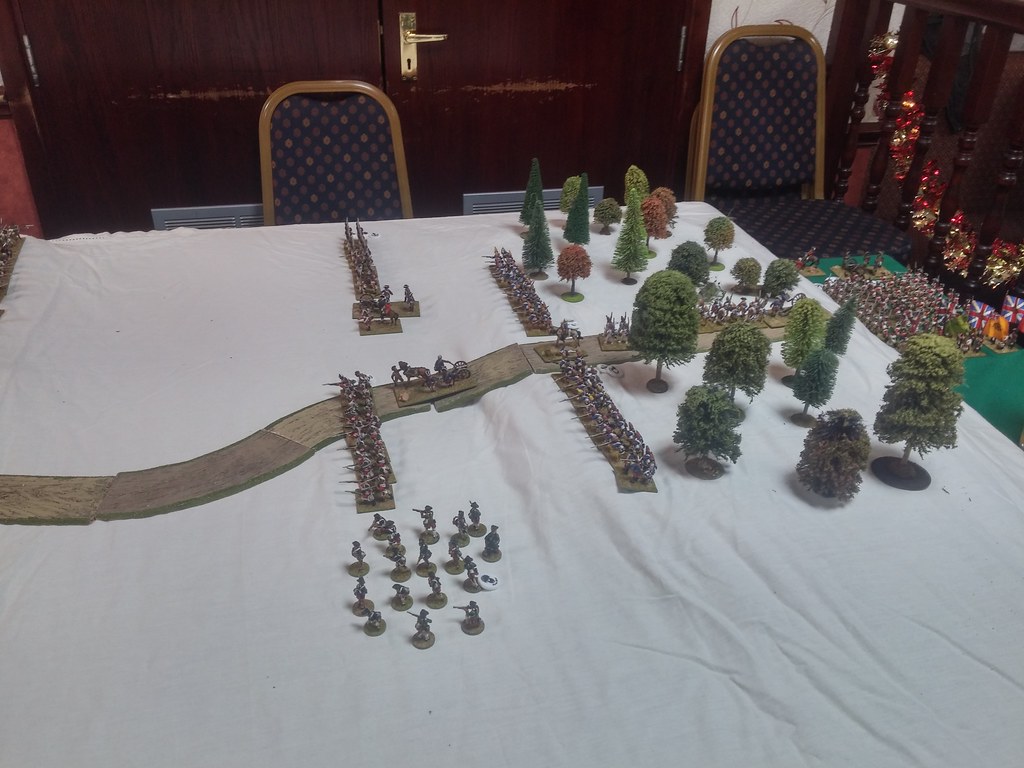
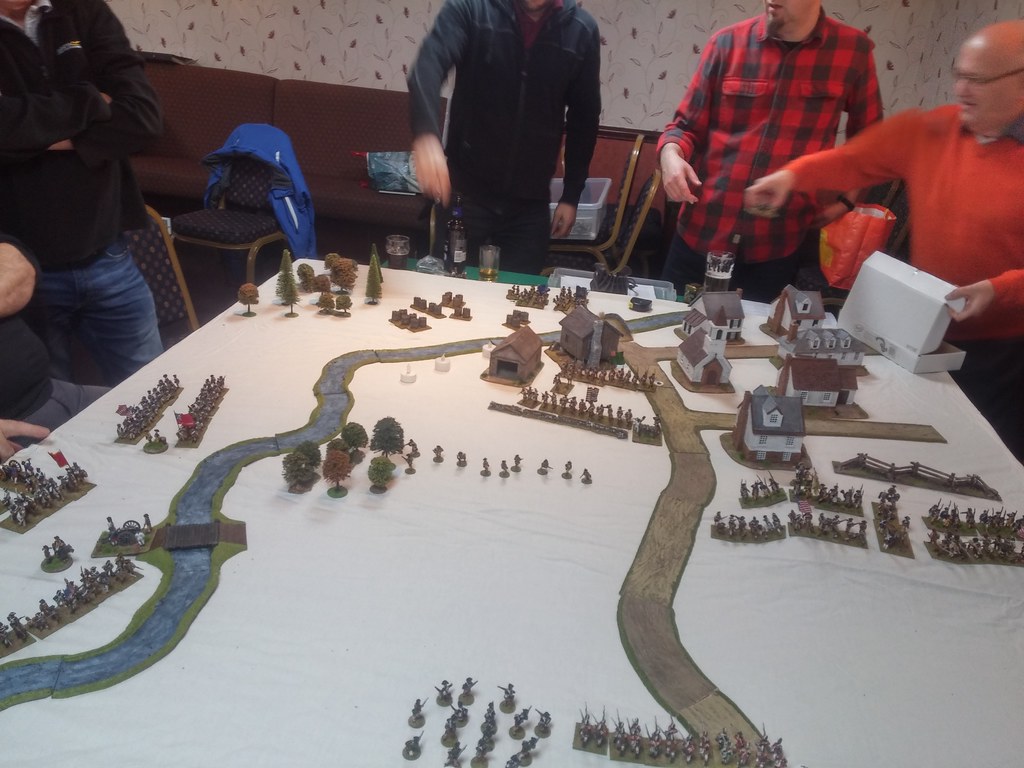
Michael prepared the historic scenario, slightly changing the forces to fit our collections. British could win the battle on two ways. Either by taking the Trenton, which we both consider it as to hard task, almost impossible to achieve or by crossing the Assunpink Creek. Crossing the river was much easier task and we both chose to process it. With my forces I was going to keep busy most of the colonial forces, while Michael was going to cross the river together with incoming reinforcements. That was the plan and as you already knows, the reality is always completely different...
Michael przygotował historyczny scenariusz, jedynie lekko zmieniając biorące udział oddziały, by bardziej odpowiadały one posiadanym przez nas kolekcjom. Brytyjczycy mogli wygrać bitwę na dwa sposoby, albo poprzez zdobycie Trenton, co obaj z Michaelem uznaliśmy za zadane bardzo trudne a wręcz niemożliwe albo poprzez przekroczenie Assunpink Creek. Przeprawienie się przez rzekę wydało się nam dużo łatwiejszym zadaniem i przystąpiliśmy do jego wykonania. Moimi oddziałami miałem zająć jak największą ilość sił kolonistów, podczas gdy Michael wraz z nadchodzącymi posiłkami miał przekroczyć rzekę. Taki był plan, a rzeczywistość po raz kolejny okazała się zgoła odmienna...

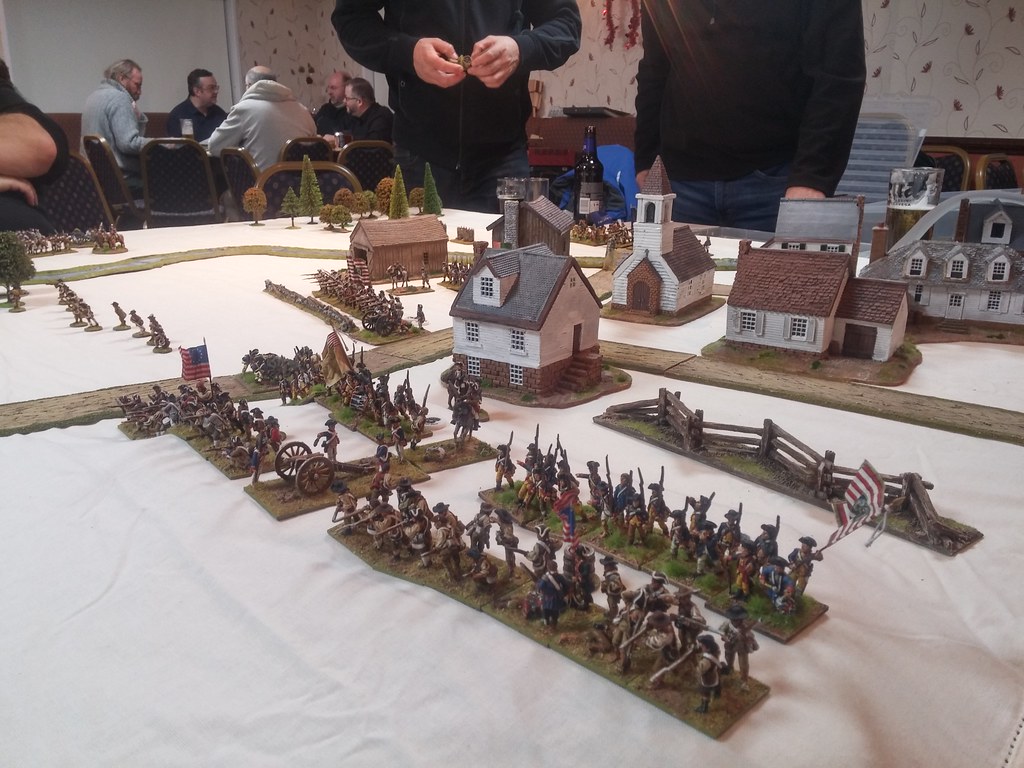
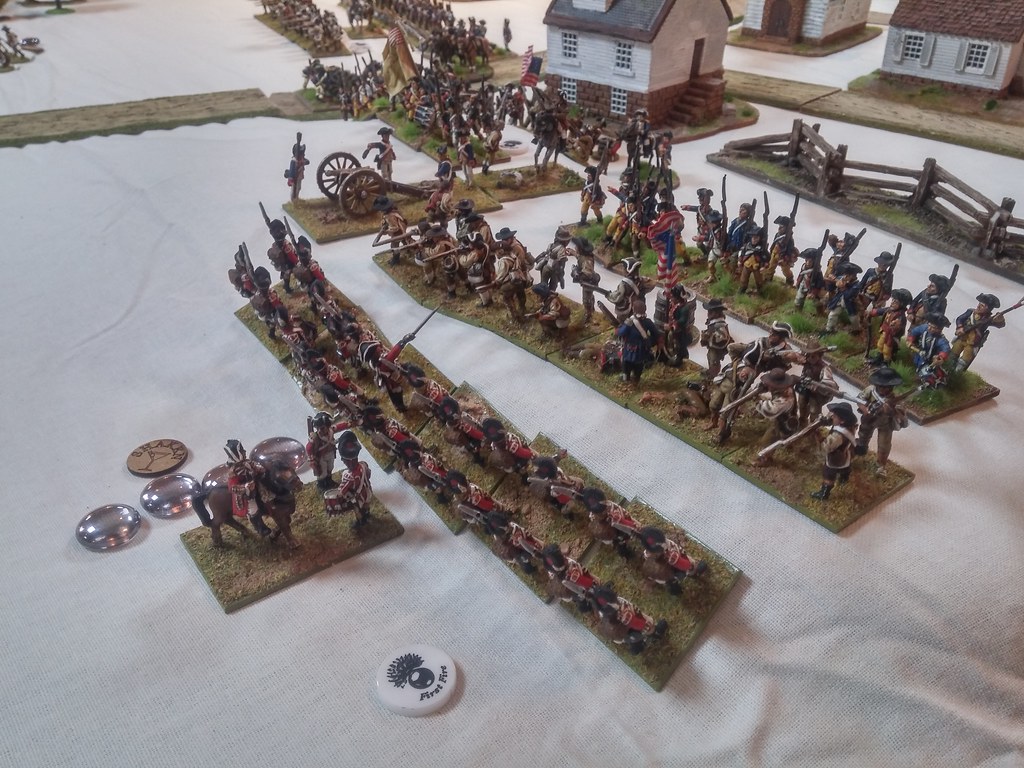

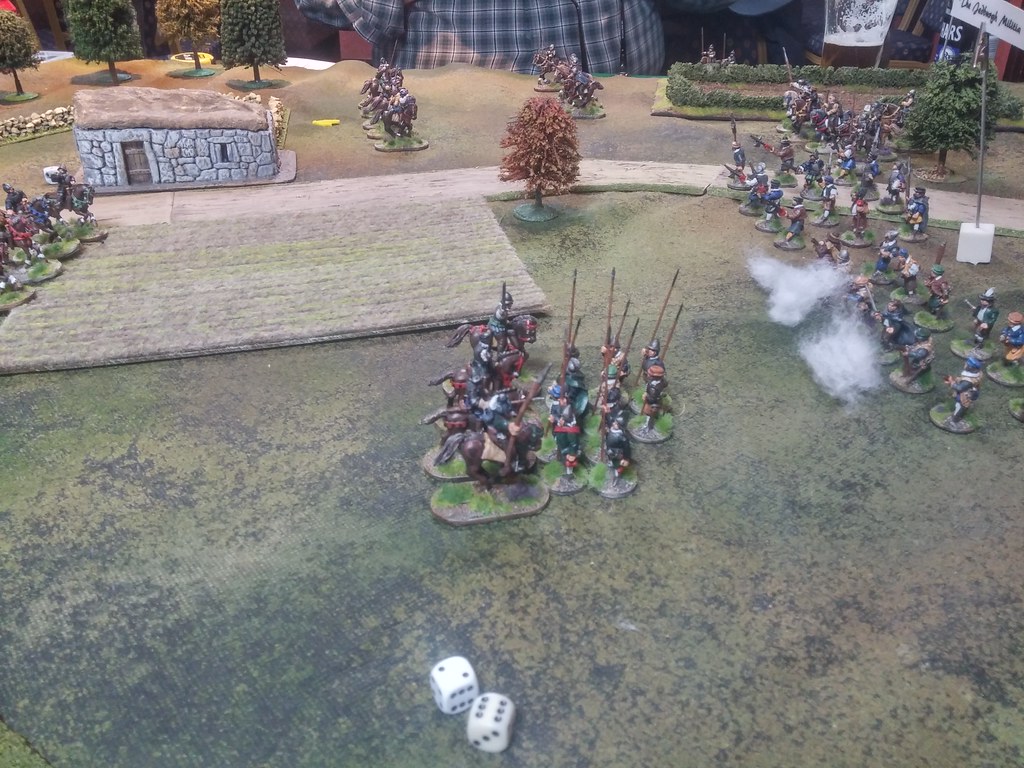
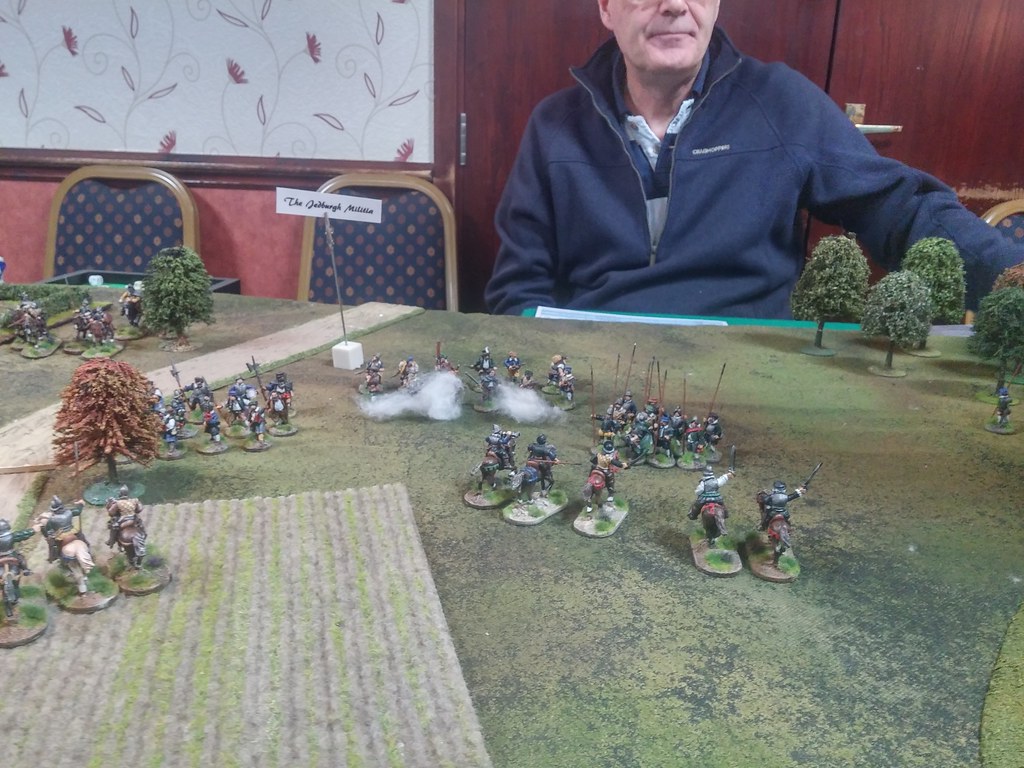
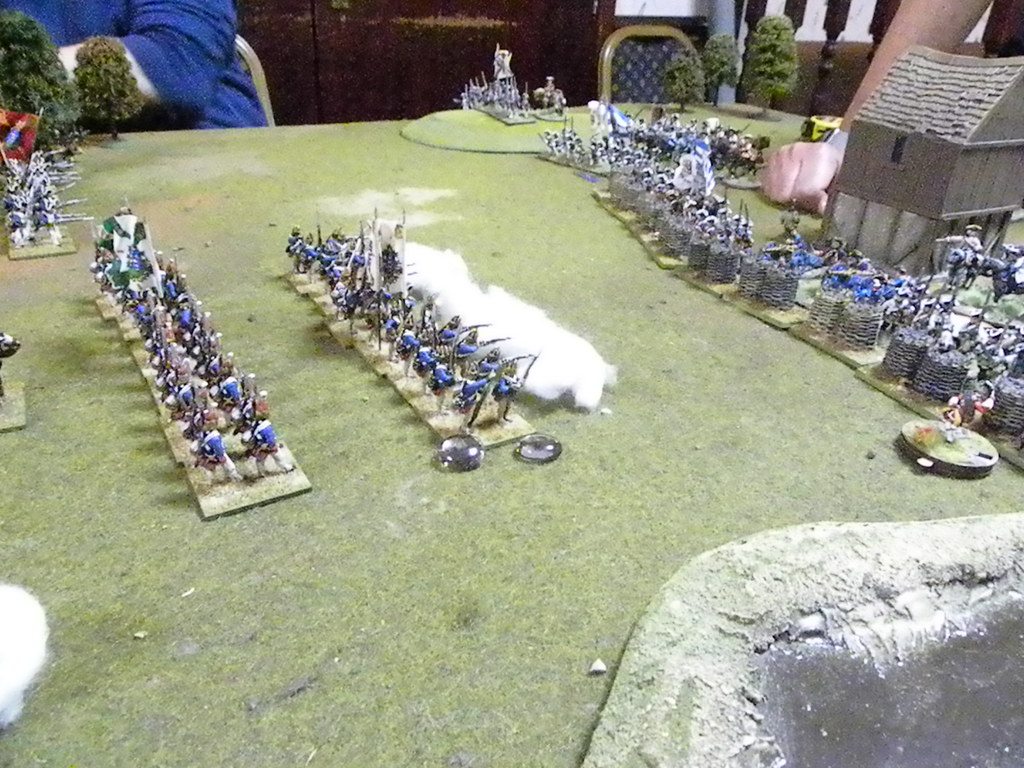
Michael and I both agreed, that American players will be defending Trenton with most of the troops and will left Angus (who was defending the river) alone. I was going to assault the town and Michael will move against Angus. In front of me I had some Militia forces, which I was considered as the small problem and that was my first mistake. Instead to soften them with the fire of our muskets I decided to charge them with bayonets. That was the biggest mistake of our game. My forces was repulsed by Colonials and then destroyed in melee. After that Bill and Peter concentrated their artillery fire on my troops and I lost the second battalion. That was enough for my units and I decided to withdraw. That opened the flank of the Michael's units...
Obaj z Michaelem uznaliśmy, że większość amerykańskich graczy skoncentruje swoje siły na obronie Trenton i pozostawi Angusa (który bronił rzeki) samemu sobie. Ja miałem zaatakować miasto a Michael miał uderzyć na Angusa. Naprzeciw mnie stała milicja, którą ja uznałem za niewielki problem i to był mój pierwszy błąd. Zamiast powoli zmiękczać ją ogniem swoich muszkietów, zdecydowałem się natrzeć na nią szarżą na bagnety. To był największy mój błąd tej gry. Moje oddziały zostały odparte przez siły kolonialne i następnie zniszczone w walce wręcz. Po tym Bill i Peter skoncetrowali ogień sowich dział na moich oddziałach i w ten sposób straciłem kolejny batalion. To było za dużo dla moich oddziałów i zdecydowałem się wycofać. W ten sposób otworzyłem flankę oddziałów Michaela...
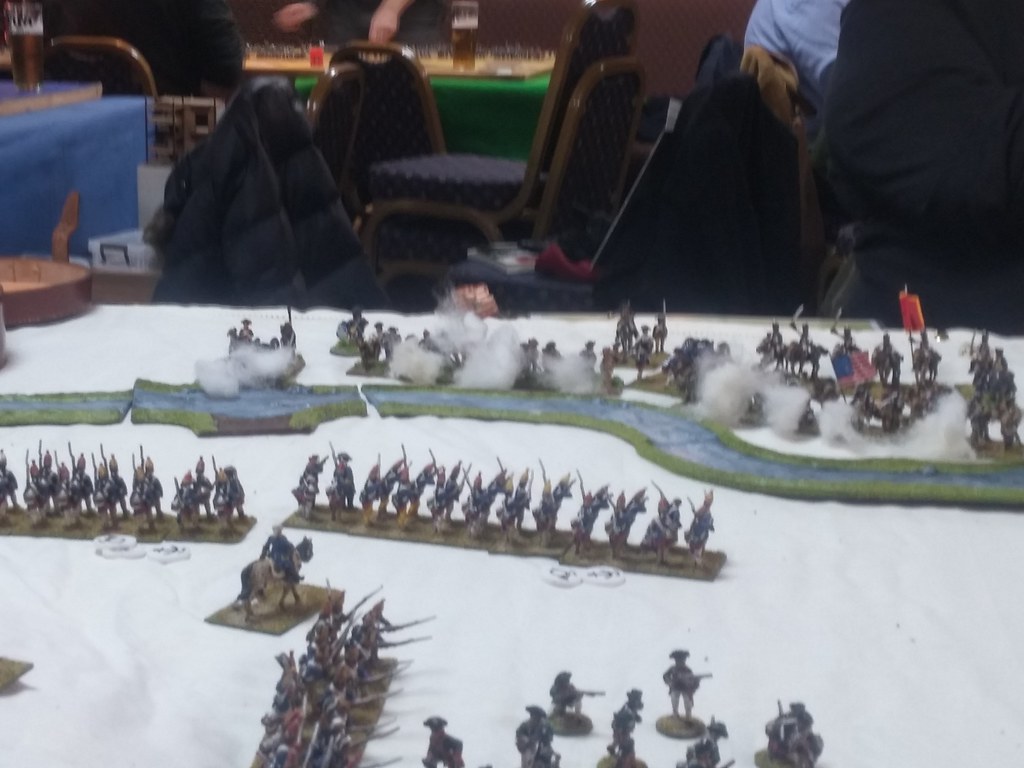
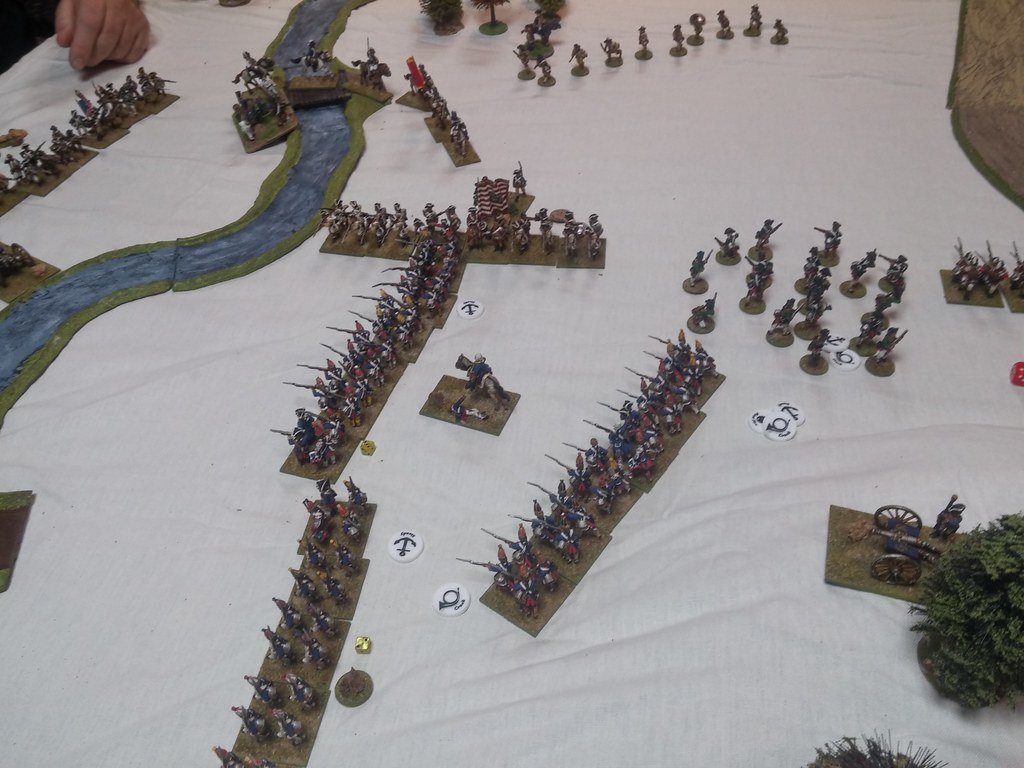
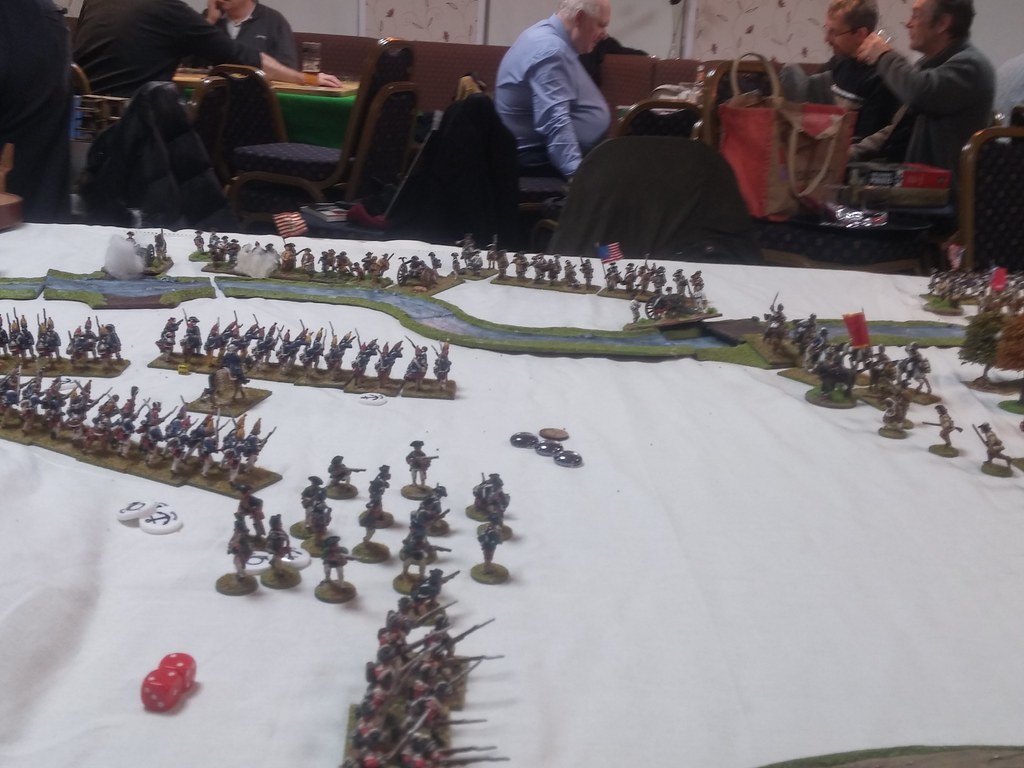

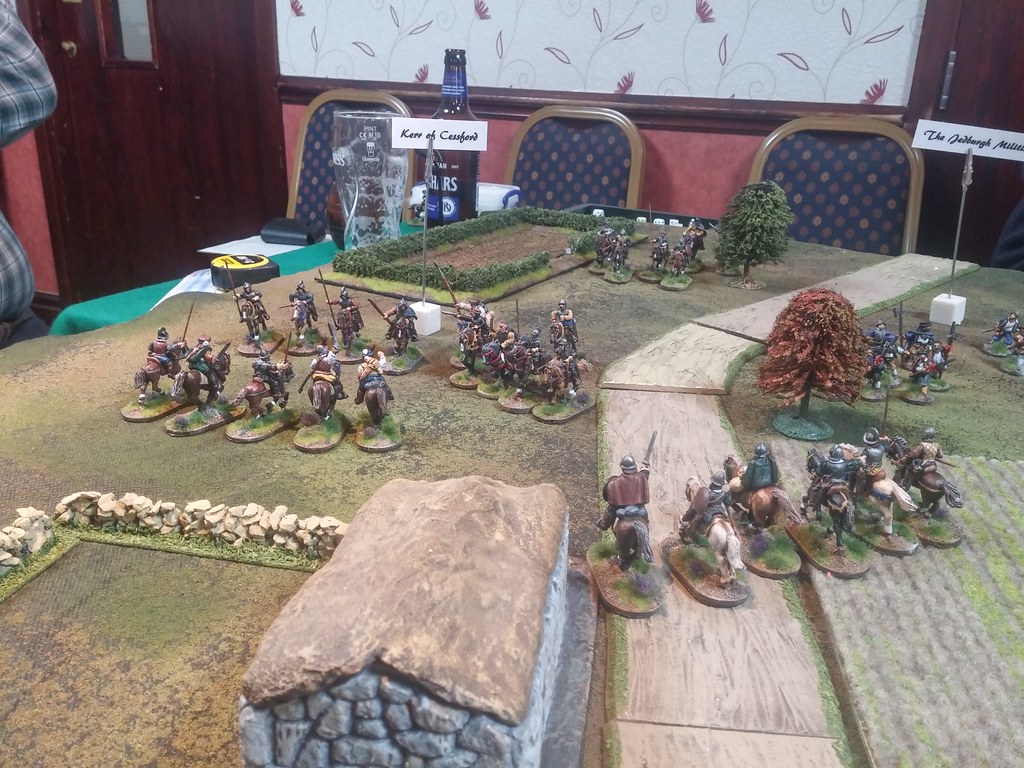
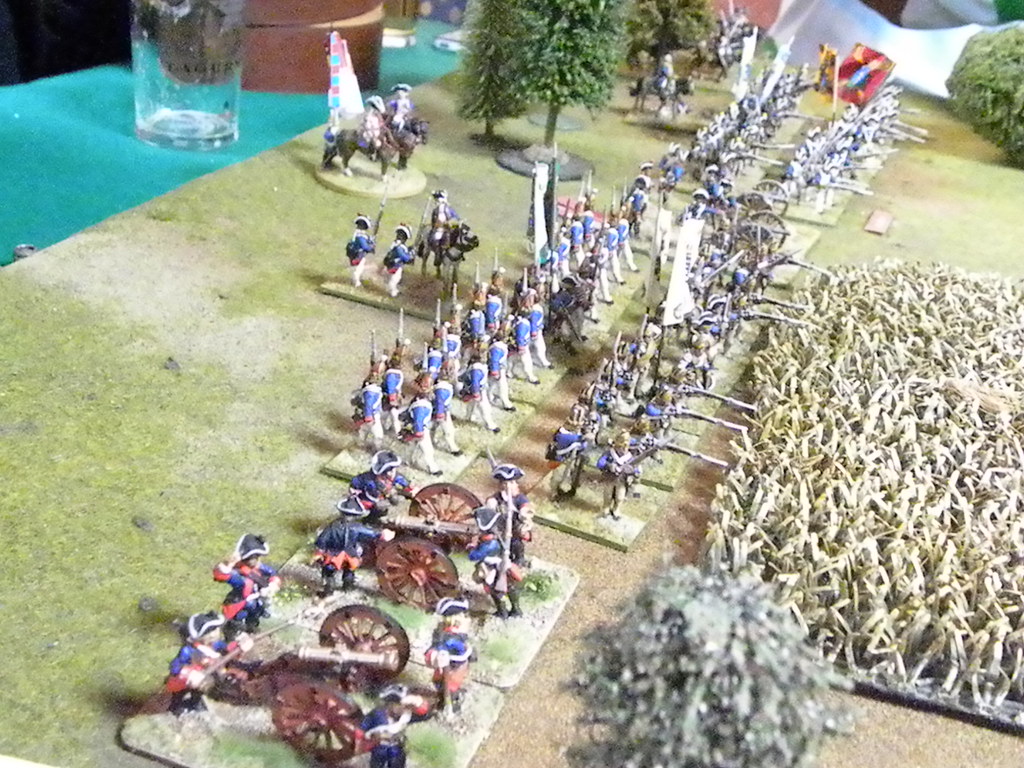
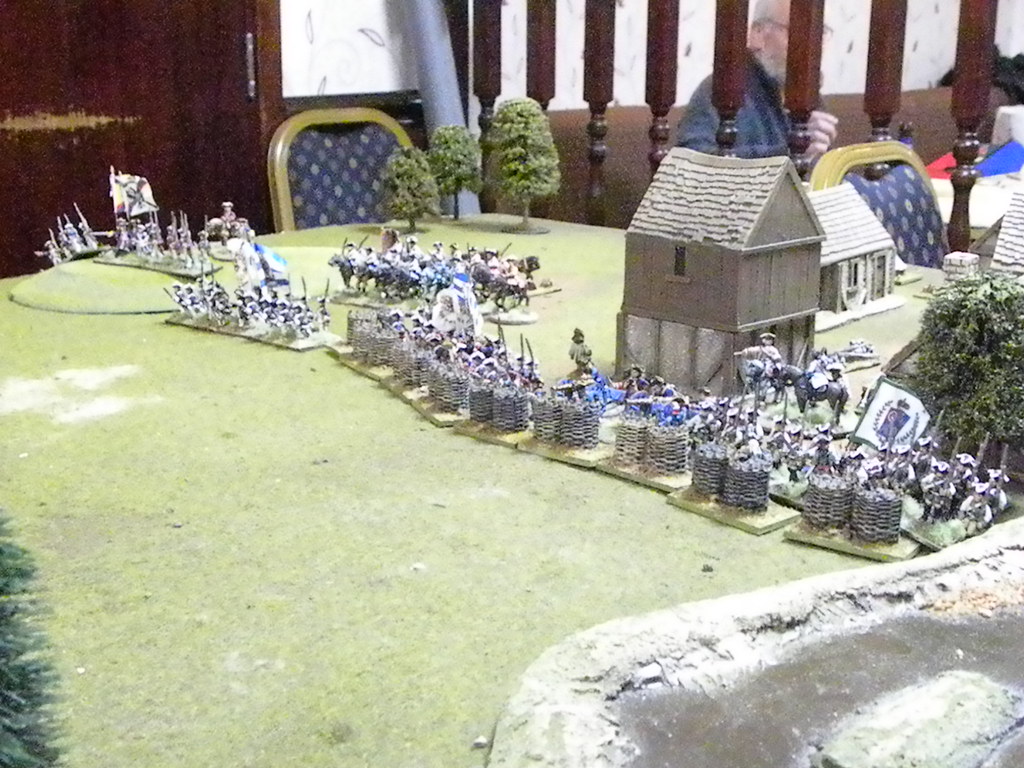
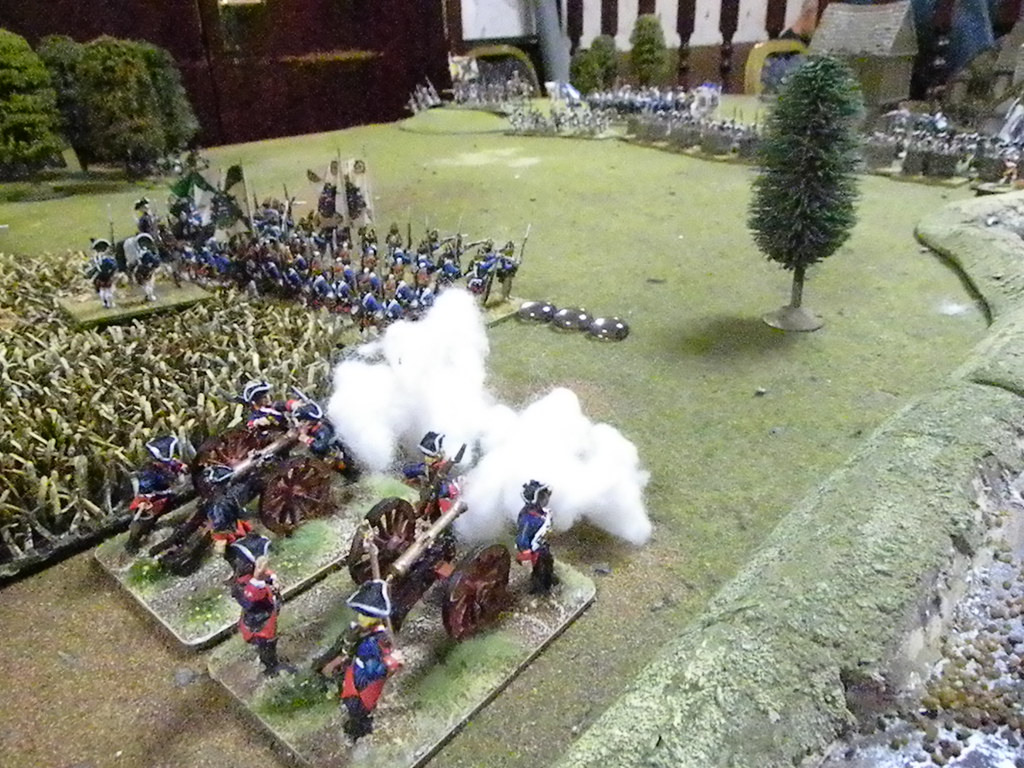
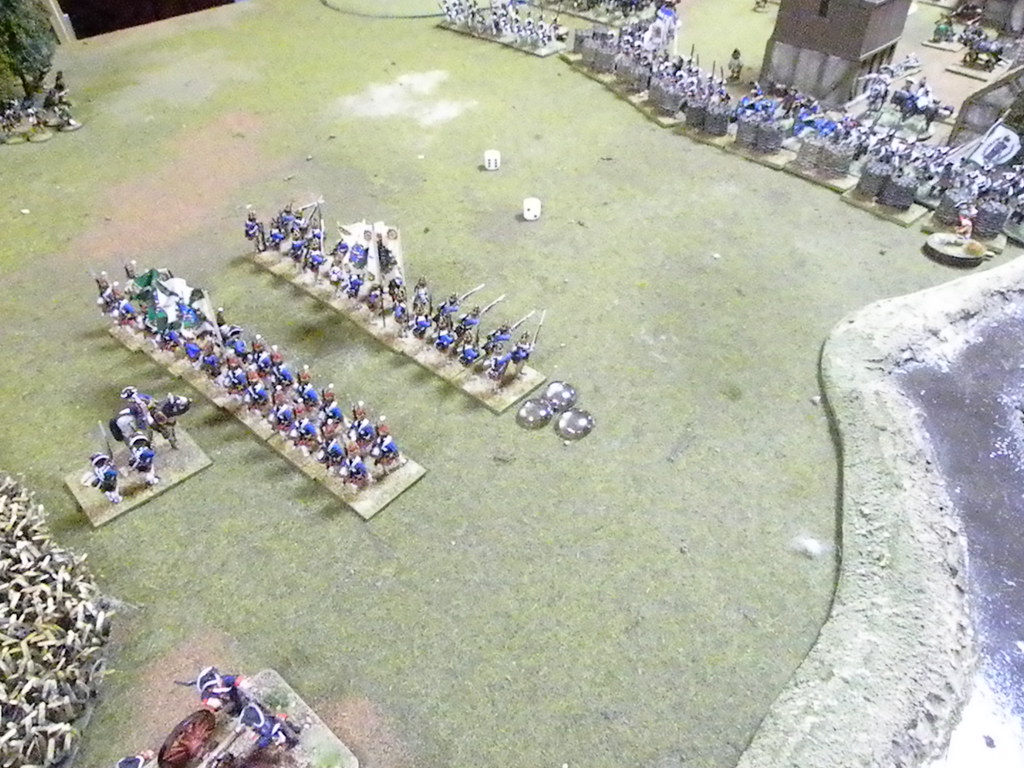
Michael moved his forces against the river and start exchanging fire with Angus's units. However Americans had much more artillery and that was our biggest problem, because that allowed to keep us on distance. Soon appeared the another problem with Peter's forces attacked Michael from the flank. However charge of the Dragoons has been stopped by my Jaegers, whose fire destroyed American cavalry. Everything was going according the plan, until my forces broke. That exposed Michael's flank and it was matter of one turn, when his units were destroyed. Americans needed only four turns to destroy our units, so there was no need for reinforcements. The battle finished with historical result.
Michael ruszył swoje oddziały w stronę rzeki i rozpoczął wymianę ognia z oddziałami Angusa. Jednakże Amerykanie posiadali znacznie więcej artylerii i to był nasz największy problem, ponieważ to pozwoliło na trzymanie nas na dystans. Wkrótce pojawił się kolejny problem, kiedy oddziały Petera zaatakowały Michaela z boku. Jednakże szarża dragonów została rozbita przez moich Jegrów, których celny ogień zniszczył amerykańską kawalerię. Wszystko przebiegało zgodnie z naszym planem, do czasu gdy załamały się moje oddziały. To odsłoniło flankę Michaela i w ciągu zaledwie jednej tury zostały one zniszczone. Cała gra zajęła nam jedynie cztery tury i nie było już sensu na sprowadzanie naszych posiłków. Bitwa zakończyła się więc historycznym rezultatem.
3. Links. Linki.
Angus:
Michael:
to be updated soon...
Bill:
to be updated soon...
SESWC:
Flickr: