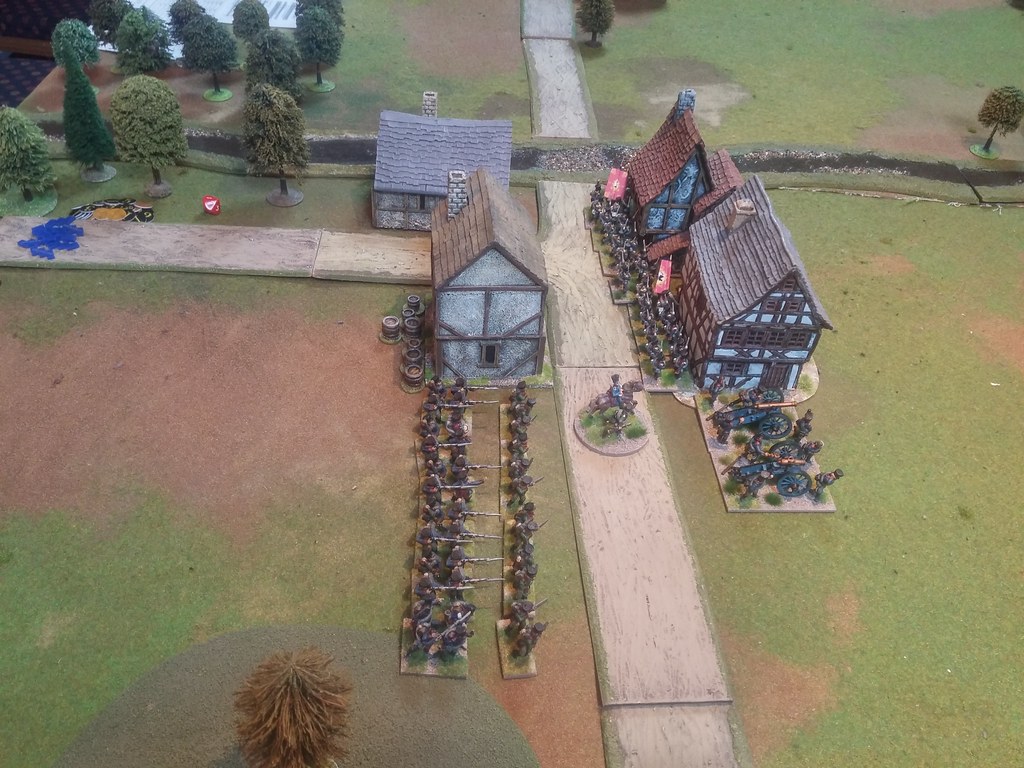
Last week game was Italian Wars with Pike and Shotte rules game. It started with small delay, as both main figure suppliers were argue about the size (of armies and the table, of course). When they finally get some agreement we were able to start the game.
W ostatni czwartek naszą grą były wojny włoskie z użyciem zasad Pike and Shotte. Rozgrywka rozpoczęła się z małym poślizgiem, ponieważ dwóch głównych dostawców figurek spierało się o rozmiar (armii i stołu, rzecz jasna). Kiedy już w końcu udało im się dojść do porozumienia, mogliśmy zacząć naszą grę.

SCENARIO/SCENARIUSZ: Michael Schneider
UMPIRING/PROWADZENIE GRY: Michael Schneider
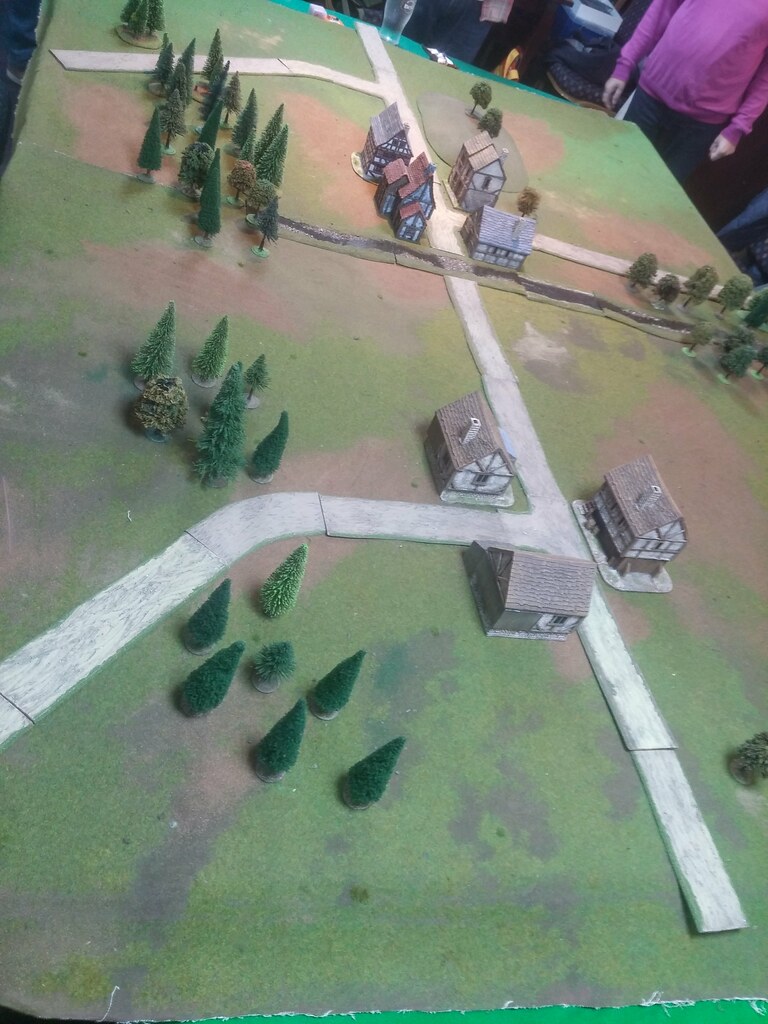
SCENERY/SCENERIA: SESWC
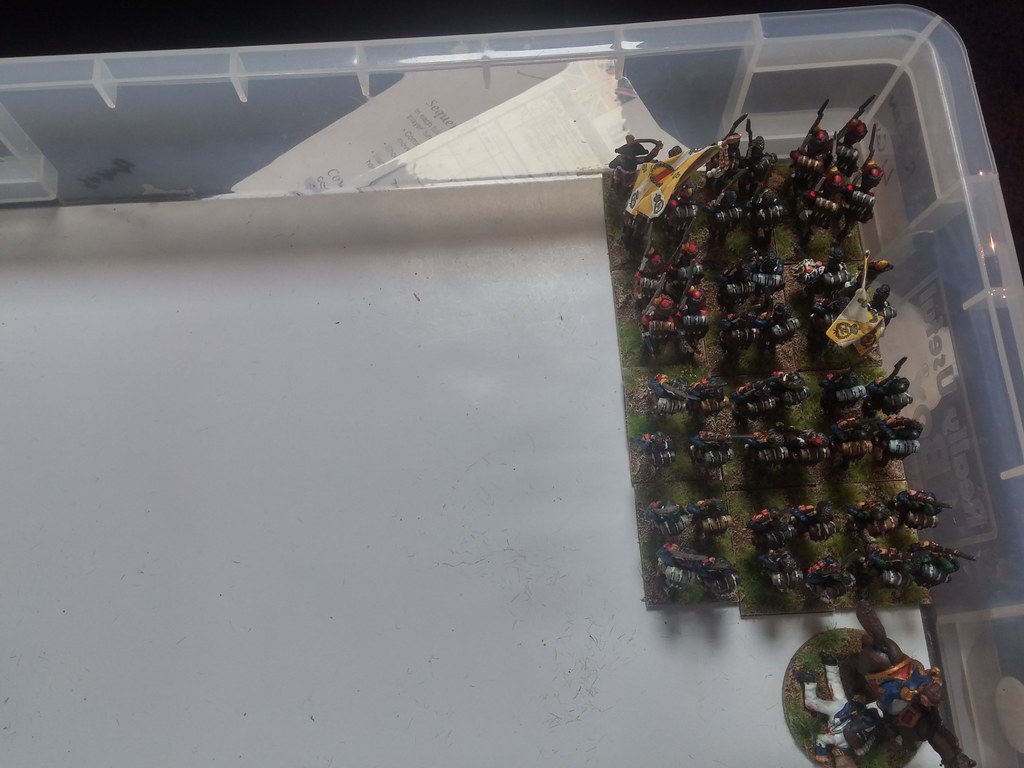
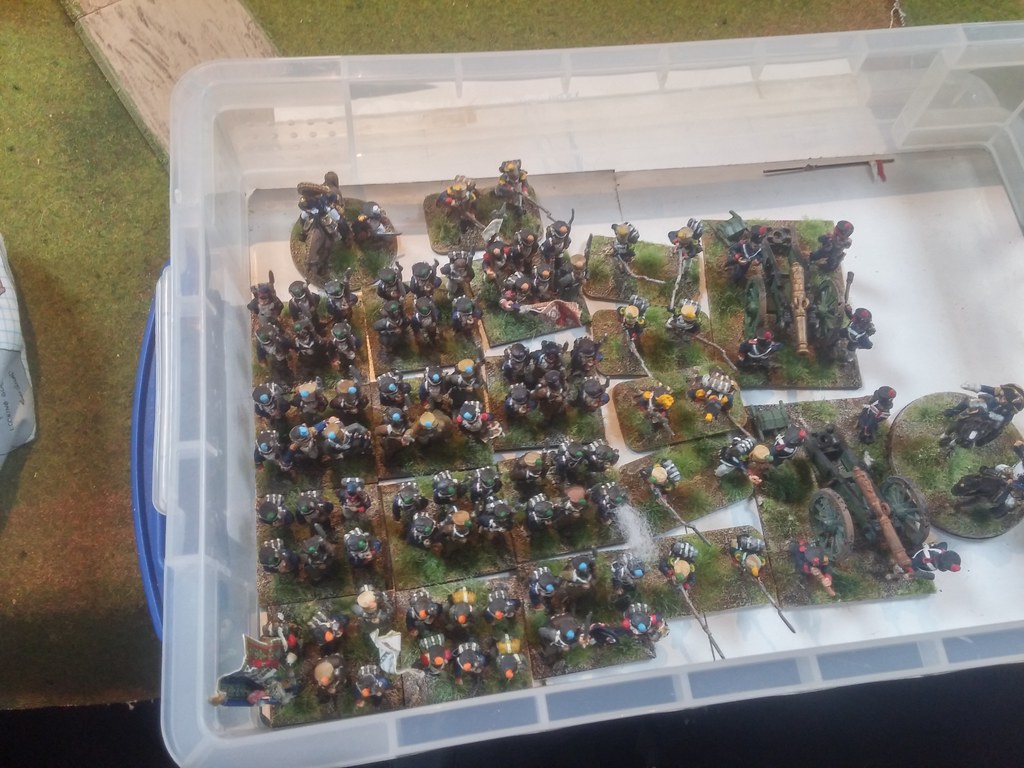
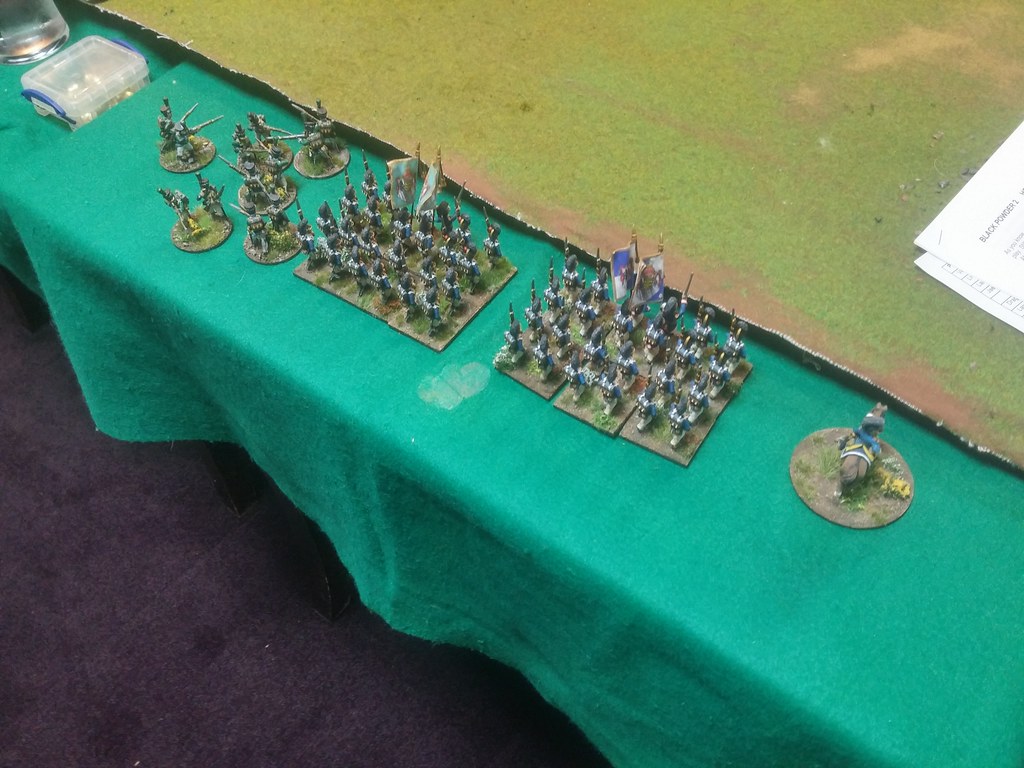
FIGURES & MODELS/FIGURKI I MODELE: Michael Schneider, Angus Konstam, Bartek Żynda
1. Forces. Siły.
VENETIA & VERONA/WENECJA I WERONA
(Angus, Bartek)
1st Division of Cavalry
1 x Lanze Spezzate
1 x Men-At-Arms
2 x Stradioti
2nd Division of Cavalry
1 x Lanze Spezzate
1 x Men-At-Arms
2 x Stradioti
1st Infantry Division
1 x Pike Block
1 x Arquebusiers
1 x Crossbows
1 x Swordsmen
1 x Medium Gun
2nd Infantry Division
1 x Pike Block
1 x Arquebusiers
1 x Crossbows
1 x Swordsmen
1 x Medium Gun
HOLY ROMAN EMPIRE/ŚWIĘTE CESARSTWO RZYMSKIE
(Michael, Alisdair, Mike)
1st Division of Cavalry
1 x Gendarmes
1 x Men-At-Arms
2 x Stradioti
2nd Division of Cavalry
1 x Gendarmes
1 x Men-At-Arms
2 x Stradioti
1st Infantry Division
1 x Pike Block
1 x Arquebusiers
1 x Crossbows
1 x Swordsmen
1 x Medium Gun
2nd Infantry Division
1 x Pike Block
1 x Arquebusiers
1 x Crossbows
1 x Swordsmen
1 x Medium Gun
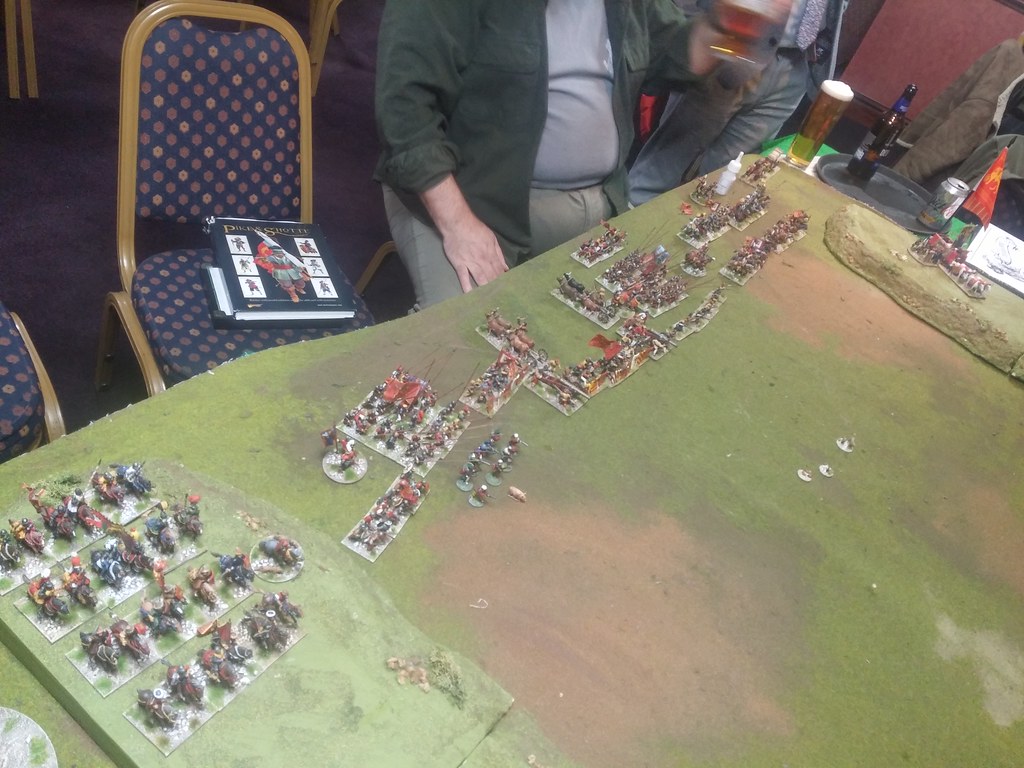
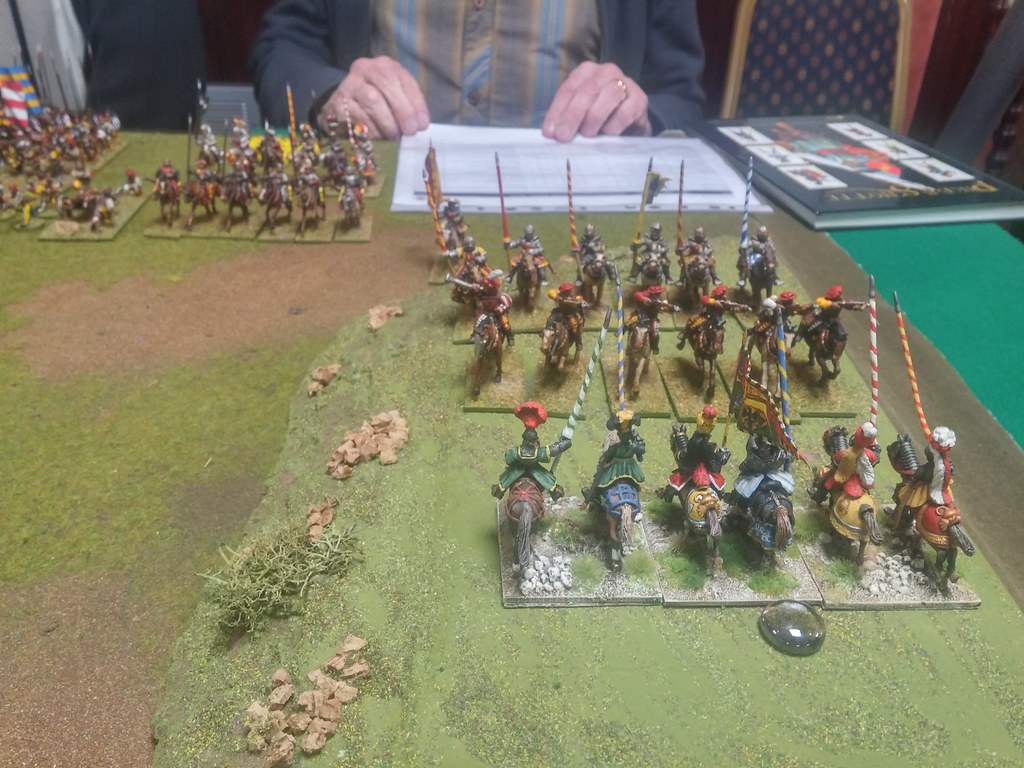
2. The game. Gra.
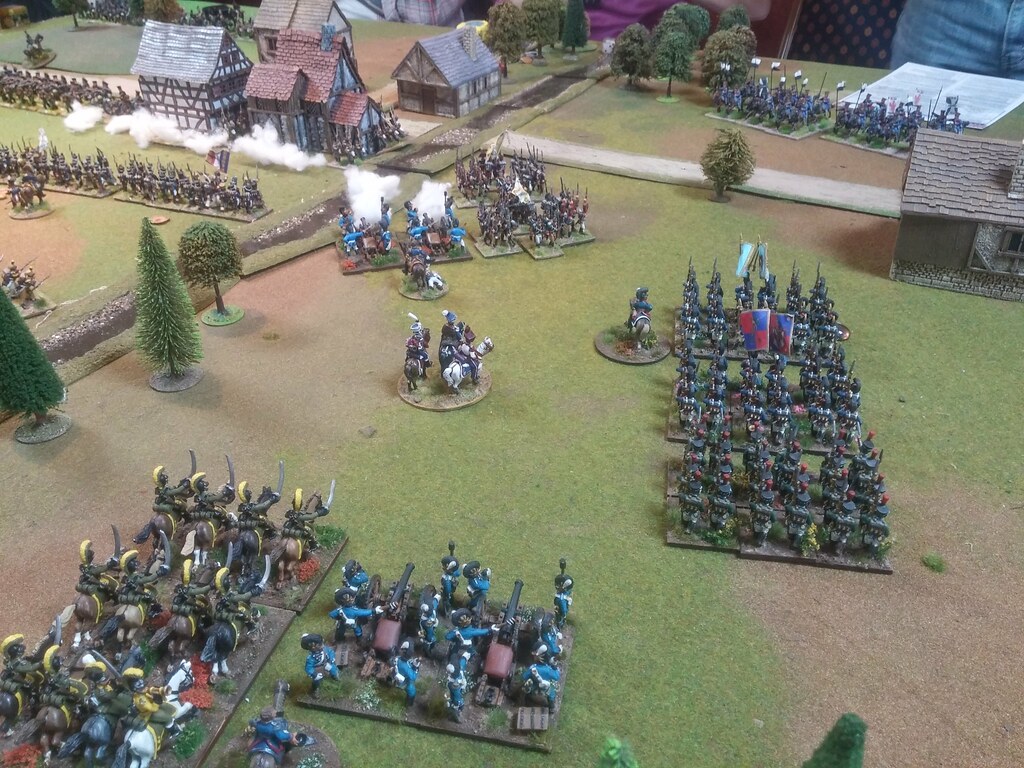
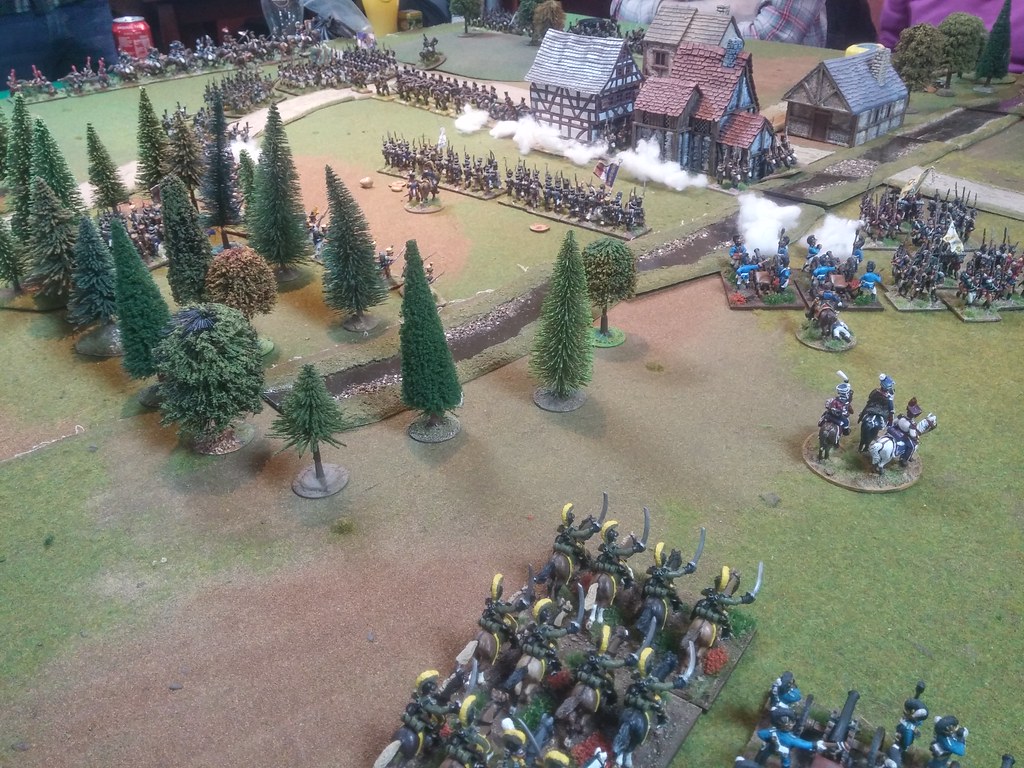
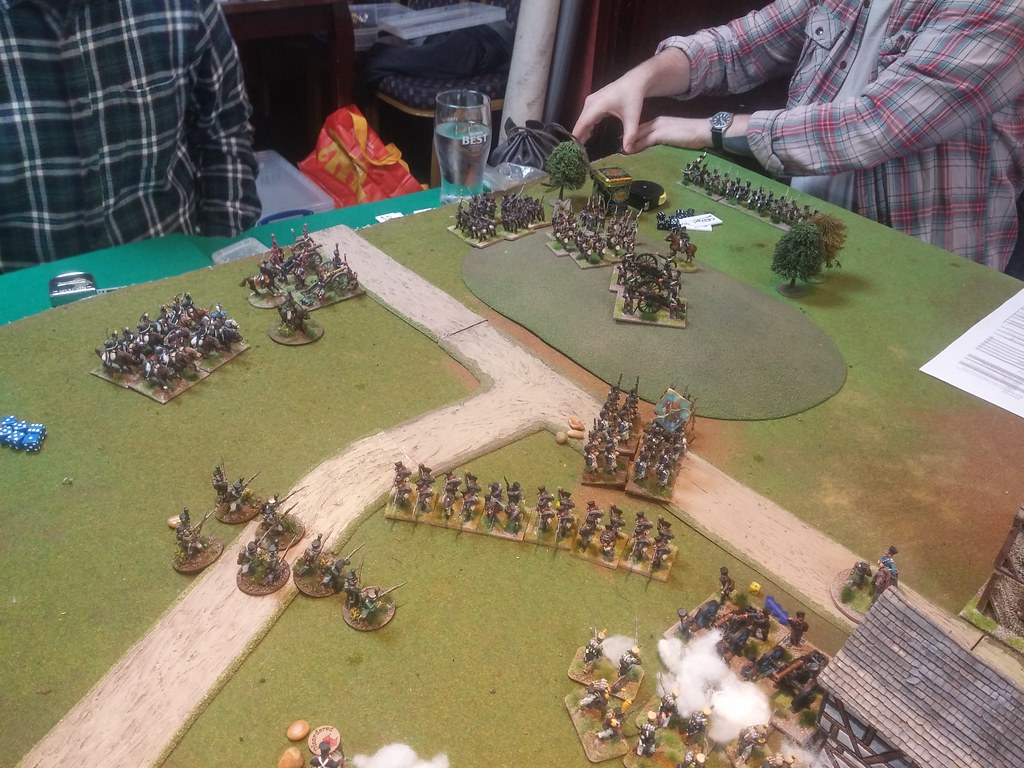
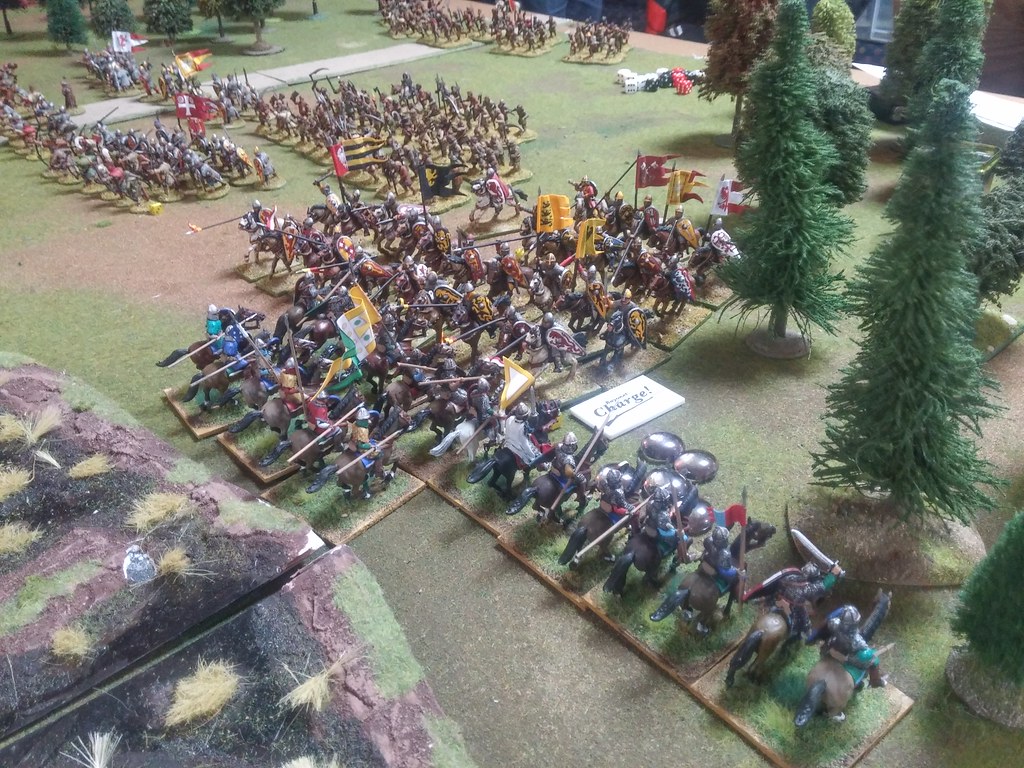
Our Italian War games are usually very static, specially the Venetian Army is good about it. However not this time. Angus with his cavalry was very aggressive and charged with all his troops against Imperial cavalry lead by Michael. Being aggressive and brave paid well. Soon there was no Imperial cavalry on our enemies right flank. Alisdair's pike block had to create a hedgehog to prevent incoming Angus's charge. It was save for now...
Nasze gry z okresu wojen włoskich zazwyczaj są bardzo statyczne, szczególnie dotyczy to armii weneckiej. Jednak nie tym razem. Angus swoją kawalerią zachował się bardzo agresywnie i natarł na kawalerię imperialną, dowodzoną przez Michaela. Będąc agresywnym bardzo się opłaciło i wkrótce całe prawe skrzydło imperialne zostało pozbawione konnicy. Aby przeciwdziałać nadchodzącej szarży kawalerii, Alisdair musiał swój blok pikinierski ustawić w jeża. Na razie była bezpieczna...


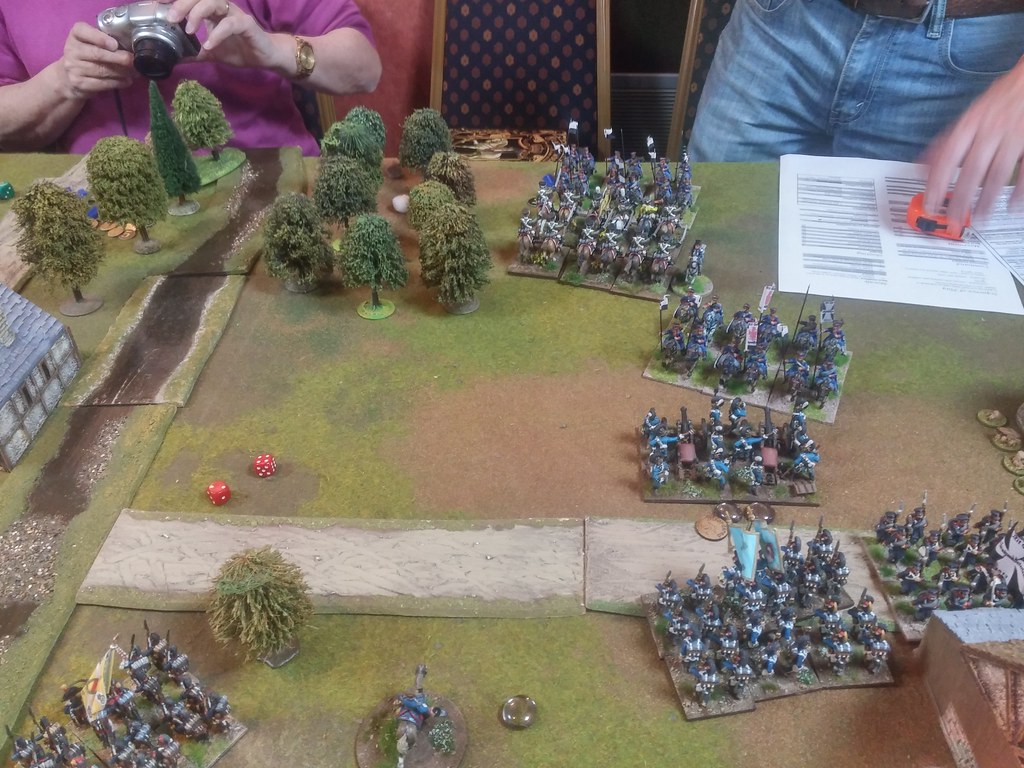
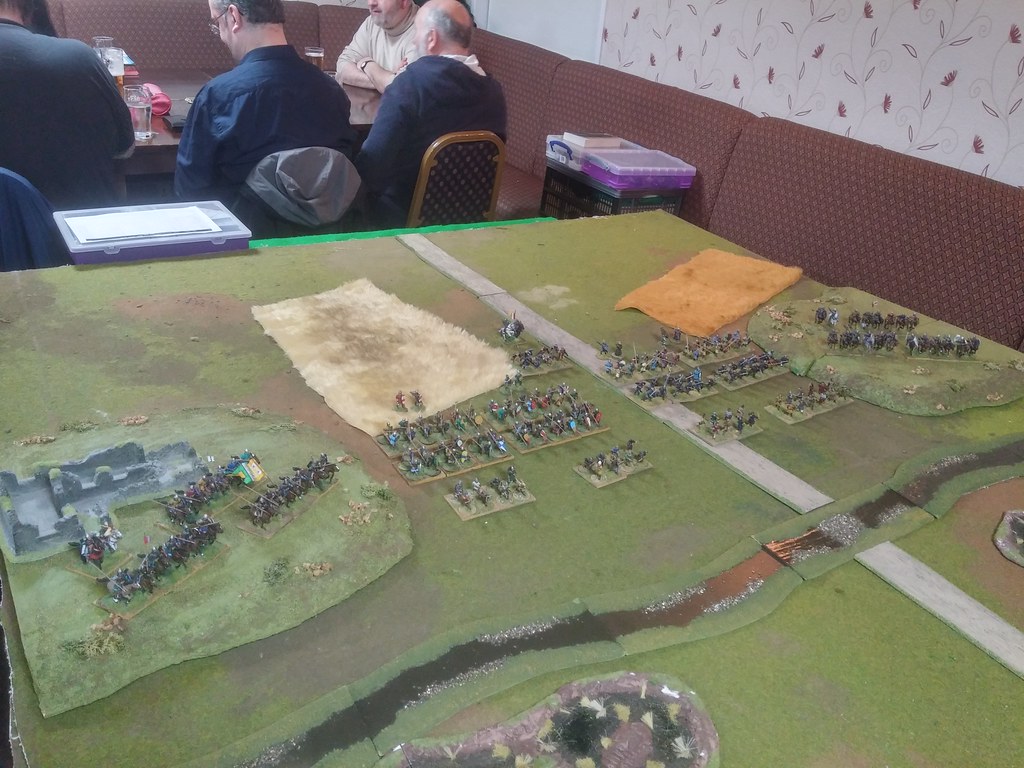
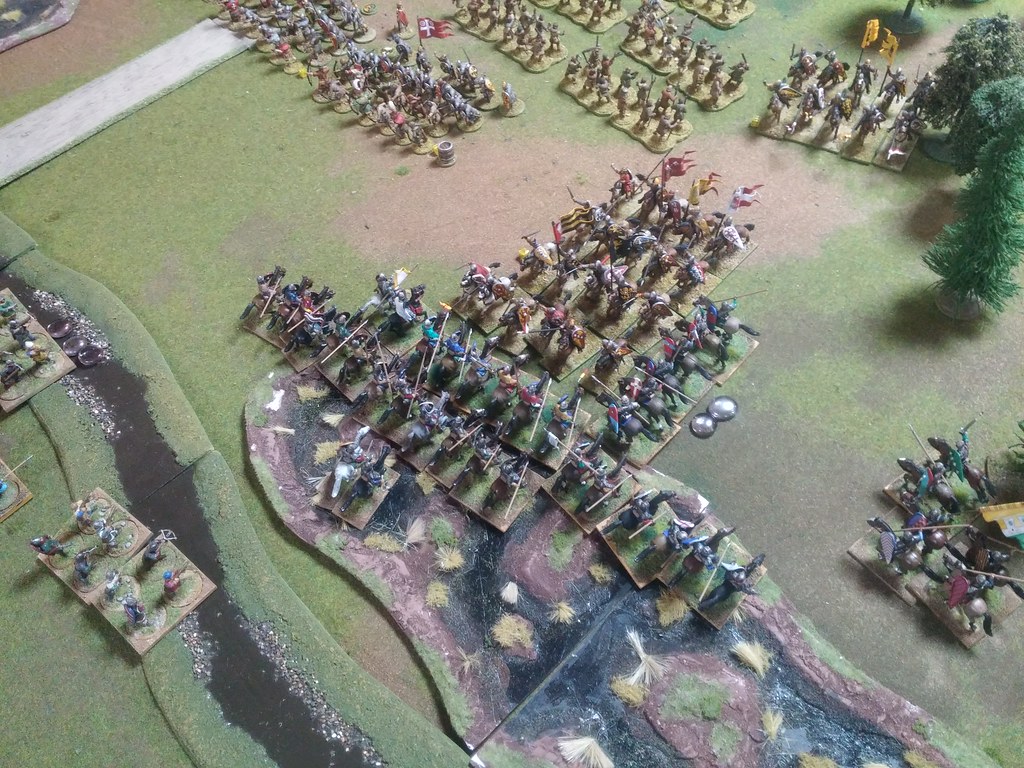
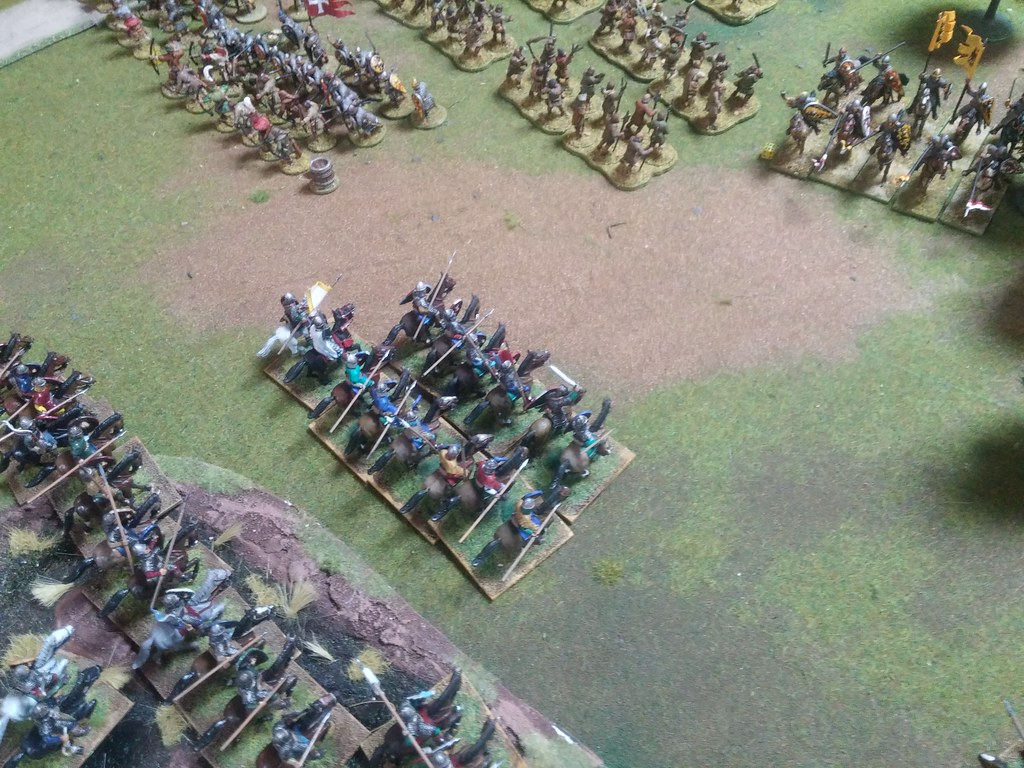
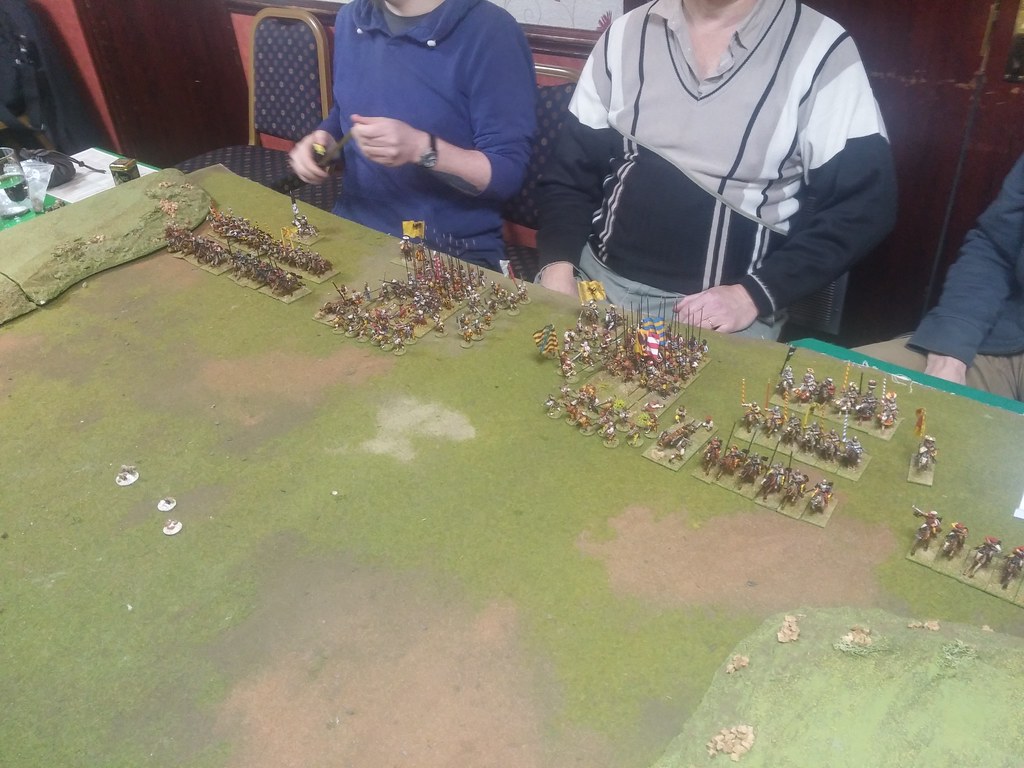
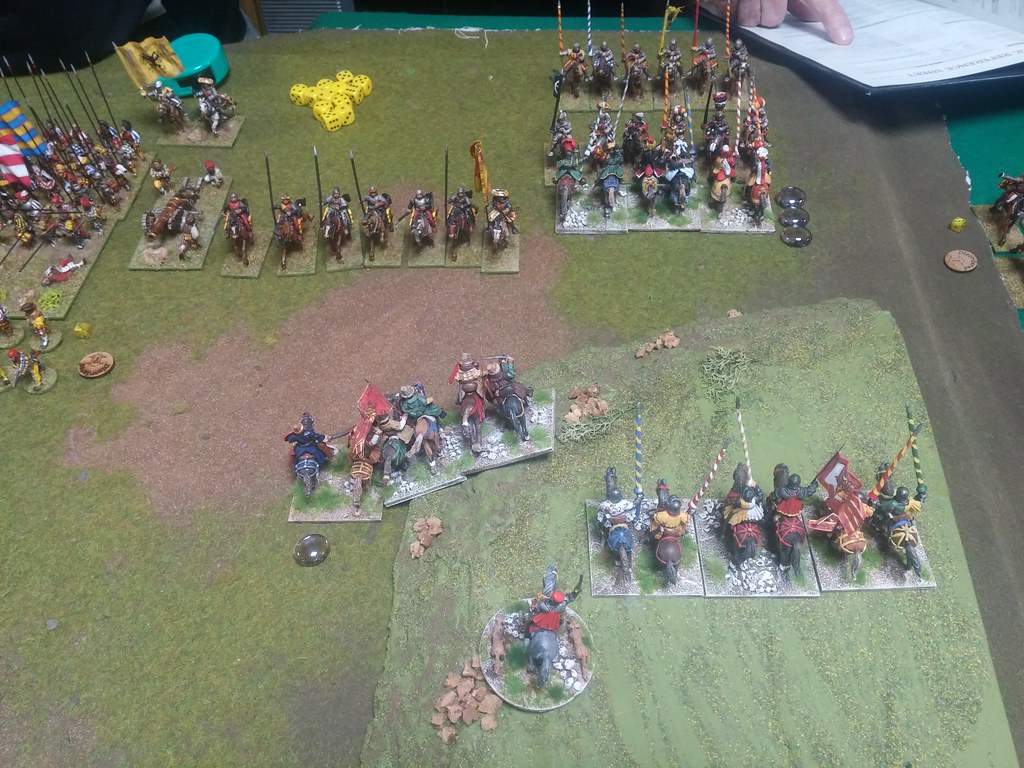
On our right, the situation did not looked that good. I started very well, but soon my cavalry get beaten and had to withdraw. I lost my Lanze Spezzate. The situation did not looked well, however it was no disaster yet. I moved them back and prepared for countercharge. That happened very soon, but this time it was repulsed. The Imperials withdraw with serious casualties. The honour was saved, but was very close...
Na naszej prawej flance sytuacja nie wyglądała tak dobrze. Zaczęło się bardzo dobrze, jednak wkrótce moja kawaleria została pobita i musiała się wycofać. Straciłem moich Lanze Spezzate. Nie wyglądało to dobrze, jednak nie było jeszcze tragedii. Wycofałem konnicę i przygotowałem się na kontr szarżę. To nastąpiło wkrótce, lecz tym razem to mi się udało ją odepchnąć. Imperialna kawaleria wycofała się z poważnymi stratami. Honor udało się zachować, ale było blisko...
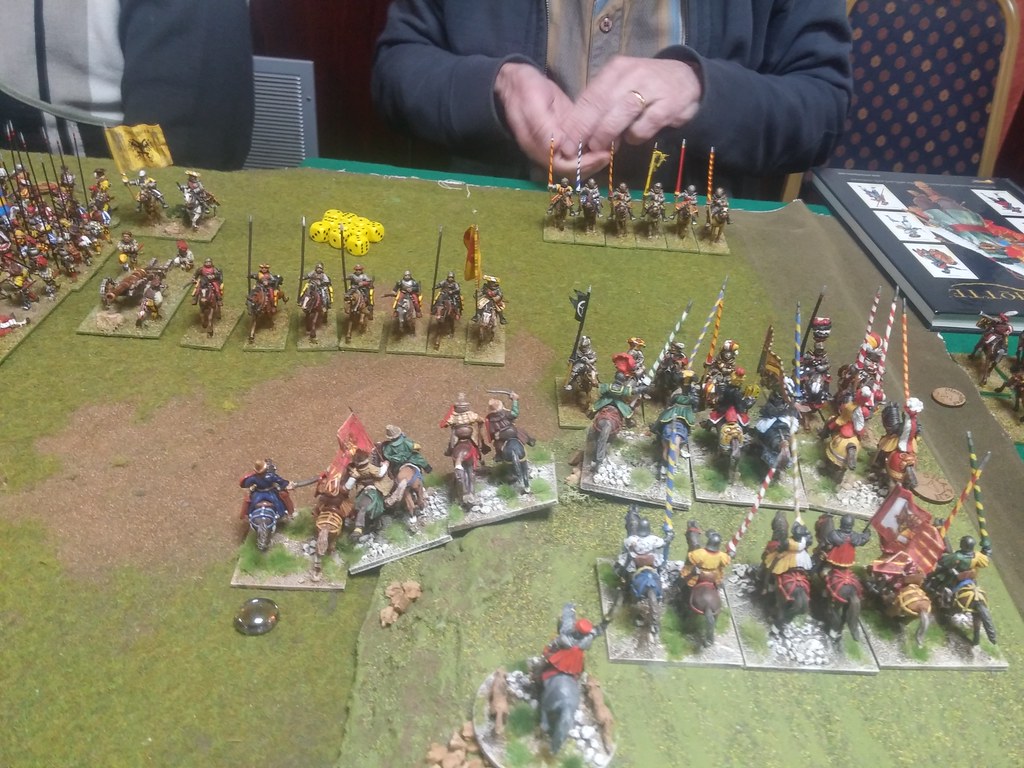
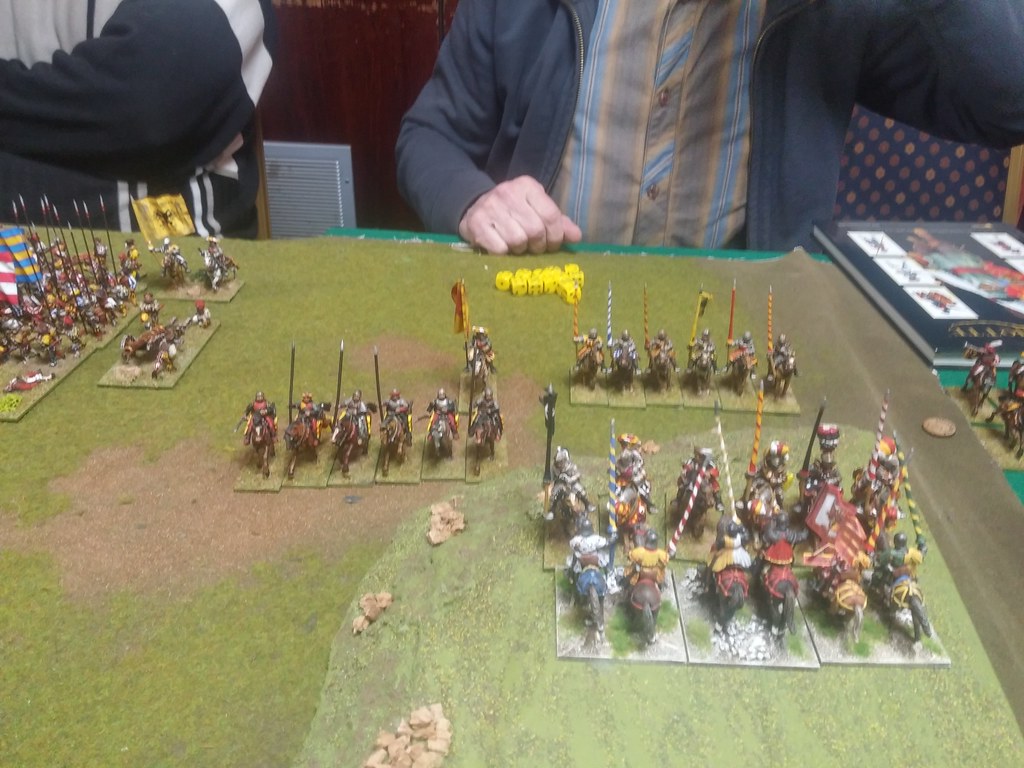
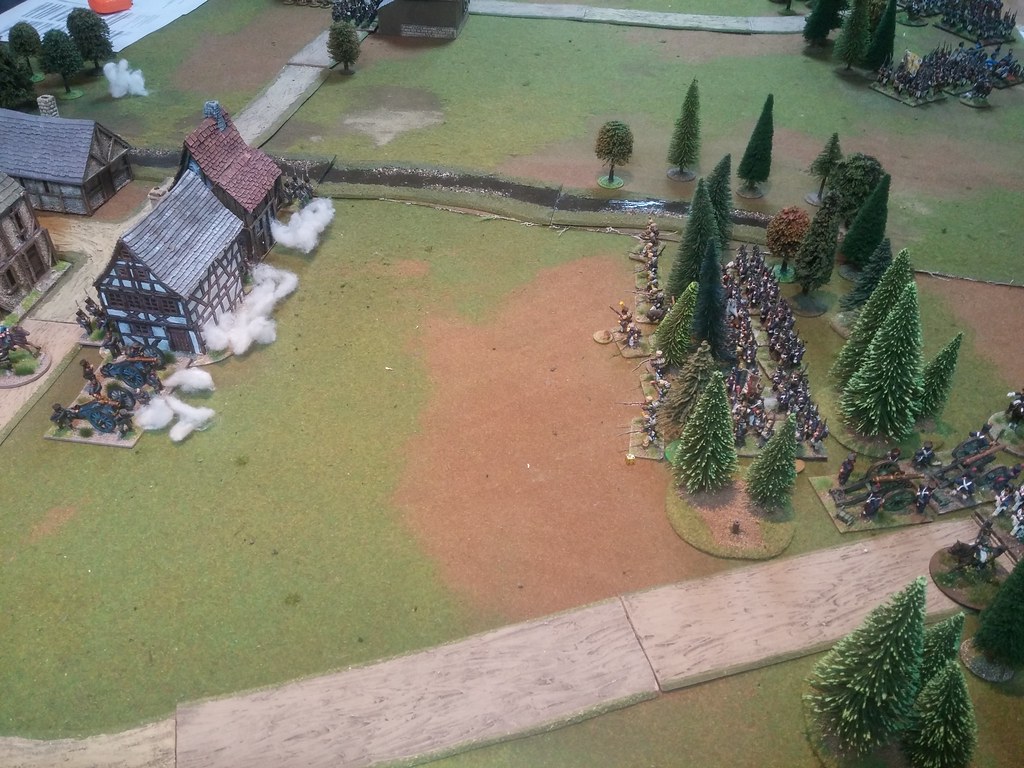
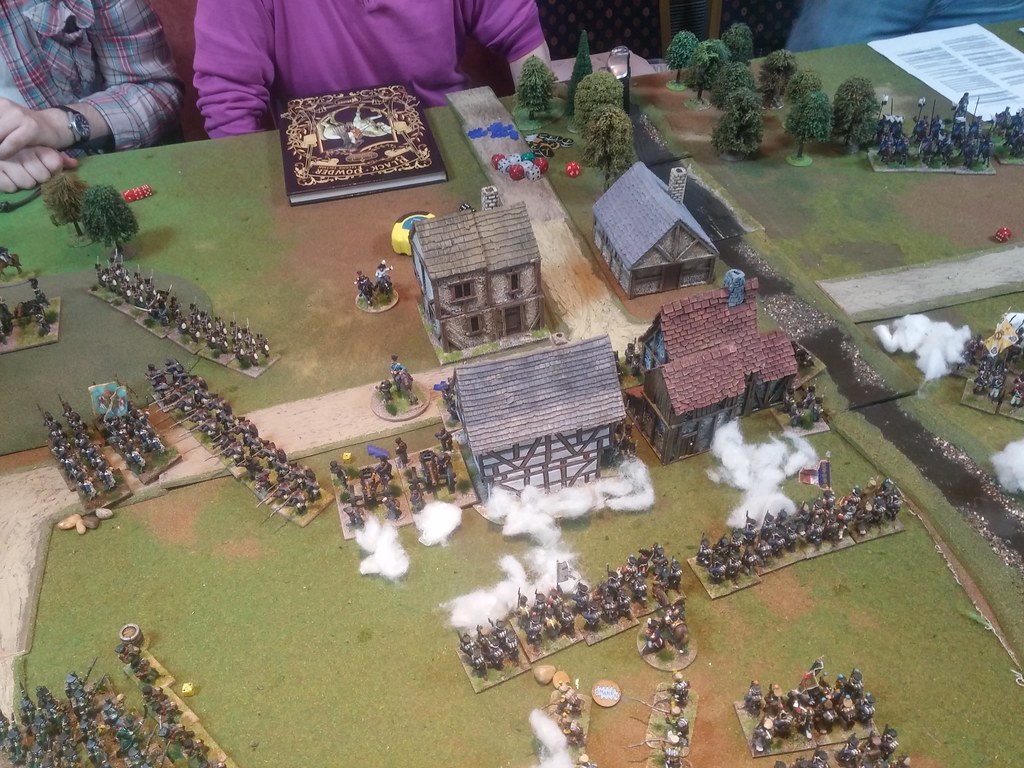
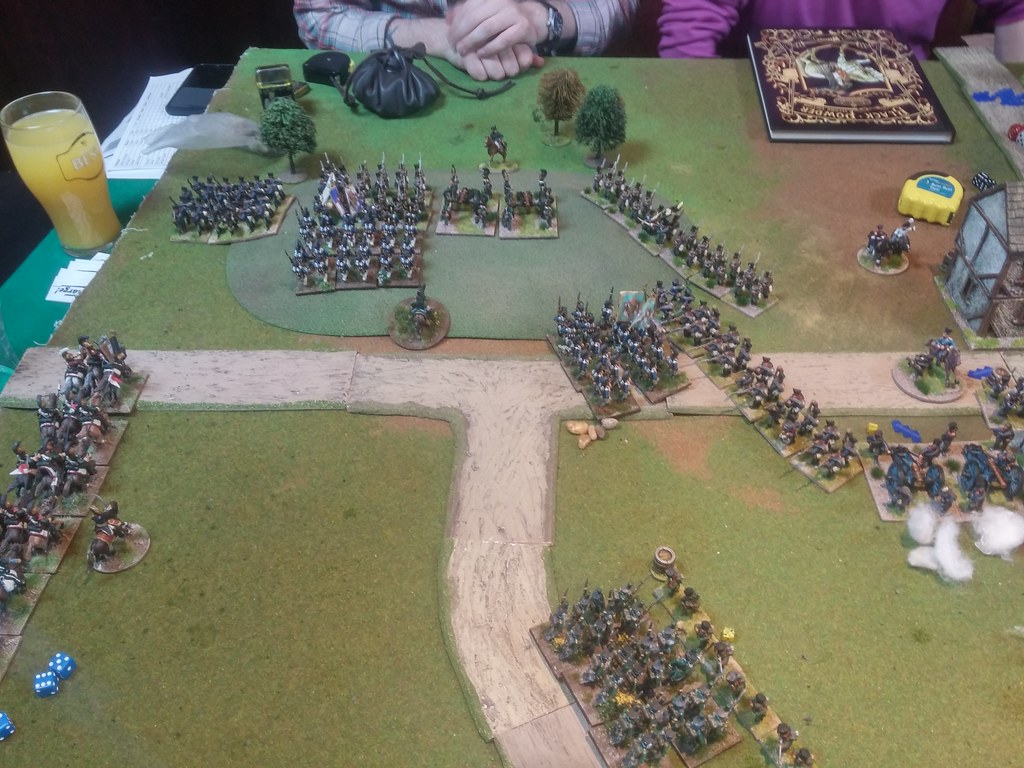
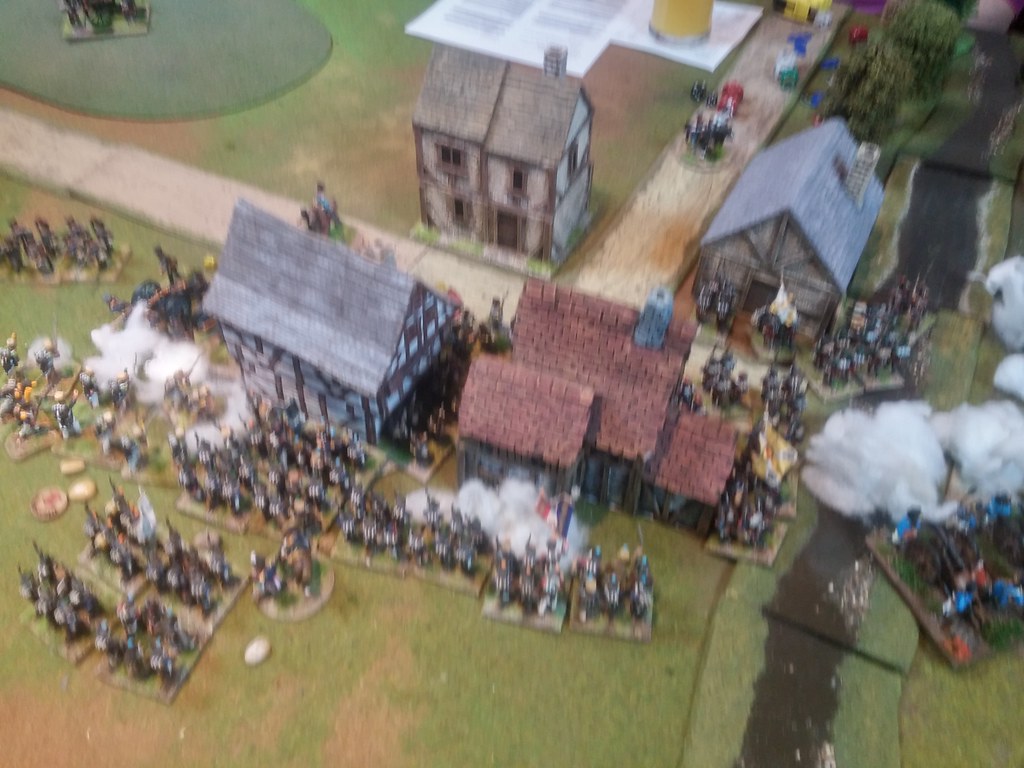
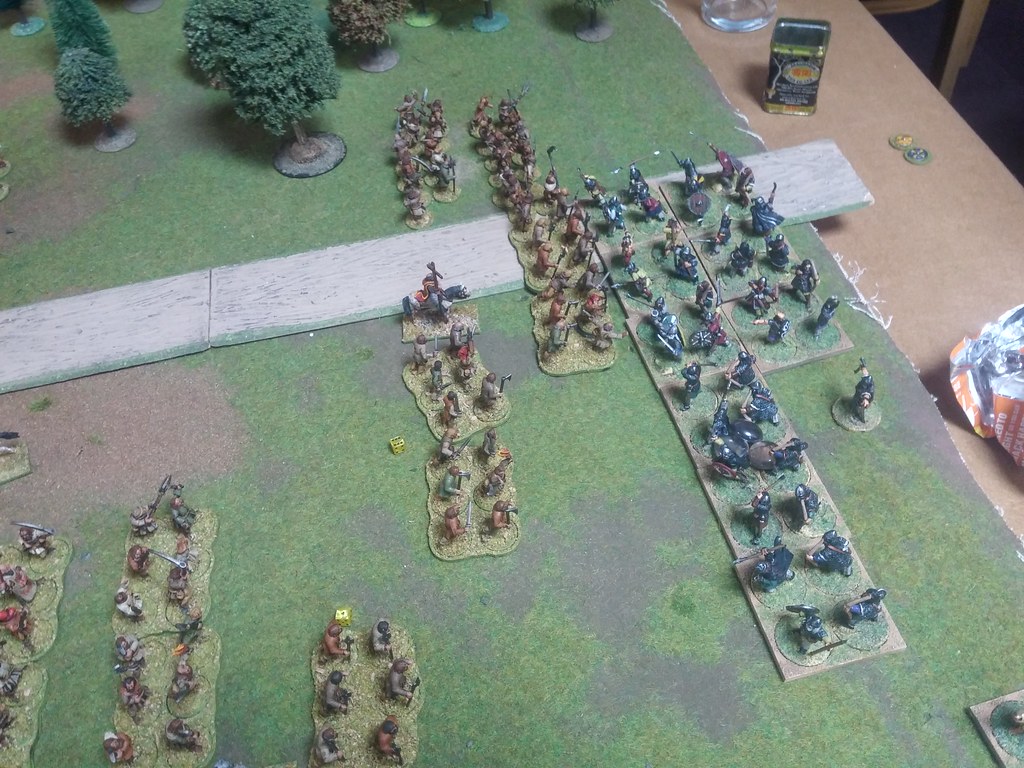
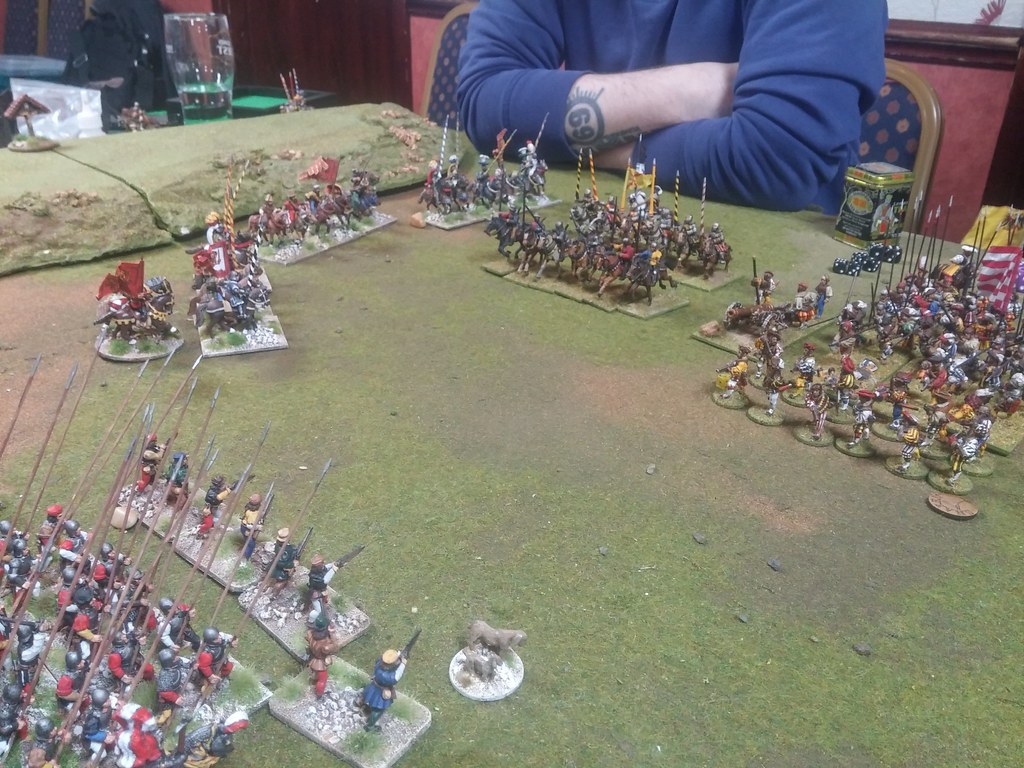
The battle decided with infantry and gunpowder. Hedgehog is a great target for artillery and soon our guns started put all load into it. It get broke very soon. Then Michael decided to do a death or glory movement. Imperator get the last remaining pike block and with 'Follow me' order charged on my Pikemen. Those were screened by my Arquebusiers. I had to options, withdraw them or stand and receive the charge. I decided to do stand. My guys fired and happened something unexpected. The pike block get shaken and rolled very low for morale test. Pike block get broken! That finished the game, as Imperials were left with almost no troops. Great victory for Venetia!
Gra rozstrzygnęła się dzięki piechocie i ogniu ich broni palnej. Jeż jest doskonałym celem dla artylerii i wkrótce oba nasze działa cały swój ładunek ulokowało w tej formacji. Wkrótce ta się załamała i została zniszczona. Wtedy Michael zdecydował się na ruch wszystko albo nic. Cesarz stanął na czele ostatniego bloku pikinierskiego i rzucając rozkaz "Za mną" zaszarżował na mój blok pikinierski. Ci z kolei byli zasłonięci moją arkubuzerią. Ci mieli dwie opcje. Jedna to pozostać i przyjąć szarżę. druga to wycofać się. Wybrali pierwszą. Moi chłopcy oddali salwę i wtedy stało się coś niespodziewanego. Pikienierzy zachwiali się (uzuskali status shaken) i w wyniku testu morale, który wypadł bardzo źle zostali rozbici! To zakończyło grę, ponieważ cesarscy pozostali z niewielka ilością oddziałów na polu bitwy. Wielkie zwycięstwo dla Wenecji!


3. Links. Linki.
Angus:
Michael
SESWC:
Flickr:
https://www.flickr.com/photos/asienieboje/albums/72157704078729964
At the end: Happy 100th Birthday to Polish Navy!!!
I na koniec: Wszystkiego najlepszego dla Marynarki Wojennej Rzeczypospolitej z okazji 100 lecia!!!