Muskets and Tomahawks used to be a very popular game system in our club. Over time, other rules captured our attention, and we gradually forgot about it. I must admit that I missed the announcement of the second version of the rules. However, that changed this Sunday when Mike proposed a game using his impressive collection of 60mm miniatures from JJ Design. This time, he nearly used his entire collection, which was truly remarkable!


UMPIRING: Mike Evans
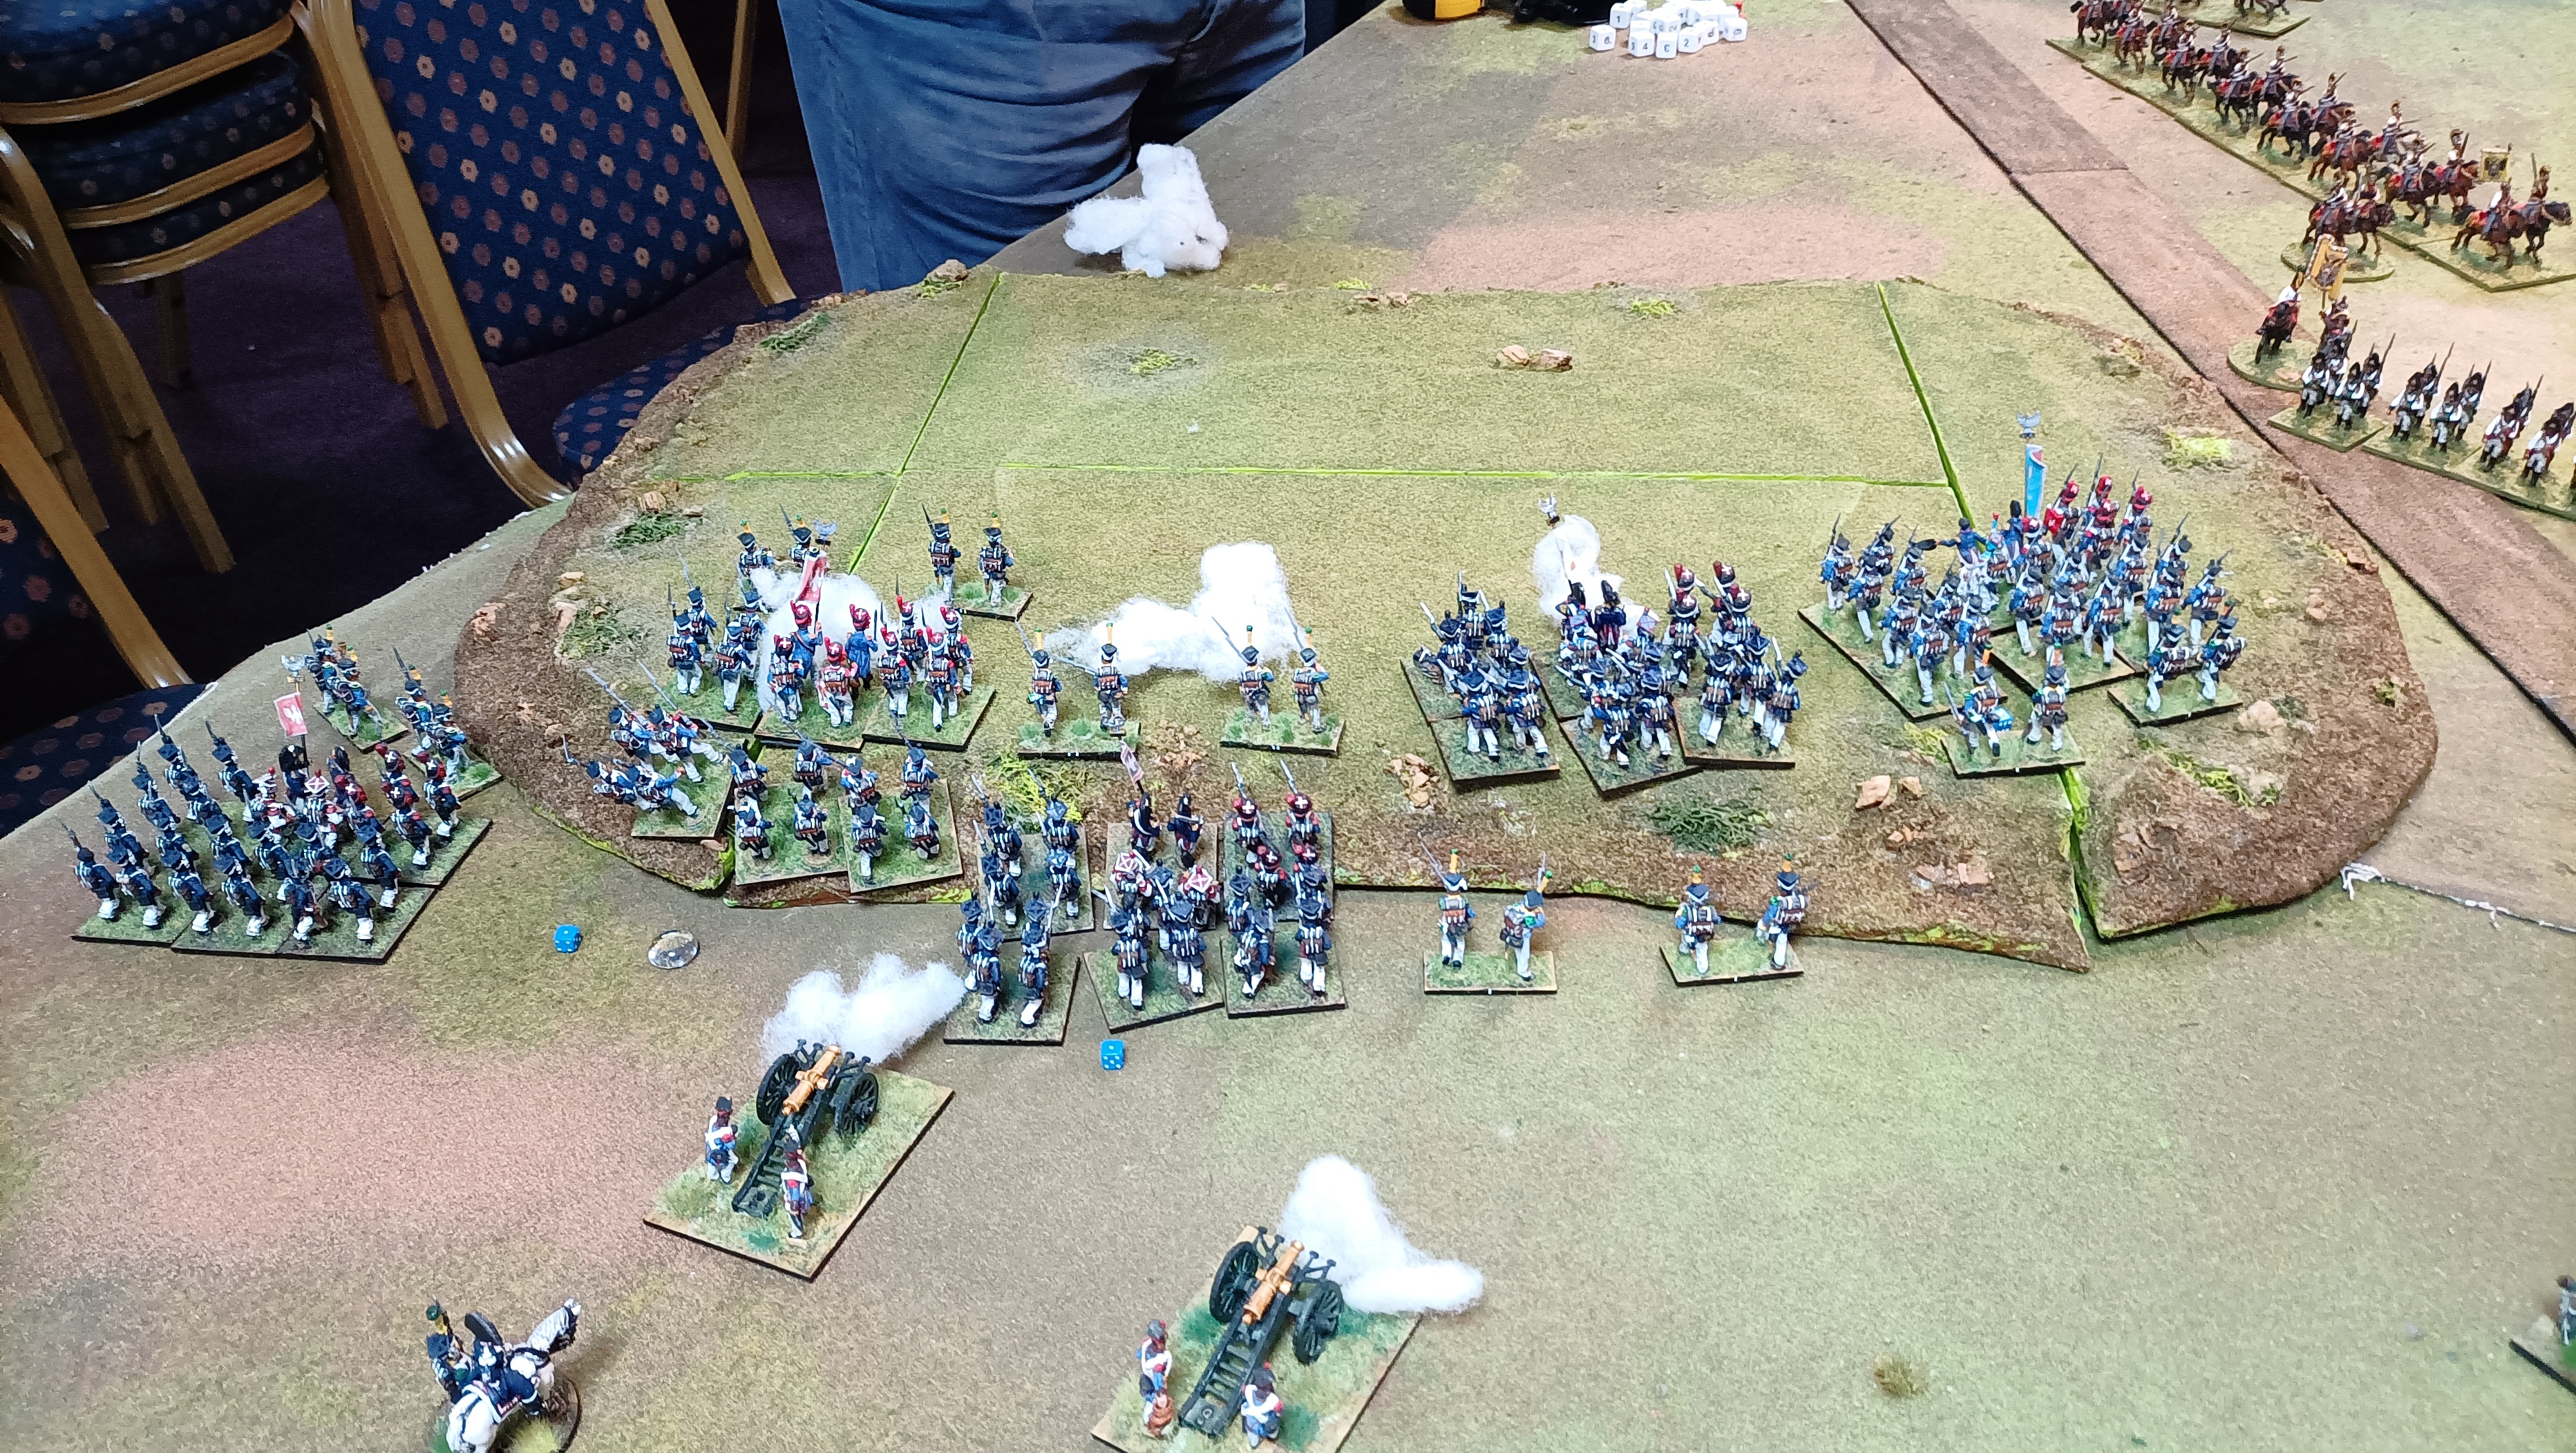
1. Forces.


2. The Game.
Our forces were not evenly matched. Mike aimed to have as many figures on the table as possible, rather than creating a balanced force. As a result, we had fewer French troops, which was both a disadvantage and an advantage. We played a basic scenario to capture objectives. There were a total of five objectives, which Mike placed on the table fairly evenly.


The French initially had a few successes. The Indians captured one of the objectives, and my irregular troops managed to drive the Provincial Infantry off the battlefield. Michael had an unfortunate series of morale rolls that day, and I believe he only rolled high enough during the entire game to avoid suffering any consequences.


Subsequently, the British achieved a series of successes, primarily due to their numerical superiority. However, they managed to secure four additional objectives. I needed to adjust my tactics and adopt a more aggressive approach, which turned out to be a very effective solution.


The solution was hand-to-hand combat. First, my Indian forces attacked a unit of Scottish infantry and successfully destroyed it. Next, my irregulars targeted another unit of British infantry, forcing them to retreat. Finally, my Indians eliminated a unit of militia. As a result, I had more objective markers for a short period. However, that advantage didn’t last long...


There were simply too many British troops, and as soon as one unit was eliminated, another immediately took its place. The intensity of their fire created considerable confusion within my ranks. While I managed to maintain control on my left flank, where I achieved a decisive victory, the situation in the centre and especially on the right side of the field began to grow critical. The British launched a strong attack.


The first attack was successfully repelled, resulting in the elimination of a British infantry unit. However, an irregular infantry attack on my Indian forces led to their defeat. My chief decided to go on the offensive alone and was also killed, but not before taking down another British soldier. Ultimately, this was the only unit loss I experienced in the game, as an officer is considered a separate unit.


By eliminating the Indians and their chief, the British regained the upper hand in controlling the objectives, maintaining this advantage until the end of the game. As the game progressed, I achieved another success on the battlefield. One of the British soldiers was promoted to officer, but he and his entire unit were eliminated shortly thereafter. Despite successfully eliminating a significant number of enemy units, I ultimately lost the game by a score of 2:3, as I was unable to control enough objectives.


I enjoyed the new version of the rules. This time, players have more influence over the activation of their units. You no longer have to wait to select the right card from the deck; instead, you can use additional points to activate your units. I don’t clearly remember how the rules for shooting and melee combat changed, but they were quite straightforward. The same applies to morale and related issues. Overall, the game was very engaging, and seeing the entire collection of Mike's figures on the table further enhanced the enjoyment. We will return to these rules.
3. Links.
SESWC:
To be updated soon...MICHAEL:
To be updated soon...
FLICKR:
https://www.flickr.com/photos/asienieboje/albums/72177720325618554