04 czerwca 2013

The Fission Expediction. Operacja Rozszczepienie.

Scotland is hit by a very sunny and warm weather, so our last game was something light for a change.
Szkocję nawiedziła bardzo słoneczna i ciepła pogoda, więc nasza ostatnia gra to coś lekkiego dla odmiany. 


SCENARIO/SCENARIUSZ: Colin Jack
FIGURES&MODELS/FIGURKI I MODELE: Colin Jack
SCENERY/SCENERIA: Colin Jack, SESWC
 
1. Orders/Rozkazy.
This time Colin has prepared something more interesting. In theory, there were two teams of Germans and the Allies, but it turned out that the individual elements of these teams have not always been the same plans. It looked like this:
 
ALLIED/ALIANCI:
  
BRITISH/BRYTYJCZYCY
(Colin Jack)
You have been given command of a very small force, one squad of infantry in an M3 half-track, and a Comet tank.  You are to occupy a factory complex and secure both the contents and the scientific personnel.  To heighten the sense of urgency of your mission, HQ have given the same orders to the similar American force, and made the enterprise competitive. Victory points will be awarded for equipment and scientists recovered safely.
Otrzymałeś dowództwo nad małym oddziałem złożonym z drużyny piechoty w transporterze M3 i czołg Comet. Masz za zadanie zająć mały kompleks przemysłowy i zabezpieczyć urządzenia i personel naukowy tam się znajdujący. Aby zwiększyć ważność misji, dowództwo podobny rozkaz dało podobnemu oddziałowi amerykańskiemu, i uczyniło to przedsięwzięcie konkurencyjnym. Punkty zwycięstwa będą przyznawane za zabezpieczony sprzęt i naukowców.

AMERICAN/AMERYKANIE
(Steaurt Endicott)
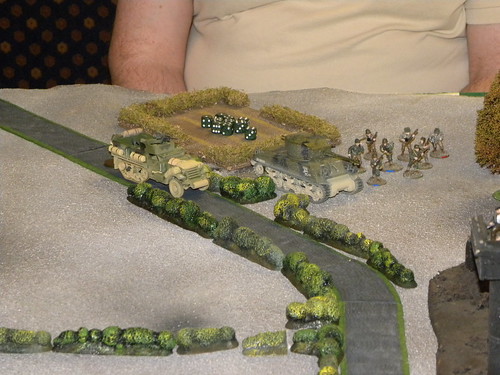
 
You have been given command of a very small force, one squad of infantry in an M3 half-track, and a Sherman tank.  You are to occupy a factory complex and secure both the contents and the scientific personnel.  To heighten the sense of urgency of your mission, HQ have given the same orders to the similar British force, and made the enterprise competitive. Victory points will be awarded for equipment and scientists recovered safely.
Otrzymałeś dowództwo nad małym oddziałem złożonym z drużyny piechoty w transporterze M3 i czołg Sherman. Masz za zadanie zająć mały kompleks przemysłowy i zabezpieczyć urządzenia i personel naukowy tam się znajdujący. Aby zwiększyć ważność misji, dowództwo podobny rozkaz dało podobnemu oddziałowi brytyjskiemu, i uczyniło to przedsięwzięcie konkurencyjnym. Punkty zwycięstwa będą przyznawane za zabezpieczony sprzęt i naukowców.
 
FRENCH/FRANCUZI
(Dave O'Brian)
You command a small unit of Resistance fighters.  You are aware of a German factory complex in your area which employs French prisoners.  The factory seems to be in a state of panic with trucks being packed and documents burned. The Allies have told you that they want the scientists taken alive.  Your own command wants them dead. You will gain Victory points on the basis of French prisoners safely released and scientists eliminated. You may contact and co-operate with any Allied troops who may be operating in your area. Your command comprises 10 Regulars inc LMG + an 81mm mortar team.
Dowodzisz oddziałem Ruchu Oporu. Jesteś świadomy faktu, ze na Twoim terenie znajduje się niemiecki kompleks przemysłowy gdzie w charakterze robotników przymusowych zatrudnieni są francuscy więźniowie. Personel fabryki wydaje się być w panice, stąd cały ekwipunek jest ładowany na ciężarówki a dokumentacja palona. Alianci poinformowali Was, że chcą naukowców żywych, ale Twoje dowództwo chce by zostali zabici. Otrzymasz punkty zwycięstwa za uratowanie francuskich więźniów i wyeliminowanie naukowców. Możesz kontaktować się i współpracować z jakimkolwiek oddziałem Aliantów operującym w twoim obszarze. Twój oddział składa się z 10 Regularnych (włączając w to lkm) + 81mm moździerz wraz z obsługą.

GERMANS/NIEMCY
SS
(Campbell Hardie)
 
You command a small SS unit which has been given the task of removing equipment and documentation from a factory complex which has been working on the Reich's nuclear programme.  Even more important are the scientists, but they cannot be evacuated until they have supervised all the equipment removal. You have 4 trucks at your disposal and your men can load a truck in 3 turns provided they do nothing else. The factory has it's own militia for defence purposes and they cannot assist with the loading operations. You will gain Victory points for getting loaded trucks and scientists off the table.
Dowodzisz małym oddziałem SS, który ma za zadanie wywieźć urządzenia i dokumentację z kompleksu przemysłowego, który był częścią składową programu nuklearnego Rzeszy. Szczególnie ważni są naukowcy, ale oni nie mogą być ewakuowani zanim nie zakończą nadzoru ewakuowanego sprzętu. Masz do dyspozycji 4 ciężarówki i Twoi ludzie mogą załadować jedną z nich w ciągu 3 tur przy założeniu, ze nie będą zajęci niczym innym. Fabryka ma swoją własną milicję dla zapewnienia bezpieczeństwa i nie może być zatrudniona do ładowania ekwipunku. Otrzymasz punkty zwycięstwa za każdą załadowaną ciężarówkę i naukowca wywiezionego poza stół.

4 trucks + Kubelwagen
8 Regular SS with SMG and Rifles
8 Inexperienced Guards with SMGs

FALSCHIRMJAGER
(Bill Gilchrist)
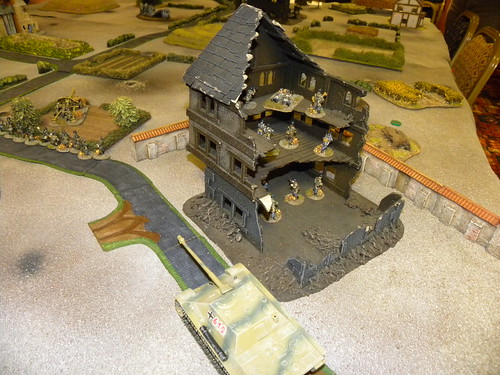
 
Nothing is going well for the German army at the moment and all around you units are retreating as fast as possible as the Allies advance.  You are still confident that victory can be achieved. You have been given the task of holding up that advance so that the SS can remove equipment and scientists from a factory complex that is part of the Reich's nuclear programme. You will gain Victory points for each Allied unit eliminated. At your disposal you have the following:
Nic nie idzie po myśli niemieckiej armii. Wszystkie oddziały cofają się w pośpiechu przed naporem Aliantów. Ty cały czas wierzysz w zwycięstwo. Dostałeś rozkaz powstrzymania tego naporu, aby SS mogło ewakuować wyposażenie i naukowców z kompleksu przemysłowego będącego częścią programu nuklearnego Rzeszy. Otrzymasz punkty zwycięstwa za każdy wyeliminowany aliancki oddział. Do twojej dyspozycji masz:
 
Jagdpanther
Veteran Infantry squad of 12 men inc 2 x LMG and Panzerfaust 

WERMACHT
(Bartek Żynda)
 
Nothing is going well for the German army at the moment and all around you units are retreating as fast as possible as the Allies advance. You have been given the task of holding up that advance so that the SS can remove equipment and scientists from a factory complex that is part of the Reich's nuclear programme. You have decided that now might be a good moment to attempt to surrender to the Allies and a scientist might be a good bargaining point. You will gain Victory points for each Allied unit eliminated up to your defection. You will also gain VPs for scientists handed over to the Allies. At your disposal you have the following:
Nic nie idzie po myśli niemieckiej armii. Wszystkie oddziały cofają się w pośpiechu przed naporem Aliantów. Dostałeś rozkaz powstrzymania tego naporu, aby SS mogło ewakuować wyposażenie i naukowców z kompleksu przemysłowego będącego częścią programu nuklearnego Rzeszy. Zdecydowałeś, że to chyba najlepszy moment na poddanie się Aliantom i naukowcy mogą być doskonałą kartą przetargową. Otrzymasz punkty zwycięstwa za każdy aliancki oddział wyeliminowany przed Twoją dezercją. Otrzymasz również punkty za każdego naukowca przekazanego Aliantom. Do Twojej dyspozycji masz:

PAK 50 AT gun
Regular squad of 10 men inc LMG and Panzerfaust

2. The game/ Gra
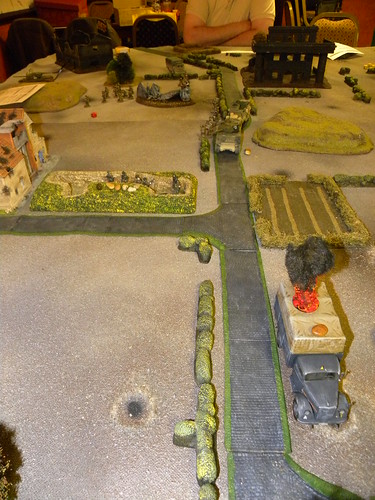
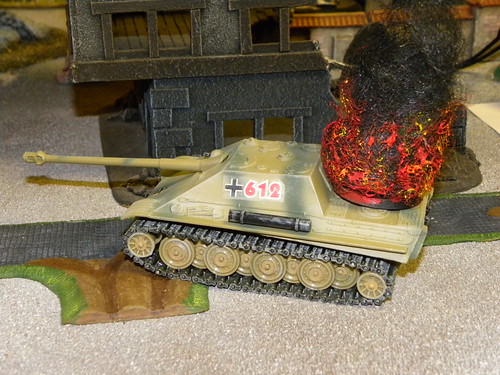
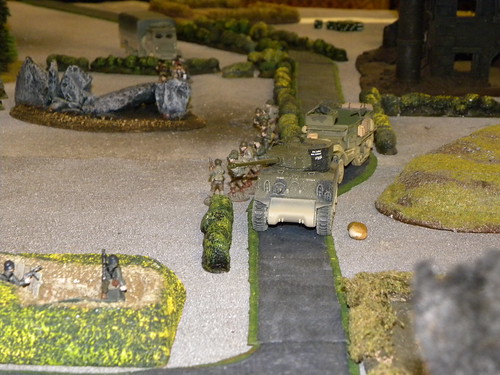
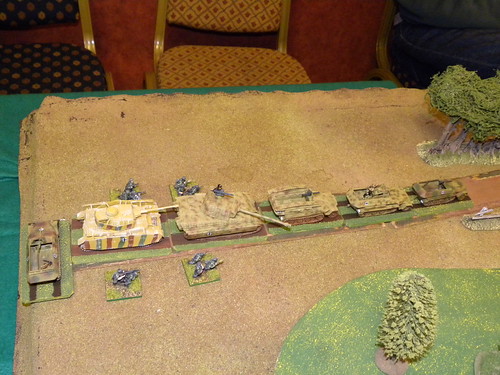
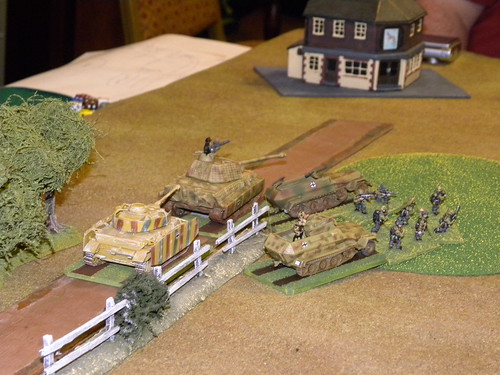
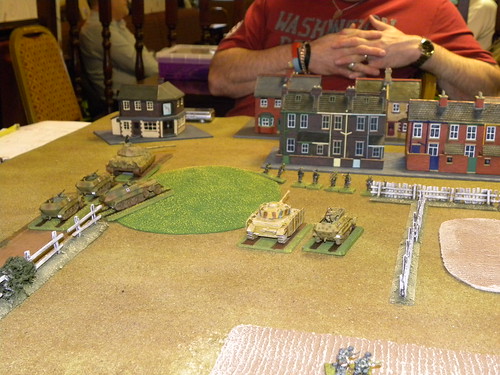
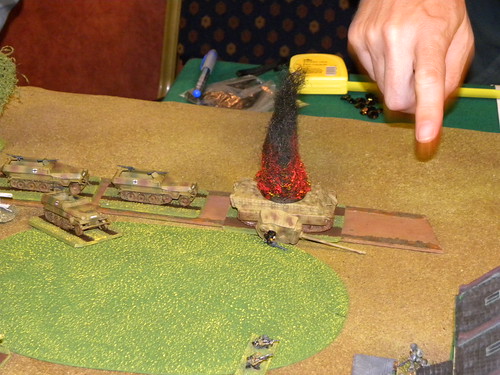
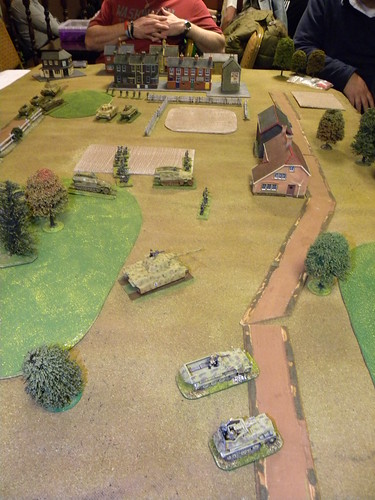
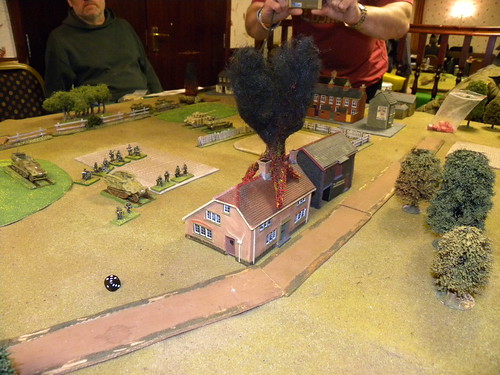
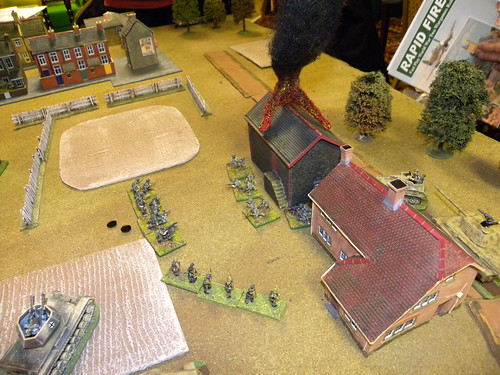
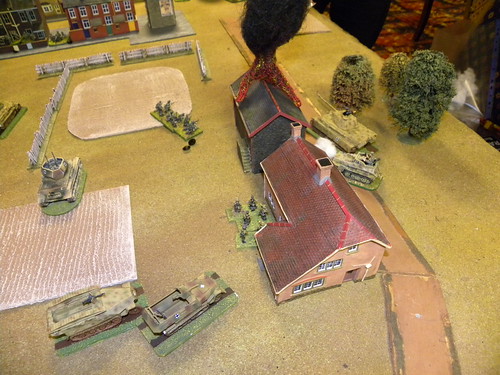
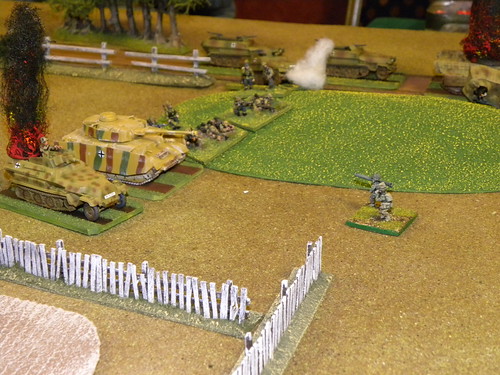
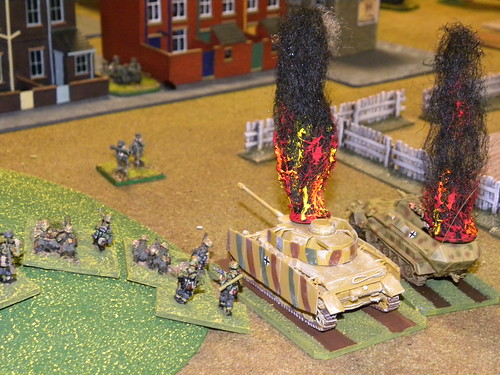
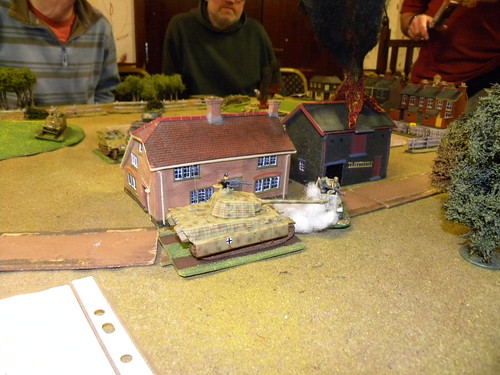
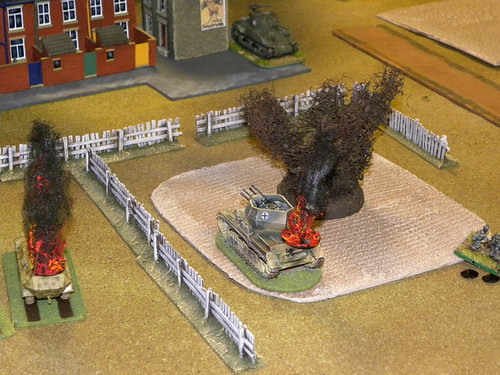
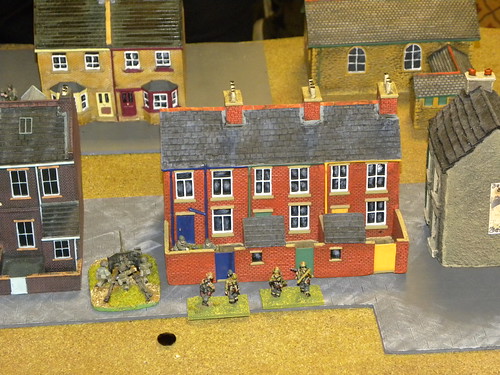
Each player knew his orders, but the rest was not aware of them. Germans from the beginning of the game had to face with a huge misfortune. This bad luck took two forms: Comet tank and French mortar. Very quickly, the Allies eliminated the biggest German threat, the Jagdpanther (first immobilised by comet, then destroyed by sherman). Just after this they has eliminated the PaK 50, and the first truck (by a British tank), which was just evacuated from the factory.
Każdy z graczy znał swoje rozkazy, jednak reszta nie była ich świadoma. Niemcy musieli od początku gry mierzyć się z ogromnym pechem. Ten pech przybrał dwie formy: czołgu Comet i francuskiego moździerza. Bardzo szybko Alianci wyeliminowali najwieksze niemieckie zagrożenie, Jagdpanthere (wpierw unieruchomiona przez Cometa, a następnie zniszczona przez Shermana). Zaraz po nim wyeliminowano działo PaK 50, a pierwsza ciężarówka ewakuowana z fabryki została zniszczona przez brytyjski czołg.  
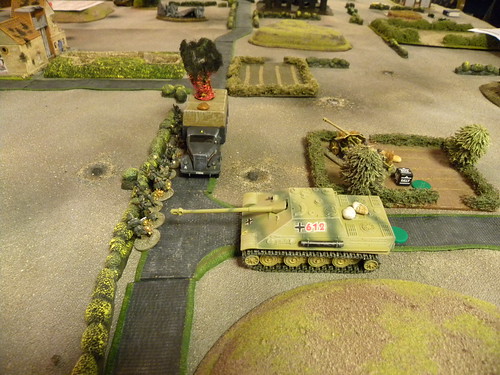
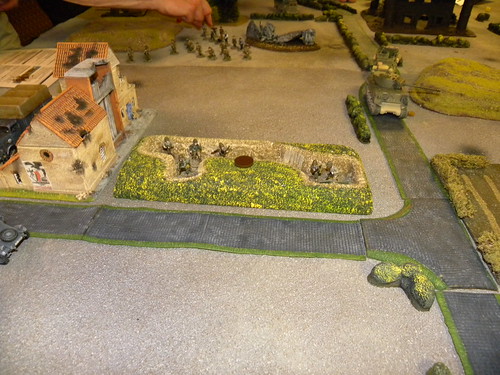
Germans had to take any decisions very quickly. In order not to finish the game too quickly, Nazis received support with the second Jagdpanther, however, and those they lost very quickly (again by Sherman fire). In the meantime, the Wehrmacht managed to reach the trenches and they were close the factory and prepared themseves to perform their ignominious plan, but the French mortar watched them. To get hit with a mortar for the first time you have to throw a six, Dave threw sixes, over and over again, so pinned me very quickly and the rest of the game I wasn't able to do anything...
Niemcy musieli więc szybko podejmować decyzje. Aby nie zakończyc gry zbyt szybko Naziści otrzymali wsparcie w postaci drugiej Jagdpanthery, jednak i tą bardzo szybko stracili (znowu przez ogień Shermana). W międzyczasie Wehrmachtowi udało się dotrzeć do okopów i już byli przy fabryce, by wykonać swój niecny plan, jednak francuski moździerz czuwał. Aby uzyskać trafienie z moździerza za pierwszym razem trzeba rzucić 6, Dave rzucał szóstki raz za razem, czym przyprawił mi niezłych kłopotów i do końca gry nie byłem już niczego zrobić... 
 
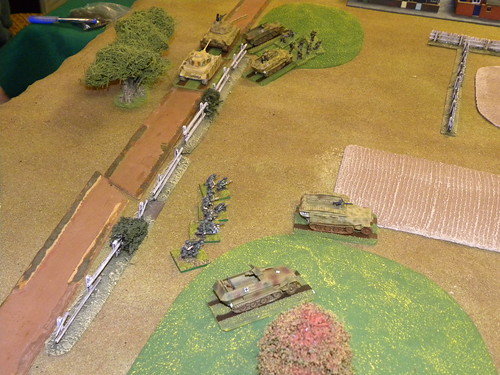
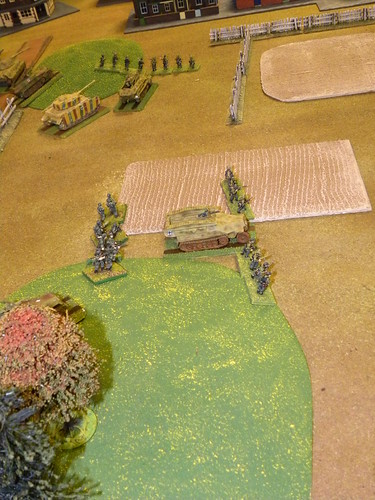
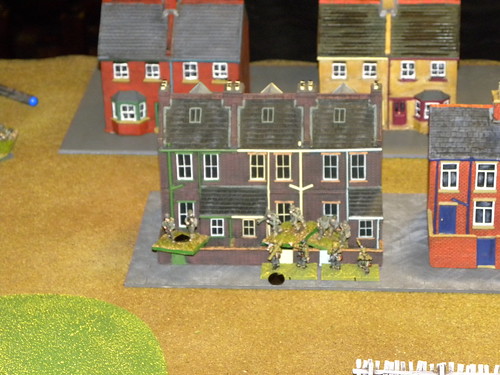
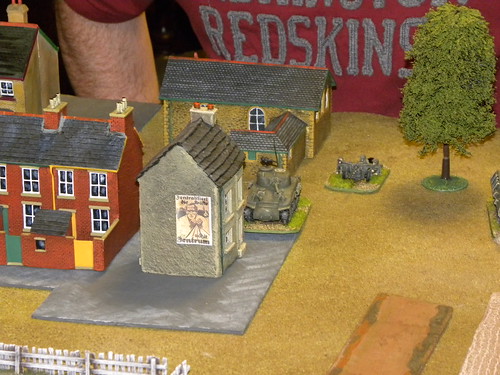
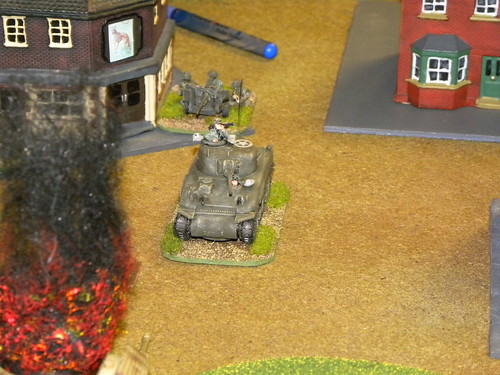
German paratroopers then rushed to the attack at Americans who ware dangerously close to the factory. We managed to immobilize the Sherman, but the American infantry launched an attack on the trenches and eliminated the Wehrmacht unit (it was end of the game for myself...). Using the opportunity the French and British attacked the factory, but only Brits managed to get into the factory and get something. With all this confusion the Germans managed  to evacuate only one truck. 
Niemieccy spadochroniarze rzucili się wtedy do ataku, na niebezpiecznie znajdujących się blisko Amerykanów. Udało się unieruchomić Shermana, jednak amerykańska piechota przypuściła atak na okopy i wyeliminowała oddział Wehrmachtu (to był koniec gry dla mnie...). Korzystając z okazji Francuzi i Brytyjczycy zaatakowali fabrykę, jednak tylko Brytyjczykom udało się wejść do fabryki i coś zdobyć. Z całego tego zamieszania udało się Niemcom ewakuować tylko jedną ciężarówkę.  
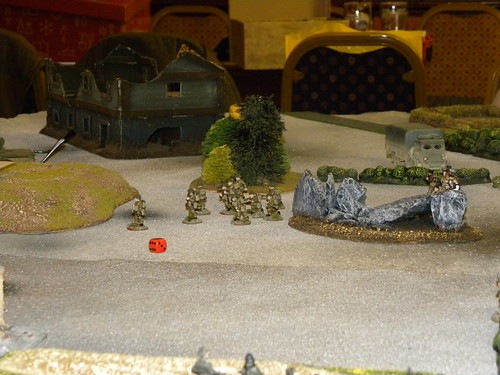
 
 
Victory Points summary suprised everyone...
Podsumowanie punktów zwycięstwa zaskoczyło wszystkich...  
 
Sadly according to the Victory Conditions the Americans and British only get points for scientists and equipment captured therefore zero for the Americans and 25pts for the Brits.  The crew of the Sherman, if any survived, are definitely in line for a Congressional Medal of Honour after eliminating two Jagdpanthers.  The British Comet tank had an auspicious baptism of fire damaging the two Jagdpanthers and destroying two trucks. 
The SS had to get trucks/scientists off the table at 25pts per truck - 2 were destroyed, 1 captured and one escaped, so 25pts for them.  The female factory guards never actually fired a shot and were wiped out by the French.  They did cause 4 French casualties (in melee) but unfortunately get no VPs for that.
Wehrmacht and Falschirmjager won points for enemy destroyed - 15pts for vehicles 2pts for troops.  Wehrmacht would also have got points for any scientist handed over to the Allies.  Bill must have been close to 25pts after taking out the Sherman, Bart around 10pts.
Which just leaves the French Resistance who would have got 20pts for any scientist killed and 20pts for releasing any remaining French slave labourers, which they did by storming the building.  The French certainly had the best mortar dice rolls seen so far in a BA game.
Niestety w odniesieniu do punktów zwycięstwa Amerykanie i Brytyjczycy otrzymywali je tylko za zdobyty sprzęt i pojmanych naukowców, dlatego zero punktów dla Amerykanów i 25 dla Brytyjczyków. Załoga Sherman, jeżeli jakas przeżyła, definitywnie zasłużyła na Medal Honoru za wyeliminowanie dwóch Jagdpanther. Brytyjski Comet przeszedł pomyślnie chrzest bojowy uszkadzając dwie Jagdpanthery i niszcząc dwie ciężarówki.
SS za ewakuację każdej ciężarówki mogli otrzymać 25 pkt. - 2 zostały zniszczone, jedna została zdobyta i tylko jedna ewakuowana - w związku z czym 25 dla nich. Żeńska ochrona fabryki nie oddała ani jednego strzału i została w całości zmieciona przez Francuzów. Co prawda spowodowali utracenie przez Francuzów 4 figurek (w walce wręcz) ale za to nie otrzymuja żadnych punktów.
Wehrmacht i Falschirmjegrzy zdobywali punkty za każdego przeciwnika zniszczonego - 15 pkt za pojazd i 2 pkt za figurkę. Wehrmacht mógł zdobyć dodatkowe punkty za każdego naukowca przekazanego Aliantom. Bill musiał zdobyć około 25 punktów, po wyeliminowaniu Shermana, Bartek około 10 pkt.
Francuzki Resistance otrzymywał 20pkt. za każdego naukowca zabitego i 20pkt. za uwolnienie pozostałych przy życiu robotników przymusowych , co udało się dokonać poprzez szturm budynków. Francuzi mieli na pewno najlepsze wyniki rzutu na  celność możdzierza ze wszystkich naszych dotychczasowych gier w BA.

Summary:
Podsumowanie:

French/Francuzi: 60
British/Brytyjczycy: 25
American/Amerykanie: 0

Total/Razem: 85
 
SS: 25
Falschirmjeger: 25
Wehrmacht: 10

Total/Razem: 60
 
So overall the Allied victory.
Tak więc Alianci zwyciężyli.


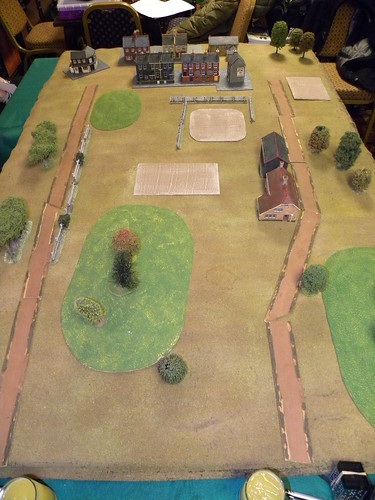
And, as usual, at the end, gallery from the game in higher resolution on my flickr:
I jak zwykle na zakończenie, galeria zdjęć z gry w lepszej rozdzielczości na moim flickr:



28 maja 2013

Stoumont

Recently I have less time for hobbies, and even less for the blog. The reason for that ware the sunny days, which recently comes to Scotland. Days like those are very rare it is in this country, so I decided to use them as much as I can. However, to not to neglect the blog, the report from the game we played last Thursday.
Ostatnio nie mam zbyt dużo czasu na hobby, a tym bardziej na blog. Powodem tego było kilka słonecznych dni, które nawiedziły Szkocję. Dni takie w tym kraju to duża rzadkość, więc postanowiłem je wykorzystać jak tylko mogłem najmocniej. Jednak aby nie zaniedbywać bloga, raport z gry rozegranej w ostatni czwartek. 


SCENARIO/SCENARIUSZ: Richard Marsh
SCENARIO ADAPTATION and UMPIRING/ ADAPTACJA SCENARIUSZA i PROWADZENIE GRY: Bill Gilchrist
FIGURES&MODELS/FIGURKI I MODELE: Bill Gilchrist
SCENERY/SCENERIA: Bill Gilchrist, SESWC
 
1. Orders/Rozkazy.
The game was based on Kampfgruppe Peiper’s attack on the village of Stoumont on 19th December 1944. The scenario for the game comes from the addition to the Rapid Fire: "Battle of the Bulge". Bill only matched game to his models, so it's slightly different from what you can find in the book. Germans to win the game had to removed all Americans from the Stoumount, whilst to draw have to hold minimum four buildings in Stoumount and/or in Roua. Americans had to stop them, of course.
Gra powstała na podstawie ataku Kampfgruppe Peipera na wioskę Stoumount, 19 grudnia 1944. Scenariusz do gry pochodzi z dodatku do Rapid Fire: "Battle of the Bulge". Bill jedynie dopasował grę do swoich modeli, więc lekko różni się od tego co można znaleźć w książce. Niemcy aby wygrać musieli wyprzeć wszystkich Amerykanów z Stoumount i aby zremisować opanować minimum cztery budynki w Stoumount i/lub w Roua.
 
 2. The game/Gra.
The German plan of attack on Stoumount based on a frontal attack on the village, which had involved a maximum of the American forces, and the forces that were to arrive in later rounds had to attack Roua, get it (we anticipated low defense of the village), and then smash the forces still remaining in Stoumount. Initially everything went according to our plan. The first group moved toward Stounmount and the second group headed towards the Roua. Everything became complicated when the Panther tank, the leading he tGerman column  not entered the mine and blew up.
Niemiecki plan ataku na Stoumount opierał się na frontalnym ataku na wieś, który miał zaangażować maksimum sił amerykańskich, z kolei siły, które miały przybyć w następnych turach, miały zaatakować Roua, zdobyć je (przewidywaliśmy słabą obronę tej wsi) i następnie zamknięcie kleszczy nad siłami pozostającymi jeszcze w Stoumount. Początkowo wszystko przebiegało zgodnie z naszym planem. Pierwsza grupa przemieściła się w kierunku Stoumount, a druga grupa ruszyła w kierunku Roua. Wszystko się skomplikowało kiedy prowadząca niemiecką kolumnę Panthera, nie wjechała na minę i wyleciała w powietrze.

The German attack on Stoumout stuck at the point, pinned by the excellent  Mortar fire. But luckily for the Germans, the events in the Roua, weakened the American morale  and Germans  finally moved forward. Getting the Roua, Germans mainly owed to their tactic. First, they set fire to the buildings, and forced the Americans  to leave their positions and  then knocked them out in the open. However, this tactic  took quite a lot of time, which at this point was very important.
Niemiecki atak na Stoumout utknął w miejscu, przybity przez wzorcowy wręcz ogień moździeży. Jednak na szczeście dla Niemców zdarzenia w Roua, osłabiły morale amerykańskie i Niemcy mogli w końcu ruszyć do przodu. Zdobycie Roua, Niemcy głównie zawdzięczali swojej taktyce. Wpierw podpalali budynki, czym zmuszali Amerykanów do opuszczenia swoich pozycji i wtedy już w otwartym polu wybijali pozostałych żołnierzy. Jednak ta taktyka zająła Niemcom dość dużo czasu, co w tym momencie było bardzo istotne.


As mentioned above, the loss of the Roua resulted in  low American morale in Stoumont, and that for some time excluded from the game their Mortar. The Germans used it and took the first building in the village. Before this happened, in the insane charge Joe from da Bronx, destroyed by a shot from his bazooka the German Pz IV.
Jak już wspomniano utrata Roua wpłynęła na amerykańskie morale w Stoumont, a to na pewien czas wyłączyło z gry ich moździeż. Niemcy wykorzystali to i zajęli pierwszy budynek we wsi. Zanim to się stało, w szaleńczej szarży Joe from da Bronx, zniszczył strzałem ze swojej bazuki niemiecki Pz IV.

To the fight joined the American tanks, but had to accept the superiority of the German guns and getting improved German mortar fire. Meanwhile, Germans captured another building, but it was still not enough to gain victory. Some of the solution seemed to be to bring the Wirbelwind  and use its guns, but as soon as it approached the Stoumont, was destroyed by lucky shot from American  Mortar.
Do walki włączyły się amerykańskie czołgi, jednak musiały uznać wyższość niemieckich dział i coraz lepszego ostrzału z niemieckiego moździerza. Tymczasem Niemcy zdobyli kolejny budynek, jednak wciąż było to za mało aby odnieść zwycięstwo. Pewnym rozwiązaniem wydawało się ściągnięcie Wirbelwinda i użycie jego działek, jednak gdy tylko zbliżył się do Stoumont, został zniszczony celnym strzałem z amerykańskiego moździerza.  

At this point the game was over. Germans failed to outflank the Americans in the Stoumont, despite taking the Roua. Simply they ran out of time for this. Germans captured four buildings which gave them only a draw.
W tym momencie gra się zakończyła. Niemcom nie udało się oskrzydlenie Amerykanów w Stoumont, pomimo zdobycia Roua. Po prostu zabrakło już na to czasu. Razem Niemcy opanowali cztery budynki i dało im to tylko remis.  

4. Ordre de Bataile.

AMERICANS
(Ray Neal, Tim Watson)
all regular
3rd Btn, 1119th RCT, 30th Inf Div  - test @ 20 casualties HQ:      CO + 5 figs inc  60mm mortar, lt truck Coy A:  10 figs inc  Bazooka Coy B:  10 figs inc  Bazooka Coy C:  10 figs inc  Bazooka Wpns Coy: 11 figs with HMG, MMG, 81mm mortar, 57mm ATG, 3 jeeps, truck
Support
Coy B 743rd Tank Btn:  2 M4 75mm Coy A 823rd Tank Destroyer Btn:  2 57mm ATG, 6 crew, 2 M3 ½ TR  (ea 57mm has 3 rounds of APDS - AT 2 at short and medium range) C Coy 110th Tank Destroyer Btn:  M36 TD (Note - immobile with only 4 shots!)
Deployment
US troops must deploy west of the line US-US except for 1 coy of infantry which must be deployed within 8” of Roua for the first 8 moves.   
Note
Support coys are independent units.
Daisy chain of mines
The US battalion has a single daisy chain of mines to use only on roads.  One figure must reach the roadside to deploy the mines.  Test only for the first vehicle to cross.
 
GERMANS
(Campbell Hardie, Bartek Żynda)
all elite
Initial Force

Btn HQ:  CO + 5 figs, Sd251/3 Cmd
9th Coy:  8 figs, panzerfaust, Sd251, Sd251/9 75mm*
9th Eng Coy:  8 figs, panzerfaust, flamethrower, demo, Sd251/7 Eng
Para Coy: 11 figs, mmg, panzerfaust
Tank Coy:  Panther, Panzer IV

Reinforcements

Tank Coy:  Panther, Wirbelwind SP AA
11th Coy:    10 figs, panzerfaust, 2 Sd251
12th Coy:    120mm Mtr, 3 crew, Sd251, Sd250/9 75mm *

* count as 3 figs for morale

Note
Tank coys are independent units.  All others test as a single unit on 20 casualties

Deployment
All German troops enter on the south road to Stoumont.  No German AFVs can operate south of the Stoumont road.
Reinforcements can be diced for from turn 1 – needing a D6 score of 3-6 to succeed – and appear 2 turns later.

And at the end:
I na zakończenie:

Link to the relation on Bill's blog:
Link do relacji na blogu Billa:
 

I do mojej galerii na flickr:
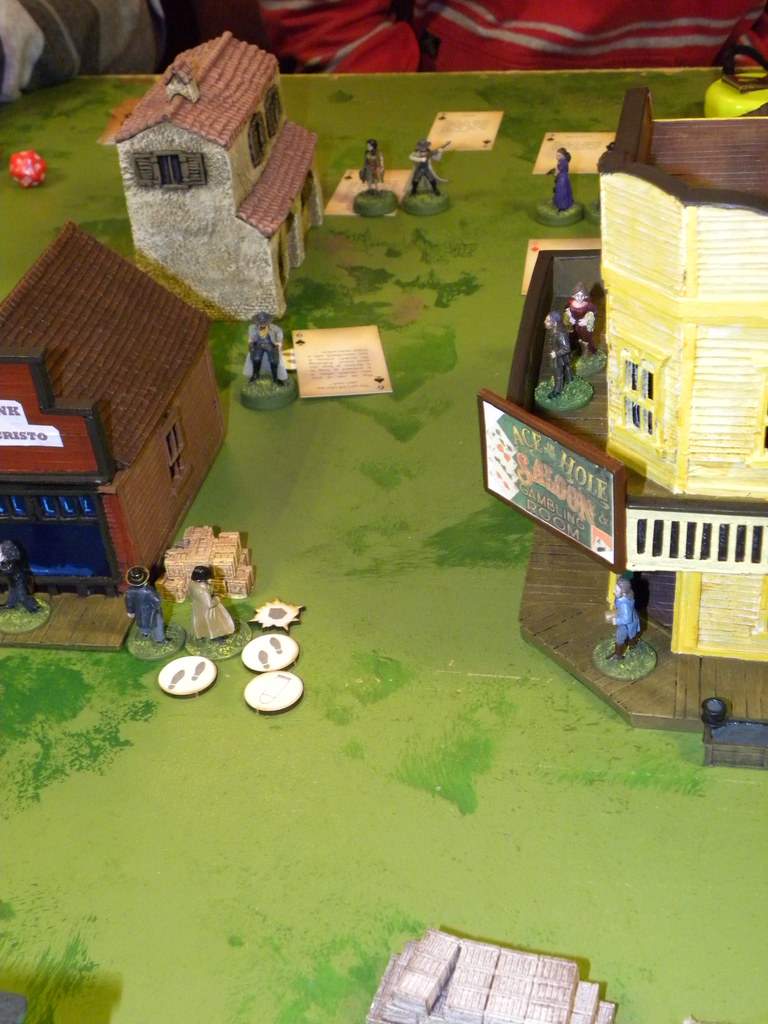
And to my gallery on flickr:


19 maja 2013

Dead Man's Hand

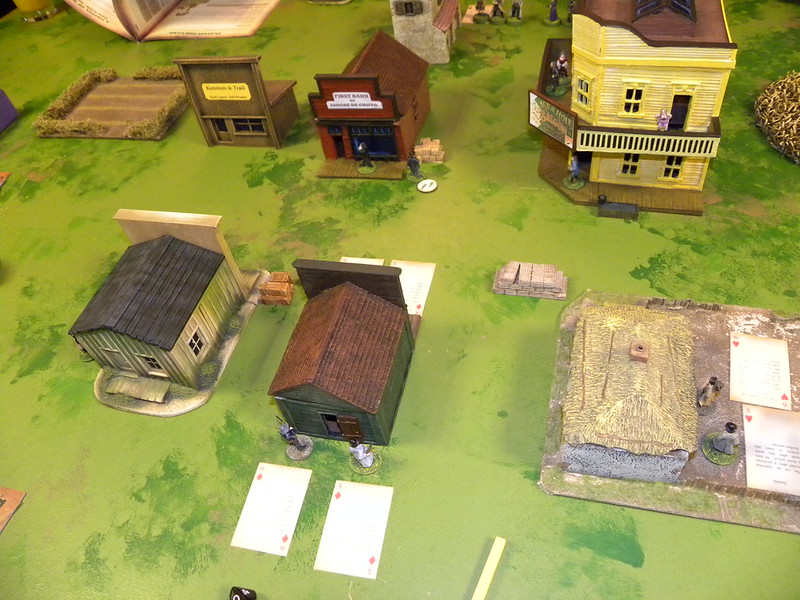
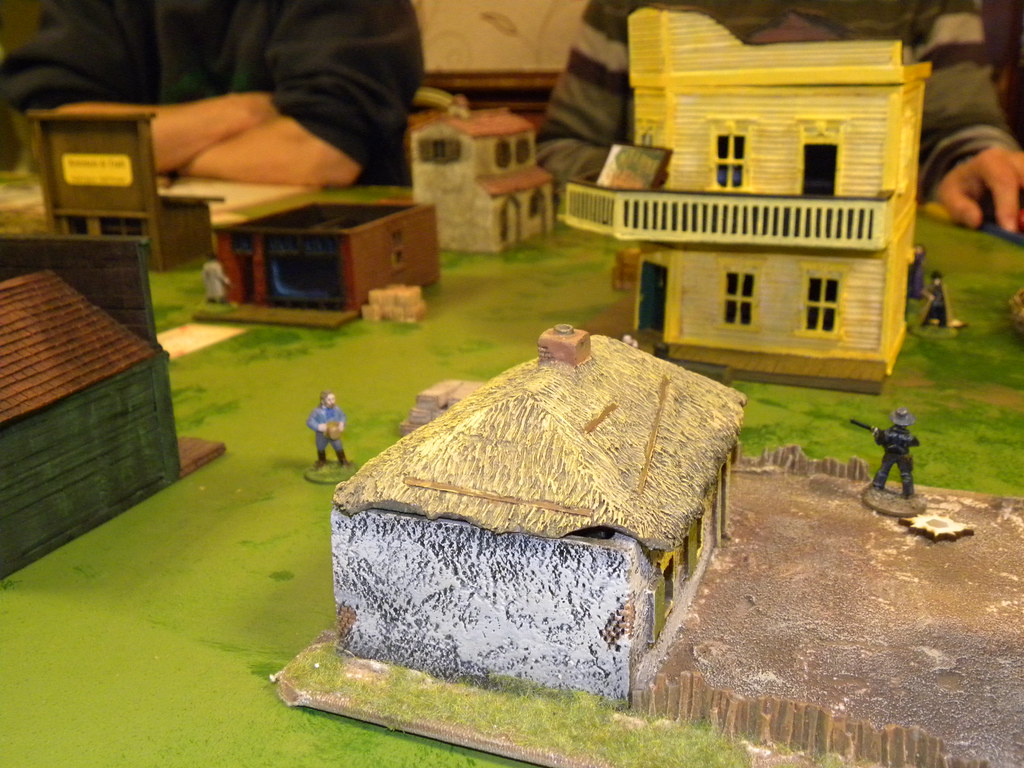
In this Thursday at our club we have decided to test a new set of rules for the game in the realities of the Wild West. It's a Dead Man's Hand. Those rules for the first time I have seen in London, however, there already ran out of time to further familiarize myselves with the game, what regrets, but more on that in a moment. For our tests we used the buildings and terrains from the collection ofColin Jack and tokens and playing cards of Ray Neal.
W ten czwartek w naszym klubie postanowiliśmy przetestować nowy zestaw zasad do gier w realiach Dzikiego Zachodu. Chodzi o Dead Man's Hand. Zasady po raz pierwszy widziałem w Londynie  jednak tam już zabrakło czasu na bliższe zaznajomienie się z grą, czego żałuje, ale o tym za chwilę.  Do naszych testów uzyliśmy budynków i terenów z kolekcji Colina Jacka, oraz żetonów i kart do gry Raya Neala. 
The game is pretty simple. Just two groups opposite each other consisting of six characters representing one of the four fractions (two for the law and two against it). Each character in the game can take up to three of any action: can shoot, can move, can move up and then shoot. The number of combination is quite large, but is very important that it schould lead to the maximum combination of three actions.. Of course, a full arsenal of weapons is available, starting from revolvers and on rifles ending. In this case, the game is very similar to the others. What really sets it apart from the others is the way the figures are activated. As it supposed to be on the Wild West it is done through the one of the characteristic features of the whole mass of Western movies, by playing cards. Each party has a their deck, bad guys have black cards and good guys have red.
Gra jest dość prosta. Ot dwie grupy na przeciw siebie składające się z 6 charakterów reprezentujące jedną z czterech frakcji (dwie po stronie prawa i dwie przeciwko niemu). Każda z postaci w grze może wykonać do 3 dowolnych akcji, może strzelić, może poruszyć się, może poruszyć sie i wtedy strzelić, kombinacji jest dość wiele, ważne żeby zamykało się to w kombinacji 3 akcji. Oczywiście dostępny jest cały arsenał bronii, począwszy od rewolwerów, kończąc na strzelbach. W tym wypadku gra jest bardzo podobna do innych. Co faktycznie odróżnia ją od innych to sposób aktywacji samych figurek. Jak przystało dla Dzikiego Zachodu odbywa się to poprzez jeden z charakterystycznych elementów całej masy Westernów, poprzez karty do gry. Każda ze stron dysponuje częścią talii, źli kartami czarnymi i ci dobrzy czerwonymi.  
The game begins by choosing five cards - they will be our special cards. Each card is assigned with some attribute (you can get additional movement, cancel your opponent's shot or make his test morale falls, etc.). We can use them at any time during the game. Next, both are selecting the card, one each, we uncover it and assign to one of the our figures. The side that has the highest card takes the initiative. Then, other figures also receiving one card each. In this way, we create a sequence of activation, first activate the figures with the highest card, then the lower one. In case of a draw , the side with the initiative moves first. As you can see, the rules are very simple but also enjoyable and th very fast. During the evening we were able to play two games, which, with the new set of rules is a pretty good achievement.
Grę rozpoczyna się od wybrania pięciu kart - to będa nasze karty specjalne. Kazda karta ma przypisaną jakąś cechę (można dostać dodatkowy ruch, anulować strzał przeciwnika lub sprawić, że jego test morale wypadnie źle itp.). Możemy ich użyć w dowolnym momencie gry. Następnie wybieramy jedną kartę, odsłaniamy ją i przydzielamy do jednej z figurek. Strona, która ma wyższą kartę ma inicjatywę. Następnie pozostałym figurkom także przydzielamy karty. W ten sposób tworzy się nam ciąg aktywacji, wpierw aktywują się figurki z wyższą kartą, później z niższą. W przypadku remisu, strona z inicjatywą porusza się pierwsza. Zasady są więc bardzo proste, przyjemne i gra przebiega bardzo szybko. W ciągu wieczora udało nam się rozegrać dwa pojedynki, co przy nowych zasadach jest dość dobrym osiągnięciem.
As I mentioned above, we played two games. In the first Colin (good guys) fought against Campbell Hardie (bad guys). This fight was win by the good guys. In the second game, I stood on the side of Law and fight against Bill Gilchrist's bandits and again the good guys won. So that the law and order returned our town, as the tales of the wild west should be ended.
Tak jak wspomniałem wyżej, rozegraliśmy dwie gry. W pierwszej Colin (good guys) stoczył pojedynek z Campbellem Hardie (bad guys). W tym pojedynku zwyciężyli ci dobrzy. W drugiej grze stanąłem po stronie Prawa i stoczyłem walkę z bandziorami Billa Gilchrista i znów ci dobrzy wygrali. Tak że ład i porządek wróciły naszego miasteczka, czyli tak jak powinny sie historie z Dzikiego Zachodu kończyć.

17 maja 2013

Wikingowie 28mm; Vikings 28mm

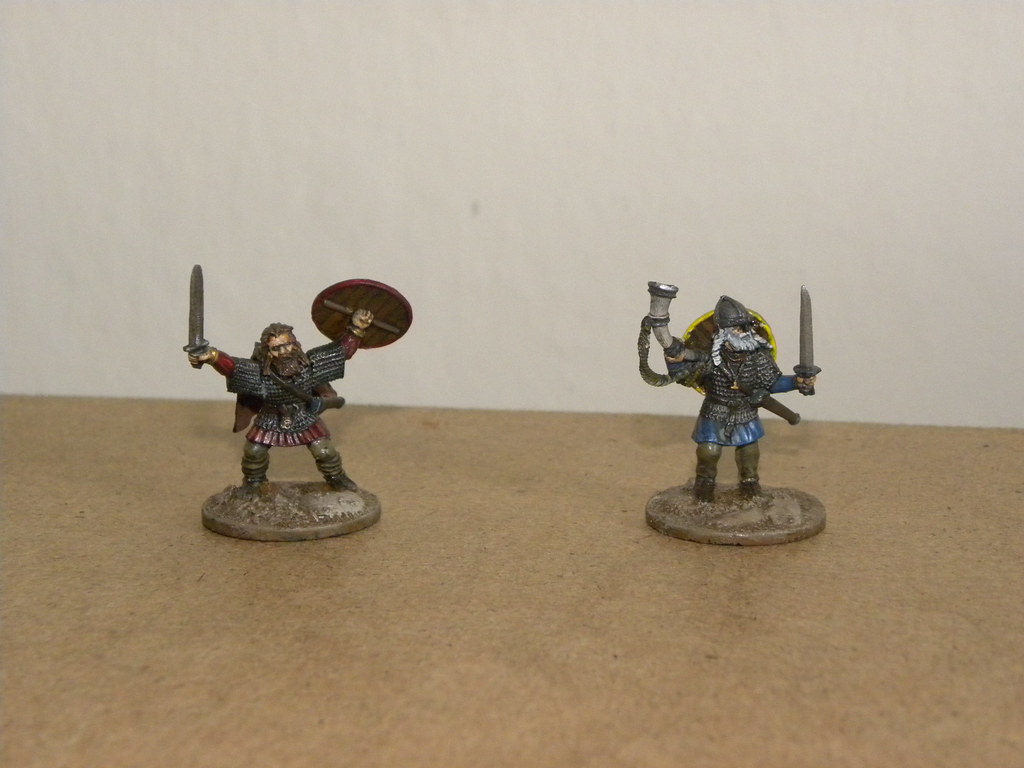
Następne elementy skończone.  Tym razem dwóch Wikingów. Figurki (prawdopodobnie Gripping Beast) dostałem na zeszłorocznym Salute i dopiero teraz je pomalowałem. Są to moje pierwsze figurki w tej skali i był to test różnych technik przed przystąpieniem do malowania Normanów dla Sagi.
The next items finished. This time, the two Vikings. I received these figures (probably Gripping Beast) at last year's Salute and finally painted them. These are my first figures in this scale, and it was a test for different techniques for painting before I'd start painting the Normans for the Saga.


13 maja 2013

Salute 2013 (p3)

W końcu udało mi się znaleźć trochę czasu i utworzyć kolejne galerie z tegorocznego Salute. Wszystkie zdjęcia, jakie mi jeszcze pozostały do pokazania, podzieliłem na cztery galerie:
Finally I managed to find some time to create another galleries from this year's Salute. All photos that I still have left to show, I have divided into four galleries:
1 i 2. Gry, które byłem w stanie dopasować do wystawców (galeria nr 1 była już pokazywana, tutaj umieszczam ją dla lepszego porządku rzeczy):
No. 1 and No. 2. Games that I was able to adjust to the exhibitors (gallery No. 1 has already been shown, here I put it for a better order of things):

http://www.flickr.com/photos/asienieboje/sets/72157633307175127/
http://www.flickr.com/photos/asienieboje/sets/72157633471737079/

3. Saga - była jedną z bardziej popularnych gier w tym roku, oto trzy stoły, jednak nie pamiętam kto te gry prezentował:
No. 3. Saga - was one of the most popular games this year, here are three tables, but can not remember who these games presented: 

http://www.flickr.com/photos/asienieboje/sets/72157633471756867/

4. Gry, których nie jestem w stanie dopasować do wystawców:
No. 4. Games, which I am not able to adjust to the exhibitors:

http://www.flickr.com/photos/asienieboje/sets/72157633487349756/

Jeżeli jesteście w stanie uzupełnić podpisy pod zdjęciami dajcie mi o tym znać. Już wkrótce postaram się napisać jakieś podsumowanie, a tymczasem życzę miłego oglądania zdjęć.
If you are able to add captions let me know. Soon, I will try to write some summary, and in the meantime please enjoy the photos.


12 maja 2013

24 Pułk Ułanów - Czołg Dowodzenia. 24th Uhlans Regiment - Command tank.

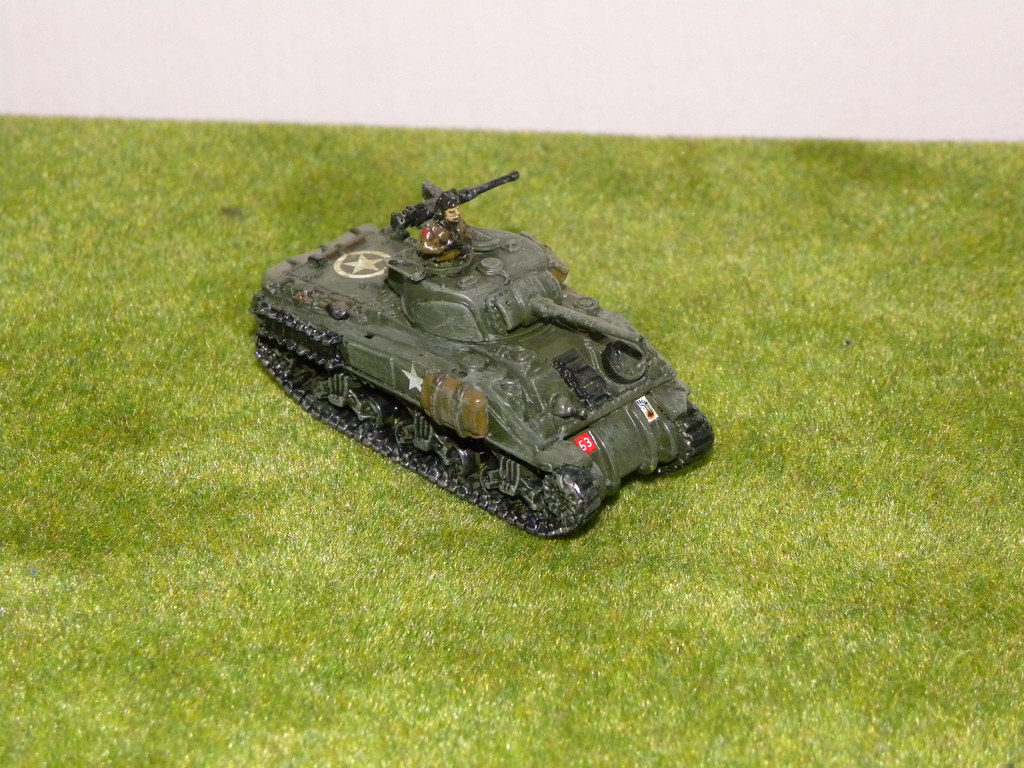
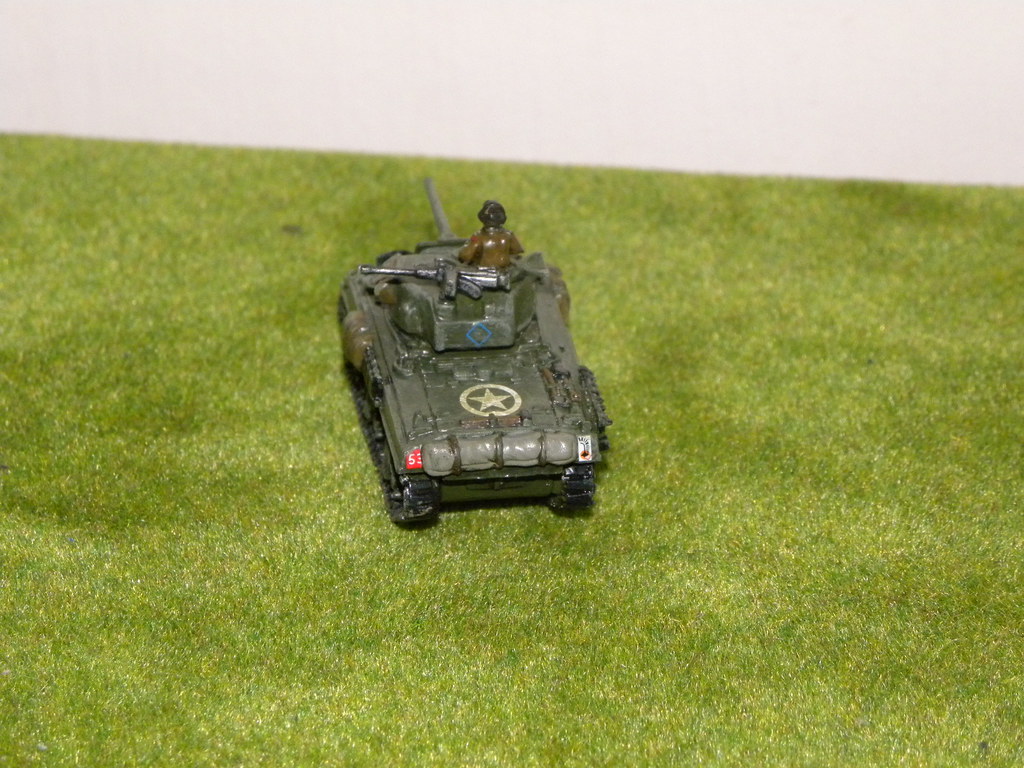
Dzisiaj kolejny model, tym razem dla mojej 1. Dywizji Pancernej. Jest to czołg dowodzenia dla mojego 24 Pułku Ułanów. Z czołgu oczywiście spogląda dowódca pułku, podpułkownik Jan Witold Kański. Model pochodzi od firmy Battlefront. Historia pozyskania tego modelu  jest dość ciekawa, ponieważ wygrałem go w pojedynku wg. zasad Flames Of War, przeciwko jednemu z przedstawicieli wydawcy tej gry na tegorocznym Salute. Był to pojedynek 3 Shermany na 2 StuGi. Ja straciłem jednen czołg, natomiast mój przeciwnik stracił oba StuGi. Chciałbym zaznaczyć, że nigdy wcześniej nie grałem w tą grę. W ten właśnie sposób, Sherman dołączył do mojej kolekcji.
Today, another model, this time for my 1st Polish Armoured Division. It is a command tank for my 24 Uhlan Regiment. From the tank you can see the commander of the regiment, Lieutenant Colonel Jan Witold Kański. Model comes from the Battlefront. History of obtaining this model is quite interesting, because I won it in a duel with Flames of War rules, against one of the representatives of the publisher of the game at this year Salute. It was a duel beetween three Shermans and two StuGs. I lost one tank, while my opponent has lost both StuGs. I would like to point out that I've never played this rules before. This is how, the Sherman joined my collection.


W tym momencie wypadało by wspomnieć o dowódcach 24 Pułku Ułanów. Oto pełna ich lista:
At this point, Its good to mention about the commanders of 24th Uhlan Regiment. Here is the complete list of them:
  • Płk Tadeusz Żółkiewski (1920)
  • Mjr Jan Kanty Olszewski (1921)
  • Ppłk Rudolf Lang (1921 – 1929)
  • Ppłk Kazimierz Halicki (1929 – 1932)
  • Płk dypl. Kazimierz Dworak (1932 – 1940)
  • Ppłk Jerzy Deskur (1940 – 1942)
  • Ppłk Bogumił Szumski (1942 – 1943)
  • Ppłk Jan Kański (1943 – 1944) - zmarł od ran odniesionych w walce; died of wounds suffered in combat
  • Ppłk Romuald Dowbor (1944 – 1947)
  • Mjr dypl. Tadeusz Wysocki (1947)
Mjr - Major; Mjr dypl. - Major who finished the War Academy; Ppłk - Lieutenant colonel; Płk - Colonel.