19 lipca 2022

Tsushima!

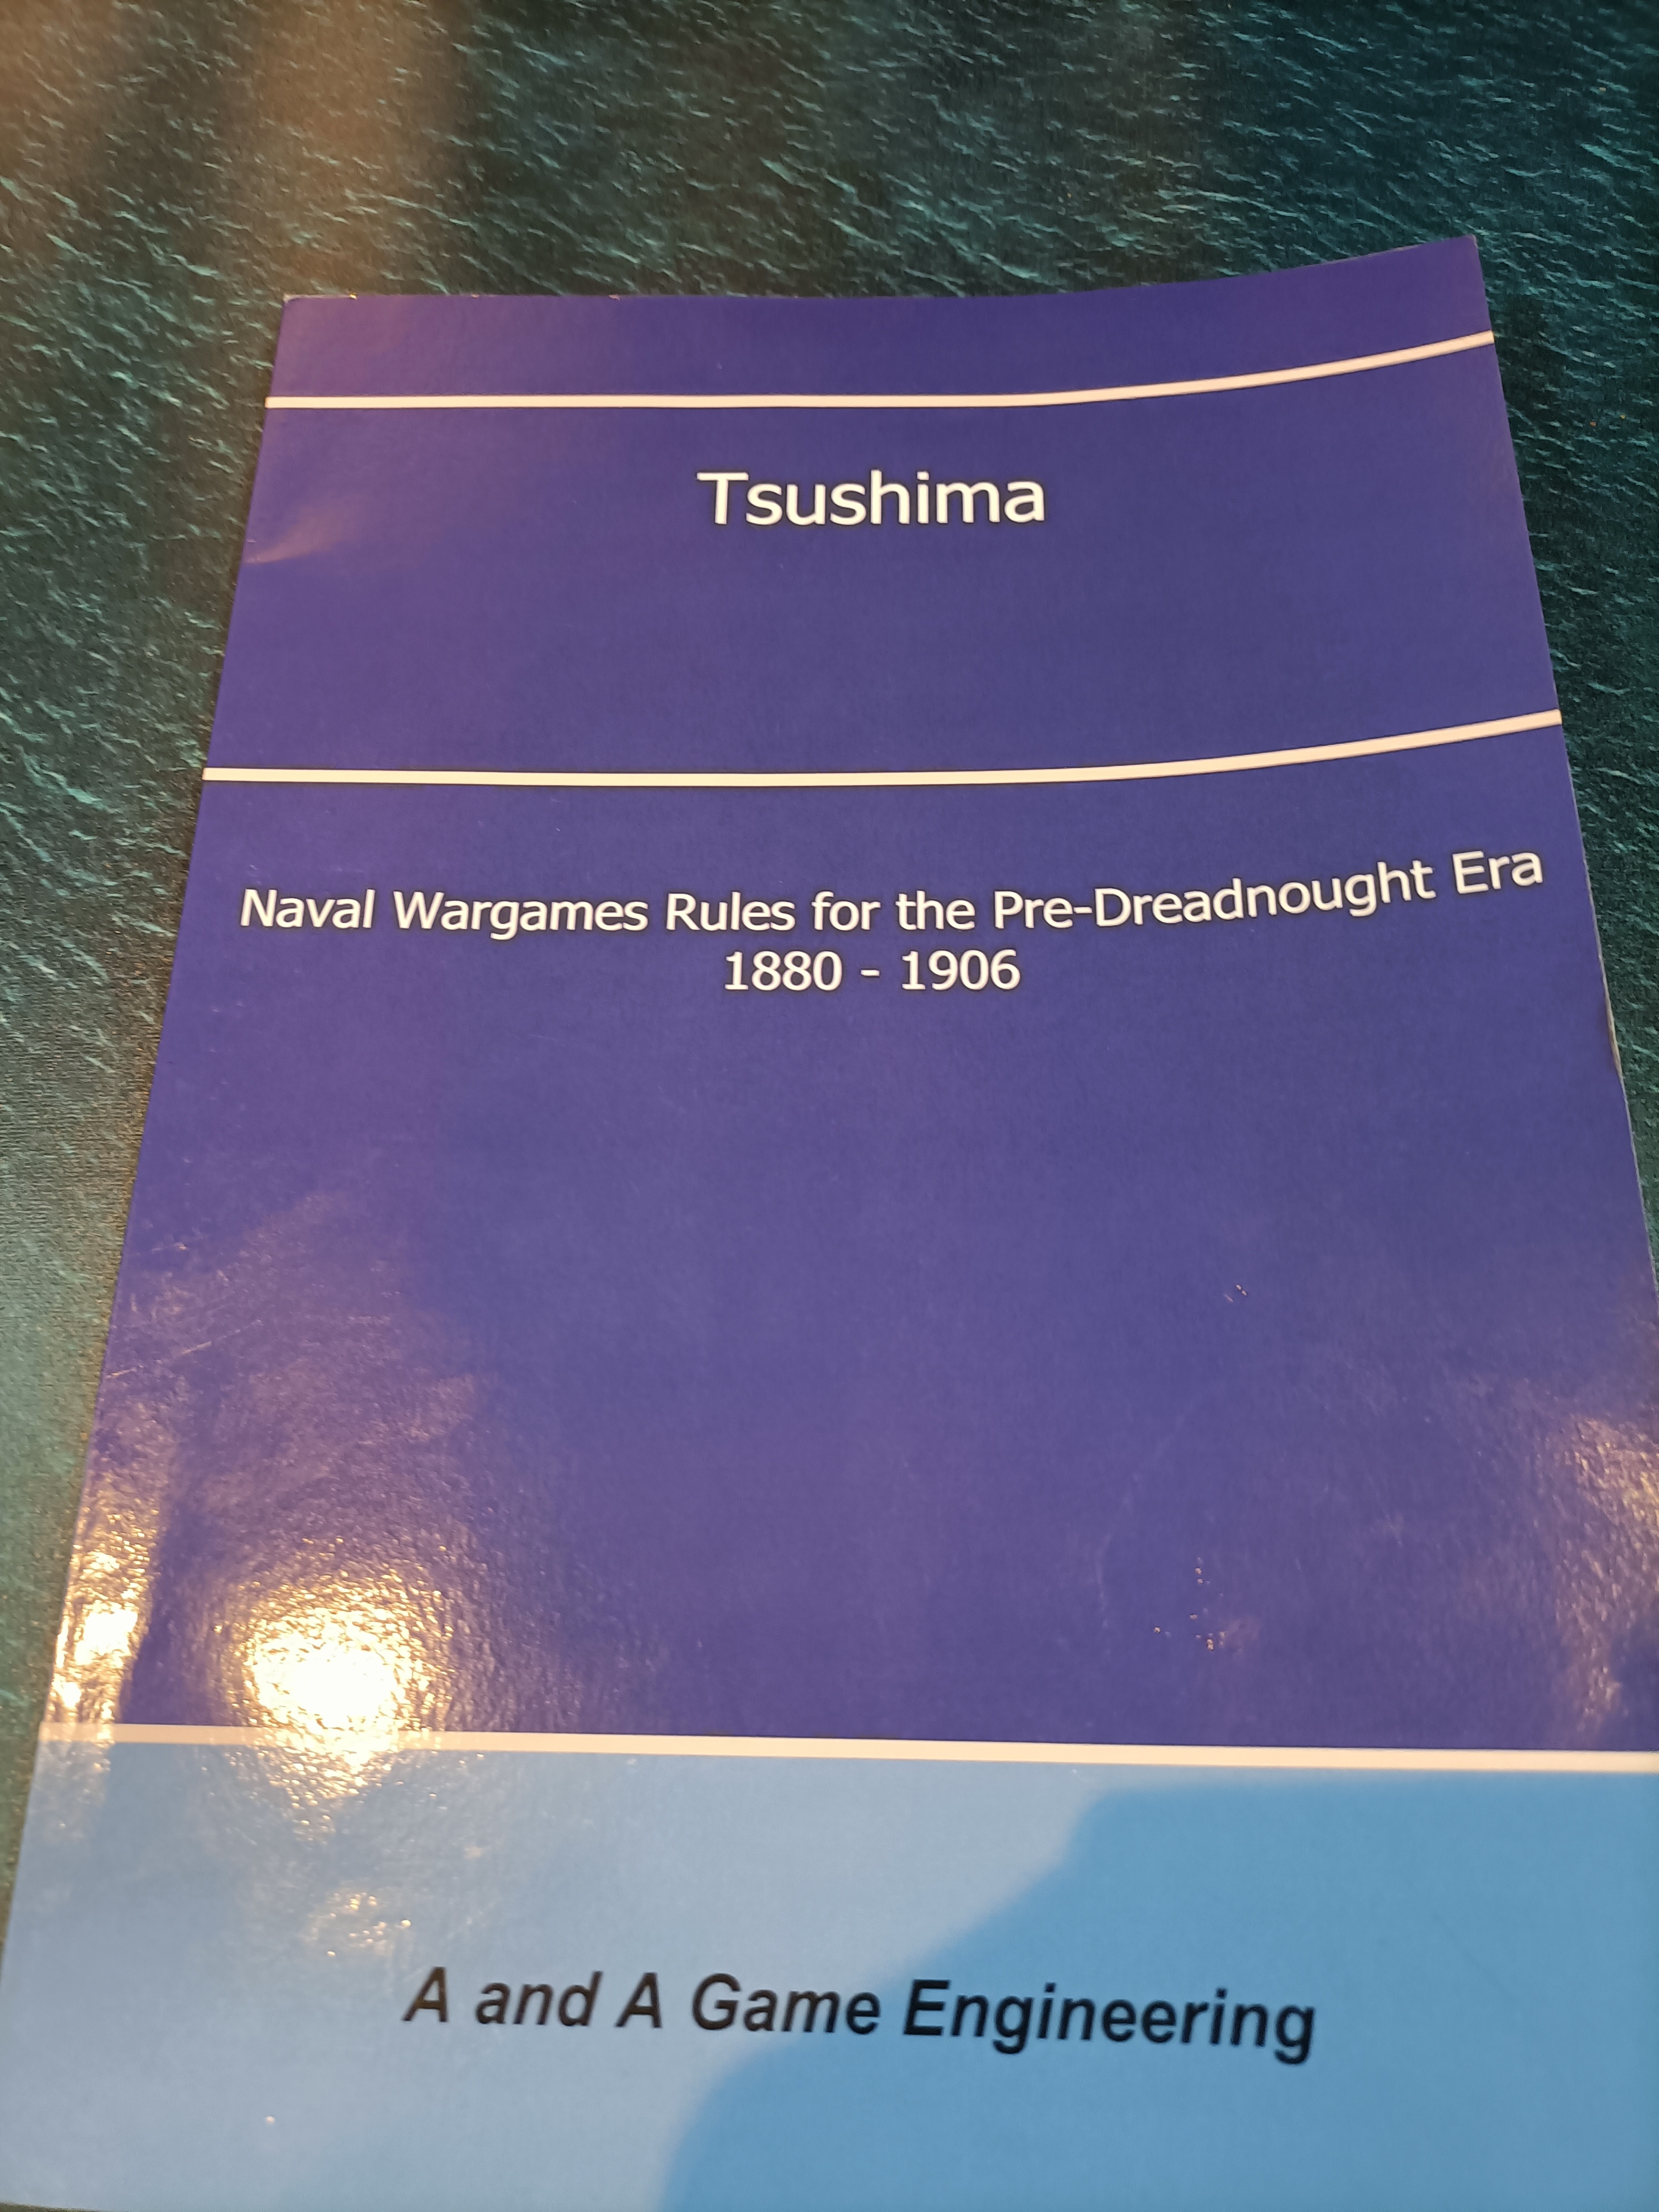
This time concise report. During our previous Thursday, when I was walking around our club, to check what was going on I noticed that Campbell tried some pre-dreadnought rules with our new club member Tim. Quickly appeared that he own an extensive collection of Tumbling Dice ships for the Russo-Japanese War. As this conflict is one of my favourites if we talk about naval warfare I decided to give it a go. This is how we got our game last Thursday. Tim also proposed the rules called Tsushima, so we were more than happy to check them as well.

Tym razem bardzo krótki raport. Podczas poprzedniego czwartku, gdy przechadzałem się po naszym klubie, by sprawdzić co tam słychać nowego zauważyłem, że Campbell testuje zasady do walk przed drednotów z nowym członkiem naszego klubu Timem. Szybko okazało się, że Tim posiada dość dużą kolekcję okrętów do wojny rosyjsko japońskiej od Tumbling Dice. Jako, że jest to jeden z moich ulubionych konfliktów morskich, szybko zdecydowałem by również go wypróbować. Grę rozegraliśmy w ostatni czwartek. Tim zaproponował zasady do gry, Tsushima, więc byliśmy chętni by je również przetestować.


SCENARIO / SCENARIUSZ: Tim
UMPIRING / PROWADZENIE GRY: Tim
SCENERY / SCENERIA: SESWC
FIGURES & MODELS / FIGURKI I MODELE: Tim

1. Forces. Siły.


RUSSIA / ROSJA
(Bartek)

3 x protected cruisers
1 x auxiliary cruiser
3 x destroyer

JAPAN / JAPONIA
(Michael)

3 x protected cruisers
1 x auxiliary cruiser
3 x destroyer


2. The Game. Gra.

I'm sorry, but I forgot to notice all names of the ships and only remembered those, that sunk... Anyway, I started the game by spreading my forces into two squadrons. The first was with destroyers and the second with cruisers. I moved quickly against the main Japanese forces to attack them with torpedoes. Quickly I learned that that was a very stupid idea. Japanese ships opened the fire and all my destroyers were gone very quickly... Now came to main forces fight. We started to exchange fire and soon Japanese sailors proved their superiority over their Russin counterparts. They managed to hit Svetlana in her ammunition chambers and she exploded. So far it was according to history... However, the Russians answered with their fire and managed to sink the Japanese cruiser Otowa. Then Japanese destroyers joined the action and fired their torpedoes. Two of them managed to hit Russian cruises Izumrud, one bounced back, but the second exploded taking the ship under the water with her. Here we finished the game with a clear Japanese victory.

Wybaczcie, ale zapomniałem spisać nazwy wszystkich okrętów, a zapamiętałem tylko te, które zatonęły... Dobra, zacząłem grę dzieląc moje siły na dwie eskadry: krążowników i niszczycieli. Ruszyłem tymi drugimi szybko w kierunku Japończyków, by zaatakować ich moimi torpedami. Szybko okazało się, że była to niemądra decyzja. Japońskie okręty otworzyły ogień i szybko zatopiły wszystkie moje niszczyciele. Teraz zaczęło się starcie sił głównych. Rozpoczęliśmy wymianę ognia i wkrótce lepsze wyszkolenie japońskich marynarzy dało o sobie znać. Udało im się trafić Swietłanę w jej komory amunicyjne i doprowadzić do jej eksplozji. Jak widzicie wszystko tak jak to się faktycznie odbywało... Jednakże, Rosjanie nie pozostali dłużni i udało im się zatopić krążownik Otowa. Wtedy do walki dołączyły japońskie niszczyciele i odpaliły swoje torpedy. Dwie z nich trafiły krążownik Izumrud, jedna z nich się odbiła ale druga eksplodowała zabierając trafiony okręt ze sobą pod wodę. W tym momencie zakończyliśmy grę, z wyraźnym zwycięstwem Japończyków. 


3. The rules. Zasady.

Few words about the rules. It uses mainly D10 dice, but several others are in use to determine the effects of the hits or special events (it uses all varieties between D4 and D20). It is quickly IgoYougo set when one side moves its first squadron, then the opposite moves too and so on. After that is artillery shooting and the torpedoes. Ship logs are easy to maintain and after a few turns, we managed to understand the rules. The rules are just a few pages and the rest of them are the stats for all main navies of that period. I think I will have a deeper look into this set and we will play much more games with them in the future.

Kilka słów o zasadach. Używa głównie kości K10, jednak kilka innych ich rodzajów jest wykorzystywana na określenie efektów trafienia i wydarzeń z tym związanych (używa kości od K4 do K20). Jest to szybka gra typu IgoYougo, jedna strona rusza swoją pierwszą eskadrę, potem przeciwnik rusza swoją i tak dalej. Następnie strzela artyleria okrętowa i wystrzeliwane są torpedy. Karty okrętów są proste do opanowania i po kilku turach mogliśmy już samodzielnie grać. Zasady to zaledwie kilka stron, reszta to dane głównych marynarek z tego okresu. Wydaje mi się, że muszę bliżej przyjrzeć się tym zasadom i czeka nas kilka gier więcej z tymi zasadami. 


3. Links. Linki.

Flickr:

https://www.flickr.com/photos/asienieboje/albums/72177720300668684

14 lipca 2022

Knuspern-Trinklingen 1809.

If it is a Sunday game in our club it must be significant in any subject. Therefore we put our whole Napoleonic collections on the table. Michael, his Austrians supported by some of Peter's British guns and commanders, Campbell his Wurtenbergians and me my Poles. This time we used the 20'x6' table, so nobody could complain about the lack of space for manoeuvres. We used the Black Powder rules with the Clash of the Eagles supplement for the game. The winner of the game would the side that will be in control of the bridge over the river at the end of the game.

Jeśli mówimy o naszych klubowych niedzielnych grach, to w każdym jej aspekcie musi być duża. Dlatego też wystawiliśmy całe nasze kolekcje. Michael swoich Austriaków wspartych kilkoma brytyjskimi działami i dowódcą z kolekcji Petera, Campbell wystawił swoich Wirtembergów a ja swoich Polaków. Tym razem użyliśmy stołu o rozmiarach 20 na 6 stóp, więc nikt nie mógł narzekać na brak miejsca do manewrów. Grę rozegraliśmy według zasad Black Powder, wspartych suplementem Clash of the Eagles. Zwycięzcą miała zostać ta strona, która pod koniec gry będzie w posiadaniu mostu na rzece. 


SCENARIO / SCENARIUSZ: Bartek Żynda
UMPIRING / PROWADZENIE GRY: Bartek Żynda
SCENERY / SCENERIA: Michael Schneider, Bartek Żynda, SESWC
FIGURES & MODELS / FIGURKI I MODELE: Michael Schneider, Bartek Żynda, Campbell Hardie, Peter Mearns

1. Forces. Siły.


CinC (level 9)


DUCHY OF WARSAW / KSIĘSTWO WARSZAWSKIE
(Bartek)

CinC (level 9)
Division Commander (level 9)

1st Infantry Brigade (level 8)

2 x Infantry Battalion

2nd Infantry Brigade (level 8)

2 x Infantry Battalion
2 x Foot Gun

3rd Infantry Brigade (level 8)

2 x Infantry Battalion
2 x Foot Gun

Cavalry Brigade (level 8)

1 x Ułan Regiment
1 x Ułan Half Regiment
1 x Chasseurs
2 x Horse Gun

KINGDOM OF WURTTEMBERG / KRÓLESTWO WIRTEMBERGII
(Campbell)

General (lvl 9)

1st Infantry Brigade (level 8)
4 x Line Battalion
2 x Medium Gun

2nd Infantry Brigade (level 8)
4 x Line Battalion
2 x Medium Gun

3rd Infantry Brigade (level 8)
2 x Light Infantry Battalion
2 x Jaegers

1st Wurttemberg Cavalry Brigade (level 8)
1 x Dragoons
2 x Chevalier Leger
1 x Horse Gun (1 gun)

2nd Wurttemberg Cavalry Brigade (level 8)
2 x Chasseur Cheval
1 x Horse Gun (1 gun)


AUSTRIA
(Michael, Peter)

1st Infantry Brigade

2 x Infantry Battalion (large)
1 x Light Gun

2nd Infantry Brigade

2 x Infantry Battalion (large)
2 x Light Gun

3rd Infantry Brigade

2 x Infantry Battalion (large)
2 x Light Gun

4th Infantry Brigade

2 x Infantry Battalion (large)
2 x Light Gun

5th Infantry Brigade

2 x Infantry Battalion (large)
2 x Light Gun

6th Infantry Brigade

2 x Jaegers

1st Cavalry Brigade

3 x Chasseurs (large)
1 x Horse Gun

2nd Cavalry Brigade

3 x Cuirasiers (large)
1 x Horse Gun


3. The game. Gra.

The game started very badly for us. Campbell moved back with his infantry brigades, whereas I was unable to move mine... Completely different was on the Austrian side. Michael quickly took half of the town and took positions on the road awaiting my progress. My infantry was hesitant, but my cavalry was completely different. They charged heavy Austrian cavalry and despite the fact, that Michael decided to not countercharge. He did not have to, as my ułans just bounced back from them... It looked like it will be a hard time for me this time. 

Gra zaczęła się dla nas bardzo źle. Campbell ruszył ze swoją piechotą do tyłu, natomiast ja nie mogłem ruszyć się swoją... Całkowicie inaczej wyglądało to u Austriaków. Michael szybko zajął połowę miasteczka i swoimi oddziałami zajął pozycję wzdłuż drogi, oczekując mojej piechoty. Moje piechota nie była zdecydowana atakować, całkowicie inaczej zachowywała się moja kawaleria. Uderzyła na ciężką kawalerię Michaela, który tym razem zdecydował się nie kontrszarżować. Nie musiał, moi ułani po prostu się od nich odbili... Wyglądało na to, że tym razem będzie mi ciężko wygrać.


Disaster continued. My infantry still refused to move forward, despite the use of overall and divisional commanders. My cavalry was forced to withdraw from the battlefield (their brigade get broken) and my infantry get destroyed by Austrians when they trayed to get control over the road. The only success I achieved was taking one building in the town, but that can not bring us a victory...

Klęska była coraz większa. Moja piechota wciąż odmawiała wykonywania rozkazów, pomimo zaangażowania głównodowodzącego i generała dywizji. Moja kawaleria została zmuszona do wycofania się z pola walki (jej brygada została złamana) a moje piechota została zniszczona, próbując wyrzucić Austriaków z ich pozycji na drodze. Jedynym sukcesem było zdobycie jednego budynku w mieście, ale to nie mogło dać nam zwycięstwa.


Campbell had similar problems to mine, however for some strange reason he kept his units in march columns... Michael used that without any mercy and charged Wurtembergians. That finished with colossal losses. Finally, all Campbell forces were pushed back to our table edge. The game was over and I don't remember losing the Napoleonic game so badly in my whole wargame history!

Campbell miał podobne problemy do moich, jednakże z jakiegoś dziwnego powodu, część jego oddziałów pozostawała w kolumnach marszowych. Michael wykorzystał to bez miłosierdzia i natarł na Wirtembergów. Skończyło się to kolosalnymi stratami. Ostatecznie, Campbell został zepchnięty do naszej krawędzi stołu. Gra była przegrana i muszę to przyznać nie poniosłem dotychczas tak wielkiej klęski w grach napoleońskich w całym moich wargamingowym życiu! 


3. Links. Linki.

Michael:

https://meneken.blogspot.com/2022/07/1809-napoleonics-battle-at-knuspern.html

Campbell (SESWC):

https://www.facebook.com/Seswc.co.uk

Flickr:

https://www.flickr.com/photos/asienieboje/albums/72177720300536405

08 lipca 2022

Capture the guns! Pochwycić działa!

This time Black Powder and the American War of Independence. Michael came with a scenario and all of his models.  The scenario was simple but very interesting. Both sides had to capture 3 heavy guns. Each gun was worth 2 VP. Points could be also earned by killing units, in that case, the unit was worth 1 VP.

Tym razem Black Powder i wojna o niepodległość Stanów Zjednoczonych. Michael wymyślił scenariusz i przyniósł do klubu całą swoją kolekcję. Scenariusz był prosty, ale interesujący. Obie strony miały za zadanie przejąć 3 ciężkie działa. Każde działo było warte 2 VP. Punkty można było także zdobywać za zniszczone oddziały, w tym wypadku taki odział był warty 1 VP.


SCENARIO / SCENARIUSZ: Michael Schneider
UMPIRING / PROWADZENIE GRY: Michael Schneider, Bartek Żynda
SCENERY / SCENERIA: Michael Schneider, SESWC
FIGURES & MODELS / FIGURKI I MODELE: Michael Schneider

1. Forces. Siły.


GREAT BRITAIN / WIELKA BRYTANIA
(Alasdair, Peter)

Light Brigade (starts game on the table)

2 x Dragoons
1 x Skirmishers

REINFORCEMENTS:

1st Infantry Brigade

3 x Infantry Battalion
1 x Light Gun

2nd Infantry Brigade

3 x Infantry Battalion
1 x Medium Gun

3rd Infantry Brigade (Hessian)

2 x Infantry Battalion
1 x Medium Gun

4th Infantry Brigade

1 x Infantry Battalion


UNITED STATES & FRANCE / STANY ZJEDNOCZONE i FRANCJA
(John, Bartek)

Light Brigade (starts game on the table)

1 x Dragoons
1 x Skirmishers
1 x Native Americans

REINFORCEMENTS:

Infantry Brigade (French)

2 x Infantry Battalion

1st Infantry Brigade

3 x Continentals
1 x Light Gun

2nd Infantry Brigade

2 x Continentals
1 x Militia
1 x Medium Gun

3rd Infantry Brigade

1 x Continentals
2 x Militia
1 x Medium Gun


2. The Game. Gra.

Before the game, both sides had to make 2 dice rolls. First had to determine who can deploy 12'' on the table and who has to start on the table edge. That was won by the British. The second, who will start the game, was won by the Americans. The Patriots could only use two units to capture the guns (Native Americans had to stay within the woods) but managed to take 2 guns. British light troops took one gun. Then our light troops went into a series of melees, initiated by Americans and in both cases lost by them!

Przed grą, obie strony musiały wykonać dwa rzuty kością. Pierwszy określał, kto może wystawić się 12 cali wgłąb stołu, a kto musi zacząć grę od jego krawędzi. Ten został wygrany przez Brytyjczyków. Drugi określał, kto miał zacząć grę, ten wygrali Amerykanie. Patrioci mogli użyć jedynie dwóch oddziałów do pochwycenia dział (Rdzenni Tubylcy musieli pozostać w lesie), ale udało im się pochwycić 2 z nich. Brytyjczycy pochwycili jedno działo. Wtedy nasze lekkie siły starły się w kilku walkach wręcz, oba zainicjowane przez Amerykanów i oba przez nich przegrane!


In the meantime, both sides brought their reinforcements. All infantry (not without some blunders on both sides) entered the table. They created strong lines, that protected their prize, the captured guns. British tried to shorten the range, to be able to use their muskets, but that was welcomed by American and French fire, which finished with a large number of disorganisations. Then the French and Americans started to move back, still protecting the captured guns. British was unable to prevent that and decided to fight another day. Both sides earned 4 VPs, so the draw was announced.

W międzyczasie obie strony wprowadziły swoje uzupełnienia. Cała piechota (nie bez kilku blunderów po obu stronach) weszła na stół. Utworzono silne linie, które ochraniały zdobycz, pochwycone działa. Brytyjczycy próbowali skrócić zasięg, by móc użyć swoich muszkietów, ale spotkali się z salwą Amerykanów i Francuzów co wprowadziło w ich linie spore zamieszanie. Wtedy Francuzi i Amerykanie poczęli się cofać, wciąż ochraniając zdobyte działa. Brytyjczycy nie mogli temu zapobiec i zaproponowali walkę innego dnia. Obie strony zdobyły po 4 VP, osiągnięto więc remis.


3. Links. Linki.

Michael:

to be updated soon...

SESWC:

https://www.facebook.com/Seswc.co.uk

Flickr:

https://www.flickr.com/photos/asienieboje/albums/72177720300389727