
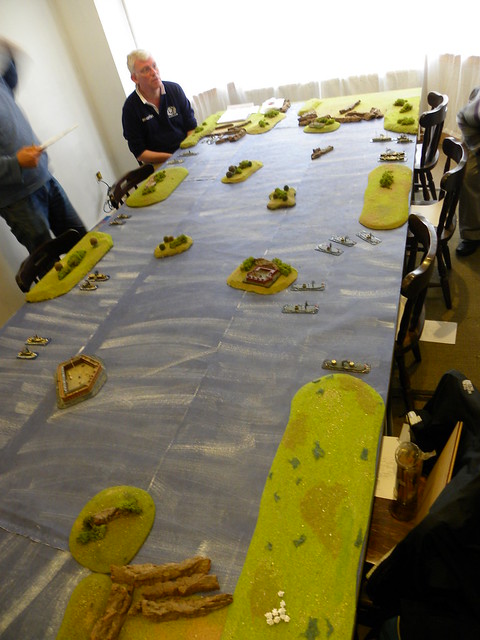
After long break we come back for testing Ironclads. During his holliday Bill redesigned the rules. He had revised the movement and initiative system and two weeks ago we were going to test it. The other reason was that Hugh is decorating his gameroom and he want the game, where the table could be cleaned very quick. As far I don't know any faster table to clean than the naval table.
Po długiej przerwie powracamy do testów z Ironclads. Podczas swych wakacji Bill przeprojektował zasady. Zmienił system inicjatywy i ruchu i dwa tygodnie temu postanowiliśmy to przetestować. Innym powodem jest remont pokoju gier Hugha, chciał aby stół można było oczyścić bardzo szybko. Jak dotąd nie znam szybszego stołu do czyszczenia niż stół do walk morskich.
SCENARIO/SCENARIUSZ: Bill Gilchrist
GAME UMPIRING/PROWADZENIE GRY: Bill Gilchrist
SCENERY/SCENERIA: Hugh Wilson, Bill Gilchrist
MODELS&FIGURES/ MODELE I FIGURKI: Angus Konstam, Bill Gilchrist
1. Forces. Siły.

Union/Unia
First Squadron (Martin Gibson)
USS Onondaga
USS Tecumseh
USS Manhattan
Second Squadron (Tim Watson)
USS Montauk
USS Passiac
USS Nahant
Third Squadron (Colin Jack)
USS Sassacus
USS Mattasesett
Fourth Squadron (Dave O'Brian)
USS Miami
USS Ceres
USS Commodore Hull
Confederates/Konfederaci
First Squadron (Campbell Hardie)
CSS Nashville
CSS Tuscaloosa
Second Squadron (Das)
CSS General Beauregard
CSS General Sumter
Third Squadron (Donald Adamson)
CSS Virginia
CSS Tennessee
Fourth Squadron (Bartek Żynda)
CSS General Bragg
CSS Planter
Fifth Squadron (Ray Neal)
CSS Chicora
CSS Palmetto State
CSS Yazoo (Donald Adamson)
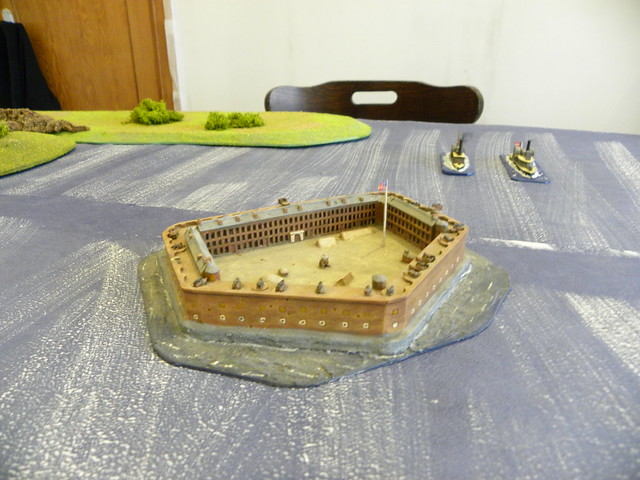
Confederate Forts (Hugh Wilson)
Fort Bartovski
Fort Sumter
Fort Ray II
2. Tasks. Zadania.
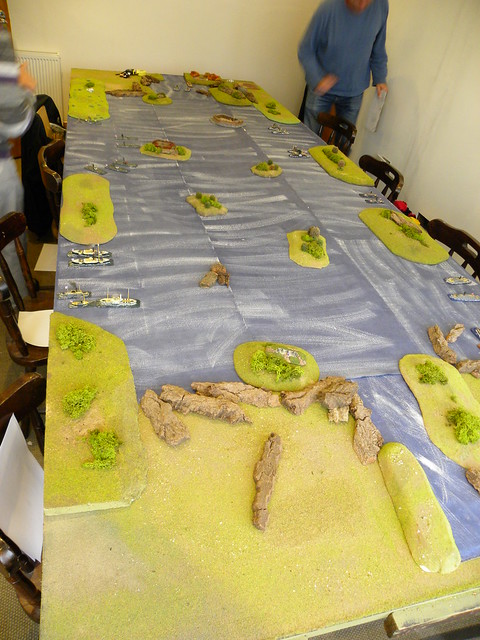
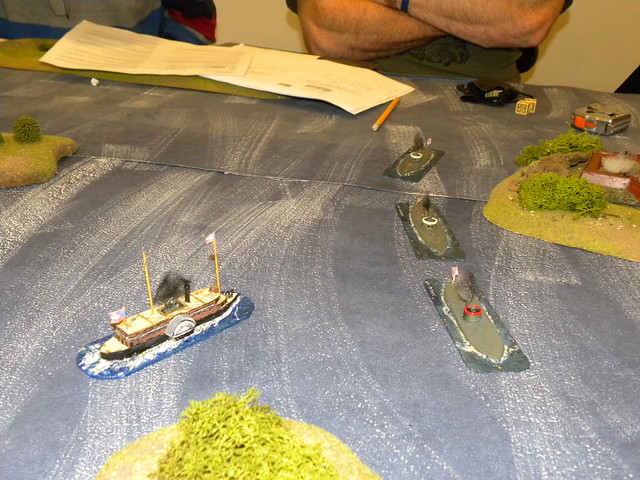
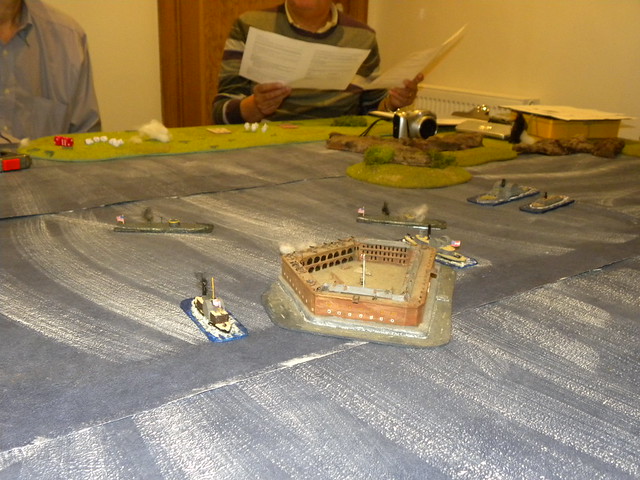
Scenario involved a Union force attacking a confederate bay with 2 harbours. Their objectives were to suppress the coast defences, capture a commerce raider (CSS Yazoo) which was trying to break out to the sea, and blockade the 2 harbours.
Scenariusz zakładał atak sił Uni na konfederacką zatokę z dwoma przystaniami. Jej celami były stłumić obrone wybrzeża, przechwycić handlowego rajdera (CSS Yazoo), który próbował przedrzeć się na ocean i blokadę dwóch przystanii.
 |
| Harbour 1 |
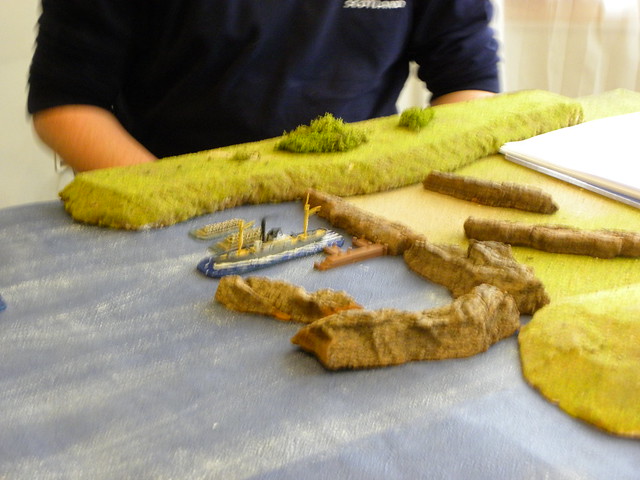 |
| Harbour 2 with CSS Yazoo |
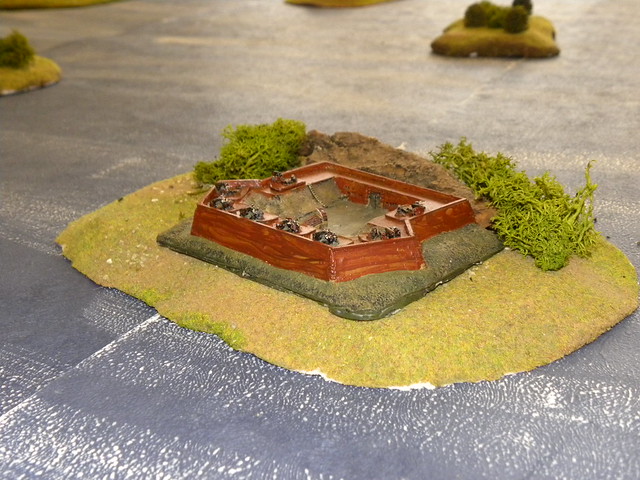 |
| Fort Ray II |
 |
| Fort Bartovski |
3. The Game. Gra.
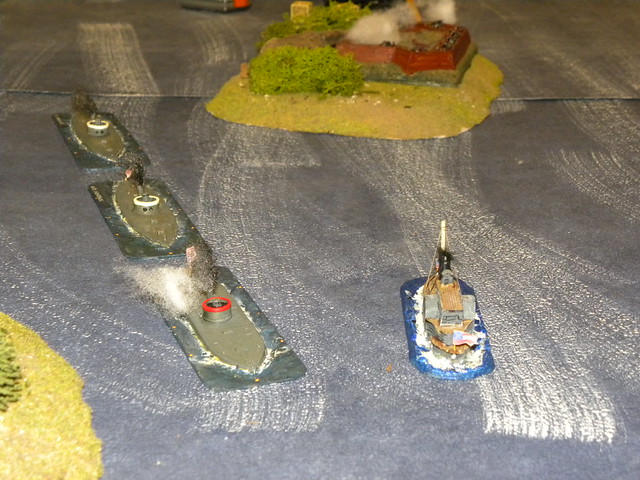
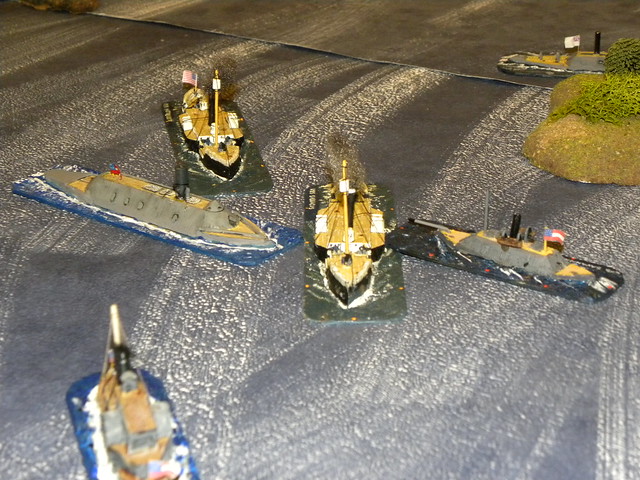
The game was divided into three separate battles. First was on the left from the Fort Ray II (Fort Bartovski battle), the second around Fort Sumter and on its right and the third very close to the Fort Ray II. The third battle was fought as the first. The 3rd Confederate Squadron faced the 2nd of Union. Rebel ships were much weaker than the Yankee and their only chance was attack with their rams. This was very successful, because it cost one of the Confederate ship (CSS General Bragg). She cannot hold the damages and pressure from the strongest Union ships and struck her colors. After this 2nd of Union joined to the Fort Sumter battle and rest of the Confederate 3rd joined to the Fort Bartovski battle.
Gra podzieliła się w trzy oddzialne starcia. Pierwsze toczyło się na lewo od Fortu Ray II (bitwa o Fort Bartovski), drugie wokół Fortu Sumter i na prawo od niego oraz trzeciego wokół Fortu Ray II. Trzecie starcie było stoczone jako pierwsze. Okręty trzeciej eskadry Konfederatów stanęły na przeciwko drugiej eskadry Unii. Jednostki rebeliantów były znacznie słabsze od okrętów Jankesów i jedyną dla nich szansą było użycie ich taranów. To nie przyniosło jednak sukcesu i kosztowało Konfederatów utratę jednego z okrętów (CSS General Bragg). Nie była w stanie wytrzymać odniesionych uszkodzeń oraz presji ze strony silniejszych okrętów Unii i się poddała. Po tym druga Unii dołączyła do walk o Fort Sumter, natomiast resztka trzeciej Konfederatów dołączyła do bitwy o Fort Bartovski.
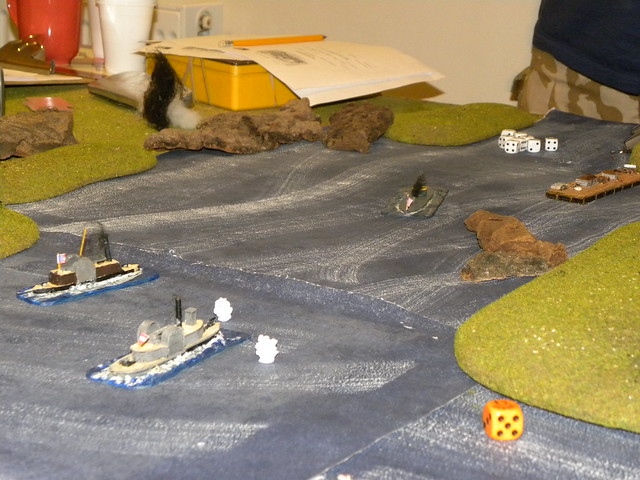
Battle of Fort Bartovski was fought between the 3rd nad 4th Union Squadrons and 4th and 5th Confederate Squadron supported by Fort Bartovski. For the first part of the game only the the 5th of Confederate fought against both Union squadrons, because the Confederate 4th was busy with supporting CSS Yazoo. After its release to ocean, the Rebel 4th joined the action as same as the remaining of Confederate 3rd. During this battle Union had to withdraw as they lost two ships (USS Sassacus - surrendered and USS Miami escaped). Confederates lost only one ship (CSS Planter - surrendered). However the main battle was fought around Fort Sumter and this battle decided about victory.
Bitwa o Fort Bartovski była toczona pomiędzy trzecią i czwartą eskadrą Uni a czwartą i piątą Konfederatów, wspartych ogniem Fortu Bartovski. Przez pierwszą część walki piąta Konfederatów samotnie stawiała opór obu eskadrom Unii, ponieważ czwarta eskadra eskortowała CSS Yazoo. Po pomyślnym przeprowadzeniu jej na ocean, czwarta Rebeliantów dołączyła do walki tak jak i pozostałości trzeciej eskadry konfederatów. Podczas tej walki została zmuszona do wycofania się po stracie dwóch okrętów (USS Sassacus - poddał się, a USS Miami uciekł z pola bitwy). Konfederaci stracili tu jeden okręt (CSS Planter - poddał się). Jednakże losy bitwy rozstrzygnęły się wokół Fortu Sumter.
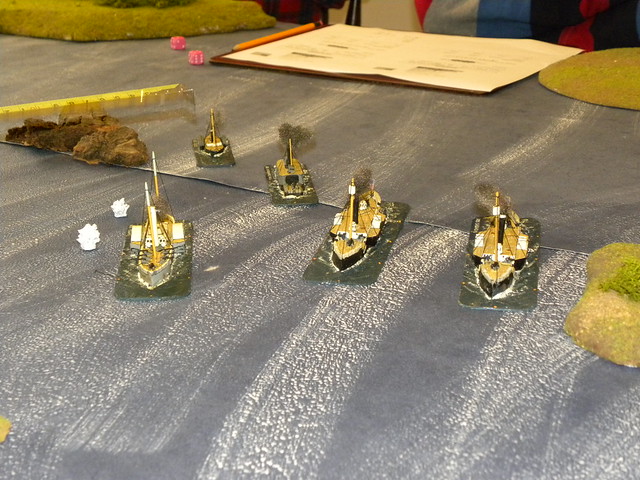


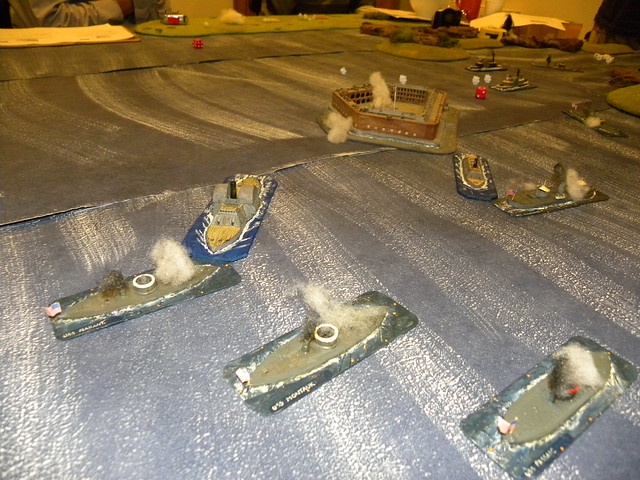
Battle of Sumter was fought with 1st and 2nd Union squadrons against 1st and 2nd of Confederate supported by forts: Ray II and Sumter. However the 2nd of Union make very clever maneuver and find its way behind the forts, so this save them from heavy guns from the forts. The 1st of Union faced the forts Sumter and the Ray II. However the forts fire was very uneffective and Yankee ships made their way into the Harbour 1. There they met the 2nd Confederates. In very quick battle they caused serious damage on the Confederate ships and get them off the action. The 2nd of the Union fought against the 1st of Confederate. Rebel ram tactic haven't worked well and very quickly both ships was off the action. This allowed the Union ships fire at Fort Sumter without penalty (from the side they fired at fort, the fort hasn't any guns) and it finished with destroying the fort. Game finished with Union victory.
Bitwa o Fort Sumter była toczona pomiędzy pierwszą i drugą eskadrą Unii a pierwszą i drugą eskadrą Konfederatów wspomaganych ogniem fortów Sumter i Ray II. Jednak okręty drugiej eskadry Unii opłynęły oba forty od tyłu, czym uchroniły się od ognia ich ciężkich dział. Pierwsza Unii stanęła do walki z oboma fortami, jednak ogień ich dział był bardzo niecelny i jankeskie okręty przedarły się do Przystani 1. Tam walczyli z drugą Konfederatów. W bardzo krótkiej walce spowodowali ciężkie uszkodzenia na okrętach konfederackich czym wyłączyli je z akcji. Druga Unii walczyła przeciwko pierwszej Konfederatów. Rebeliancka taktyka taranowania nie sprawdziła się i bardzo szybko oba okręty zostały wyłączone z akcji. To pozwoliło Unii na bezkarne ostrzeliwanie Fortu Sumter (fort nie mógł odpowiedzieć ogniem na ostrzał, ponieważ z tej strony nie posiadał dział) co skończyło się zniszczeniem fortu. Gra zakończyła się zwycięstwem Unii.

3. Loses. Straty.
Union/Unia
USS Ceres – very heavy damages
USS Commodore Hull – light damages
USS Manhattan – light damages
USS Mattasesett – heavy damages
USS Miami – very heavy
damages/fled
USS Montauk
USS Nahant – light damages
USS Onondaga – light damages
USS Passiac
USS Sassacus – very heavy
damages/surrendered
USS Tecumseh – light damages
Confederates/Konfederaci
CSS Chicora – light damages
CSS General Beauregard – very
heavy damages/fled
CSS General Bragg – very heavy
damages/surrendered
CSS General Sumter – very heavy
damages/fled
CSS Nashville – light damages
CSS Palmetto State – light damages
CSS Planter – very heavy
damages/surrendered
CSS Tennessee
CSS Tuscaloosa – very heavy
damages/fled
CSS Virginia
4. Summary. Podsumowanie.
Bill made a very good work with his system. The game gets much better speed and still have its simple rules(we managed to play this game with three new players without any serious problem). The system seems to be finally ready, however we are going to make some few test with some new ideas.
Bill wykonał naprawdę dobrą pracę nad tym systemem. Gra nabrała znacznej prędkości przy zachowaniu swojej prostoty (udało nam się rozegrać grę z trzema nowymi graczami bez żadnych poważnych problemów). System wydaje się ostatecznie gotowy, jednak planujemy następne testy z nowymi pomysłami.
Bill's relation on his blog:
Relacja Billa na jego blogu:
My gallery on flickr:
Moja galeria na flickr:
I'm not a great fan of naval actions but I am starting to get tempted! Great looking game and it sounds like the rules are getting close to completion. Great stuff Bart!
OdpowiedzUsuńYou should try, but be careful, it's very addictive and when you start you cannot stop. Thank you for comment.
UsuńGreat looking game, this table is awesome...Beautiful!
OdpowiedzUsuńYes, Hugh made a great table. I Love it. Thank you for your comment.
Usuń