11 sierpnia 2014

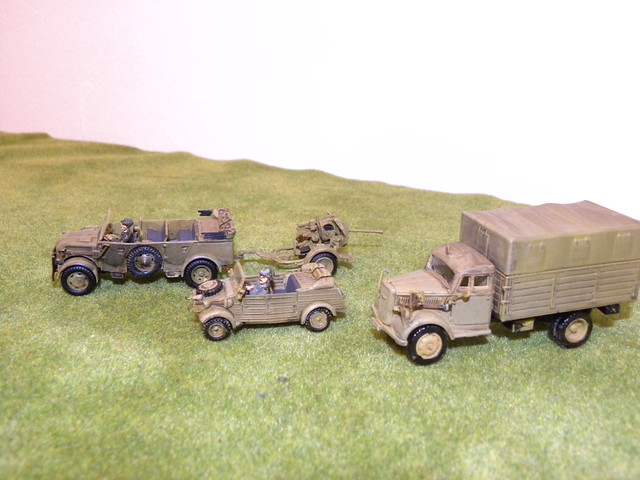
Polska 1944 (30) - Więcej niemieckich pojazdów. Poland 1944 (30) More German vehicles.

Następna część pojazdów do moich Niemców do projektu Polska 1944. Są to: Opel Blitz (Amercom SA), Steyr 1500 z działkiem 2cm Flak 38 (Amercom SA) i VW typ 82 Kübelwagen (Academy). Figurki kierowców to Dixon Miniatures w Steyerze i Britannia Miniatures w Kübelwagenie
Next part of my German vehicles for my Poland 1944 project. They are: Opel Blitz (Academy SA), Steyr 1500 with autocannon 2cm Flak 38 (Amercom SA) and VW mk. 82 Kübelwagen (Academy). Figures of drives are: Dixon Miniatures in Steyer and Britannia Miniatures in Kübelwagen.


10 sierpnia 2014

Modele z kolekcji śp. Iana Holta. RIP Ian Holt model collection. Polska 1944 (29) SdKfz-ty. Poland 1944 (29) SdKfz.

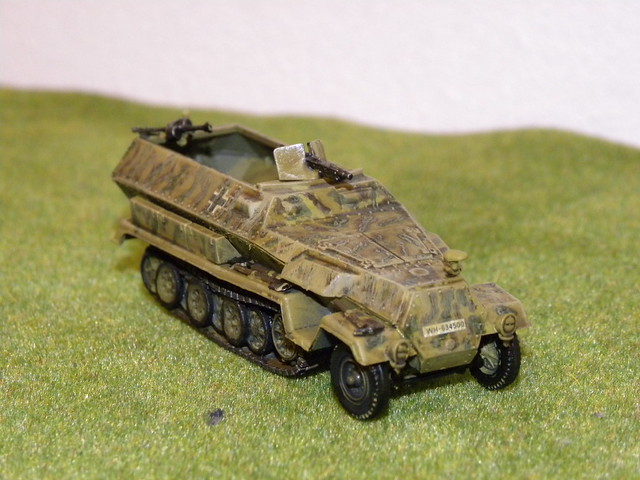
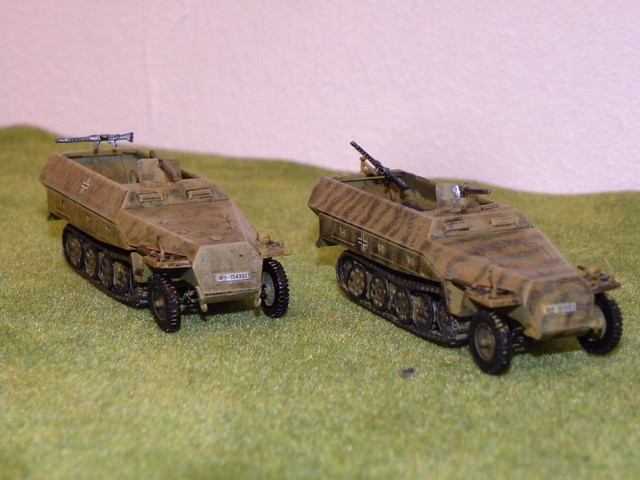
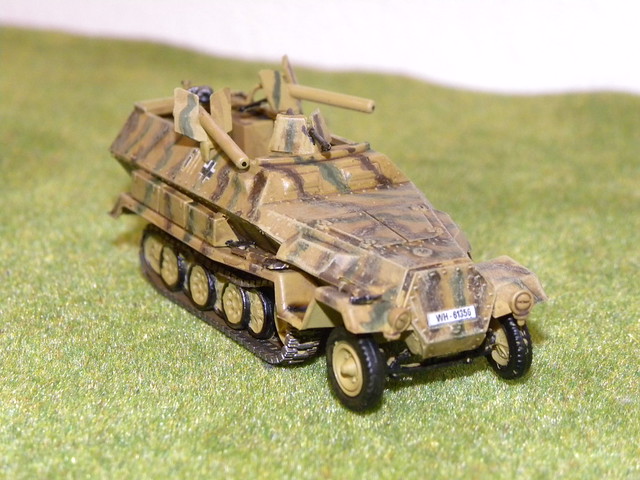
Kolejna partia modeli dla moich Niemców do Polski 1944. Tym razem następna partia modeli pochodzących z kolekcji śp. Iana Holta. Te modele musiałem wpierw skleić a następnie pomalować i efekty tych prac mogę zaprezentować Wam dzisiaj. Tym razem są to transportery opancerzone Sd.Kfz 251 wersje C i D. 
Another part of the models for my Germans from the Poland 1944 project. This time it is another set from Ian Holt collection. This models had to be first assembled and then painted and the effects of that work you can see today. This time there are armoured half-tracks Sd.Kfz 251 marks C and D.

Sd.Kfz 251/1 C - ESCI

Sd.Kfz 251/1 D - Hasegawa


Sd.Kfz 251/9 D - Hasegawa


Sd.Kfz 251/16 C - ESCI


09 sierpnia 2014

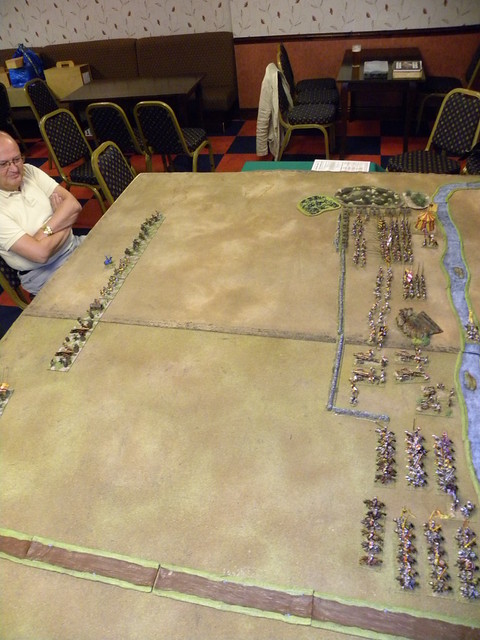
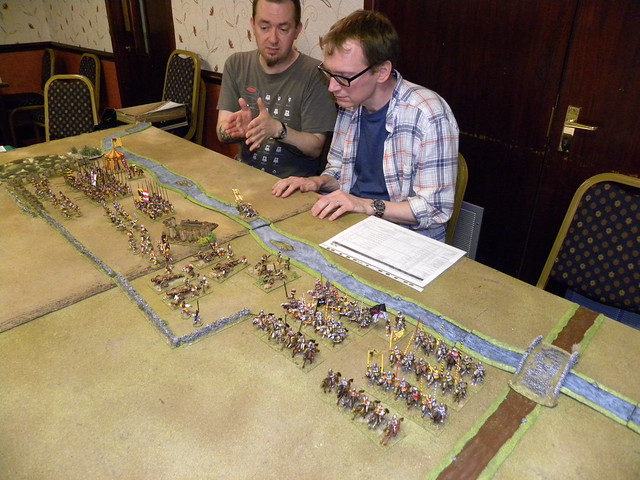
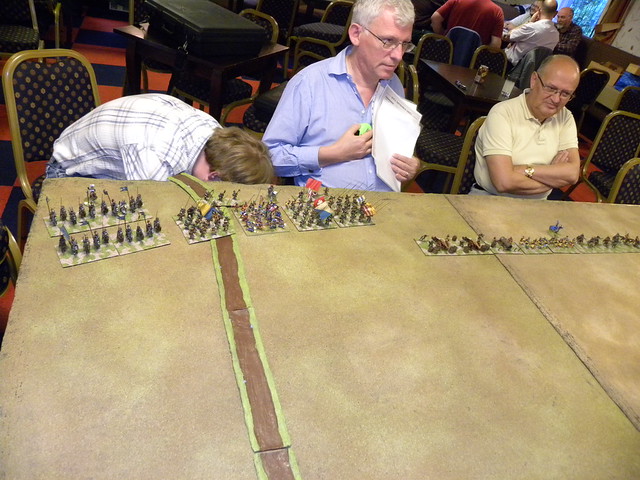
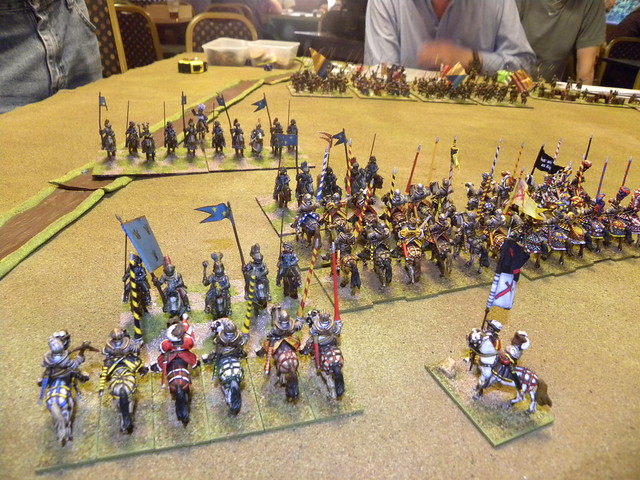
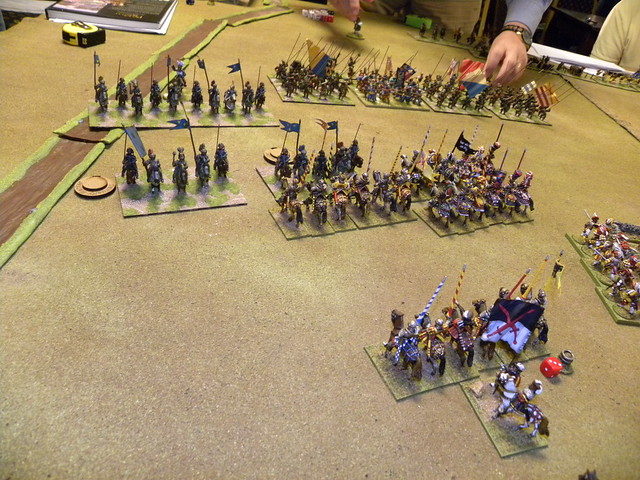
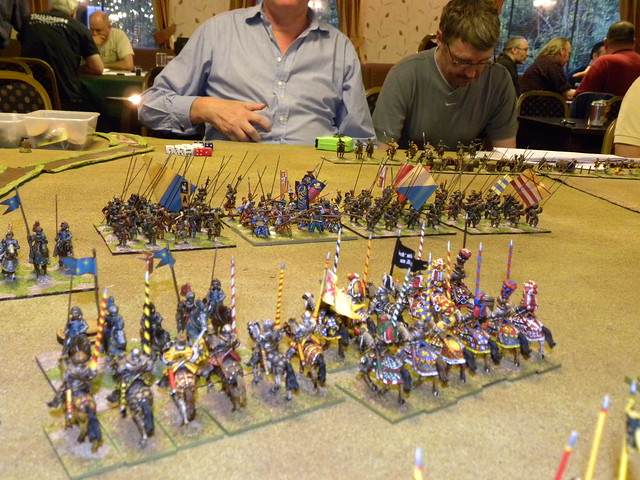
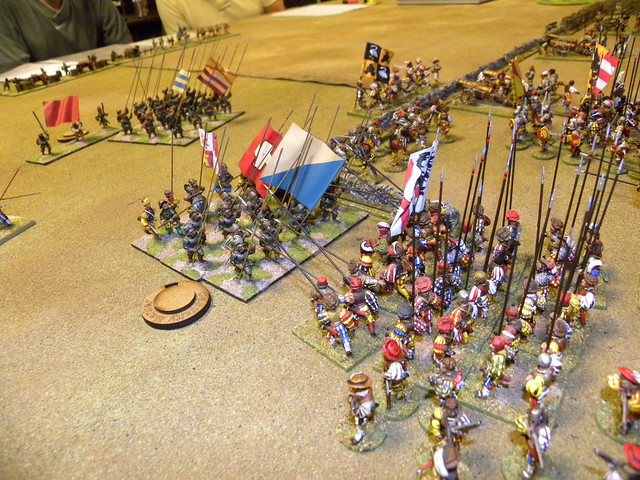
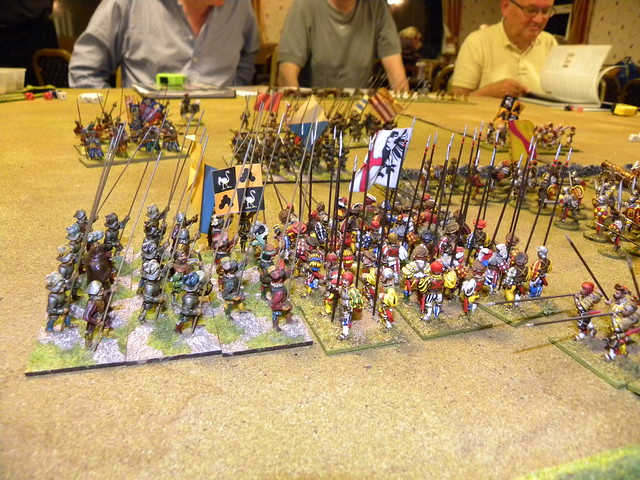
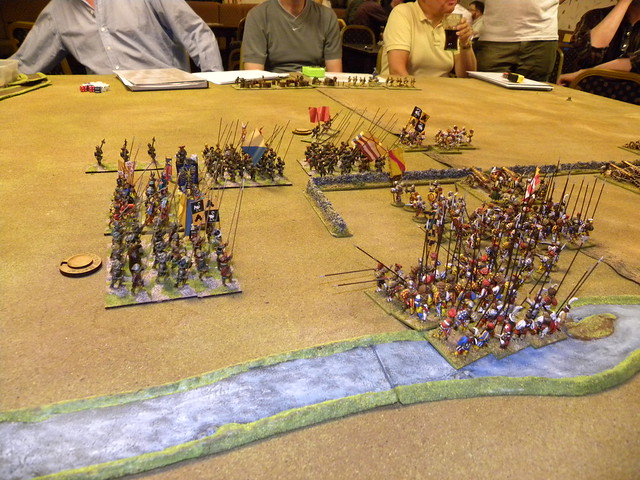
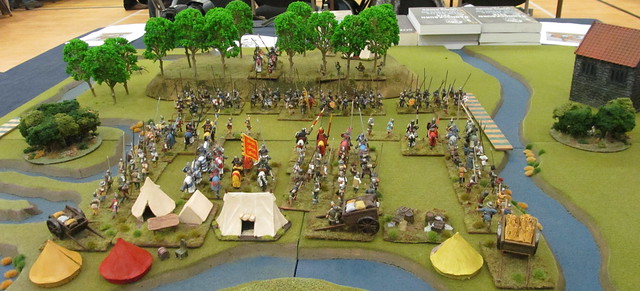
Battle of Ravenna 1512. Bitwa pod Rawenną 1512.

Last time, when we had a game with Pike and Shotte and tested the Paymaster was a lot of confusion about the rules. So we decided to stop testing the Paymaster and took our attentions on Pike and Shotte. This was very helpful and specially Bill's knowledge of the rules helps us all.
Ostatnim razem gdy mieliśmy grę z użyciem zasad Pike and Shotte przy okazji testowania Paymastera pojawiło się wiele niejasności dotyczących samych przepisów. Zdecydowaliśmy się przerwać testy Paymastera i bardziej skupić się na Pike and Shotte. To było bardzo pomocne a w szczególności znajomość przepisów przez Billa pomogła nam wszystkim.

For our game Michael chose the Battle of Ravenna (11.04.1512).
Do naszej gry Michael wybrał bitwę pod Rawenną (11.04.1512).

SCENARIO/SCENARIUSZ: Michael Schneider
SCENERY/SCENERIA: Michael Schneider, SESWC
MODELS&FIGURES/ MODELE I FIGURKI: Michael Schneider, Donald Adamson

1. Forces. Siły.

HOLY LEAGUE/ŚWIĘTA LIGA
(Michael Schneider, Campbell Hardie, Bartek Żynda)

2 x Gandarmes (6 fig.)
3 x Met-at-Arms (6 fig.)
Stradioti (6 fig.)
Mounted crossbows (6 fig.)

2 x Landsknechts Pikemen (36 fig.)
Landsknechts Pikemen (24 fig.)
2 x Landsknechts Arquebusiers (12 fig.)
Doppelsoeldner (12 fig.)
Swordsmen (12 fig.)

2 x Heavy guns
2 x Medium guns
2 x Light guns

FRENCH/FRANCUZI
(Bill Gilchrist, Donald Adamson, Paul [the Irish])

2 x Gandarmes (5 fig.)
2 x Met-at-Arms (5 fig.)
Stradioti (6 fig.)
2 x Mounted crossbows (6 fig.)

3 x Swiss Pikeman (24 fig.)
French Pikeman (24 fig.)
2 x Halberdiers (8 fig.)
2 x Swiss Arquebusiers (16 fig.)

3 x Medium guns.


2. The game. Gra.

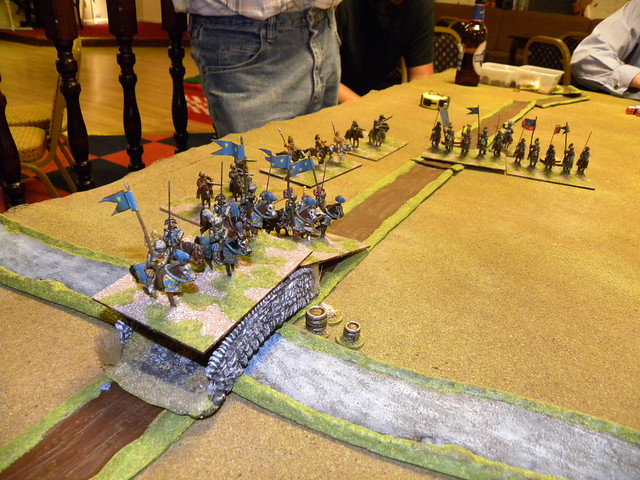
The game like the original one was divided into two small battles: cavalry and infantry with some artillery fights. First attacked the French cavalry. Very quickly they defeat the Papal forces and forced them to withdraw from the battlefield. French did not suffer to many casualties, however Papal knights lost two units. That ended the cavalry battle because Papal troops find the cover on the other bank of river and did not took the part in the second part of the battle.
Gra, tak jak bitwa w oryginale podzieliła się na dwie mniejsze bitwy: kawaleryjską i z udziałem piechoty z pewnym wsparciem artyleryjskim. Pierwsza zaatakowała konnica francuska. Bardzo szybko poradziła sobie z kawalerią papieską i zmusiła ich do wycofania się z pola bitwy. Francuzi nie ucierpieli zbytnio w tej walce, papiescy rycerze stracili dwa oddziały. To zakończyło walkę kawaleryjską, ponieważ papieskie oddziały skryły się na drugim brzegu rzeki i nie wzięły już dalszego udziału w walce.

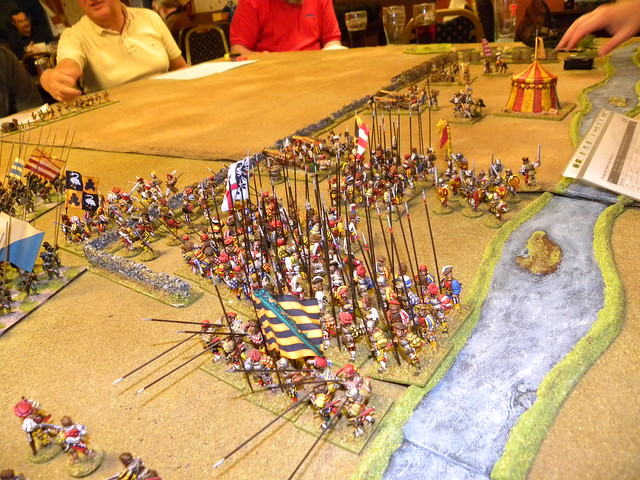
After the cavalry battle the French cavalry took control over the bridge and kept Papal cavalry away. The infantry battle begin. Most of the French troops attacked the left flank of the League positions. First attack has been pushed back, but the next broke the defenders lines and the battle was over. During the battle the main role played the French artillery, much better than the Spanish. It successfully disorganized League troops and helped to gain the victory.
Po walce kawaleryjskiej konnica francuska zajęła most i w ten sposób trzymała papieską kawalerię na dystans. Zaczęła się bitwa piechoty. Większość francuskich oddziałów uderzyło na lewe skrzydło pozycji obronnych Ligi. Pierwszy atak został odparty, jednak następny złamał linie obrońców i bitwa była skończona. Podczas bitwy główną rolę odegrała francuska artyleria, znacznie lepsza od hiszpańskiej, która skutecznie dezorganizowała oddziały Ligi i pomogła osiągnąć zwycięstwo.

3. Summary. Podsumowanie.

In our game we get the same result as in original battle, however French did not suffer big loses and Gaston de Foix did not died during the battle. The League loses wasn't that big as it was in original battle. The Papal cavalry was still operational, however bringing back them to the order took a lot of time and when they where ready to back to the battle the game was over... It was very good game.
W naszej grze osiągnęliśmy podobny rezultat do oryginalnej bitwy, jednakże Francuzi nie ponieśli tak wielkich strat i Gaston de Foix nie poniósł śmierci na polu bitwy. Straty Ligi nie były tak kolosalne jak to miało miejsce w prawdziwej bitwie. Kawaleria papieska stanowiła cały czas duże zagrożenie, jednak przywracanie porządku w jej szeregach zajęło dość dużo czasu i gdy była w końcu gotowa by uderzyć ponownie, gra była zakończona... To była bardzo dobra gra.

Gallery on my Flickr:
Galeria na moim Flickr:

08 sierpnia 2014

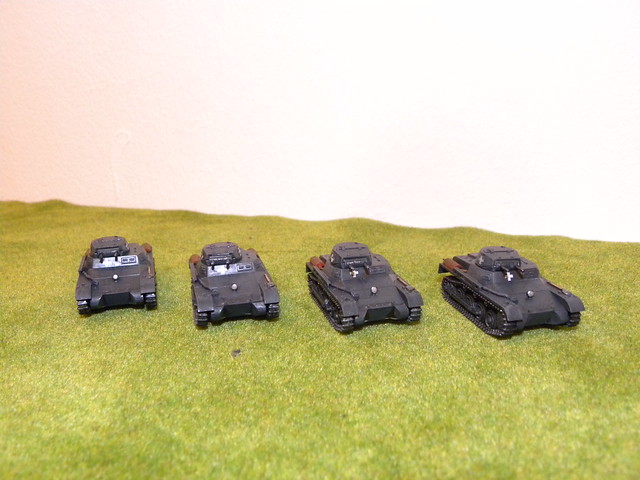
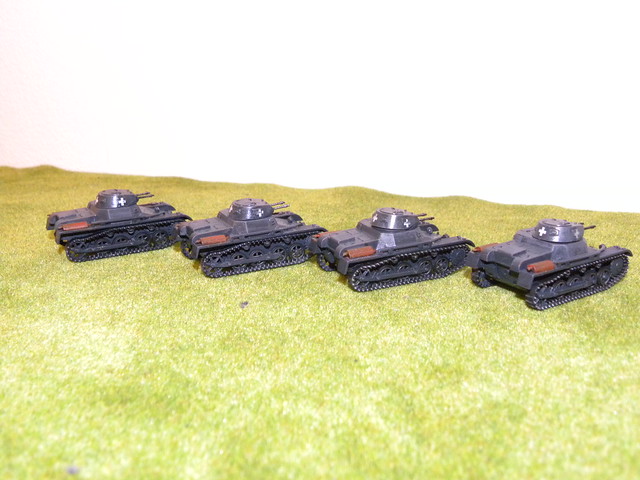
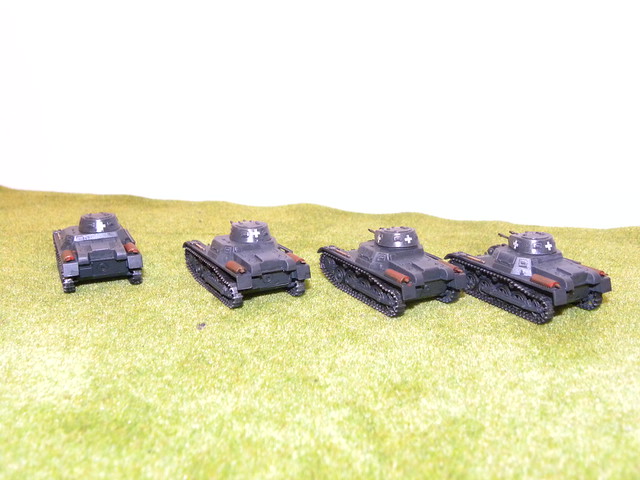
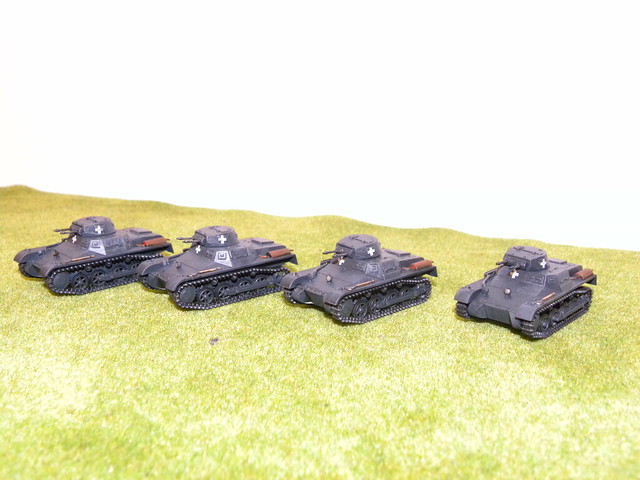
Polska 1939 (2). Poland 1939 (2) - PzKpfw I Ausf. A

Kolejne modele do projektu Polska 1939, niemiecki czołg PzKpfw I wersja A od First to Fight. Dla moich Niemców pomalowałem cztery czołgi tej wersji. Nie wykorzystałem w pełni kalkomanii dołączonej do modelu, ponieważ numeracja tam zamieszczona jest błędna  i użyłem jedynie białych krzyży. Oto moje czołgi:
Another models for my Poland 1939 project, German tank PzKpfw I in version A from First to Fight. For my Germans I have painted four tanks of that version. I haven't use all decals attached to this model, because tank numbers are wrong and used only white crosses. Here are my tanks:

Siberia 1919 (pt 3). Syberia 1919 (cz 3).

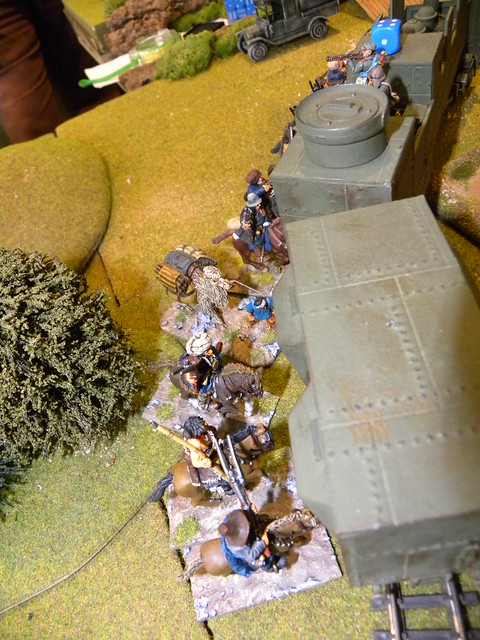
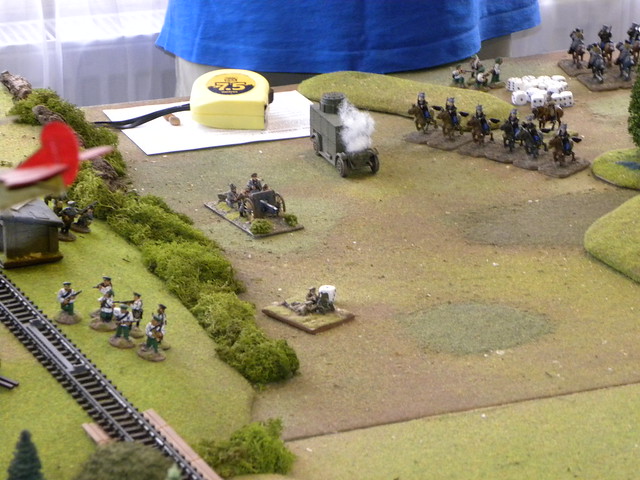
This is the third and the last part of our big game with the use of Setting the East Ablaze rules. The past relations from the game you can read here:
To ostatnia, trzecia część relacji z naszej dużej gry z użyciem zasad Setting the East Ablaze. Poprzednie relacje możecie przeczytać tutaj:


Again there will be no usual army list for that game, I'll put it when I receive one from Dave. However here is the cast for all three games:
Znowu nie przedstawię pełnej listy armii, zrobię to gdy otrzymam takową od Dave'a. Jednakże oto obsada dla wszystkich trzech gier:

White Russians: Hugh Wilson (all games)
Red Russians: Bill Gilchrist (1st game), Tim Watson (2nd and 3rd game)
Czech Legion: Bartek Żynda (all), Colin Jack (last turns of the 3rd game)
Mongols: Donald Adamson (all)
Japanese: Colin Jack (1st and 2nd game), Bill Gilchrist (3rd game)
Chinese 1: Martin Gibson (1st), Ray Neal (2nd and 3rd game)
Chinese 2: Dave O'Brian (1st), Campbell Hardie (2nd and 3rd game)

SCENARIO/SCENARIUSZ: Dave O'Brian
GAME UMPIRING/PROWADZENIE GRY: Colin Jack
SCENERY/SCENERIA: Hugh Wilson, Colin Jack
MODELS&FIGURES/ MODELE I FIGURKI: Dave O'Brian, Colin Jack, Hugh Wilson

The game. Gra.

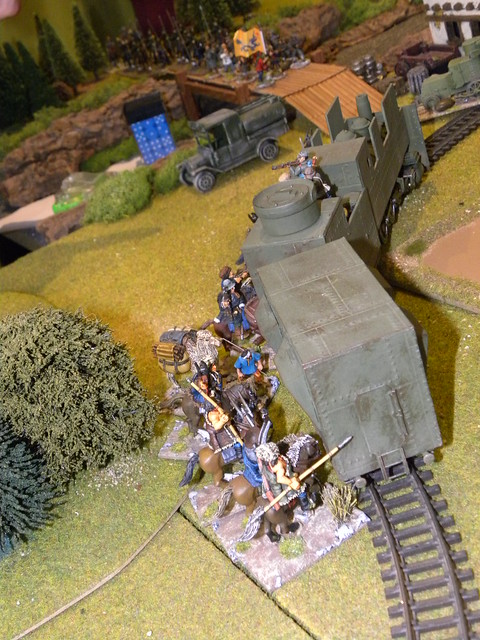
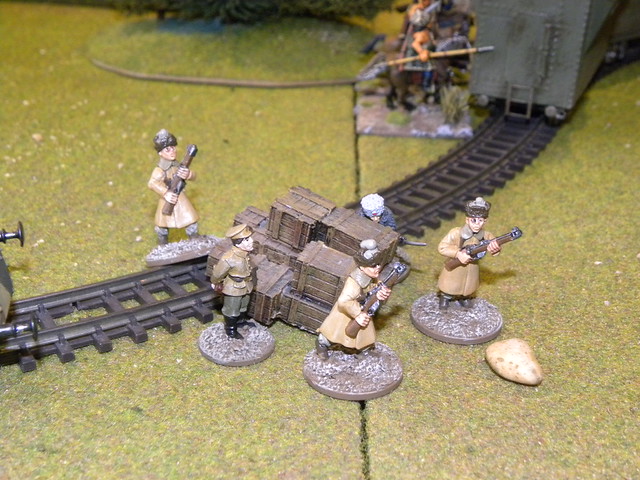
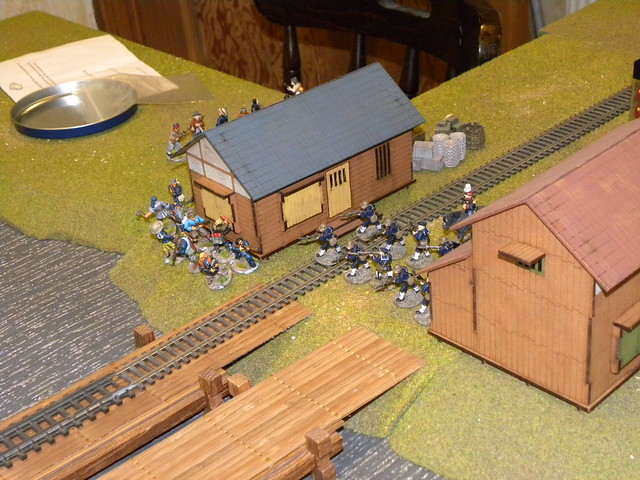
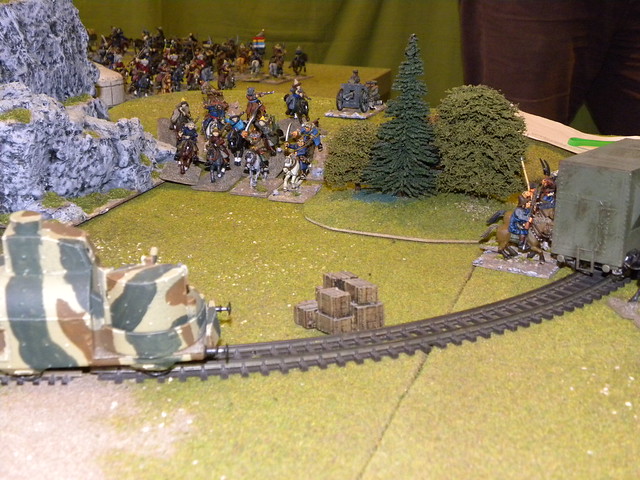
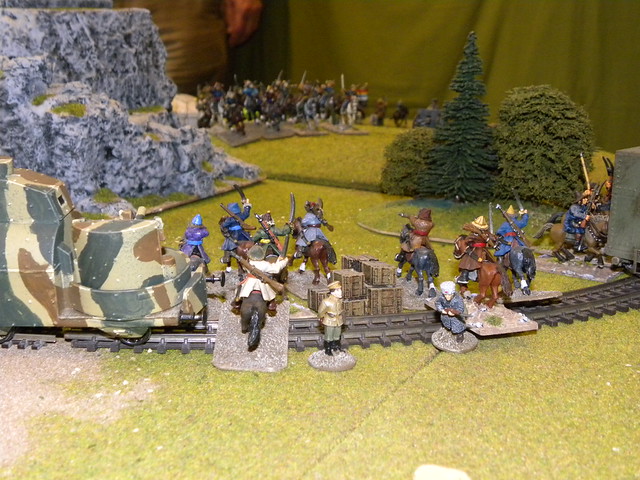
Our last game finished when Mongolians where attempt to assault Chinese (former Czech train No. 1). Again they had been pushed back. Even use of the "camel bomb" (camel with some explosives) did not bring any result. Finally the train has been captured by other group of Chinese and then it was captured by Mongolians. They took all remaining gold from that train and bring it to the buddhist temple. The same happend to the gold still in Czech hands. Mongolians assaulted the convoy unit and Czechs decided to save their lives instead of saving the gold. Mongolians took this gold either, however had been shoot by (I don't remember now) Chinese 1 or 2 and for some time the gold was lying on the field unprotected. Finaly Mongolians pick up this gold too and put them safe in their temple. That was enough for Mongolians to win the whole game.
Nasza ostatnia gra zakończyła się w momencie mongolskiego ataku na chiński pociąg (były czeski pociąg nr 1). Znów zostali oni odparci. Nie pomogło tutaj nawet użycie "wielbłądziej bomby" (wielbłąd z pewną ilością środków wybuchowych). W końcu pociąg został opanowany przez Chińczyków 2 i wtedy został opanowany przez Mongołów. Zabrali oni całe pozostawione tam złoto i bezpiecznie schowali w buddyjskiej świątyni. To samo stało się ze złotem, będącym w posiadaniu Czechów. Mongołowie zaatakowali czeski konwój ze złotem i Czesi zdecydowali się zachować własne życie zamiast złota. Mongołowie zabrali i to złoto, jednak zostali ostrzelani (teraz już nie pamiętam) przez Chińczyków 1 lub 2 i złoto przez pewien czas pozostało niezabezpieczone na środku pola. W końcu Mongołowie dotarli do tego złota i również umieścili je bezpiecznie w swojej świątyni. To wystarczyło by Mongołowie zwyciężyli całą grę.

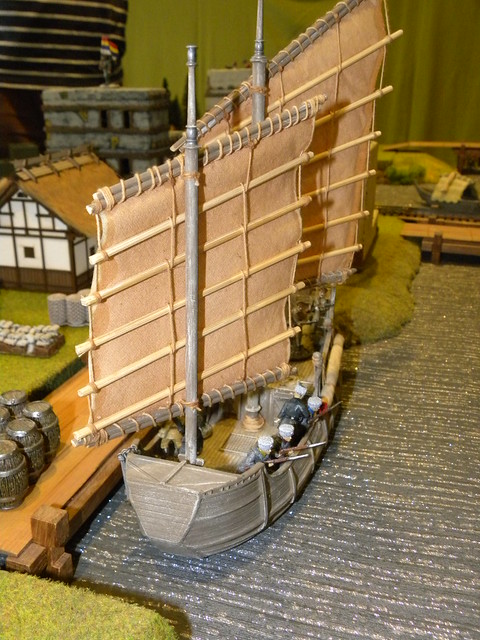
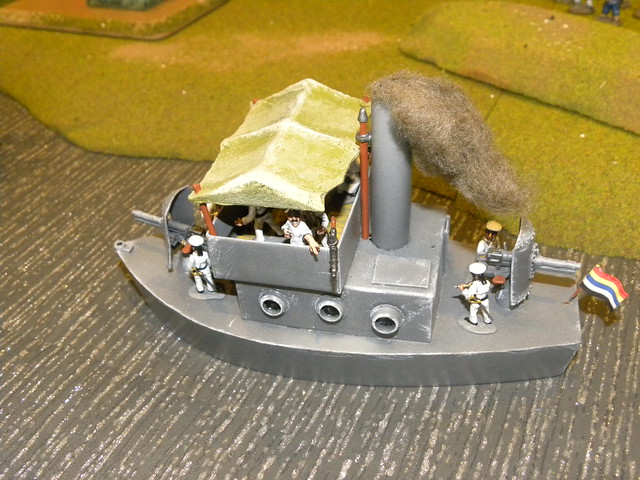
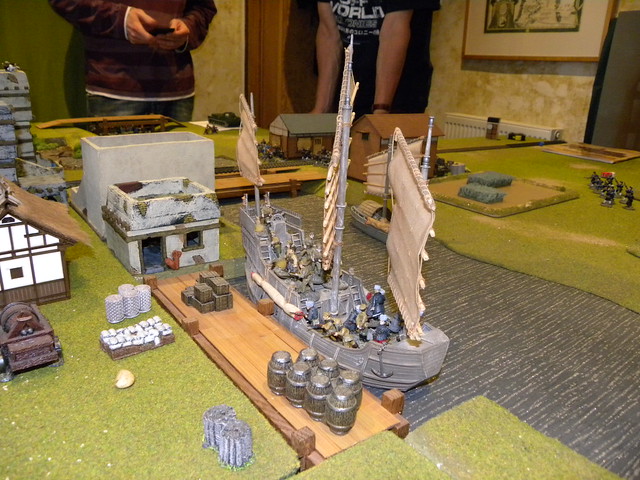
The highlights of the evening was the fate of my Czechs. After they lost the gold they board the junk on the river and start making their way towards Harbin. There was the moment when I had to leave, so I left my troops in Colin's hands. After my leave they became the target of Japanese and Chinese 1 (yes, they betray us) attack. First the junk was attacked by Japanese plane, however nothing wrong happens but then the Chinese gunboat opened fire to the not expecting something like that Czechs. There was no survivors left on the junk...
Głównym wydarzeniem był tragiczny los moich Czechów. Po tym jak stracili złoto udało im się wsiąść na dżonkę i rozpocząć swój rejs w kierunku Harbinu. Był to moment w którym musiałem opuścić grę, w związku z czym moje oddziały powierzyłem Colinowi. Po moim wyjściu stali się oni celem ataku Japończyków i Chińczyków 1 (tak, zostaliśmy przez nich zdradzeni). Jako pierwszy dżonkę zaatakował japoński samolot, ale nic złego się nie stało, ale wtedy chińska kanonierka otworzyła ogień do niczego nie spodziewający się Czechów. Nikt nie pozostał żywy na dżonce...
Picture by Campbell Hardie.
Worth mention is the struggle between Reds, Whites and Mongolians on the west end of the table.  All sides was trying to eliminate as much enemy troops as they could with some results. I don't know how it has finished, but it not affected the Mongolian victory.
Warto jeszcze wspomnieć o walce na zachodnim skraju stołu pomiędzy Czerwonymi, Białymi i Mongołami. Wszystkie strony starały się zadać swoim nieprzyjaciołom jak największe straty, osiągając w tym pewne rezultaty. Nie wiem jak to się tam skończyło, jednakże nie zagroziło to ostatecznej mongolskiej wiktorii.


Bill's relation from that game:
Relacja Billa z tej gry:

My gallery on Flickr:
Moja galeria na Flickr:
07 sierpnia 2014

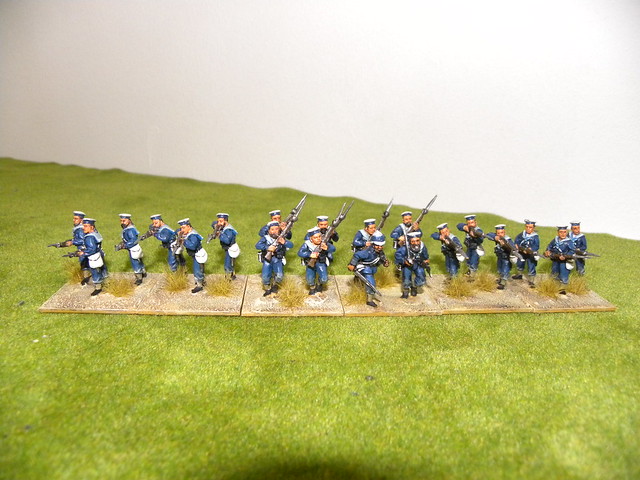
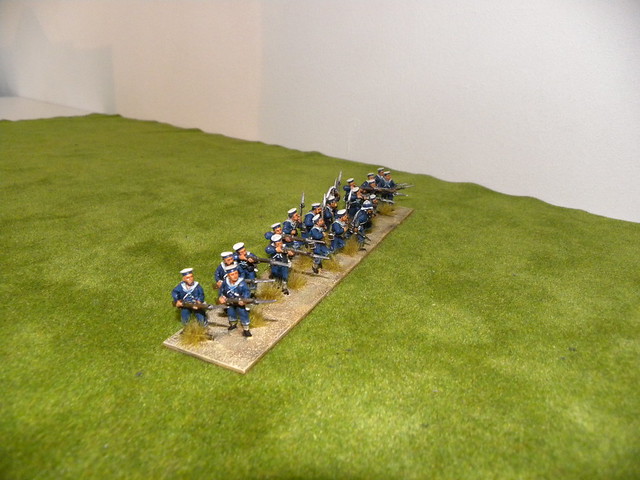
Piechota Marynarki Wojennej - Sudan. Naval Brigade for Sudan.

Pierwszy batalion z trzech, jakie zamierzam pomalować do naszej dużej gry na początku listopada. Figurki to oczywiście produkt braci Perrych. Następny batalion w drodze  to Sikhowie.
First battalion ready from three planned to paint for our big game on the beginning of November. Figures comes from the Perry's Brothers. Next battalion on its way and it will be Sikh one.

Figurki biorą udział w konkursie malarskim forum Strategie.
Figures are taking part in painting competition of theStrategie forum.

04 sierpnia 2014

CLAYMORE 2014 - short report/krótki raport.

I had a great time at Claymore, but it was quite busy for me. I spent most of my time at the Bring and Buy, and the rest was spent shopping for Warbase bases, SAGA dice for my Normans, paints, and some 20mm Soviet figures from Britannia, Dixon, and Airfix. Despite being busy, I managed to play a quick game, and even though I lost (I had to be the English in a Bannockburn refight with DBM rules), I was still quite happy. Looking forward to the next Claymore!

Następne Claymore za nami. Było to bardzo dobre show, jednakże byłem podczas niego bardzo zajęty. Zaangażowałem większość mojego czasu w Bring and Buy, resztę poświęciłem na zakupy (kupiłem podstawki od Warbase, kości dla moich Normanów do SAGI — w końcu nie zapomniałem ich kupić, farby i trochę figurek — głównie Sowieci w skali 20 mm od Britanni, Dixona i Airfixa). Rozegrałem nawet jedną grę, bardzo szybką i przegraną, ale na swoją obronę powiem, że była to bitwa pod Bannockburn, z użyciem zasad DBM, i grałem Anglikami… Bez szans, jeżeli Wasz przeciwnik gra Szkotami, tak jak zrobili to podczas prawdziwej bitwy... Mimo to byłem bardzo zadowolony i bardzo zmęczony po całym show. Do następnego Claymore.
DBM Bannockburn game. Photo by Bill Gilchrist.
Very busy Bring and Buy. Photo by Jim Duncan.
Dambusters: Hugh Wilson, Ray Neal and Colin Jack. Photo by Michael Harker.
As I mentioned earlier, I was quite busy and missed most of the games played on the show. I also didn't take any pictures. However, some people did, and here are links to their galleries:

Tak jak powiedziałem powyżej, byłem dość zajęty i niestety poświęciłem mniej uwagi grom rozgrywanym na show. Nie zrobiłem tez żadnych zdjęć, jednak kilka osób zrobiło i poniżej załączam kilka linków do ich galerii:

Bill's:

Jim's:

Michael's: