16 marca 2024

Lexington & Concord. 19.04.1775.

Some time ago, Michael suggested a small campaign to reenact some battles from the American War of Independence. To prepare for this, he painted new militia units. Last Thursday, we played the very first battle of that war using Black Powder rules.


SCENARIO: Michael Schneider
UMPIRING: 
Michael Schneider
SCENERY: Michael Schneider, SESWC
FIGURES & MODELS: Michael Schneider


1. Forces.


UNITED KINGDOM
(Bartek, Tim)
© Michael Schneider


COLONISTS
(Alasdair, Campbell, David)

© Michael Schneider


2. The game.

Michael has prepared some surprises for us in the scenario. In addition to the objective points of 1 point for destroying/saving a building in Concord and 1 point for any destroyed unit, he has also given us something else, but we will discuss it later. Tim and I have prepared a plan together. I have decided to do things differently than in the original war. The Light troops will fight in Lexington, and the Grenadiers will bypass the woods and head straight into Concord with the main objective of burning everything there.


In the battle of Lexington, it is believed that Campbell's Militia fired the first shot. As a result, our side gained a victory point. However, it is still unclear who actually started the war. To prevent such disputes, Michael decided to deduct one victory point from the side that started the war. Our Grenadiers have successfully reached Concord and are currently preparing for an attack. However, the town is heavily guarded by the Militia, making the mission challenging.


The battle for Concord began with one of the Grenadier's units charging Alasdair's Militia and defeating them quickly. The other Grenadier unit started burning the buildings in Concord. However, the number of incoming Militia men increased, so I used a little trick and kept one Grenadier unit behind the Colonist lines, destroying the objectives. I successfully burned down two buildings. Alasdair received support from David and Campbell's militias, who then surrounded my units. Knowing that I wouldn't leave Concord alive, I decided to stand and fight. First, they trapped one of my units and defeated it. Surprisingly, the other unit survived a few turns of melee, but it was eventually defeated too. My mission was accomplished, and I gained three points for our cause but lost two. Overall, the job was done much better than in the original battle.


In the meantime, Tim fought against the remaining militia of Campbell's in Lexington. He stood bravely and even managed to destroy one of the Colonist units, earning another point for our side. However, our successes proved to be a disadvantage for us when, on turn 8th, our main forces were supposed to arrive. At that moment, Michael sprang another surprise on us. The British commander had a rate of 9, but for orders, it was 9 minus the difference in points. This could be either added or deducted depending on whether the British got more points or not. Unfortunately for us, we were winning and the main forces did not arrive until my brigade was completely destroyed. When they finally arrived, we decided to retreat to Baltimore since our job was done. The British won 5:3 in points.


3. Links.

MICHAEL:

https://meneken.blogspot.com/2024/03/1775-19th-april-lexington-concord-awi.html

CAMPBELL (SESWC):

https://www.facebook.com/Seswc.co.uk/posts/808979797926020

FLICKR:

https://www.flickr.com/photos/asienieboje/albums/72177720315484543

14 marca 2024

PFW Valour and Fortitude.

The Valour and Fortitude rules are the same as last time, but this time we'll focus on the Franco-Prussian War and use a 10 mm scale.


SCENARIO: Michael Schneider
UMPIRING: 
Mike Evans, Peter Mearns, Michael Schneider
SCENERY: Michael Schneider, SESWC
FIGURES & MODELS: Michael Schneider


1. Forces.


FRANCE
(Bartek, Campbell, Gordon)

Guard Infantry Brigade (Veteran)

6 x Infantry
2 x Gun
1 x Mitrailleuse

1st Infantry Brigade

7 x Infantry
2 x Gun
1 x Mitrailleuse

2nd Infantry Brigade

1 x Infantry
2 x Cavalry

3rd Infantry Brigade (Reserve)

9 x Infantry
2 x Gun
1 x Mitrailleuse

4th Infantry Brigade (Reserve)

6 x Infantry
3 x Heavy Gun

1st Cavalry Brigade (Reserve)

2 x Cavalry
2 x Horse Gun

2nd Cavalry Brigade (Reserve)

2 x Cavalry
2 x Horse Gun

3rd Cavalry Brigade (Reserve)

2 x Cavalry
2 x Horse Gun


PRUSSIA
(Michael, Mike, Peter, Tim)

Guard Infantry Brigade (Veteran)

3 x Infantry
2 x Gun

1st Infantry Brigade

3 x Infantry
1 x Cavalry
2 x Gun

2nd Infantry Brigade

3 x Infantry
1 x Cavalry
2 x Gun

3rd Infantry Brigade

3 x Infantry
2 x Gun

4th Infantry Brigade (Reserve)

3 x Infantry
2 x Gun

5th Infantry Brigade (Reserve)

3 x Infantry
2 x Gun

1st Cavalry Brigade (Reserve)

2 x Cavalry
1 x Horse Gun

2nd Cavalry Brigade (Reserve)

2 x Cavalry
1 x Horse Gun

3rd Cavalry Brigade (Reserve)

2 x Cavalry
1 x Horse Gun


2. The Game.

This time, there were four villages as the objectives. Each side started with two of these villages. We had an initial deployment of forces, and then infantry was set to arrive on turn two, followed by cavalry on turn four. Our plan was for the guard, the 1st, and the 2nd French Brigade to hold two villages, while Cambell, with all the reserve infantry, was to attack the Prussian village on our left. Meanwhile, Gordon and his cavalry were to create a firing line with their guns to flank any incoming Prussian attacks. We were expecting some casualties from Prussian guns, but we hoped that our infantry would move quickly and take advantage of the longer distance provided by our rifles. That was the plan.


We started as planned, but the Prussians kept a safe distance from us, possibly because they were afraid of our rifles. They fired on us with their guns and tried to eliminate our guns first. Unfortunately, our guns couldn't respond due to their shorter range. Then we encountered some problems. Campbell was unable to activate his brigades, resulting in an attack that lacked concentration. Brigades attacked separately, allowing the Prussians to concentrate their attack and stop Campbell's advantage. Finally, his attack was stopped and we were unable to take the Prussian village.


On our left flank, the situation was even worse. Gordon's units were bottlenecked, which prevented him from creating a firing line. It was in the wrong place when he finally managed to do so, leaving my troops without adequate firing support. As a result, they were decimated by the accurate Prussian fire. Fortunately, I was able to rally my troops, but it cost me the opportunity to do anything else with them. Later, a group of Prussian soldiers managed to get on our flank, and their cavalry charged us with a deadly force. Gordon attempted to charge them on their flank, but it did not produce the expected result.


Both sides finished with 2 objectives, but the French lost due to a failed Fortitude test caused by a destroyed gun, resulting in a minor victory for the Prussians.

3. Links.

MICHAEL:

https://meneken.blogspot.com/2024/03/somewhere-in-france-between-some-grapes.html

CAMPBELL (SESWC):

https://www.facebook.com/Seswc.co.uk/posts/805384108285589

FLICKR:

https://www.flickr.com/photos/asienieboje/albums/72177720315441111

07 marca 2024

ACW Valour and Fortitude.

Last Thursday, we played another game with the Valour and Fortitude rules. Even though I'm not entirely convinced by the simplicity of these rules, we had another game as they are popular among other players. This time we played a different period: the American Civil War.


SCENARIO: Peter Mearns
UMPIRING: 
Mike Evans, Peter Mearns
SCENERY: Peter Mearns, SESWC
FIGURES & MODELS: Peter Mearns


1. Forces.


USA
(Campbell, Mike, Michael)

All Seasoned

1st Infantry Brigade

3 x Infantry Regiment
2 x Gun (Rifled)

2nd Infantry Brigade

3 x Infantry Regiment
2 x Gun (Rifled)

3rd Infantry Brigade

3 x Infantry Regiment
2 x Gun (Rifled)

4th Infantry Brigade

3 x Infantry Regiment

5th Infantry Brigade

3 x Infantry Regiment

Cavalry Brigade

2 x Cavalry Regiment


CSA
(Bartek, David, Peter)

All Veterans

1st Infantry Brigade

4 x Infantry Regiment
2 x Gun (Rifled)

2nd Infantry Brigade

4 x Infantry Regiment
2 x Gun (Smoothbore)

3rd Infantry Brigade

4 x Infantry Regiment

4th Infantry Brigade

4 x Infantry Regiment

Cavalry Brigade

2 x Cavalry Regiment


2. The Game.

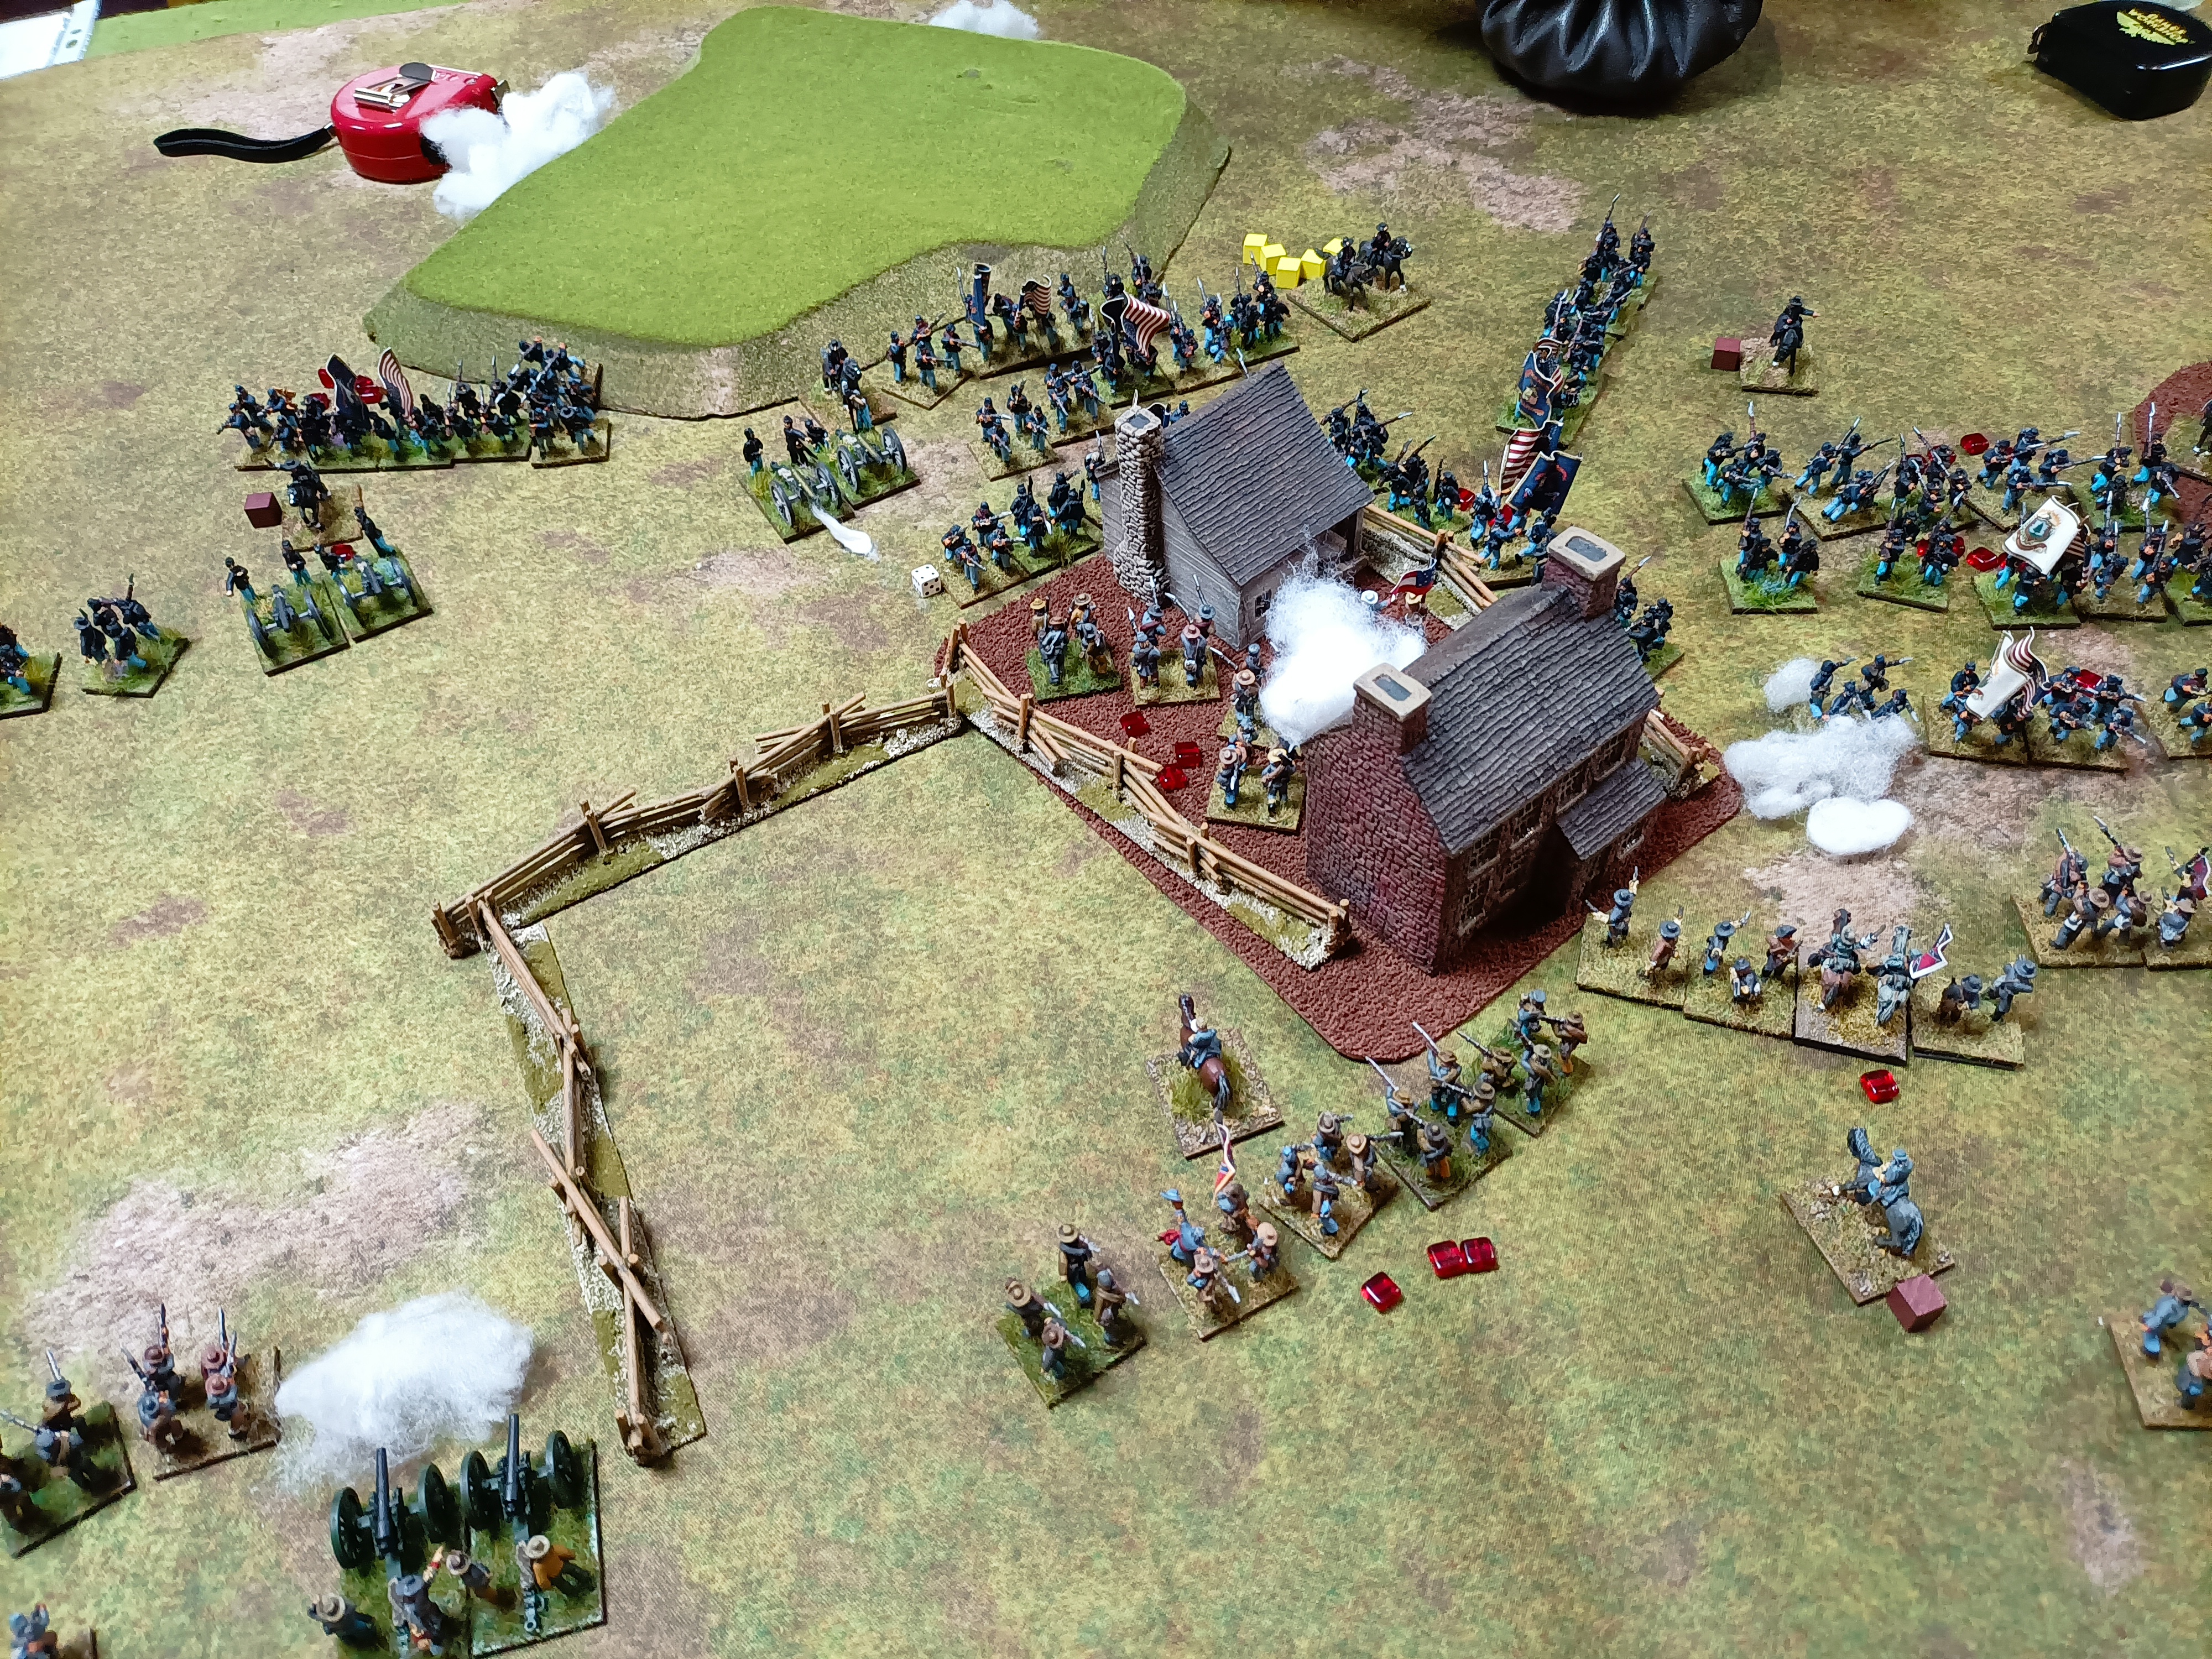
There were two buildings on the table, which both sides were trying to capture. The Confederates took the building on our left, and the Union took the one on our right. The Union forces launched a concentrated attack on the building on our left, which was then taken by them. However, we counterattacked and managed to retake the building. The Union then changed their tactic and started bombing the building, which proved to be effective as our units became shaken quickly. Nonetheless, I was able to withdraw the unit from the building and reinforced it with a new one, buying us some time. Eventually, the Union forces on the left decided to charge, but we were able to repulse them. As a result, the building on the left remained in Confederate hands.


To our right, David was being supported by Peter as they slowly moved towards the other building. Mike seemed to not pay attention to the situation on the other end of the battlefield and left his cavalry in the building. However, he provided massive support with his infantry who protected the flank. But only one. That was a mistake and David used it to his advantage. He charged towards the building and after a fierce melee, he finally managed to take it. Now, two buildings were in Confederate hands. The Union soldiers attempted to retake it, but they were unable to concentrate their forces as Peter kept putting pressure on them. Finally, the game ended in a Confederate victory.


3. Links.

CAMPBELL (SESWC):

https://www.facebook.com/Seswc.co.uk/posts/801322422025091

FLICKR:

https://www.flickr.com/photos/asienieboje/albums/72177720315306529