15 lutego 2024

Grzmotnice 1813.

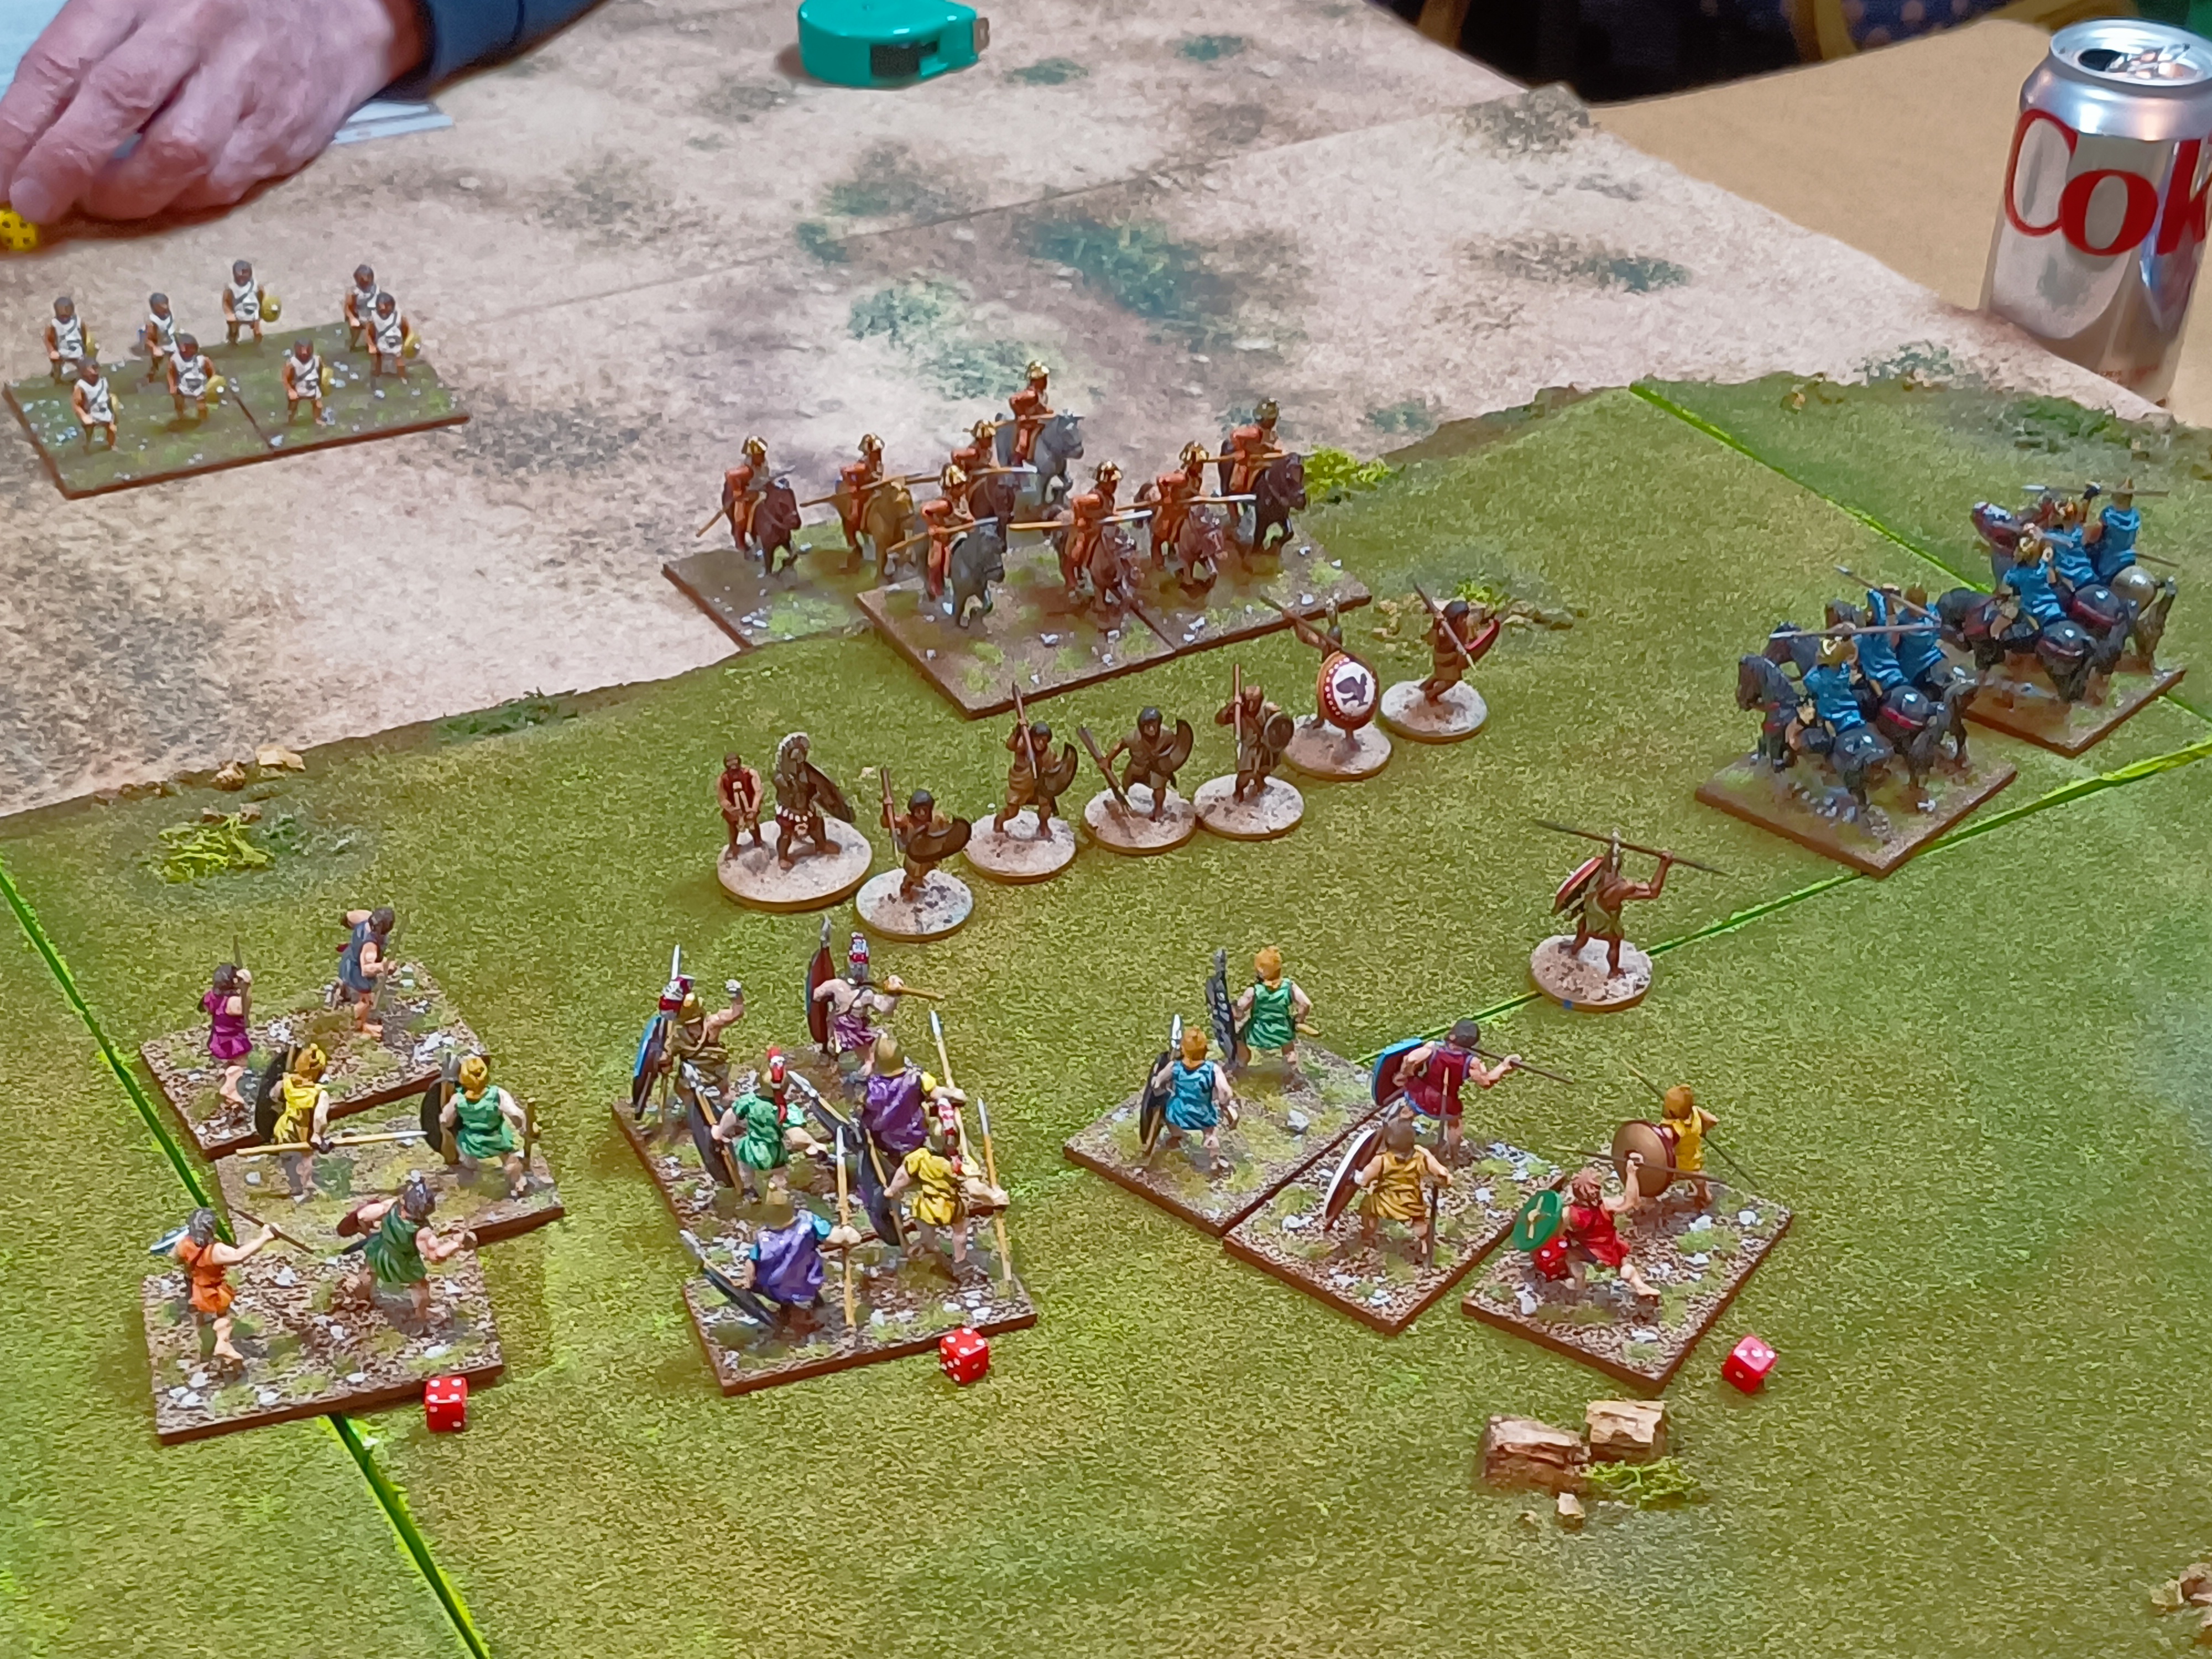
The Napoleonic mood was still present and it was unclear what to do about it. The best way to handle it was to play a game, and it would be even better if it was a large game. Last Sunday, we played Black Powder in 28mm with my Duchy of Warsaw against Michael's Austrians. We each had 1585 points, and the objective was for the Poles to defend the pass. The game took place on a 16'x6' table.


SCENARIO: Michael Schneider, Bartek Zynda
UMPIRING: Michael Schneider, Bartek Zynda
SCENERYBartek Zynda, SESWC
FIGURES & MODELSMichael Schneider, Bartek Zynda


1. Forces.


DUCHY OF WARSAW
(Bartek)

Prince Poniatowski

1 x Chasseur Regiment
2 x Heavy Gun

INFANTRY DIVISION

General of Division


1st Infantry Brigade

1 x Voltigeur Detachment
4 x Infantry Battalion
1 x Regimental Gun
3 x Field Gun
1 x Howitzer

2nd Infantry Brigade

1 x Voltigeur Detachment
4 x Infantry Battalion
1 x Regimental Gun
3 x Field Gun
1 x Howitzer

CAVALRY DIVISION

General of Division

1st Cavalry Brigade

2 x Uhlan Regiment
1 x Chasseur Regiment
2 x Horse Gun

2nd Cavalry Brigade

2 x Uhlan Regiment
1 x Chasseur Regiment
2 x Horse Gun


AUSTRIA
(Michael)

CinC
1 x Heavy Gun

Advance Brigade

2 x Jaegers
1 x Horse Gun

1st Infantry Brigade

2 x Infantry Battalion (Large)
1 x Field Gun

2nd Infantry Brigade

2 x Infantry Battalion (Large)
1 x Field Gun

3rd Infantry Brigade

2 x Infantry Battalion (Large)
1 x Field Gun

4th Infantry Brigade

2 x Infantry Battalion (Large, Elite)
1 x Field Gun

5th Infantry Brigade

2 x Infantry Battalion (Large, Elite)
1 x Field Gun

1st Cavalry Brigade

4 x Chevauleger Abtailungen
2 x Hussar (Large)
1 x Horse Gun

2nd Cavalry Brigade

4 x Dragoon Abtailungen
2 x Dragoon (Large)
1 x Horse Gun


2. The game.

The Poles initiated the game, with both of their Infantry brigades positioning themselves on hills and placing guns in the centres of their respective brigades. Voltigeurs acted as a screen. The cavalry brigades took their positions on the flanks and prepared for possible charges. The Austrians were successful in capturing all three villages and were getting ready for a massive assault.


I had a lot of guns, more than what was necessary for my army's size. Unfortunately, they were not very accurate when the Austrians attacked. It's a good thing they didn't use the Pike and Shotte tactic, otherwise I would have lost most of my guns. I couldn't believe how many times I rolled a 1 during that turn. On my flanks, the Uhlans charged but were unsuccessful in repelling the Austrian cavalry. They had to retreat to regroup and recover.


At last, the Austrians arrived at my position, and the melee began with my Polish troops standing their ground. Although there were some issues, they managed to hold their position. Unfortunately, one of the battalions had to retreat and they lost a regimental gun. Soon after, more Austrian infantry arrived, only to be met with a barrage of fire from my guns. The Austrians suffered heavy casualties and I was able to break three of their battalions.


In the meantime, we both fought for control over the village located at the center of the table. Half of the village was occupied by Austrian forces and the other half was under Polish control. Eventually, the Poles received heavy artillery support which proved to be a significant advantage. Meanwhile, my cavalry was performing poorly and was continuously pushed back. Despite this, I managed to inflict significant losses on the Austrian infantry, leading to a Polish victory. Overall, it was an exciting and engaging game!


3. Links.

MICHAEL:

https://meneken.blogspot.com/2024/02/1813-donnergrollen-on-krawallpass.html

FLICKR:

https://www.flickr.com/photos/asienieboje/albums/72177720314819599

12 lutego 2024

Duchy of Warsaw: 5th Infantry Regiment.

My Napoleonic mood continues. This time new figures. Another infantry regiment, this time the 5th. All figures are 3D prints from Polkowski Miniatures, printed for me by Tomek Rejf. The Voltigeur's bases are Renedra and the rest of the infantry is on the Warbases bases. The eagle for the first battalion is from Front Rank and the second is from Polkowski (I lost the other eagles from Front Rank in the depths of my shame drawer and when I found them, I got the figures already painted). Flags are of my design. The regiment had already first game and survived it!


First battalion:


Second Battalion:


11 lutego 2024

Spain 1809.

I get into a Napoleonic mood again. That means a few posts connected to this period will appear on the blog. The first today. It was the time to give some fresh air to our 54mm collections. Mike proposed a new set of rules called Five Kilometers from Leipzig by Nordic Weasel Games. These rules are still in beta tests (we used version 0.7) and I had the privilege to test them last Thursday. The set is designed for solo gaming, so we move only our side and the system will generate our opponent's actions. I have to admit, the game mechanics made quite a good impression on me. We managed to play 3 games during the evening and all were in 54mm.


SCENARIO: From the book
UMPIRING
Mike Evans
SCENERYMike Evans, SESWC
FIGURES & MODELS: Mike Evans, Bartek Żynda

1. Secure.

In our first game, we had 7 British riflemen (Alasdair, Angus, John, Tim, Michael, Gordon and Peter) with me as their officer. We fought against the unit of French (officer and 6 riflemen, dice rolled by Andy, David and Mike). Our task was to secure the centre of the table. We managed to do it with only one soldier seriously wounded.


2. Fend Off

This time I moved to the opposite side as my Poles appeared. The British unit remain unchanged only the task of the officer was taken by Ian. Mike was umpiring and Andy, David and I rolled for Poles. This time it wasn't as easy for the British as it was before. Highly skilled Poles pushed the British back and made them pray for the end of the game. We had a bayonet charge during the game, which was repulsed by brave Pole, despite being outnumbered. It finished with 3 British versus 1 Poles dead. However, the British managed to flee from the battlefield.


3. Patrol.

This time the British deployed the 95th with its most famous commander Captain Richard Sharpe. We had a few changes in the team. Gordon and John had to go home, so Mike and I joined the unit. Tim replaced Ian as an officer. Against them were French grenadiers (Andy and David continued to roll for them). That finished in complete disaster for the British. Only two members stayed alive at the end of the game with Sharpe scared of the enemy...


4. Links.

FLICKR: 

https://www.flickr.com/photos/asienieboje/albums/72177720314740549


08 lutego 2024

Páso Bártou 434BC.

 Hail Ceasar in 28mm. Peloponesian Wars.


SCENARIO: Michael Schneider
UMPIRING
Michael Schneider, Bartek Zynda
SCENERYMichael Schneider
FIGURES & MODELS: Mike Evans, Michael Schneider

1. Forces.


SPARTA
(Andy, Bartek, David, Michael)

RIGHT FLANK

2 x Mercenary Heavy Hoplites
1 x Cavalry
2 x Skirmishers

CENTRE

1 x Spartan Guard
1 x Spartan Heavy Hoplites
1 x Mercenary Heavy Hoplites

LEFT FLANK

3 x Mercenary Heavy Hoplites
1 x Cavalry
4 x Skirmishers


ATHENS
(Alasdair, Mike, Peter)

LEFT FLANK

2 x Heavy Hoplites
1 x Cavalry
5 x Skirmishers

CENTRE

4 x Heavy Hoplites

RIGHT FLANK

2 x Unarmoured Hoplites
1 x Cavalry
3 x Skirmishers


2. The game.

Spartan forces were divided in that way: Michael on our left, Andy and David on the right and me, as overall commander (Spartan king) in the centre. Our opponents divided their army with Alasdair on their right, Mike on the left and Peter in the middle as Athenian general. My plan for the game was straightforward. Concentrate all heavy hoplites in the middle with some support on the flanks. We were going to break their centre and win the game.


We moved forward and soon our right flank took the positions on the right hill. There they started fighting against Athenian skirmishers. For some time the situation was still being decided, but then Andy moved two units of Hoplites on the hill and they attacked the skirmishers, who failed to evade. They had no chances against armoured warriors. Skirmishers were destroyed and Andy furiously attacked the Athenian hoplites, who were right behind the skirmishers and broke both blokes of Athenian hoplites. That was it! The Right Athenian flank was broken.


On our left, it did not look well at all. Alasdair surprised Michael with a quick Skirmishers attack and soon all his forces were on Michael's back. However, he managed to move his hoplites on the hill, where they clashed with Alasdair's unarmoured hoplites. Michael started to push Alasdair back, but still, there was a danger of Athenian skirmishers and cavalry, who were on Michael's rear. The fight continued, but then came the news from the centre, which changed everything.


The battle was decided in the centre. First Spartans moved very slowly and tried to keep the line. Unfortunately, the Spartan king and his guard blundered and moved forward too far. The support was left behind. For my luck Peter, failed his orders in the next turn and I was able to hit as the first. I used some support from Andy and attacked the main Athenian unit, which was left unsupported. That cost me the life of the king, but the centre of the Athenian line was broken! Their morale collapsed and they all surrendered. The battle was over. Hail to the Spartan king!


3. Links.

MICHAEL:

https://meneken.blogspot.com/2024/02/434bc-sparta-at-luke-warm-gates.html

SESWC:

https://www.facebook.com/Seswc.co.uk/posts/785263726964294

FLICKR:

https://www.flickr.com/photos/asienieboje/albums/72177720314649590