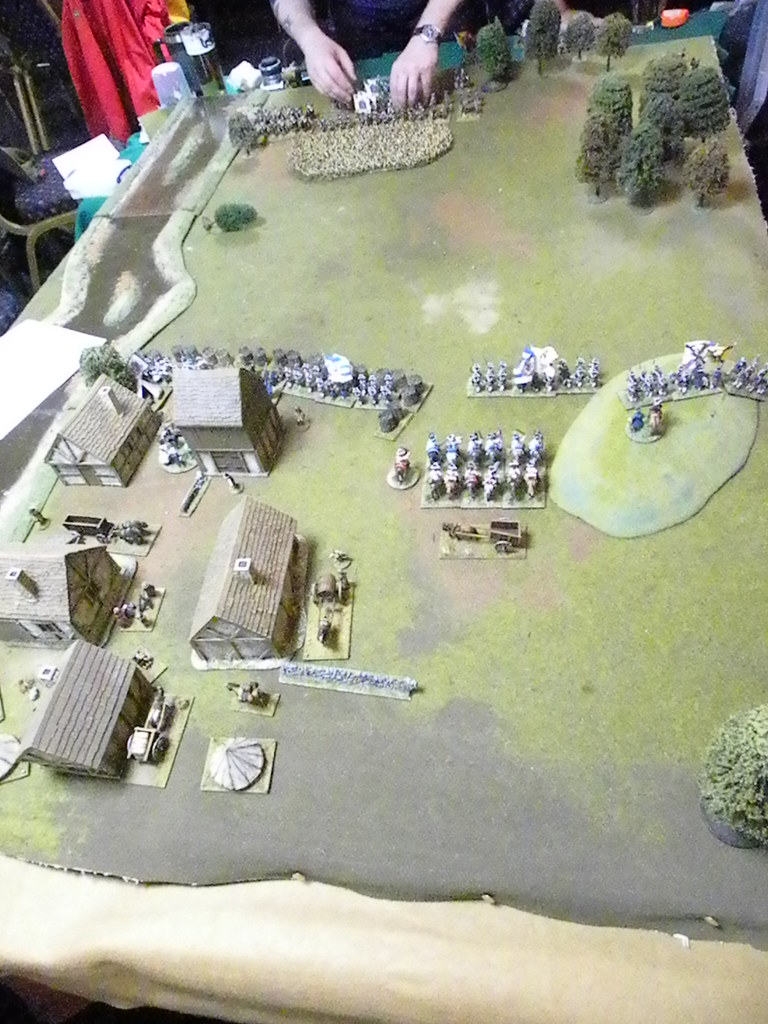
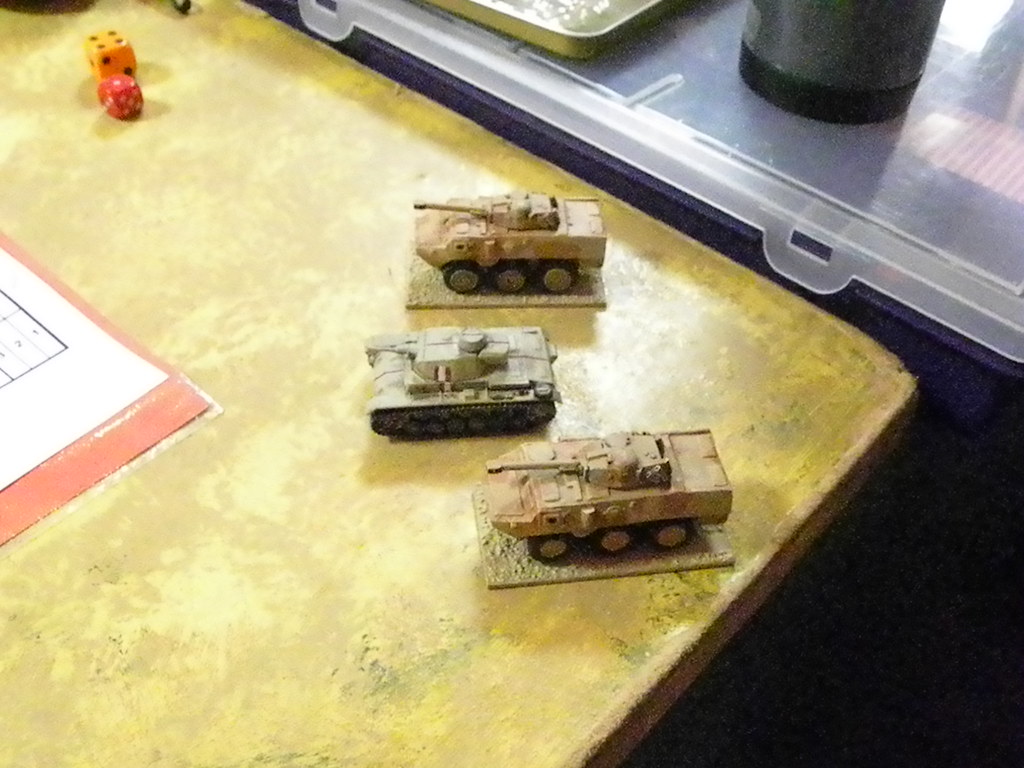
So it begins! November and December, less time for hobby and more time for work. So today some updates of the past games. Today's report will be from game played 2 weeks ago. We can not decided what to play, so finally we decided to play something naval and with big guns. Angus came across with his idea of refighting the first chapter of the famous Battle of Jutland where Angus's most favourite British admiral, David Beatty met admiral Franz Hipper. This time, beside the big ships we had also some cruisers, destroyers and torpedo boats, all fun! For our game we used the General Quarters: Fleet Action Imminent rules.
Więc się zaczęło! Listopad i grudzień są tymi miesiącami w roku, w których mam mniej czasu na hobby a więcej na pracę. Dzisiaj więc zaległy raport z rozegranej dwa tygodnie temu gry. Nie mogliśmy się na nic zdecydować i w końcu stanęło na czymś morskim i z dużymi działami. Angus wymyślił by odtworzyć pierwszy rozdział sławnej bitwy jutlandzkiej, gdzie jego ulubiony brytyjski admirał, David Beatty spotkał się z admirałem Franzem Hipperem. Tym razem do dyspozycji oprócz wielkich okrętów mieliśmy również krążowniki, niszczyciele i torpedowce. Do gry użyliśmy zasad General Quarters: Fleet Action Imminent.
SCENARIO/SCENARIUSZ: Angus Konstam
UMPIRING/PROWADZENIE GRY: Angus Konstam
SCENERY/SCENERIA: SESWC
MODELS/MODELE: Angus Konstam
1. Forces. Siły.

ROYAL NAVY
(Michael (GER), Peter)
1st Battle Cruisers Squadron
HMS Lion
HMS Princess Royal
HMS Queen Mary
2nd Battle Cruisers Squadron
HMS New Zeleand
HMS Indefatigable
1st Light Cruiser Squadron
HMS Galatea
HMS Phaeton
HMS Inconstant
HMS Cordelia
1st Division/9th and 10th Destroyer Flotilla
HMS Lydiard
HMS Liberty
HMS Landrail
2nd Division/9th and 10th Destroyer Flotilla
HMS Moorsom
HMS Laurel
HMS Morris
3rd Division/13th Destroyer Flotilla
HMS Narborough
HMS Pelican
HMS Petard
HMS Turbulent
HOCHSEEFLOTTE
(Michael (MDF), Angus, Bartek)
I. Aufklärungsgruppe
SMS Lützow
SMS Derfflinger
SMS Seydlitz
SMS Moltke
SMS Von der Tann
II. Aufklärungsgruppe
SMS Frankfurt
SMS Elbing
SMS Pillau
SMS Wiesbaden
3. Halbflottille/II. Torpedoboots-Flottille
SMS B98
SMS G101
SMS G102
SMS B112
SMS B97
12. Halbflottille/VI. Torpedoboots-Flottille
SMS V69
SMS V45
SMS V46
SMS S50
SMS G37

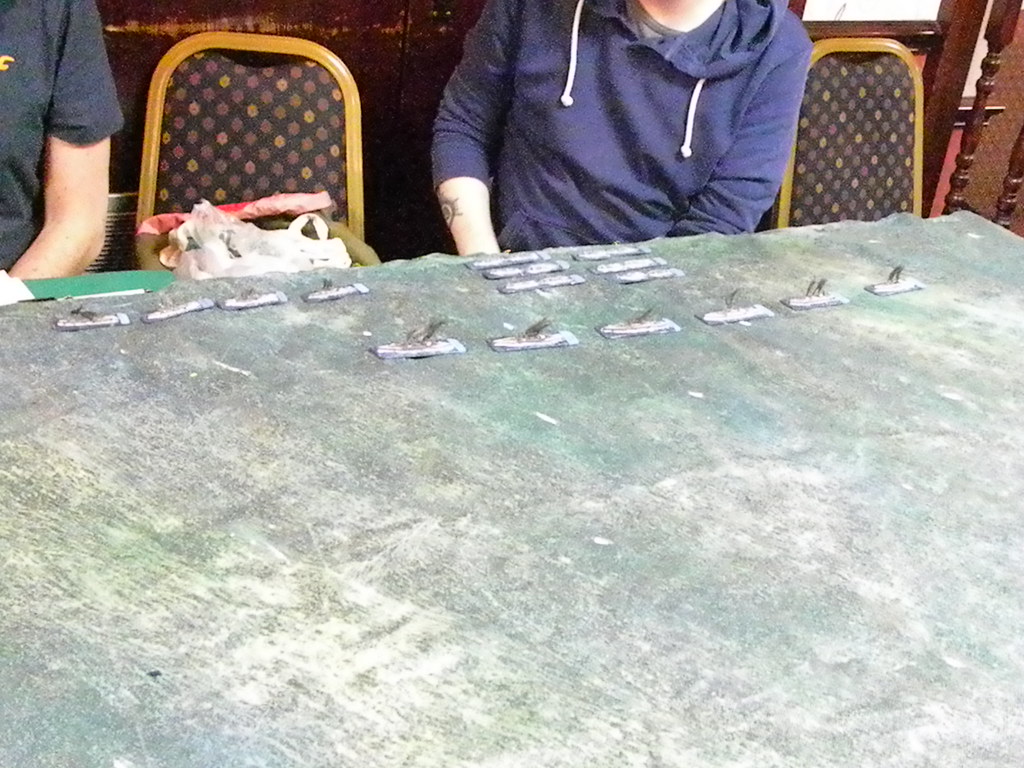
2. The Game. Gra.
The game started with big ships firing each other. Soon it became clear for British players, that on long distance it is very hard for their ships to destroy German battlecruisers. Therefore they decided to short the distance. During all that time German ships managed to hit British several times and cause some serious damages. Two of the British lost their main guns: HMS Lion and HMS Indefatigable, which broke the line and retreat from the battlefield. If you thinking that German ships get all those hits without any problems, you will be wrong. Some ships get several damages, specially Seydlitz and Von der Tann, but both ships were still able to fire their guns. During this firing very effective was specially SMS Derfflinger, which every hit was announced to the fellow gamers with changed main theme from James Bond's Goldfinger, which soon became the song of the evening.
Gra zaczęła się od pojedynku ogniowego dużych okrętów. Wkrótce stało się jasne dla brytyjskich graczy, że na dalekim dystansie było bardzo trudno ich okrętom zniszczyć niemieckie krążowniki liniowe. Dlatego zdecydowali się na zmniejszenie zasięgu. Podczas tego czasu niemieckim okrętom udało się kilka razy trafić brytyjskie okręty powodując poważne uszkodzenia. Dwa brytyjskie okręty utraciły swoje główne działa: HMS Lion i HMS Indefatigable, które złamały szyk i wycofały się z pola walki. Jeśli się Wam wydaje, że te sukcesy przyszły Niemcom łatwo, to się mylicie. Kilka okrętów otrzymało poważne uszkodzenia a w szczególności Seydlitz i Von der Tann, jednak oba te okręty wciąż były zdolne by używać swoich dział. Podczas tej wymiany ognia, bardzo skuteczny okazał się SMS Derfflinger, którego każde trafienie oznajmiałem moim współgraczom zmienioną wersją piosenki z filmu z Jamesem Bondem Goldfinger, która wkrótce okazała się piosenką tego wieczora.
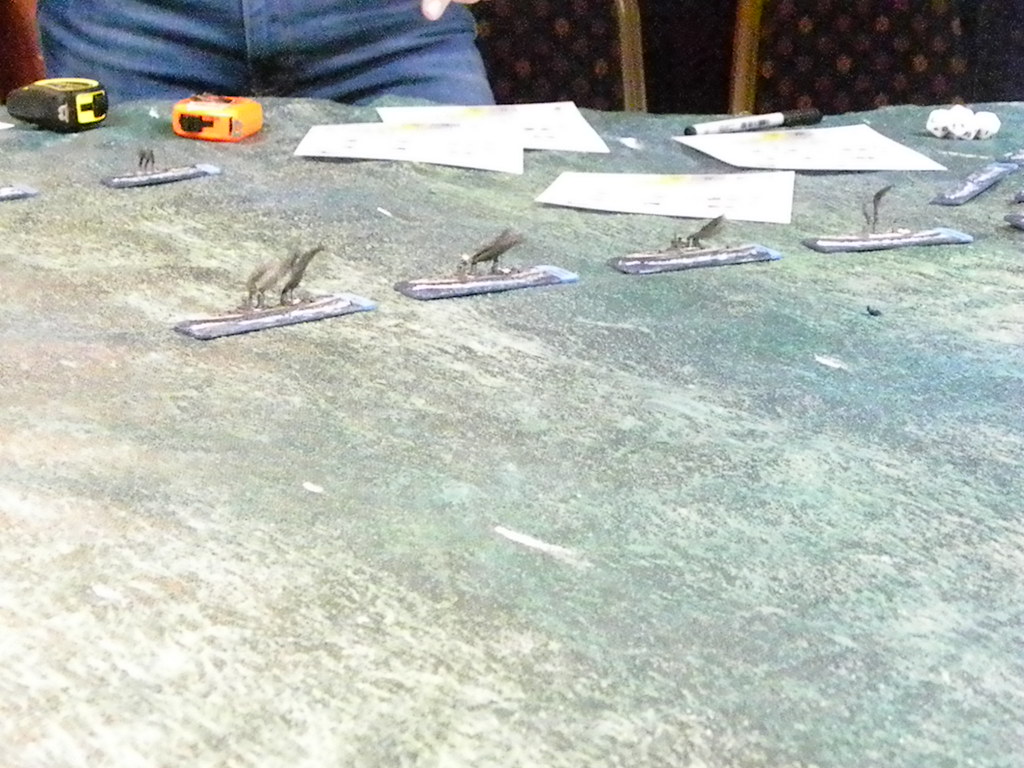

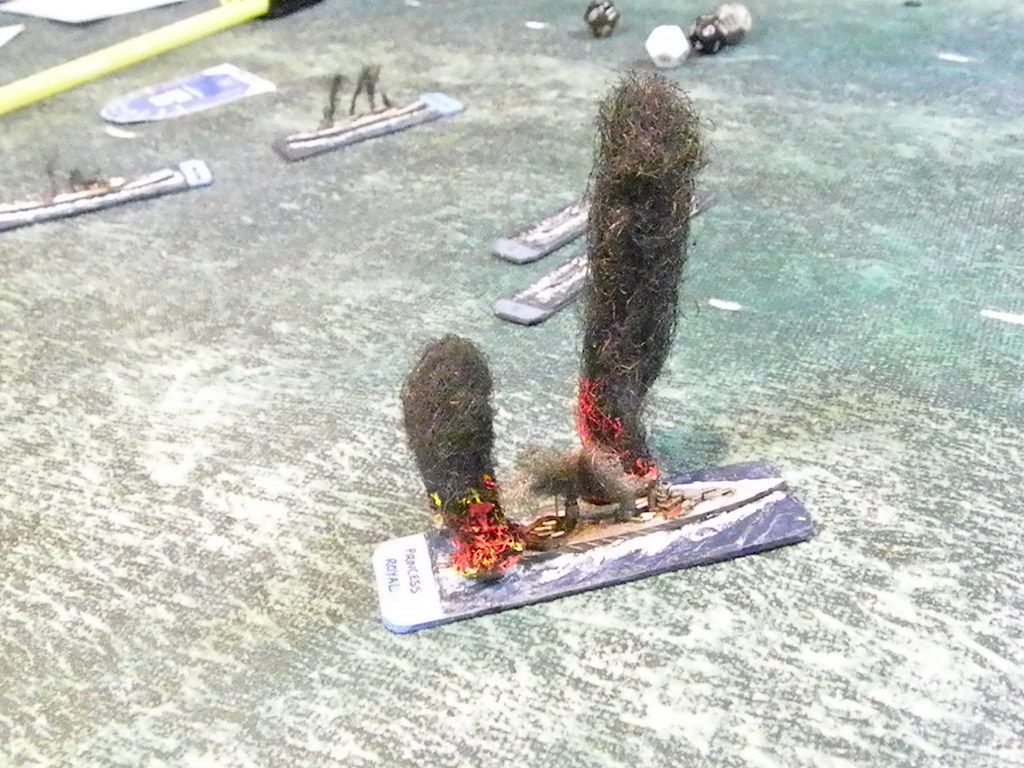
Suddenly our last ship in line Von der Tann, get hit from unexpected direction with a very heavy gun. It were 15' guns from HMS Barham. She appeared on the table edge with her sister ships HMS Valiant, HMS Warspite and HMS Malaya. That wasn't good news for our ships, however we had something to prevent it. Our light cruisers put a smoke screen and for some time we had that problem solved. In the meantime we decided to launch a torpedo attack with our t-boots. That was very unsuccessful, because they come under the secondary guns of the British cruisers. The attack failed and cost Germans lost of the V69. So the game had to be decided with big guns. Again very successful was Derfflinger, who managed to hit British ships several times, but the most important was those on HMS Princess Royal. It destroyed the steering on the ship and British cruiser turn starboard, which bring her even closer to the German guns. That was enough and soon she get hit from Derfflinger one more time, but this time in her ammunition magazines and HMS Princess Royal sunk in just few minutes. We stopped our game at this moment, which bring German victory, however this time it wasn't the disaster like in real battle, which gave the British players something to be proud with.
Niespodziewanie nasz ostatni okręt w linii, Von der Tann otrzymał trafienie z nieoczekiwanego kierunku z bardzo dużego działa. Był to pocisk 15 calowego działa z HMS Barham. Okręt ten pojawił się wraz z bliźniaczymi jednostkami: HMS Valiant, HMS Warspite i HMS Malaya. Nie była to dobra wiadomość dla naszych okrętów, jednak mieliśmy coś, co mogło temu przeciwdziałać. Nasze lekkie krążowniki postawiły zaporę dymną i na pewien czas odseparowały nasze okręty od nadchodzącego zagrożenia. W międzyczasie zdecydowaliśmy się na atak torpedowy naszymi t-botami. Ten okazał się bardzo nieskuteczny, ponieważ podczas ataku znalazły się one w zasięgu dział średnich brytyjskich krążowników (między innymi Niemcy stracili V69). Gra miała się więc rozstrzygnąć przy użyciu dział dużych kalibrów. Znowu bardzo skuteczny okazał się Derfflinger, który trafił Brytyjczyków kilka razy, jednak najważniejszym trafieniem okazało się to zadane HMS Princess Royal. Uszkodzenia doznał ster okrętu, który spowodował zwrot na prawą burtę co spowodowało przybliżenie się okrętu do niemieckich dział. To wystarczyło i wkrótce kolejny pocisk z Derfflingera trafił w komorę amunicyjną i HMS Princess Royal zatonęła w kilka minut. Naszą grę zakończyliśmy właśnie w tym momencie, które dało Niemcom zwycięstwo. Należy tu nadmienić, że gra nie zakończyła się katastrofą, tak jak to w oryginalnej bitwie, co daje brytyjskim graczom powód do dumy.


Angus:
http://www.edinburghwargames.com/jutland-1916-the-run-to-the-south/
SESWC:
https://www.facebook.com/Seswc.co.uk/posts/1520187454685889
Flickr:
https://www.flickr.com/photos/asienieboje/albums/72157666840207589
Gra zaczęła się od pojedynku ogniowego dużych okrętów. Wkrótce stało się jasne dla brytyjskich graczy, że na dalekim dystansie było bardzo trudno ich okrętom zniszczyć niemieckie krążowniki liniowe. Dlatego zdecydowali się na zmniejszenie zasięgu. Podczas tego czasu niemieckim okrętom udało się kilka razy trafić brytyjskie okręty powodując poważne uszkodzenia. Dwa brytyjskie okręty utraciły swoje główne działa: HMS Lion i HMS Indefatigable, które złamały szyk i wycofały się z pola walki. Jeśli się Wam wydaje, że te sukcesy przyszły Niemcom łatwo, to się mylicie. Kilka okrętów otrzymało poważne uszkodzenia a w szczególności Seydlitz i Von der Tann, jednak oba te okręty wciąż były zdolne by używać swoich dział. Podczas tej wymiany ognia, bardzo skuteczny okazał się SMS Derfflinger, którego każde trafienie oznajmiałem moim współgraczom zmienioną wersją piosenki z filmu z Jamesem Bondem Goldfinger, która wkrótce okazała się piosenką tego wieczora.
Suddenly our last ship in line Von der Tann, get hit from unexpected direction with a very heavy gun. It were 15' guns from HMS Barham. She appeared on the table edge with her sister ships HMS Valiant, HMS Warspite and HMS Malaya. That wasn't good news for our ships, however we had something to prevent it. Our light cruisers put a smoke screen and for some time we had that problem solved. In the meantime we decided to launch a torpedo attack with our t-boots. That was very unsuccessful, because they come under the secondary guns of the British cruisers. The attack failed and cost Germans lost of the V69. So the game had to be decided with big guns. Again very successful was Derfflinger, who managed to hit British ships several times, but the most important was those on HMS Princess Royal. It destroyed the steering on the ship and British cruiser turn starboard, which bring her even closer to the German guns. That was enough and soon she get hit from Derfflinger one more time, but this time in her ammunition magazines and HMS Princess Royal sunk in just few minutes. We stopped our game at this moment, which bring German victory, however this time it wasn't the disaster like in real battle, which gave the British players something to be proud with.
Niespodziewanie nasz ostatni okręt w linii, Von der Tann otrzymał trafienie z nieoczekiwanego kierunku z bardzo dużego działa. Był to pocisk 15 calowego działa z HMS Barham. Okręt ten pojawił się wraz z bliźniaczymi jednostkami: HMS Valiant, HMS Warspite i HMS Malaya. Nie była to dobra wiadomość dla naszych okrętów, jednak mieliśmy coś, co mogło temu przeciwdziałać. Nasze lekkie krążowniki postawiły zaporę dymną i na pewien czas odseparowały nasze okręty od nadchodzącego zagrożenia. W międzyczasie zdecydowaliśmy się na atak torpedowy naszymi t-botami. Ten okazał się bardzo nieskuteczny, ponieważ podczas ataku znalazły się one w zasięgu dział średnich brytyjskich krążowników (między innymi Niemcy stracili V69). Gra miała się więc rozstrzygnąć przy użyciu dział dużych kalibrów. Znowu bardzo skuteczny okazał się Derfflinger, który trafił Brytyjczyków kilka razy, jednak najważniejszym trafieniem okazało się to zadane HMS Princess Royal. Uszkodzenia doznał ster okrętu, który spowodował zwrot na prawą burtę co spowodowało przybliżenie się okrętu do niemieckich dział. To wystarczyło i wkrótce kolejny pocisk z Derfflingera trafił w komorę amunicyjną i HMS Princess Royal zatonęła w kilka minut. Naszą grę zakończyliśmy właśnie w tym momencie, które dało Niemcom zwycięstwo. Należy tu nadmienić, że gra nie zakończyła się katastrofą, tak jak to w oryginalnej bitwie, co daje brytyjskim graczom powód do dumy.
3. Links. Linki.
Angus:
http://www.edinburghwargames.com/jutland-1916-the-run-to-the-south/
SESWC:
https://www.facebook.com/Seswc.co.uk/posts/1520187454685889
Flickr:
https://www.flickr.com/photos/asienieboje/albums/72157666840207589