13 grudnia 2013

Rueda 1812

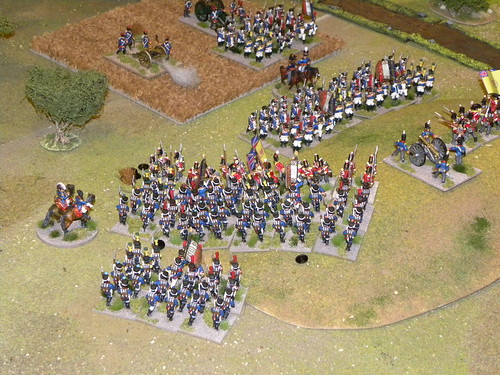
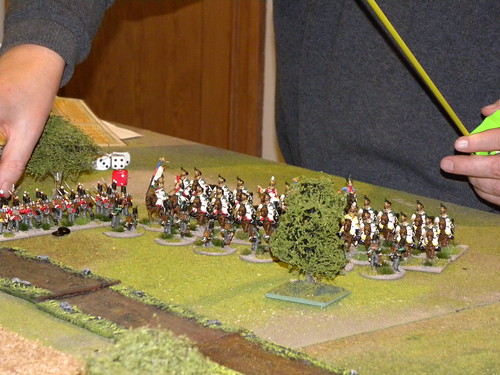
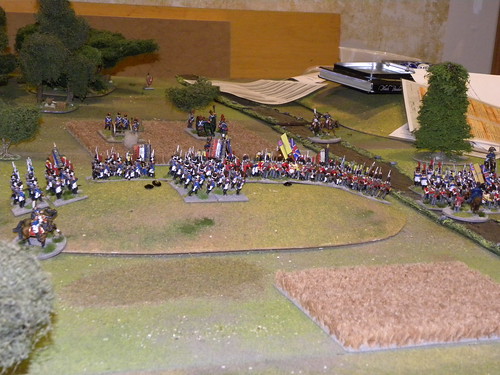
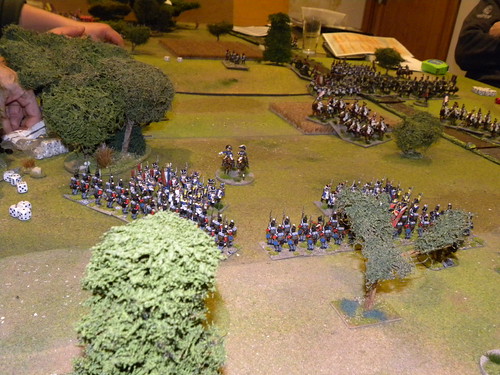
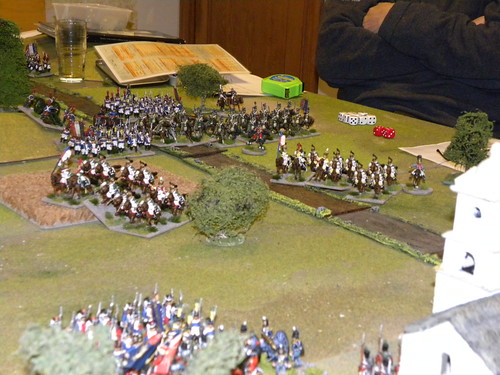
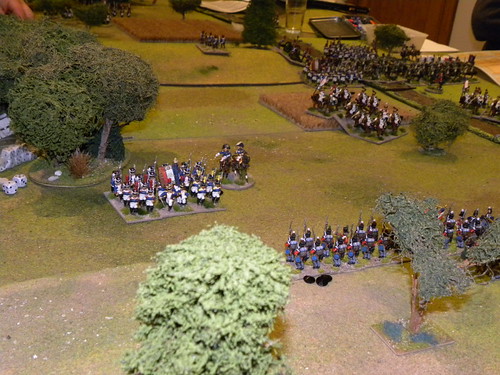
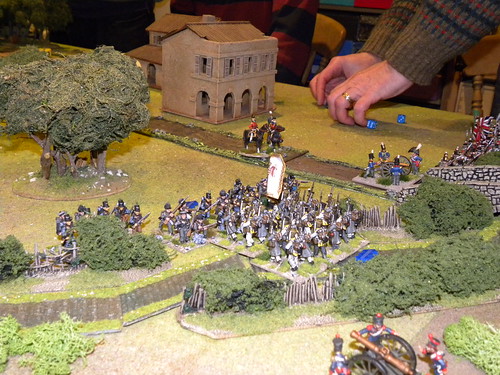
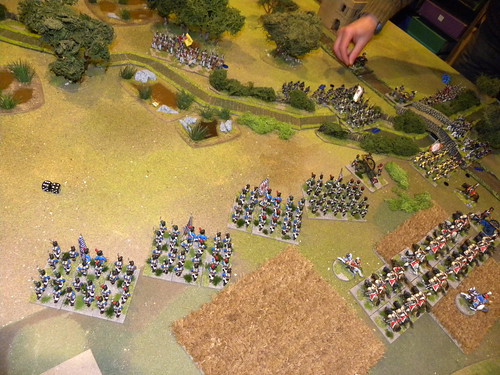
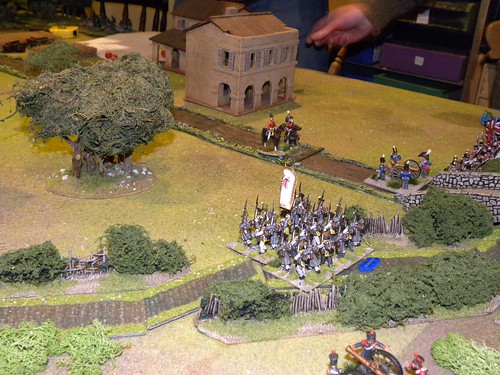
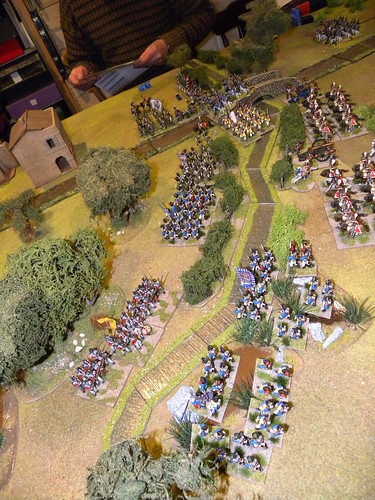
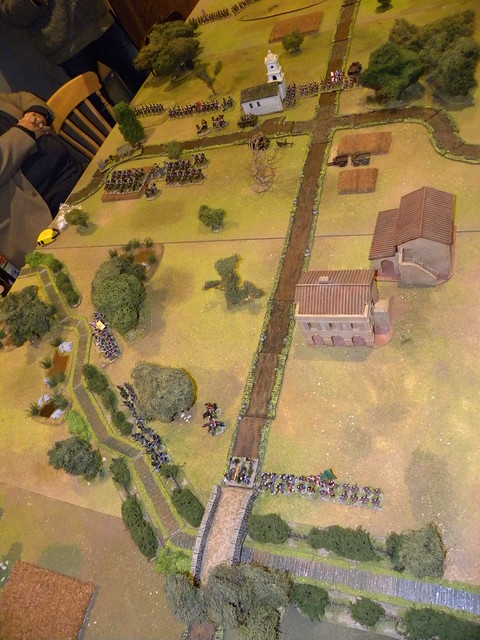
It is quite quiet recently on my blog... That's becouse of the Christmas period. I'm very busy at work, and every possible free time I trying to use for painting. My ships and troops for Strategie.net forum painting competition are almost done (soon you should see the results). Of course I do not forget about games. From my last game report I played two big games, I am going to write something about game we played a week ago. For this game we visit Hugh Wilson's and his big table for 28mm Black Powder Penisular War  game. During this visit my collection of  20mm German vehicles significantly increased - but I will write about it next time.
Ostatnimi czasami jest bardzo cicho na moim blogu. Mam bardzo dużo pracy w okresie przedświątecznym i każdą wolną chwilę staram się poświęcać na malowanie. Moje okręty i wojacy na konkurs malarski forum Strategie.net są juz prawie gotowe (niedługo powinniście zobaczyć rezultaty). Oczywiście nie zapominam o grach. Od mojego ostatniego raportu udało mi się rozegrać dwie duże gry i teraz zamierzam opisać tą rozegraną tydzień temu. Dla niej odwiedziliśmy Hugha Wilsona i jego duży stół, by rozegrać grę wg zasad Black Powder w skali 28mm z czasów napoleońskich wojen na Półwyspie Iberyjskim. Na marginesie to podczas tej wizyty moja kolekcja niemieckich wozów w skali 20mm bardzo wzrosła - jednak o tym napiszę innym razem.

SCENARIO/SCENARIUSZ: Bill Gilchrist
SCENERY/SCENERIA: Hugh Wilson
MODELS & FIGURES/MODELE i FIGURKI: Bill Gilchrist, Dave O'Brian, Donald Adamson, Angus Konstam

1. Introduction/Wprowadzenie.
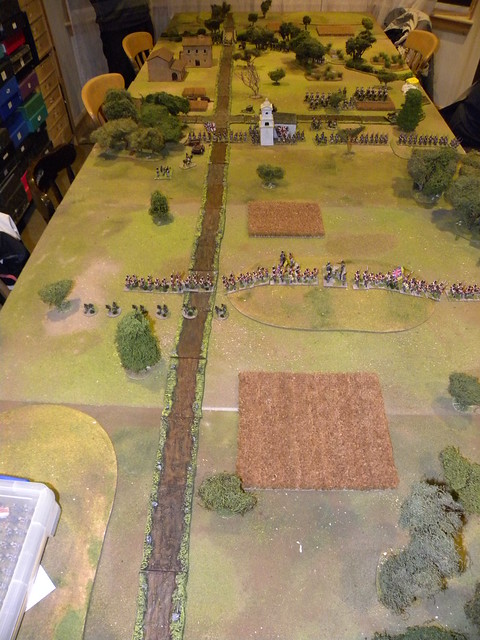
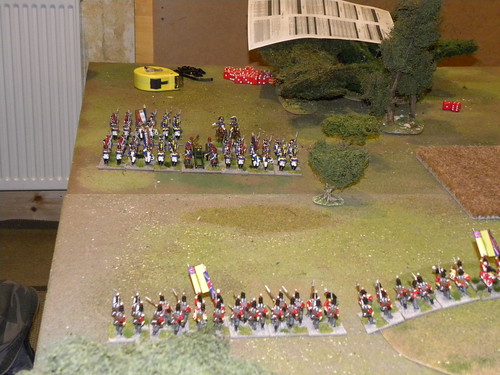
Following the failure of the siege of Burgos Wellingon’s army is retiring towards Salamanca in the face of the combination of the Armies of the North and Portugal. Due to this a Division of the British force has been deployed at the vital road junction of Rueda to cover the retreat of the British Armies slow moving transport and the weary rear-guard. The British objective is to cover the retreat of the valuable transport column and the approaching brigades of the rearguard. The French objective is to cut the line of withdrawal of the British army and secure the capture of the supply train and the rearguard.
Po nieudanym oblężeniu Burgos, armia Wellingtona wycofuje się w kierunku Salamanki ścigana przez dwie francuskie armie: Północną i Portugalii. W tych okolicznościach brytyjska dywizja została rozlokowana w pobliżu bardzo ważnego skrzyżowania znajdującego się w miejscowości Rueda by zabezpieczyć marsz powolnych kolumn transportowych brytyjskiej armii oraz przemęczonej brytyjskiej straży tylnej. Celem Brytyjczyków jest osłona kolumn transportowych i tylnej straży, francuskim natomiast przerwanie linii oraz zatrzymanie transportu i marszu tylnej straży.

2. Ordre de bataille. 

BRITISH/BRYTYJCZYCY
(Colin Jack, Bill Gilchrist, Angus Konstam, Campbell Hardie)

British Army
1st British Brigade
4 Infantry Btns, Foot gun
2nd British Brigade
4 Infantry Btns, Rifle det, Foot gun
3RD British Brigade
3 Infantry Btns, Foot gun
1st British Cavalry Brigade
2 Lt Drag Regts, Horse gun

Rearguard
4th British Brigade
3 Infantry Btns, Foot gun
2nd British Cavalry Brigade
2 Dragoon Regts
3rd British Cavalry Brigade
2 Lt Drag Regts, Horse gun

FRENCH and their ALLIES/FRANCUZI i ich SPRZYMIERZEŃCY

French Army of Portugal
(Hugh Wilson, Donald Adamson)

1st French Brigade  
4 French Btn, Foot gun
2nd French Brigade  
3 French Btn, Foot gun
3rd French Brigade  
3 French Btn, Foot gun
French Cav Brigade  
2 Dragoon regts, Horse gun
French Lt Cav Brigade  
2 ChaCH regts, Horse gun

French Army of the North
(Dave O'Brian, Bartek Żynda)

1st French Allied Brigade  
Neufchatel Btn, 2 Polish Btn, Saxon/Italian Btn, Foot gun
2nd French Allied Brigade  
4 Bavarian Btn, Foot gun
French Allied Lt Cav Brigade  
2 Bavarian ChaCH regts, Horse gun

3. The game/Gra

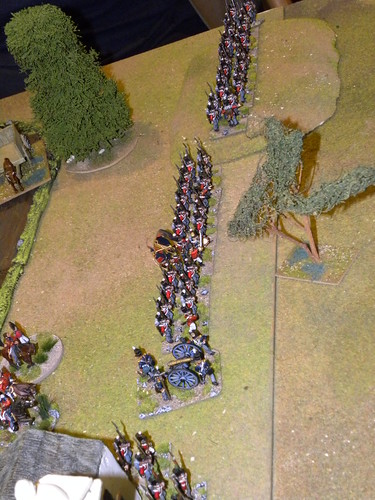
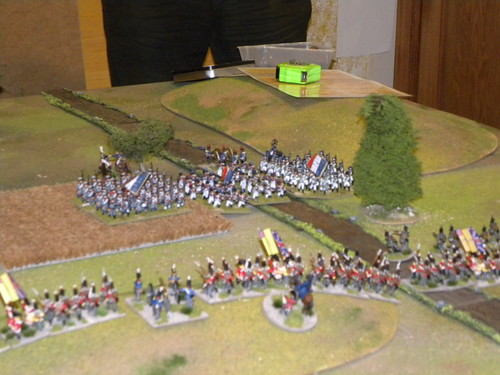
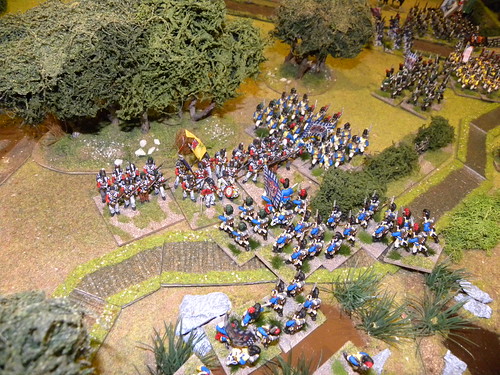
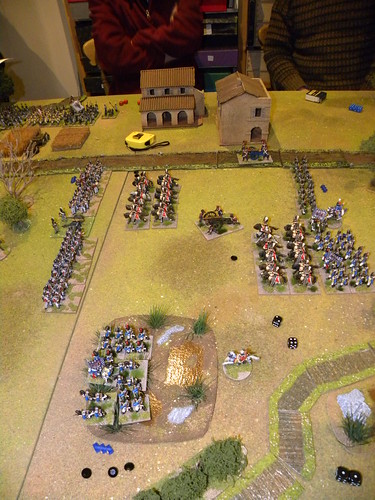
As I wasn't pay attention on what happend on the other side of the table, I'll try to describe this with only few words. The attack of the French Army of Portugal has been stopped by two British brigades. French decided to charge British positions. Unfortunately French had very bad luck this day, and they lost seven battalions during this action. Finally they managed to broke the British troops, but for the very high price.
Jako, że niezbyt dokładnie przypatrywałem się akcjom po drugiej stronie stołu, wszystkie tamtejsze jedynie streszczę w kilku zdaniach. Atak francuskiej Armii Portugalii został zatrzymany przez dwie brytyjskie brygady. Francuzi zdecydowali się zaatakować brytyjskie pozycje w walce na bagnety. Niestety Francuzi mieli bardzo zły dzień i podczas tej akcji stracili siedem batalionów. W końcu udało im się złamać Brytyjczyków, ale za bardzo wysoką cenę.
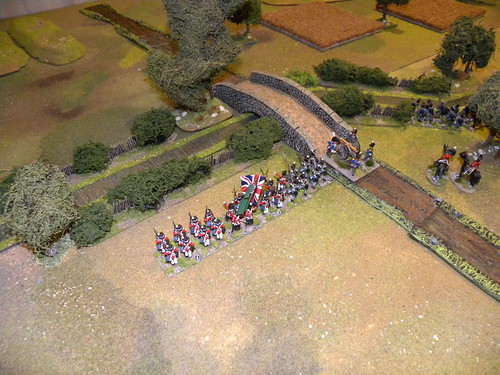
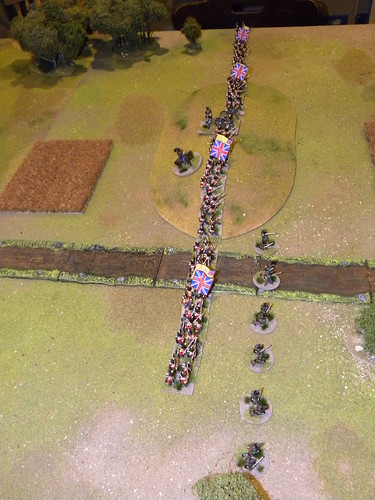
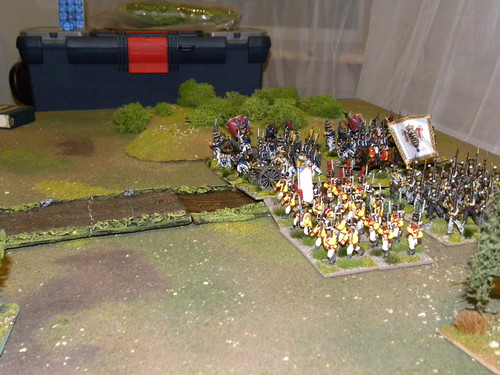
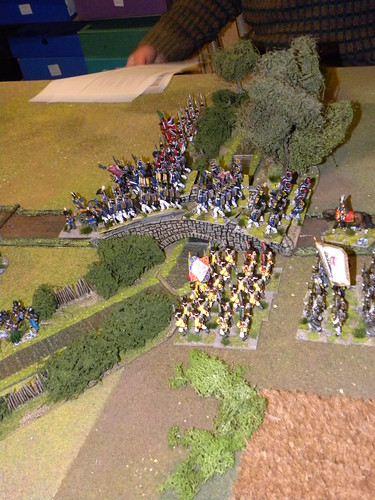
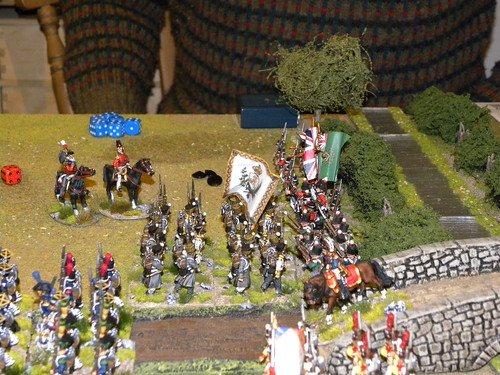
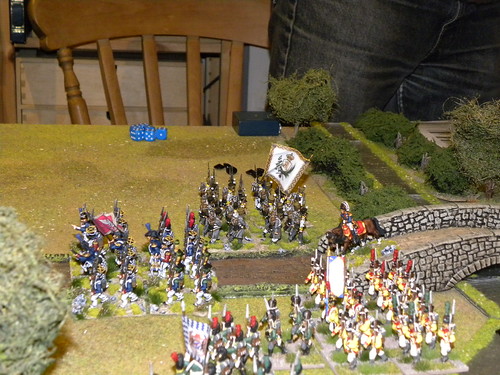
On the South part of the table, the Allied troops arrived with some delay. First arrived the mixed 1st Brigade. It was composed from Poles, Swiss and Saxons. Their first action was not very lucky. One of the Polish battalions attacked the positions of the British gun placed on the bridge, but  defenders fire  broke their morale and they ran away. What a shame! In the meantime the Bavarians arrived to support actions of the Mixed Brigade.
Na południowej stronie stołu, sprzymierzone oddziały przybyły z pewnym opóźnieniem. Jako pierwsza przybyła mieszana Pierwsza Brygada. W jej składzie byli Polacy, Szwajcarzy i Saksończycy. Ich pierwsza akcja nie była udana. Jeden z polskich batalionów zaatakował pozycje brytyjskiej artylerii znajdujące się na moście i z powodu ognia obrońców ich morale zostało złamane i spowodowało ich ucieszke z pola bitwy. Co za wstyd! W międzyczasie przybyli Bawarczycy by wesprzeć akcje Mieszanej Brygady.
Both Brigades attacked British, who defended the river and the bridge. British brigade was outnumbered by the allied troops, and cannot stop Allied from crossing the river. Allied not only crossed the river but they destroyed all British units over there. Specially Saxons ware very good in this. They managed to destroy two infantry battalions and the gun without receiving a single casualty!
Obie brygady zaatakowały Brytyjczyków broniących rzeki i mostu. Brytyjska brygada nie mogła sprostać przewadze liczebnej Aliantów i zapobiec sforsowaniu przez nich rzeki. Alianci nie tylko przekroczyli rzekę ale również wyeliminowali wszystkie oddziały brytyjskie tam się znajdujące. Szczególnie przodowali tu Saksończycy, którzy wyeliminowali dwa bataliony piechoty i artylerię bez strat własnych!
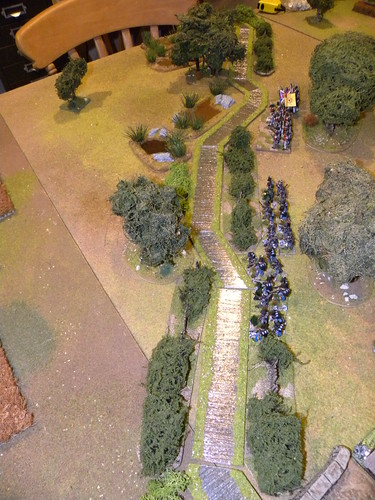
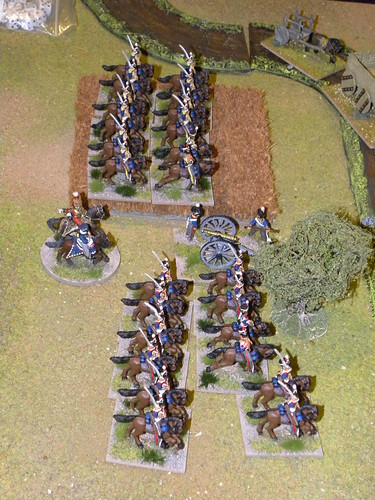
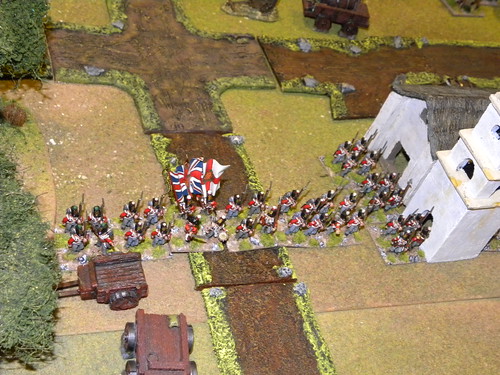
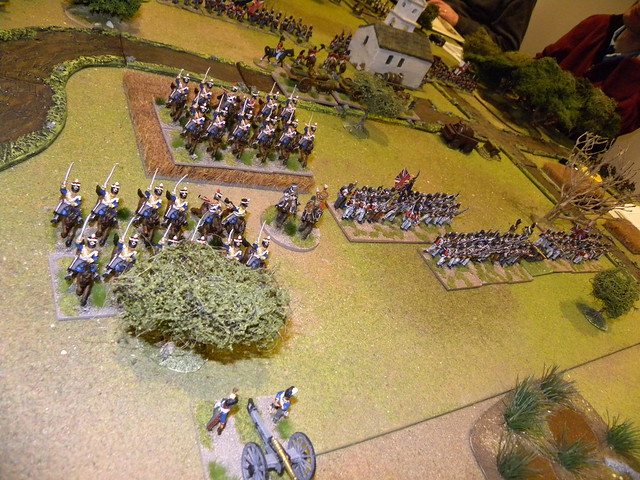
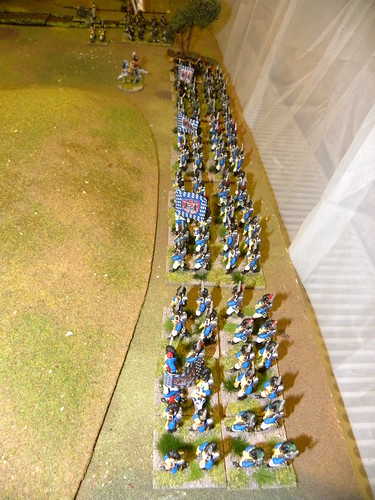
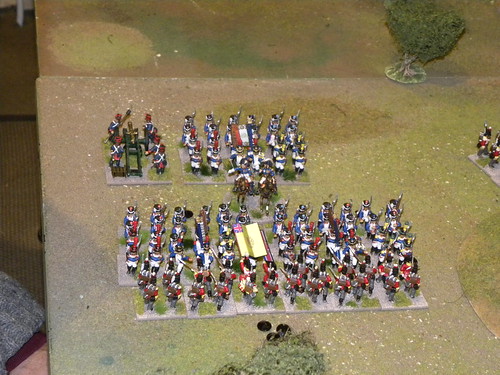
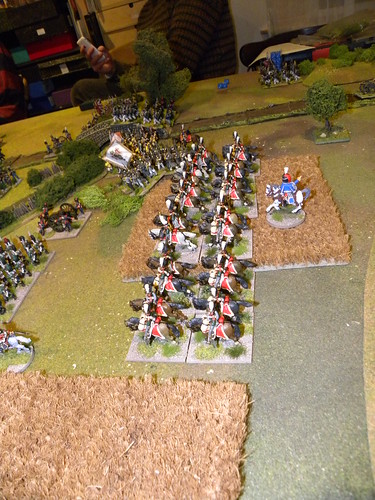
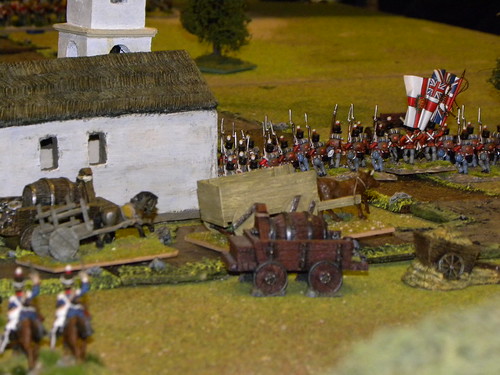
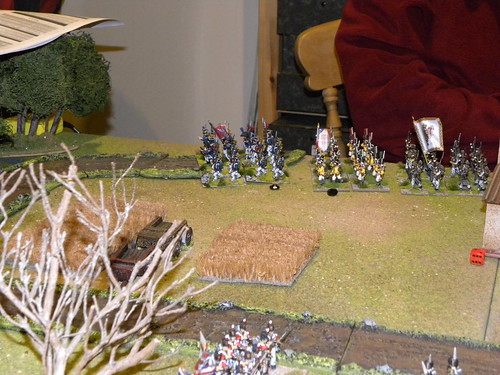
Unfortunately all that actions took a lot of time and the British wagons safely cross the Rueda. Then the British Rearguard arrived, and they create the second defending line before the Rueada crossroads. Their positions had been attacked by Bavarians. Their first assault was failed and Bavarians lost one infantry battalion, but this opened the way for their cavalry. Two cavalry regiments were ready for charge but it never happend. Everything becouse of the Mixed Brigade. After destroying of the British troops defending the bridge, they unnoticed occupied the Salamanca Highway and with this action they won the whole game!
Niestety wszystkie powyższe akcje zajęły zbyt dużo czasu i brytyjskie wozy spokojnie przejechały przez Ruedę. Wtedy też przybyła brytyjska straż tylnia i stworzyła ona drugą linię obrony skrzyżownia w Ruedzie. Ich pozycje zostały zaatakowane przez Bawarczyków. Ich pierwszy atak nie powiódł się, za co zapłacili utratą batalionu piechoty, jednak to otworzyło drogę do ataku ich kawalerii. Ta szarża jednak nie nastąpiła a to z powodu Mieszanej Brygady. Po zniszczeniu sił brytyjskich broniących mostu, niepostrzeżenie zajęła drogę do Salamanki i tym samym wygrała grę!

4. Summary/Podsumowanie.

It was very good game. I was happy to see the Polish Napoleonic troops on the table. Dave who painted them finally had the opportunity to lead them to the battle, but as you already know not very lucky. Thank you Bill for the scenario and umpiring the game, Hugh for the hospitality and rest guys for the very nice evening.
To była bardzo dobra gra. Byłem naprawdę zadowolony widząc figurki polskich żołnierzy z epoki napoleońskiej. Dave, który je malował, miał w końcu możliwość poprowadzenia ich do walki, co jak wiecie, niezbyt się udało. Chciałbym tutaj podziękować Billowi za scenariusz i poprowadzenie gry, Hughowi za gościnę i reszcie za bardzo udany wieczór.

Some links at the end:
Kilka linków na zakończenie:

Bill's relation on his blog:
Relacja Billa na jego blogu:
http://blenheimtoberlin.blogspot.co.uk/2013/12/28mm-bp-napoleonic-action-at-rueda.html

Bill's gallery on flickr:
Galeria Billa na flickru:
http://www.flickr.com/photos/bill26048/sets/72157638423704903/

My gallery on flickr:
Moja galeria na flickru:
http://www.flickr.com/photos/asienieboje/sets/72157638580160295/


23 listopada 2013

Western front. Front zachodni.

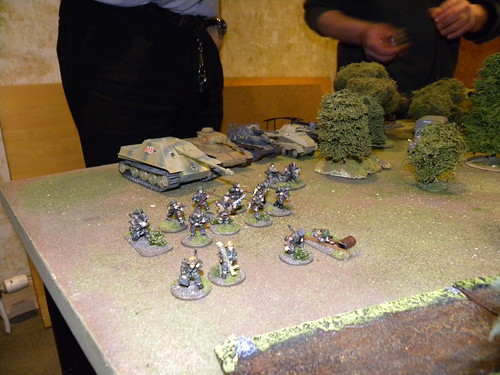
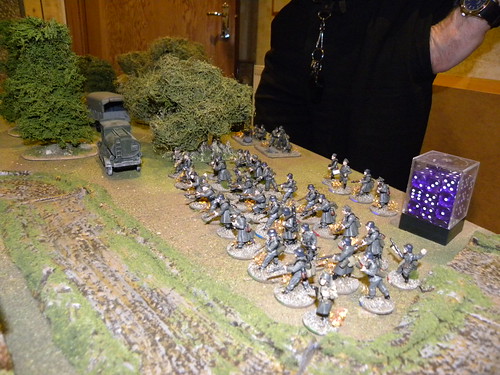
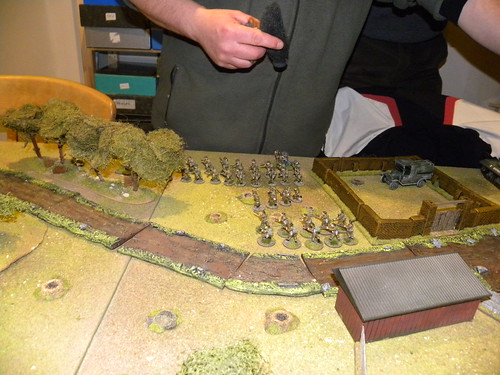
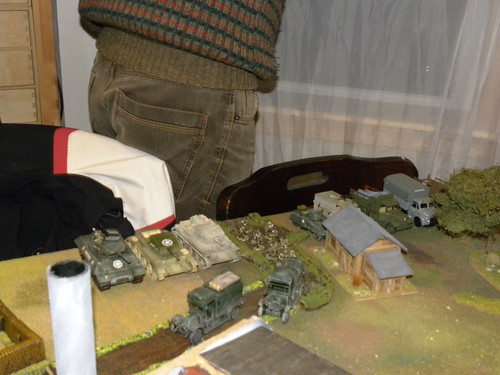
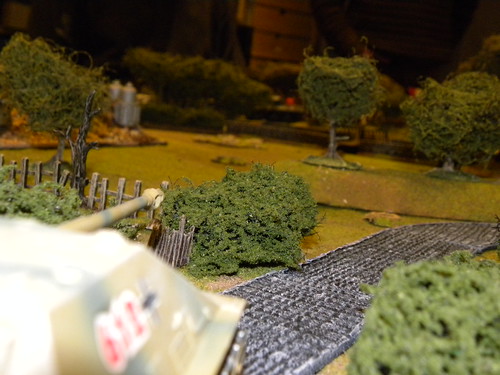
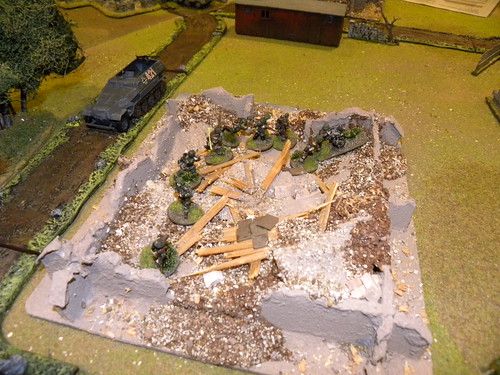
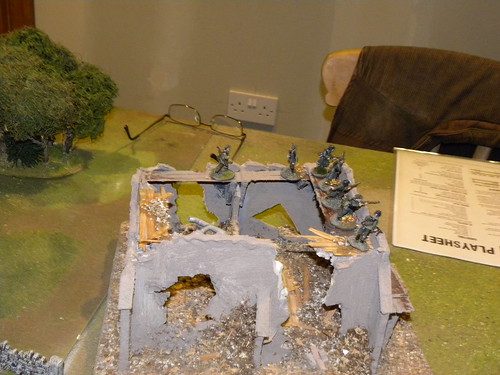
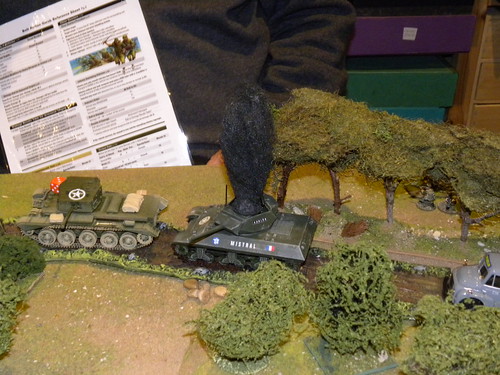
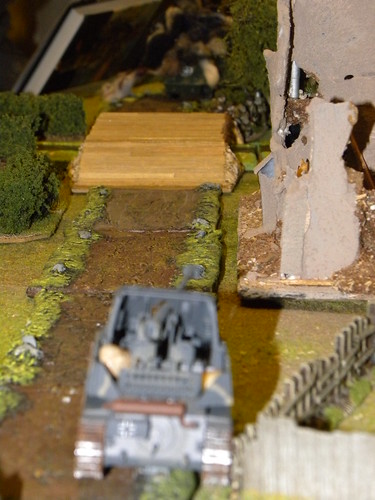
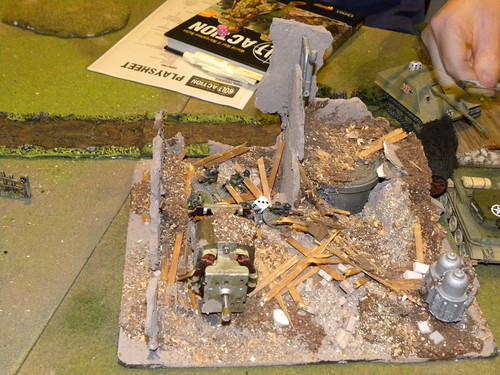
This week we all met at Hugh home, to play our Bolt Action game. Colin prepared the scenario and Hugh the scenery. It was very funny game with a lot of action.
W tym tygodniu spotkaliśmy się u Hugha, by rozegrać naszą grę z użyciem Bolt Action. Colin przygotował scenariusz, a Hugh scenerię. Była to bardzo zabawna gra, z dużą ilością akcji.

SCENARIO/SCENARIUSZ: Colin Jack
SCENERY/SCENERIA: Hugh Wilson
MODELS & FIGURES/MODELE i FIGURKI: Colin Jack

1. Introduction/Wprowadzenie.

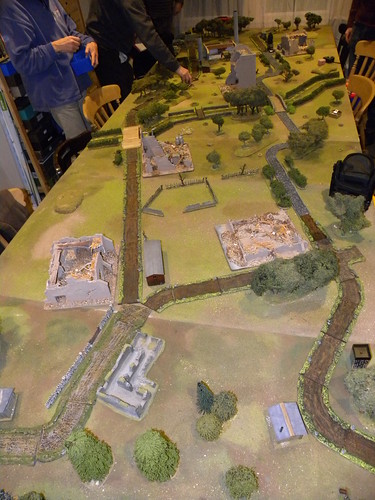
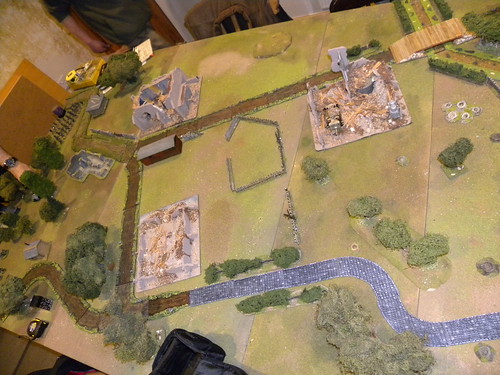
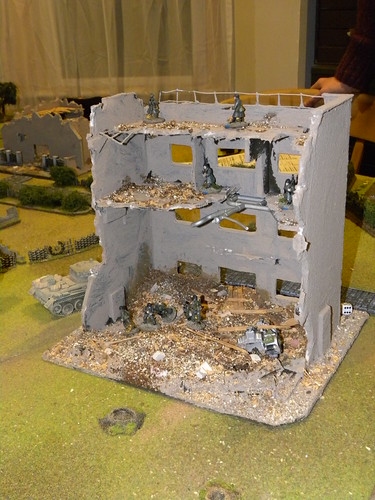
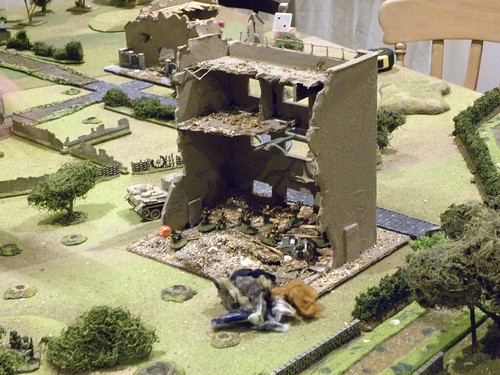
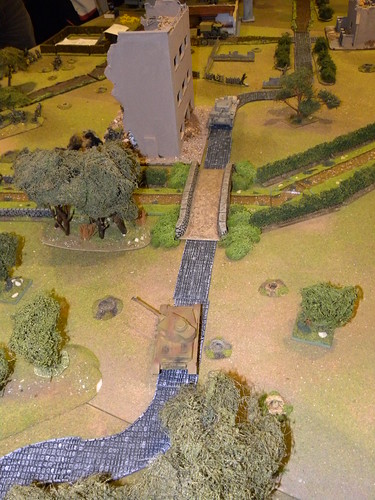
Both sides, Germans and British have to secure the river crossings which two of them are suitable for heavy vehicles and one of them is suitable for infantry only. Both sides starting the game with 5 units and in every following turn the number of units is increased by 1. The objectives (bridges) can be only secured by infantry.
Obie strony, Niemcy i Brytyjczycy mają za zadanie zabezpieczyć przeprawy rzeczne, z których dwie nadają cię dla ciężkiego sprzętu a jedna tylko dla piechoty. Obie strony zaczynają grę z 5 jednostkami i każda następna tura zwiększa tą ilość o 1. Cele (mosty) mogą być zajmowane jedynie przez piechotę.

2. Ordre de bataille. 

GERMANS/NIEMCY:
(Tim Watson, Hugh Wilson, Bartek Żynda)

HQ: CO, 2 men, Medic
FOO
SS Squad: 10 men (NCO, 7 Rifles and one with Panzerfaust, LMG team) -  veterans in SdKfz 251/1
3 Rifle Squads: 10 men (NCO, 7 Rifles, LMG team) in trucks
MMG team: 3 crew
Mortar team: 3 crew
Sniper team: 2 crew
Panzerschreck team: 2 crew

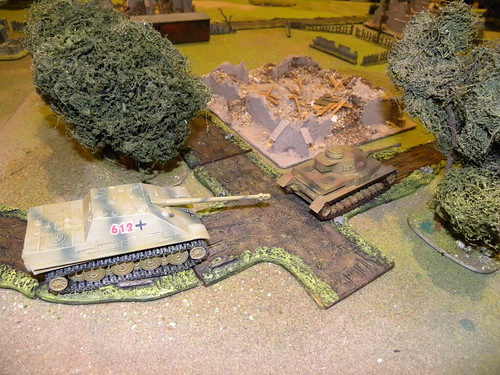
Jagdpanther
PzKpfw IV
Marder II
SdKfz 231

BRITISH/BRYTYJCZYCY:
(Dave O'Brian, Donald Adamson, Campbell Hardie)

HQ: CO, 2 men, Medic
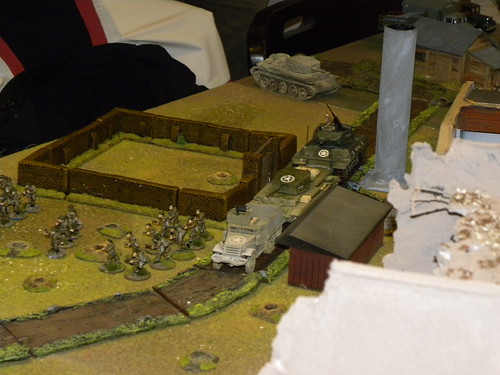
Commando Squad: 10 men (NCO, 7 Rifles, LMG team) - veteran - on M5
3 Infantry Squads: 10 men (NCO, 7 Rifles, LMG team) in trucks
MMG team: 3 crew
Mortar team: 3 crew
Sniper team: 2 crew
Piat team: 2 crew

M10
M20
Cromwell
Centaur

3. Game/Gra

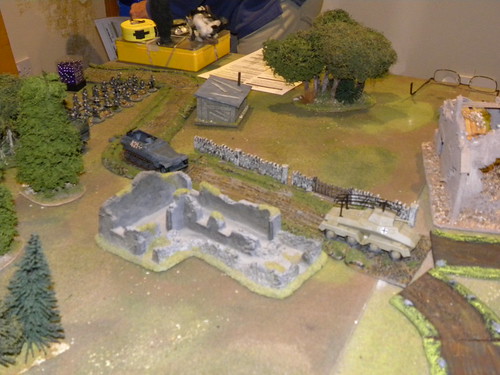
Germans put their affords on speed. Firstly they tried to put their heavy armour on the positions, to secure their Infantry unless the British moved first their Infantry, and then their tanks. This gave Brtish advantage and they as the first cross the river.
Niemcy wpierw skierowali swoje wysiłki w celu ustawienia swojego ciężkiego sprzętu na pozycjach, by ten osłaniał ich piechotę, całkowicie odmiennie do Brytyjczyków, którzy wpierw ruszyli swoją piechotę, a za nią swoje czołgi. To dało Brytyjczykom przewagę i ich piechota, jako pierwsza przekroczyła rzekę.


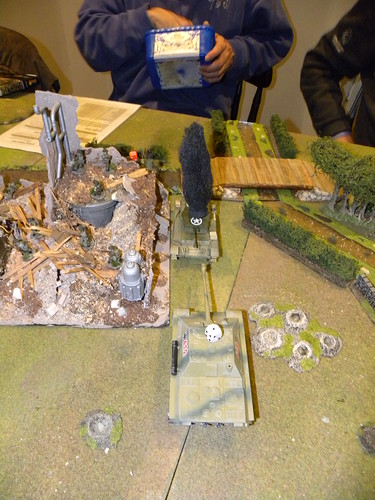
The loosing of the first building moved German infantry. First they took buildings close to this one taken by British and preparing their troops to take this building back. Before this happend, Jagdpanther started her hunting. As the first she took M10. She failed at first, but next shoot was deadly for British gun. Whereas Panzer IV tried to kill Cromwell, but very ineffective.
Utrata pierwszego budynku poruszyła niemiecką piechotę. Wpierw zajęła ona budynki w sąsiedztwie budynku, zajmowanego przez Brytyjczyków i przygotowywała się tym do jego odbicia. Zanim się to jednak stało, Jagdpanher ruszyła na polowanie. Wpierw jej wybór padł na M10. Chybiła za pierwszym razem, jednak jej następny strzał był zabójczy dla brytyjskiego działa. Natomiast Panzer IV próbował zniszczyć bardzo nieskutecznie Cromwella.

This lost confused the British and it was used by Germans. They cross the river and took the biggest building of the table. This action was very good, however British had here their Centaur. Centaur's howitzer bring to the Germans massive disaster. Softened unit, was very easy target for the British Commando and the building have been retaken.
Ta strata wprowadziła pewne zamieszanie w szeregi brytyjskie, co wykorzystali Niemcy. Przerzucili oni jeden oddział przez rzekę, który zajął największy budynek na stole. Akcja ta była bardzo dobra, jednakże Brytyjczycy posiadali tutaj swojego Centaura. Haubica tego czołgu przyniosła katastrofę niemieckiemu oddziałowi. Tak zmiękczona jednostka nie była już problemem dla brytyjskich komandosów, którzy odzyskali budynek.

Now the British took the initiative. Centaur started the duel with Panzer IV, and forced the German tank to withdraw. In the meantime the Piat team, they secured the second bridge.
Teraz Brytyjczycy przejęli inicjatywę. Centaur rozpoczął pojedynek z Panzerem IV i zmusił niemiecki czołg do wycofania się. W międzyczasie zespół Piata zabezpieczył drugi most.

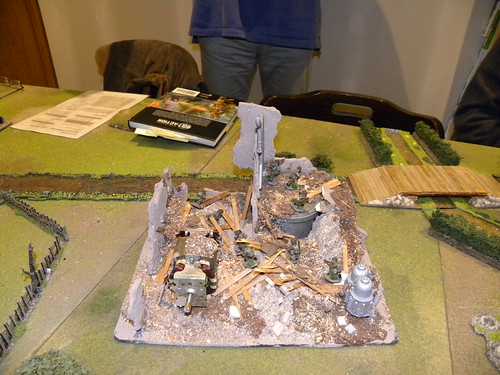
Now started the main fight. All forces was send to take the ruins already taken by British. Germans recaptured it, but then next British team attacked, and the building was again in British hands. Next attacked SS, and building was German again. It was looked like this stop those fightings, but SS did unexpected move. They assaulted the British team at the other side of the river and failed. Now the building was empty again, so it very easily had been retaken by Brits.
Teraz rozpoczęły się główne walki. Wszystkie oddziały zostały wysłane do walki o ruiny zajęte przez Brytyjczyków. Niemcom udało się go odzyskać, jednak Brytyjczycy znowu zaatakowali i odzyskali budynek. Wtedy do walki włączyło się SS i budynek został odzyskany walki. Wszystko wyglądało, że  to zakończy walki, jednak SS zrobiło niespodziewany ruch i zaatakowało oddział piechoty znajdujący się po drugiej stronie rzeki. Niestety zawiedli i budynek był znowu pusty, tak więc bez trudu został zajęty przez Brytyjczyków.

Germans once again tried to retake the building, but failed this time too. They lost most of their infantry units and no longer were able to win the game and took the control over the bridges. However the German armoured forces did very well and Jagdpanther destroyed Cromwell, and Marder did the same to the M20. It was not enought and Germans started to withdraw. The game have been won by British!
Niemcy przypuścili ostatni szturm na budynek, lecz i tym razem im się to nie udało. Stracili wszystkie oddziały piechoty i nie byli już w stanie wygrać gry i przejąć kontroli nad mostami. Co innego niemieckie działa pancerne, te walczyły bardzo dobrze i Jagdpanther zniszczył Cromwella a Marder zrobił to samo z M20. Nie było to jednak wystarczająco i Niemcy rozpoczęli odwrót. Gra została wygrana przez Brytyjczyków!

4. Summary/Podsumowanie

British started  game very well, specially by taking the defending positions at the enemies bank of river. They controlled game almost all the time so Germans instead realising their plan, have to respond  all the time for British actions. The British victory was well deserved.
Brytyjczycy zaczęli grę bardzo dobrze, szczególnie przez zajęcie pozycji obronnych na terenie przeciwnika po drugiej stronie rzeki. Kontrolowali grę przez większość czasu, tak że Niemcy nie mogli realizować swoich planów a jedynie reagować na akcje Brytyjczyków. Zwycięstwo Brytyjczyków było zasłużone.

And as usual the gallery on the flickr:
I jak zawsze galeria na flickr:

18 listopada 2013

Save the CSS Yazoo! Ocalić CSS Yazoo!

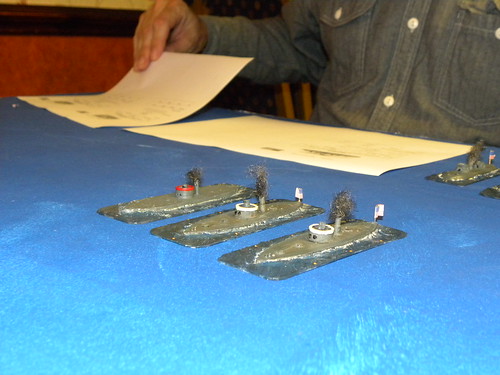
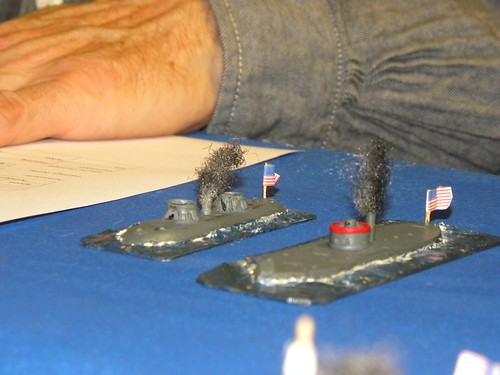
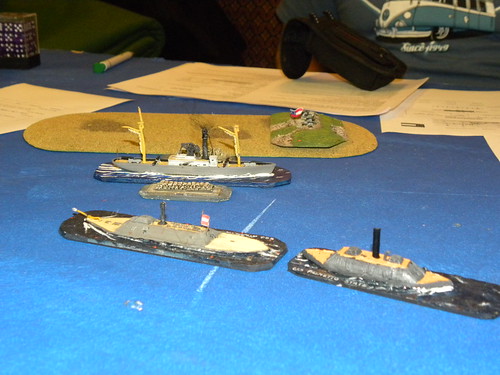
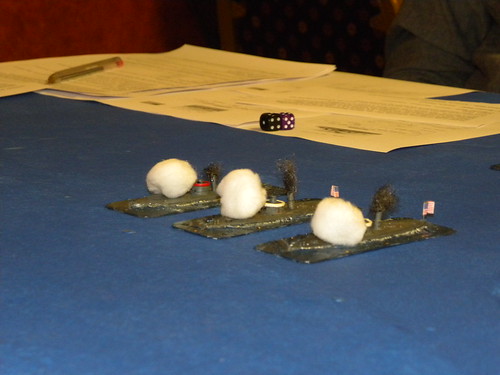
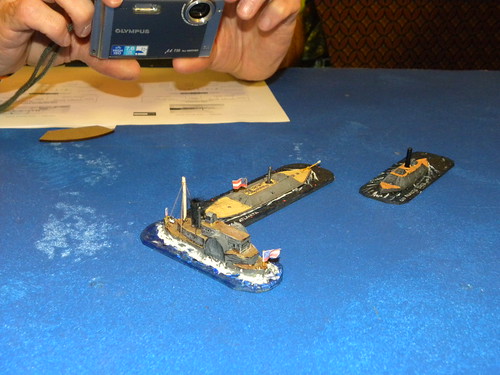
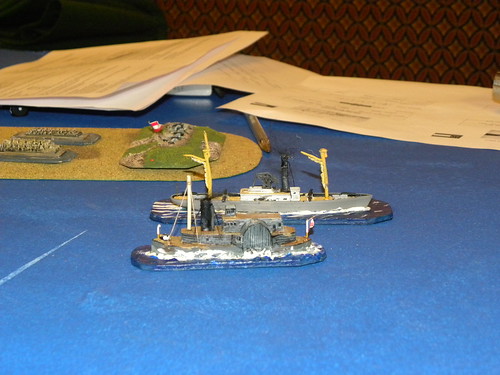
Our last weekly game was again Bill's rules for Naval warfare 1860-70. It was third game test, in which I took the part. The game itself works well now. There are still some small issues, but it looks that the rules are almost ready. 
Nasza ostatnia tygodniowa gra to ponowne spotkanie z zasadami walki na morzu w latach 1860-70, tworzonych przez Billa. Była to już trzecia gra-test, w której wziąłem udział. Są jeszcze pewne małe problemy, ale wygląda na to że zasady są już prawie gotowe.

SCENARIO/SCENARIUSZ: Bill Gilchrist
SCENERY/SCENERIA: Bill Gilchrist,SESWC
MODELS/MODELE: Angus Konstam
1. Introduction/Wprowadzenie.
As the part of the continuing Anaconda Plan, the Atlantic Blockading squadron is launching another attack on the port of Charleston. The objective is to capture the Confederate commerce raider Yazoo which is outfitting in the bay, preparing to sailing with a cargo of cotton before starting another raid on Union shipping. To prevent this Confederates put together local coast defences and a strong defence flotilla to protect the strategic location and the Yazoo.
Jako kontynuacja Planu Anakonda, Atlantycka Eskdra Blokująca przygotowuje się do nstępnego ataku na port w Charleston. Głównym celem jest przejęcie konfederackiego raidera Yazoo, który jest właśnie wyposażany w zatoce i załadowywany ładunkiem bawełny przed kolejnym rajdem przeciwko  żegludze Unii. Aby temu zapobiec, Konfederaci połączyli działania obrony wybrzeża z silną flotyllą, aby uchronić strategiczne położenie i Yazoo.

2. Ordre de bataille  


United States/Stany Zjednoczone
1st Monitor Sqdn - USS Nahant, USS Montauk, USS Weehawken (Ray Neal)

2nd Monitor Sqdn - USS Keokuk, USS Passaiac (Ray Neal)

Gunboat Sqdn- USS Sassicus, USS Mattasesett, USS Miami, USS Commodore Hull (Colin Jack)

Confederate States/Stany Skonfederowane
Ironclad Sqdn - CSS Atlanta, CSS Palmetto State (Tim Watson)
Raider Sqdn - CSS Yazoo (Tim Watson)
1st Gunboat Sqdn - CSS Gov Moore, CSS Gen Sumter, CSS Gen Bragg (Bartek Żynda)
2nd Gunboat Sqdn - CSS Cotton Planter, CSS Bombshell, CSS Cottonplant  (Bartek Żynda)

Coast defences: Fort Ray III (stone and brickwork fort) (Bartek Żynda), Fort Bartovsky (earthwork fort) (Tim Watson)
In the entrance to the bay have been laid a number of devilish underwater torpedoes, however their positions are shown by coloured bouys.
Przy wejściu do zatoki została postawiona zapora z  diabelskich podwodnych torped, jednakże ich pozycja została oznaczona przez kolorowe boje.
3. The game/Gra.
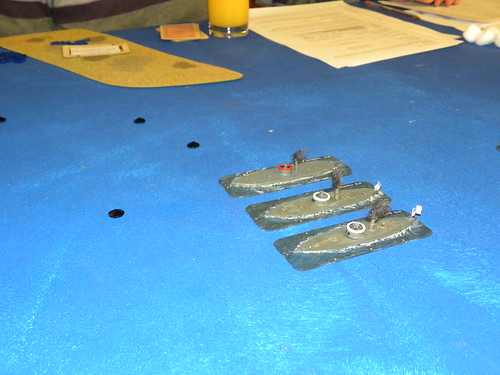
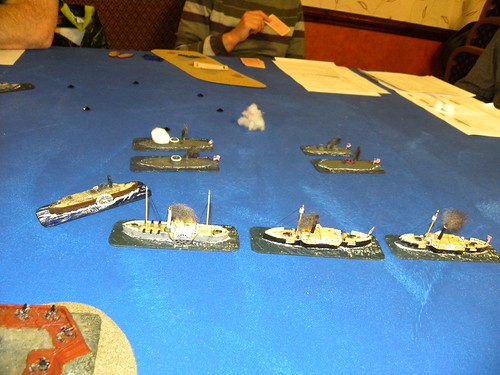
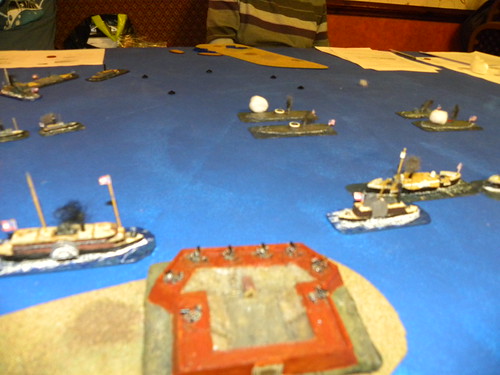
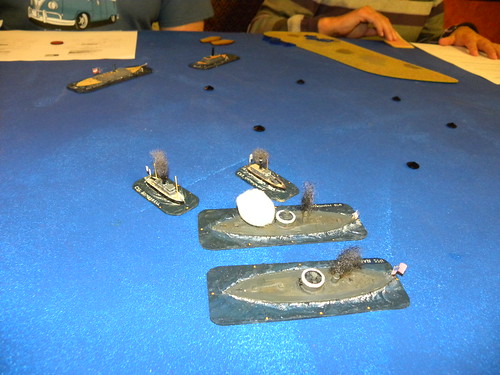
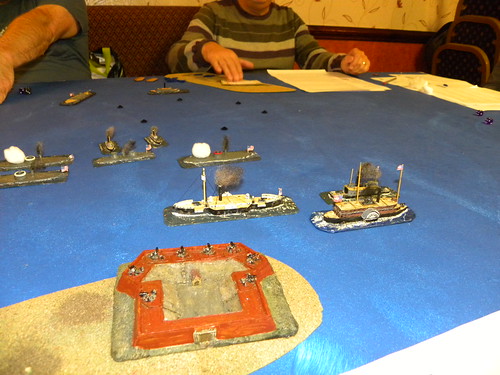
We as the Confederates, decided to use our advantage in the number of the ships. Our gunboats and Cottonclads, supported by stone fort, were going to attack  the main Union fleet. Our Ironclads had to put in distance and protect CSS Yazoo. Union commander of the Monitors Squadrons bring a suprising tactic. To use power of his heavy and superheavy guns he put all his ships in lines, but one besides another. It was very risky tactic, especially on the area with minefield...
My jako Konfederaci, postanowiliśmy użyć  przewagi w liczbie okrętów. Nasze kanonierki i kotonklady, wspierane przez kamienny fort miały zaatakować główne siły floty Unii. Nasze okręty pancerne miały trzymać się na dystans i ochraniać CSS Yazoo. Dowódca eskadr monitorów Unii przyjął bardzo zaskakującą taktykę. Aby wykorzystać siłę swoich ciężkich i superciężkich dział ustawił swoje okręty w linii, jeden obok drugiego. Była to bardzo ryzykowna taktyka, zwłaszcza na akwenie gdzie znajdują się pola minowe...
First into the battle comes the Monitors. With the fire of their guns they bring the confusion on CSS Cotton Planter, which broke the action and moved back to the port. It looked like there will be one more time big Union shooting to the defenceless Confederate ships. But not this time.  Monitors get in range of underwater torpedoes. A huge explosion sunk the USS Weehawken. Ship was hit with the torpedoe. There will be not so easy for the Union this time!
Pierwsze do walki weszły monitory. Ogniem swych dział spowodowały zamieszanie na CSS Cotton Planter, który przerwał działania i zawrócił do portu. Wyglądało na to, że jeszcze raz będzie to wielkie strzelanie Unii do bezbronnych okrętów Konfederatów. Nie tym razem jednak. Monitory weszły w zasięg podwodnych torped. Potężna eksplozja zatopiła USS Weehawken. Okręt został trafiony przez jedną z torped. Nie będzie tak łatwo dla Unii tym razem!

Now to the action come the rest of Confederate Cottonclads and Gunboats. Instead their guns they used their rams. First  CSS Gov Moore ram USS Montauk. Monitor was seriously holed. After this Confederates fort get into the action too. With their guns caused a serious fire on USS Miami, which bring to the stroke the collours on that ship, the crew cannot stop the fire, and the USS Miami sunk. After this CSS Gen Sumter ram USS Mattasesett. this caused the problem with the steering, so the gunboat get in range of the fort's heavy guns. Union lost another ship...
Teraz do akcji weszły konfederackie kotonklady i kanonierki. Zamiast swych dział użyły swoich taranów. Wpierw CSS Gov Moore staranował USS Montauk. Monitor został poważnie podziurawiony. Po tym do akcji wszedł konfederacki fort. Ogniem swych dział wywołał pożary na USS Miami, co spowodowało, że okręt ten zmienił strony, jednak pożaru załodze nie udało się powstrzymać i USS Miami zatonął. Po tym CSS Gen Sumter staranował USS Mattasesett, czym uszkodził jego ster i w ten sposób kanonierka znalazła się w zasięgu ciężkich dział fortu. Unia starciła kolejny okręt...

When it looked that it will be Union disaster, Confederates get in troubles. First returning to the action CSS Gov Moore was destroyed by heavy Monitors guns. Next the retreating CSS Cotton Planter accidently ram CSS Atlanta. Happily nothing happend to the both ships. 
Kiedy wszystko wyglądało na to, że będzie to totalna klęska dla Unii, Konfederaci wpadli w kłopoty. Wpierw powracający do akcji CSS Gov Moore został zniszczony ogniem ciężkich dział monitorów. Następnie wycofujący się CSS Cotton Planter przypadkowo staranował CSS Atlanta. Na szczęście obu okrętom nic się nie stało.

The raming actions continued. CSS Gen Sumter ram USS Commodore Hull and CSS Bombshell together with CSS Cottonplant ram USS Nahant. The ram actions was not succesfull this time and caused only small damages on Union ships. However both Confederate small gunboats were seriously damaged and had to broke the action.
Akcje taranowania cały czas trwały. CSS Gen Sumter staranował USS Commodore Hull a CSS Bombshell razem z CSS Cottonplant staranowały USS Nahant. Tym razem jednak te akcje nie były tak udane jak poprzednio i okręty Unii doznały tylko nieznacznych uszkodzeń. Małe knonierki konfederackie poniosły jednak poważne uszkodzenia i musiały wycofać się z akcji.

It wasn't the finished yet. Another Union ship gets in troubles. It was USS Sassicus. First she come under the fire from the fort. Becouse of the damages she suffered, she has surrender. In this moment the CSS Yazoo was ready to action, and safely move away from the bay under the protection of the Confederate Ironclads. The battle was over with the Confederate victory!
Na tym jednak się nie skończyło. Następny okręt Unii wpadł w kłopoty. USS Sassicus dostał się pod ogień dział fortu i w wyniku doznanych uszkodzeń poddał się. W tym właśnie momencie CSS Yazoo był gotowy do drogi i pod osłoną konfederackich okrętów pancernych opuścił zatokę. Bitwa była zakończona zwycięstwem Konfedaratów!


4. Summary/Podsumowanie.
The game finished with Union disaster. This is the ships damages list:
Gra zakończyła się klęską Unii. Oto lista uszkodzeń okrętów:
United States/Stany Zjednoczone:
USS Nahant - very light damages/bardzo lekkie uszkodzenia
USS Montauk - medium damages/średnio uszkodzony
USS Weehawken - sunk/zatopiony
USS Keokuk - no damages/brak uszkodzeń
USS Passaiac - no damages/brak uszkodzeń
USS Sassicus - seriously damages, surrender/ ciężko uszkodzony, poddał się
USS Mattasesett - sunk/zatopiony
USS Miami - sunk/zatopiony
USS Commodore Hull - medium damages/średnio uszkodzony

Confederate States/Stany Skonfederowane:
CSS Atlanta - light damages/lekkie uszkodzenia
CSS Palmetto State - no damages/brak uszkodzeń
CSS Yazoo - very light damages/bardzo lekkie uszkodzenia
CSS Gen Moore - sunk/zatopiony
CSS Gen Sumter - heavy damages/ciężko uszkodzony
CSS Gen Bragg - seriously damaged/poważnie uszkodzony
CSS Cotton Planter - seriously damaged/poważnie uszkodzony
CSS Bombshell - very seriously damaged/bardzo poważnie uszkodzony
CSS Cottonplant -  seriously damaged/poważnie uszkodzony
This time the Confederate ram tactic worked very well. Some new rules bring together with this test worked well  and made the game  more realistic. Some other tests will be provided with the relations  posted  on this blog, so check this space!
Tym razem konfederacka taktyka taranowania sprawdziła się.  Pewne nowe przepisy wprowadzone w tym teście sprawdziły się i sprawiły grę bardziej realną. Następne testy gry będą przeprowadzane a relacje z nich zamieszczane na tym blogu, więc odwiedzajcie ten blog od czasu do czasu!

For better resolution pictures, gallery on flickr:
Dla zdjęć w lepszej rozdzielczości, galeria na flickr:
http://www.flickr.com/photos/asienieboje/sets/72157637801470054/


10 listopada 2013

Battlegroup Fall of the Reich arrived!

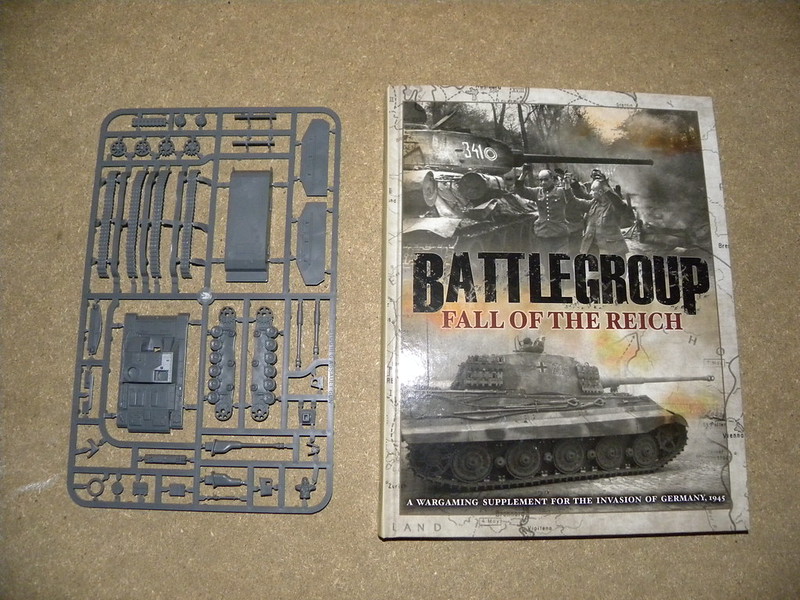
Finally I got my copy of the new Battlegroup book: Fall of the Reich
The FotR have few new rules, like night or city fights - and I like them a lot, soon I'm going to test them. There are some changes to the Kursk rules (I do not have Overlord rules, that is why I compare this book to Kursk only). First is the troops points value. For example new Soviet Motorised Rifle Platoon has its value of 88 points and 9BR (in Kursk it was 58 and 5BR). There are new Battle Counters, some of them very hard for Germans (that's 1945, it must be hard for them!), and there are few new units too. Overall the book is quite well. There are some small mistakes in historical backgroud especially in Eastern Front part, for example: Gdynia (in the book as Gotenhafen (sic)) fell (28.03) before Danzig (30.03) not after, overall story is written correctly. I can highly recomend this set of rules, and soon I'm going to use them for my Poland 1944 games.
W końcu otrzymałem moją kopię Battlegroup: Fall of the Reich
FotR zawiera kilka nowych zasad, które bardzo mi się podobają i wkrótce zamierzam je przetestować. Jest kilka zmian w stosunku do Kurska (nie posiadam suplementu Overlord, dlatego też wszelkie porównania są do Kurska). Pierwszą z nich jest wartość punktowa. Na przykład sowiecki pluton piechoty zmotoryzowanej ma obecnie wartość 88 punktów i 9BR (w Kursku to było 58pkt i 5BR). Są nowe Battle Counters, część z nich bardzo ciężka dla Niemców (w końcu to 1945 rok i musi być im ciężko!), oraz kilka nowych oddziałów. Ogólnie cała książka jest całkiem dobra. Są co prawda małe błędy w części historycznej, szczególnie w części poświęconej wschodniemu frontowi, na przykład Gdynia (w książce jako Gotenhafen (sic)) została zdobyta (28.03) przed Gdańskiem (w książce jako Danzig)(30.03) a  nie po, ogólnie jednak historia jest opisana poprawnie. Gorąco polecam kżdemu tą pozycję, a ja zamierzam ją wkrótce wykorzystać do moich gier "Polska 1944".

My FotR copy together with free StuG III sprue from Plastic Soldier Company. Moja kopia FotR wraz z darmowym StuGiem III od Plastic Soldier Company.

05 listopada 2013

Pierwsza akcja. The first action.

Dzisiaj mija dokładnie 95 lat od momentu pierwszej akcji bojowej Polskich Sił Powietrznych. 2 listopada grupa polskich lotników przejęła od austrio-węgierskiej obsady lwowskie lotnisko Lewandówka. Po zabezpieczeniu lotniska i dokonaniu kilku napraw znajdujących się tam samolotów, przystąpiono do akcji przeciwko Ukraińcom, walczącym z Polakami o Lwów. 5 listopada pilot porucznik Stefan Bastyr wraz z obserwatorem porucznikiem Januszem de Beaurainem wykonali pierwszy lot bojowy w historii polskiego lotnictwa wojskowego. Na samolocie Hansa-Brandenburg C.I wykonali atak bombowy oraz ostrzelali oddziały ukraińskie wycofujące się z nieudanego ataku na Dworzec Główny we Lwowie.
Today is 95th aniversary of the first military action of the Polish Air Forces. On the 2nd of November group of polish pilots take from Austo-Hungarian crew the Lewandówka Lvov airfield. After securing the airfield and few repairs of the located there planes, started militry actions aginst Ukrainians fighting gainst Poles over the Lvov. On 5th of November, pilot Lt. Stefan Bastyr together with observer Lt. Janusz de Beaurain made the first combat in the history of the Polish Air Forces. On the Hansa-Brandenburg C.I plane bombed and fired on retreated Ukrainians, after failed attack on the main Lvov Railway Station.
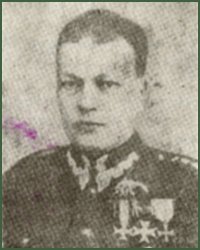
Porucznik Stefan Bastyr.

Janusz de Beaurain
Hansa-Brandenburg in Lvov Sqdr colors.