Last Thursday we had fictitious Napoleonic game with Black Powder 2 rules. The idea was to try different game sequence than original, which is: initiative movements, shooting, order movements and finally hand to hand combats. In our opinion, this is a more sensible sequence that reflects the realities of the battlefields of that period in the much better way.
W ostatni czwartek mieliśmy fikcyjną grę z okresu napoleońskiego z użyciem zasad Black Powder 2. W tej grze chcieliśmy sprawdzić, jak się ona zachowa z odwróconą sekwencją gry, tzn. wpierw ruchy z inicjatywą, potem strzelanie, potem ruchy z rozkazami i na końcu walka wręcz. Według nas, taka sekwencja ma dużo większy sens i bardziej oddaje realia pól bitewnych tego okresu.
SCENARIO/SCENARIUSZ: Angus Konstam
UMPIRING/PROWADZENIE GRY: Bill Gilchrist
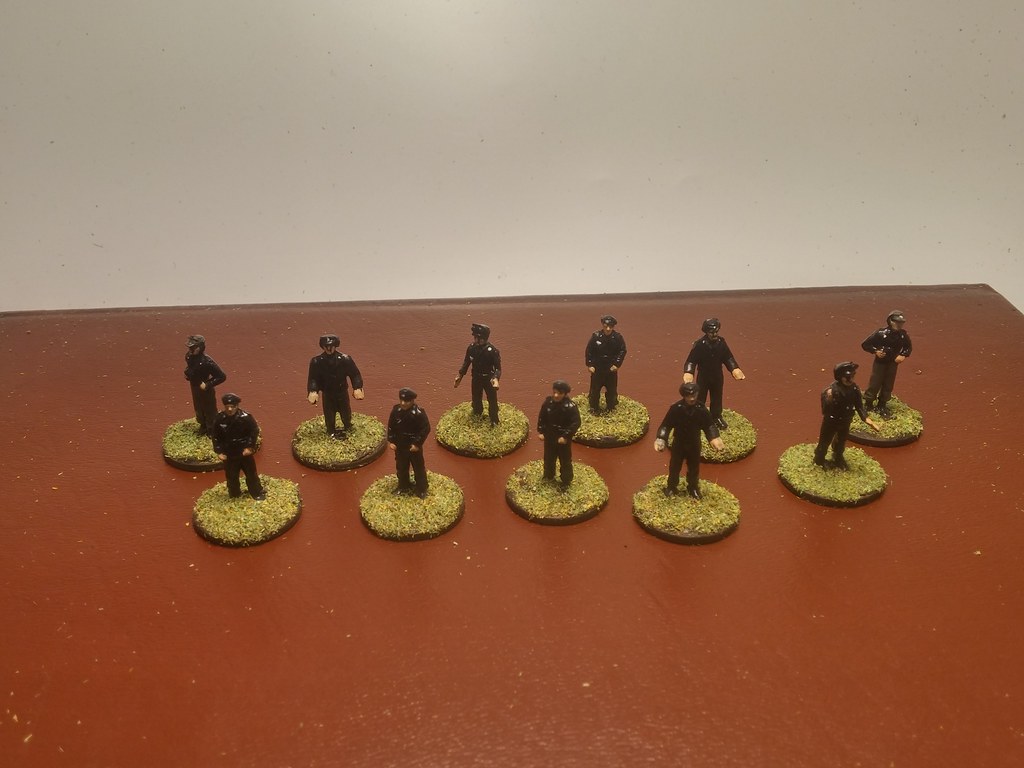
FIGURES & MODELS/FIGURKI I MODELE: Bill Gilchrist, Angus Konstam, Campbell Hardie, Bartek Żynda
1. Forces. Siły.
FRANCE & ALLIED/FRANCJA I ALIANCI
(Angus, Alisdair, Campbell, Bartek)
At start
Nothing on table
Point I:
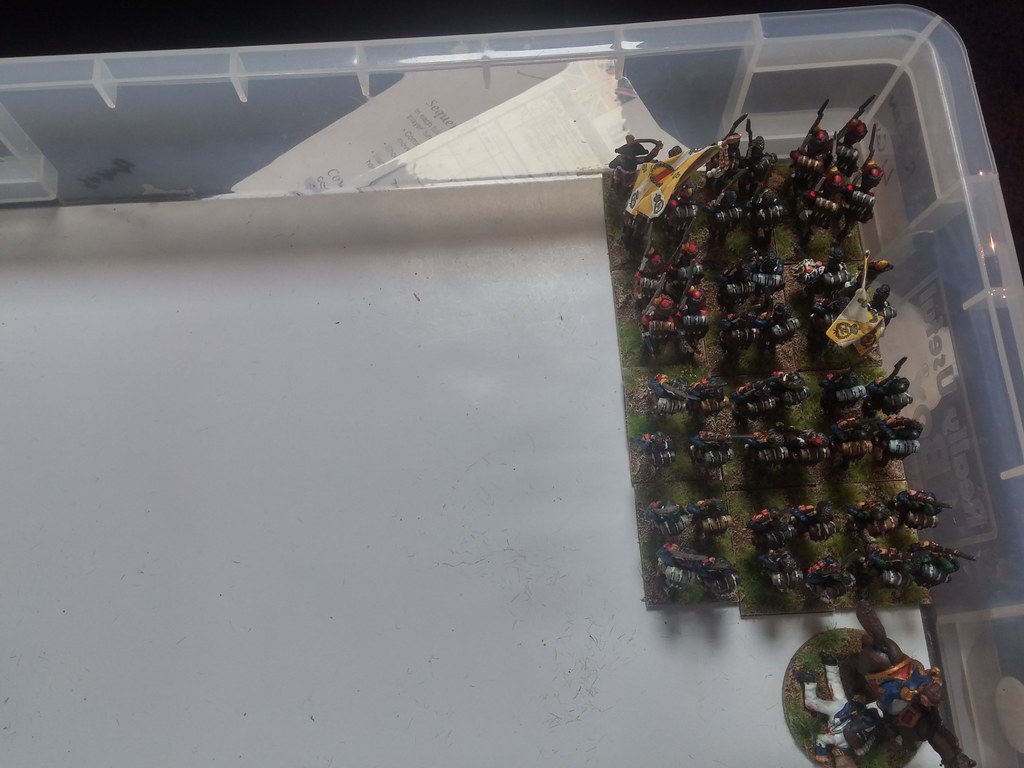
General de Brigade Merlot's Cavalry Brigade (part of Sauvignon's Division)(dice on arrival)
1 x Chevauleger Lancers Regiment
1 x Chasseurs-A-Cheval Regiment
1 x Horse Artillery Battery
Point II:
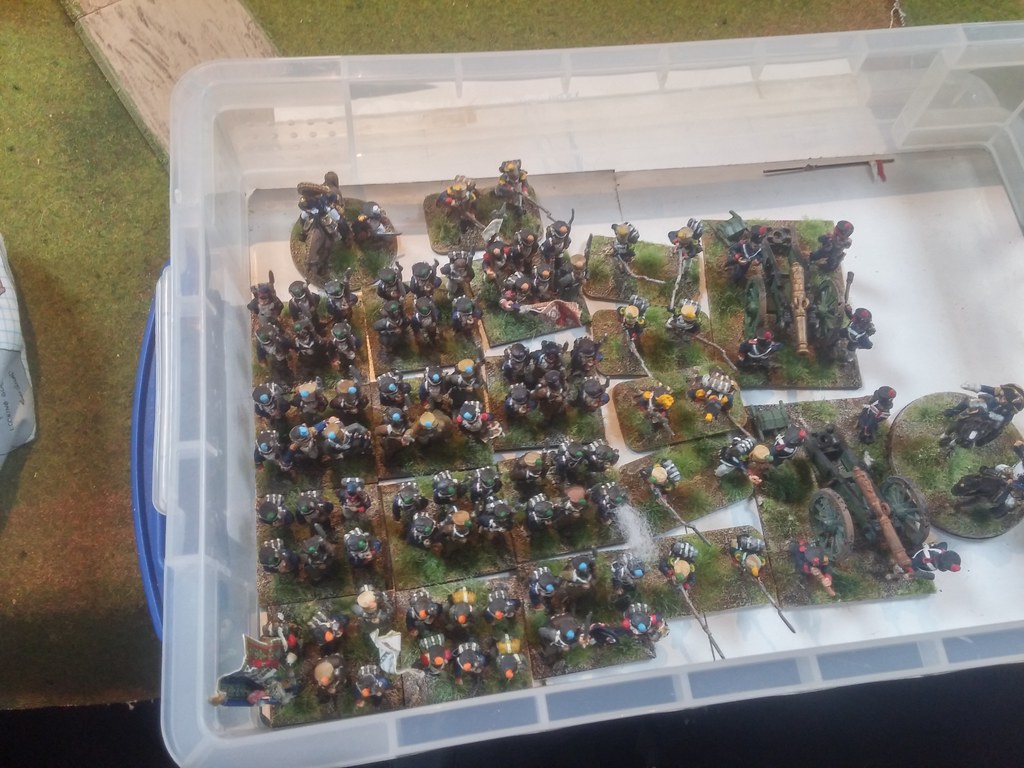
General Sauvignon's Division (enters on turn 1)
General de Brigade Riesling's Brigade
2 x Line Infantry Battalion
1 x Light Infantry Battalion
1 x Jaeger Detachment
General de Brigade Sauterne's Brigade
2 x Line Infantry Battalion
1 x Light Infantry Battalion
1 x Voltigeurs Detachment
1 x Foot Artillery Battery
Point III
General Müller-Thurgau's Division (apart of cavalry, division arrives on turn 1)
General de Brigade Trollinger's Brigade
3 x Line Infantry Battalion
1 x Light Infantry Battalion
General de Brigade Grauburgunder's Brigade
2 x Line Infantry Battalion
1 x Foot Artillery Battery
General de Brigade Lemberger's Cavalry Brigade (dice for arrival)
1 x Dragoon Regiment
1 x Chevaulegers Regiment
1 x Horse Artillery Battery
PRUSSIA/PRUSY
(Bill, Michael, Peter)
At Start
Kalterstein's Brigade (independent) (starts around Kottbusser)
4 x Landwehr Battalion
1 x Foot Artillery Battery
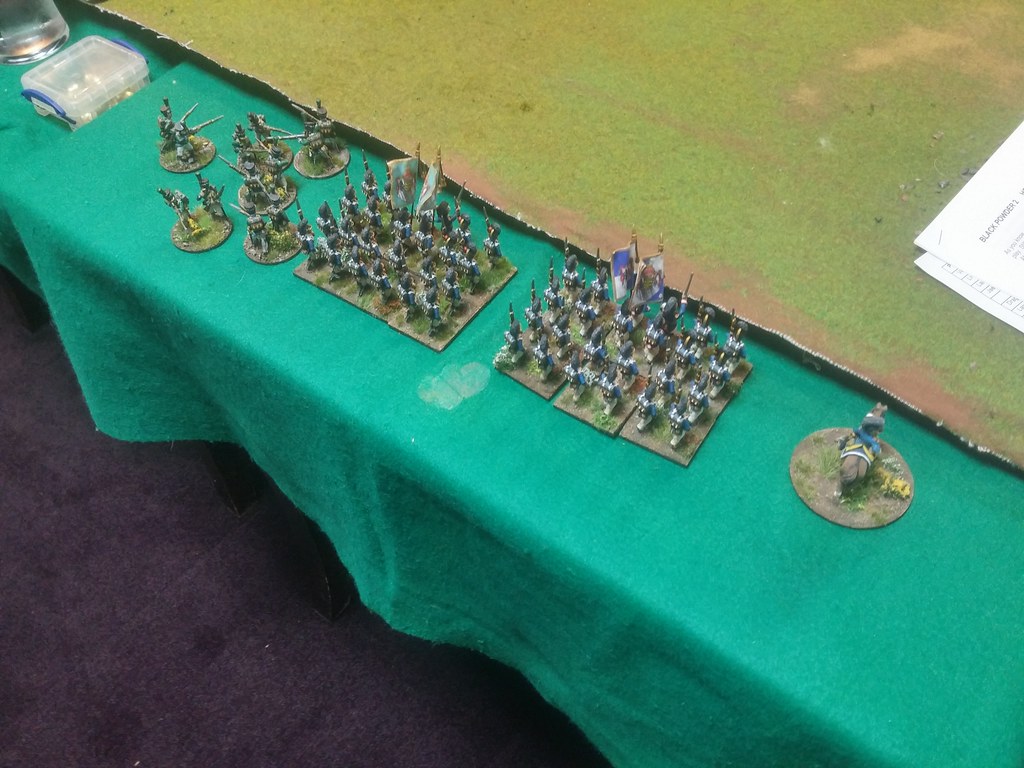
Hohesland's Brigade (part of Von Billow's division)(starts around Gross Weitzer or Kölsch Hügel)
1 x Fusiliers Battalion
2 x Landwehr Battalion
1 x Schutzen Detachment
1 x Foot Artillery Battery
Reinforcements
Point I
Von Billow Division (the CinC comes at Point I on turn 2)
Von Bock's Brigade
1 x Fusiliers Battalion
2 x Musketeers Battalion
1 x Foot Artillery Battery
Von Dunkel's Cavalry Brigade
1 x Dragoon Regiment
1 x Hussars Regiment
1 x Uhlan Regiment
Point II
Zoigelstern's Cavalry Brigade (Kalterstein's)
2 x Landwehr Uhlans Regiment
REINFORCEMENTS RULES
For arrival of reinforcements, roll for each command, from turn 2 on:
Turns 2-3: 6 required
Turns 4-6: 5-6 required
Turns 7 on: 4-6 required
Zoigelstern's and Lemberger's cavalries add +1 for their rolls.
OBJECTIVES:
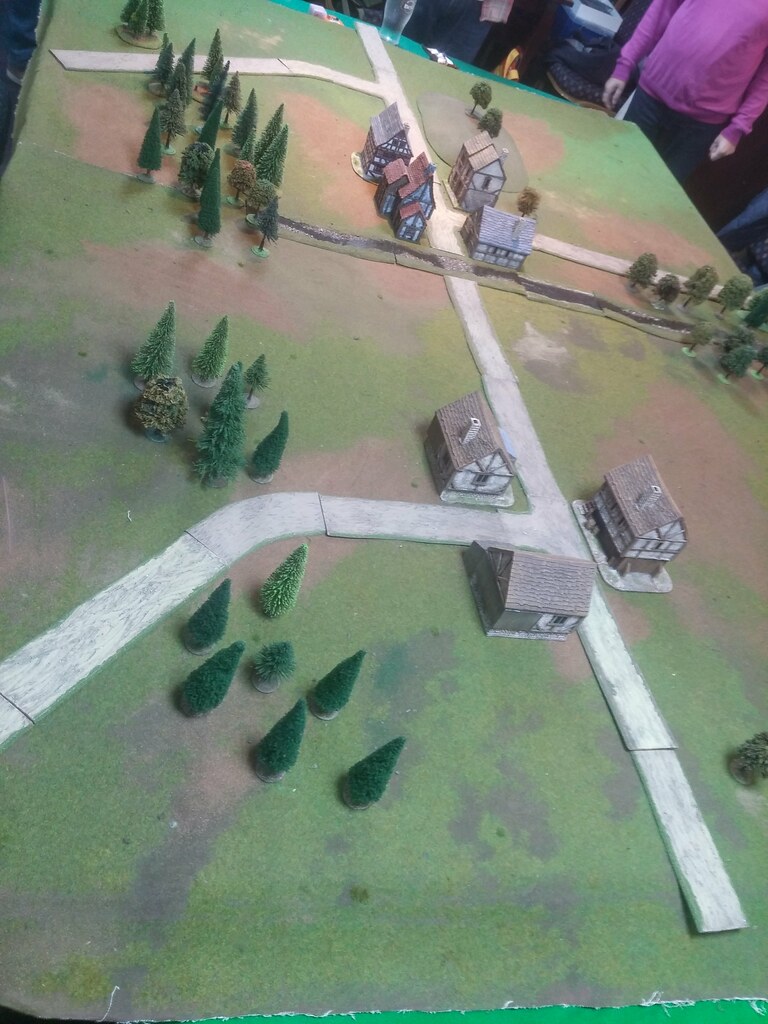
After 12 turns, hold both Gross Weitzer and the Kölsch Hügel.
Decisive victory if you achieve this, and destroy or rout more then half of the enemy force.
2. The game. Gra.
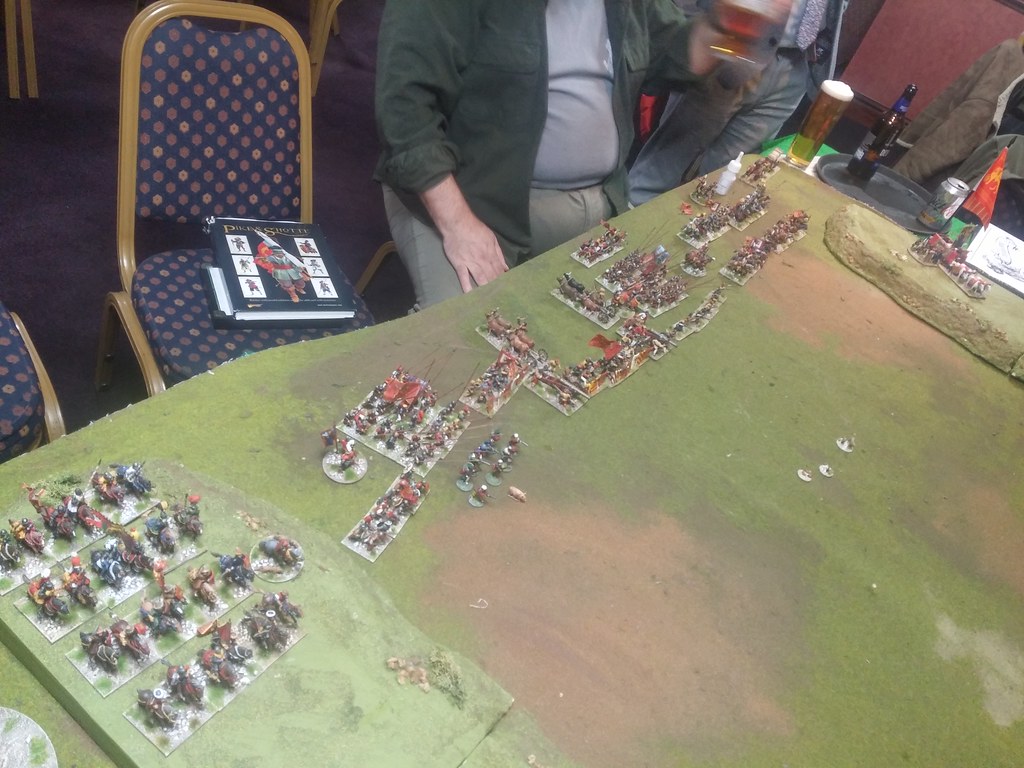
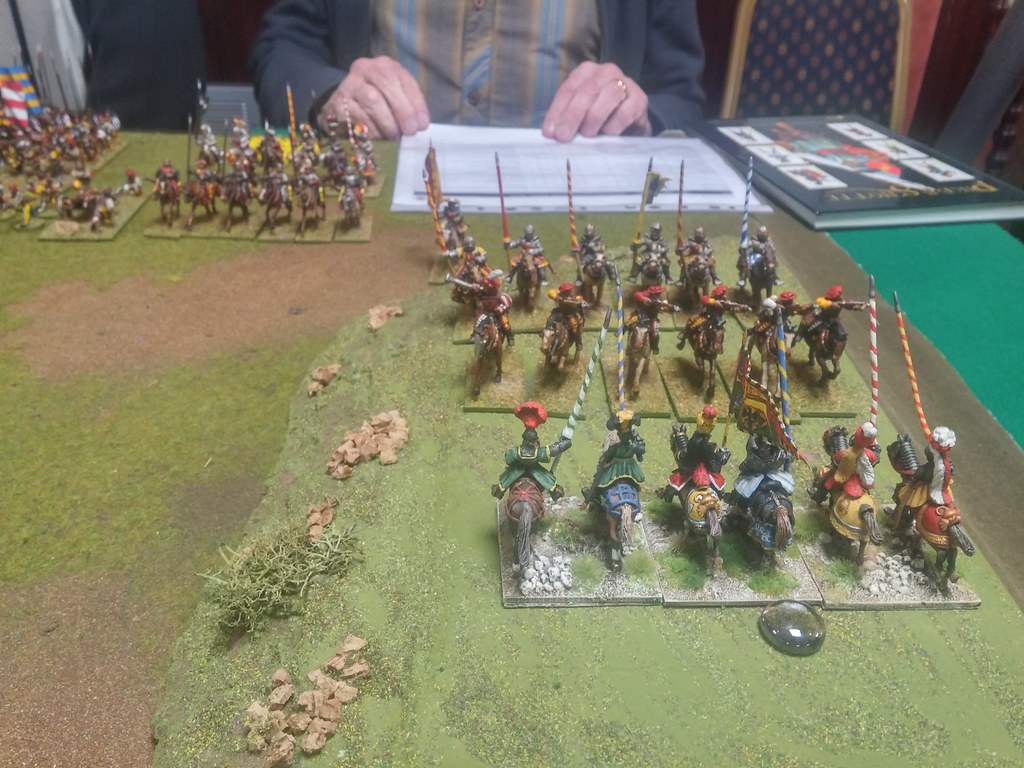
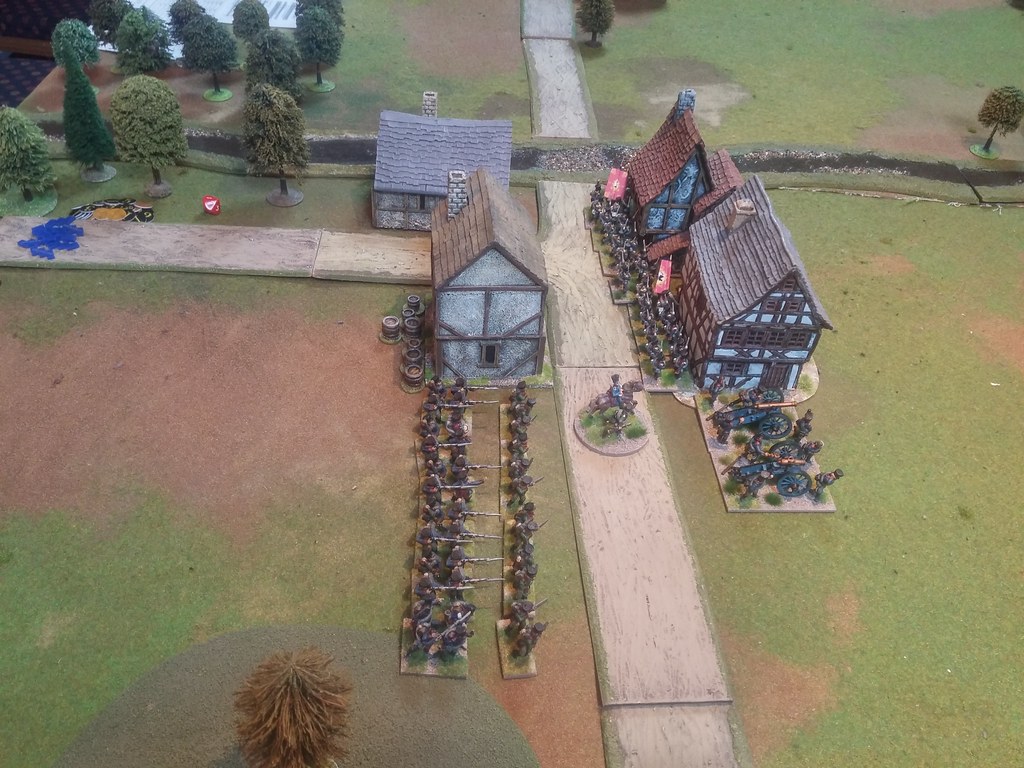
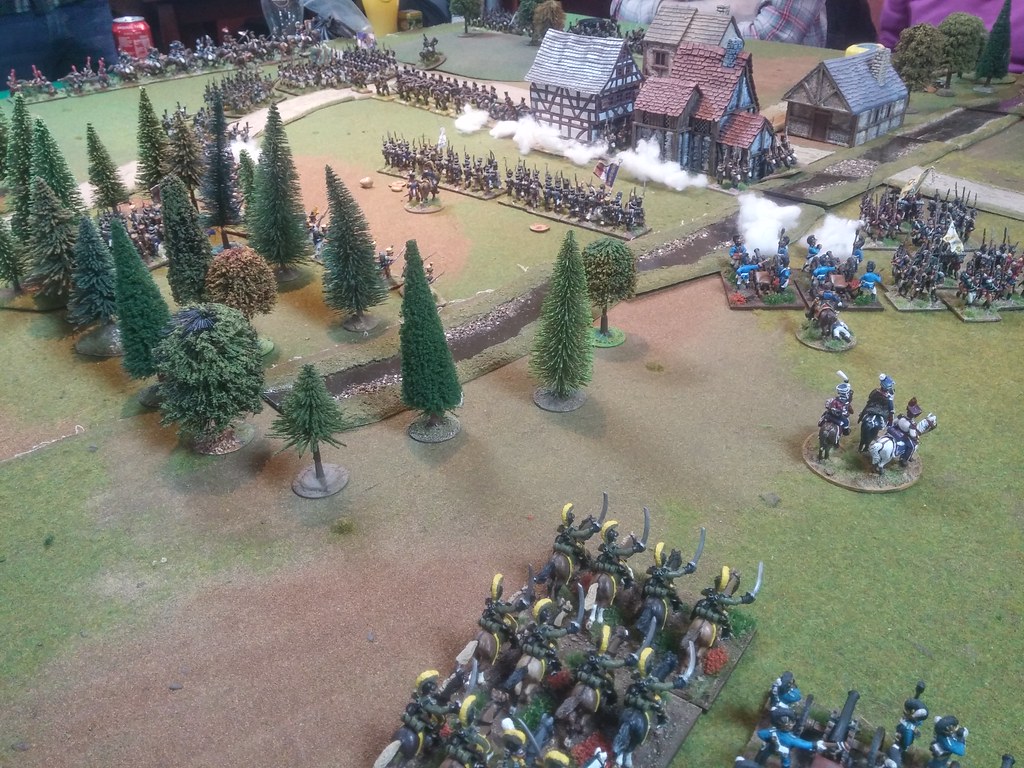
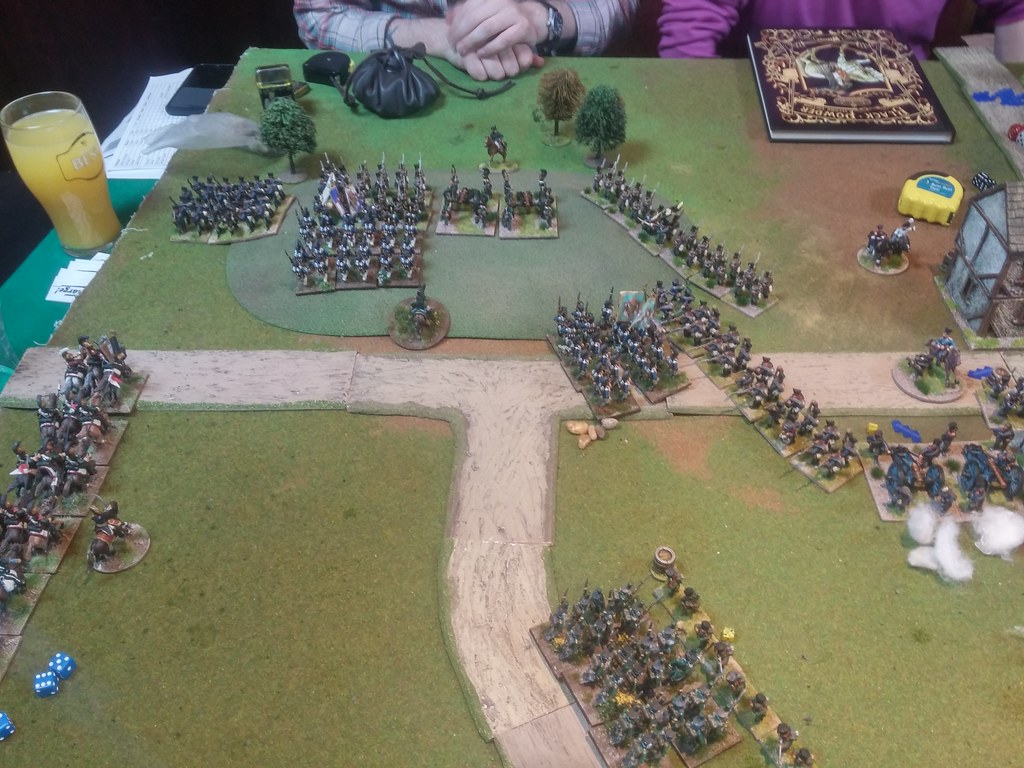
Both Prussian brigades set their forces in the villages. Peter acting as Kalterstein, 3 battalions put directly in the buildings and one battalion together with guns put on left of the village. Michael acting as Hohensland spread his forces around Gross Weitzer and the hill. Our plan was to attack Gross Weitzer and Kölsch Hügel directly (Sauvignon - Angus). Division of Muller-Thurgau (myself) were going to attack Gross Weitzer from the left between two Prussian brigades and in that way, separating Prussian forces on two. My other task was to take care about any Prussian Cavalry, which would appear in front of my units.
Obie pruskie brygady rozstawiły swoje siły wokół wiosek. Peter, który grał jako Kalterstein, 3 bataliony rozstawił bezpośrednio w budynkach a jeden batalion wraz z działami ustawił po lewej stronie wioski. Michael, który grał jako Hohensland swoje oddziały rozdzielił pomiędzy Gross Weitzer i wzgórzem. Nasz plan opierał się na bezpośrednim ataku na Gross Weitzer i Kölsch Hügel diwizją Sauvignona (Angus). Dywizja Muller-Thurgaua (ja) miała zaatakować Gross Weitzer od lewej, pomiędzy obiema brygadami i w ten sposób rozdzielić pruskie siły na dwie części. Moim dodatkowym zadaniem, było zajęcie się jakąkolwiek pruską kawalerią, która mogłaby się pojawić naprzeciw moich oddziałów.

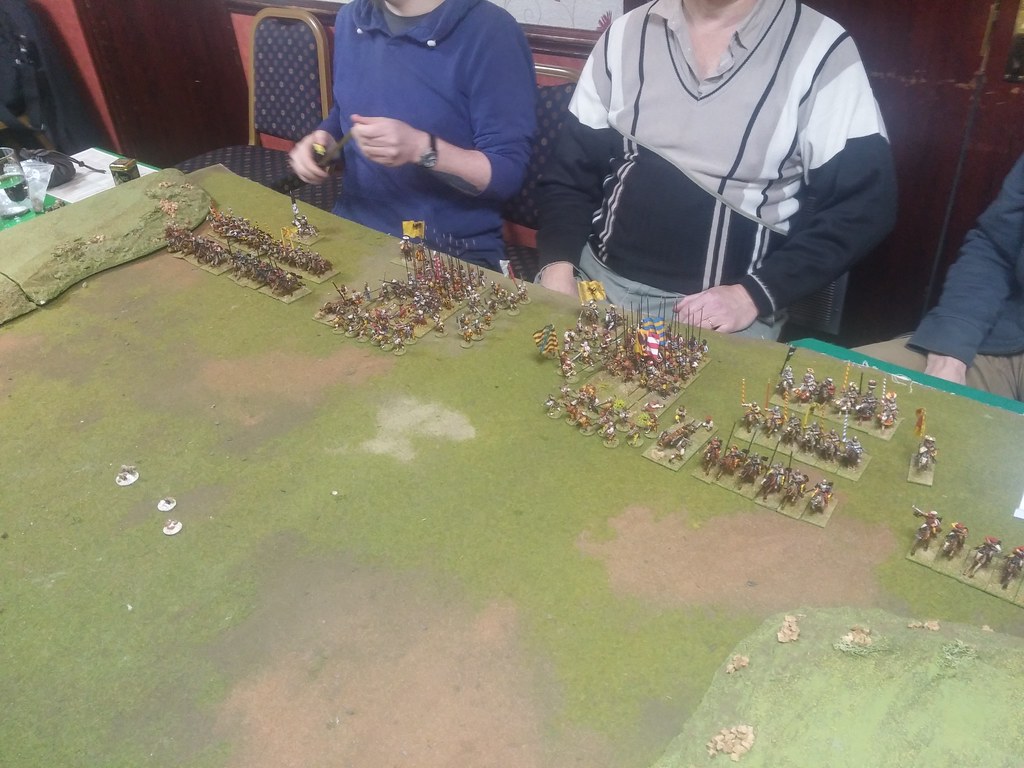
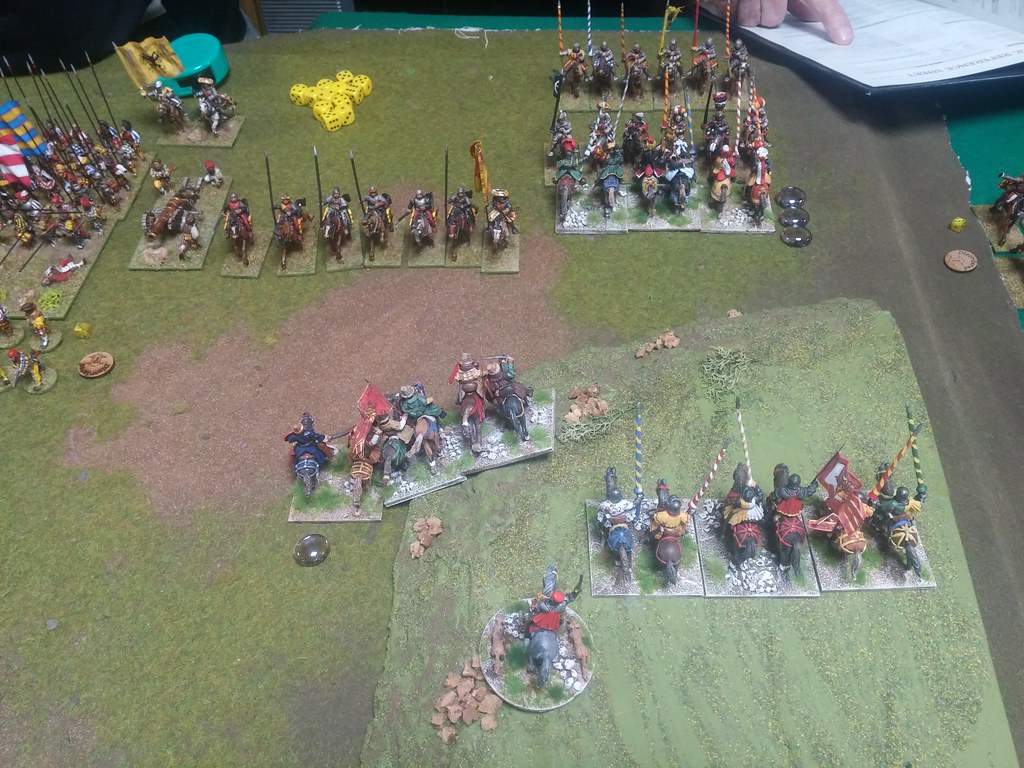
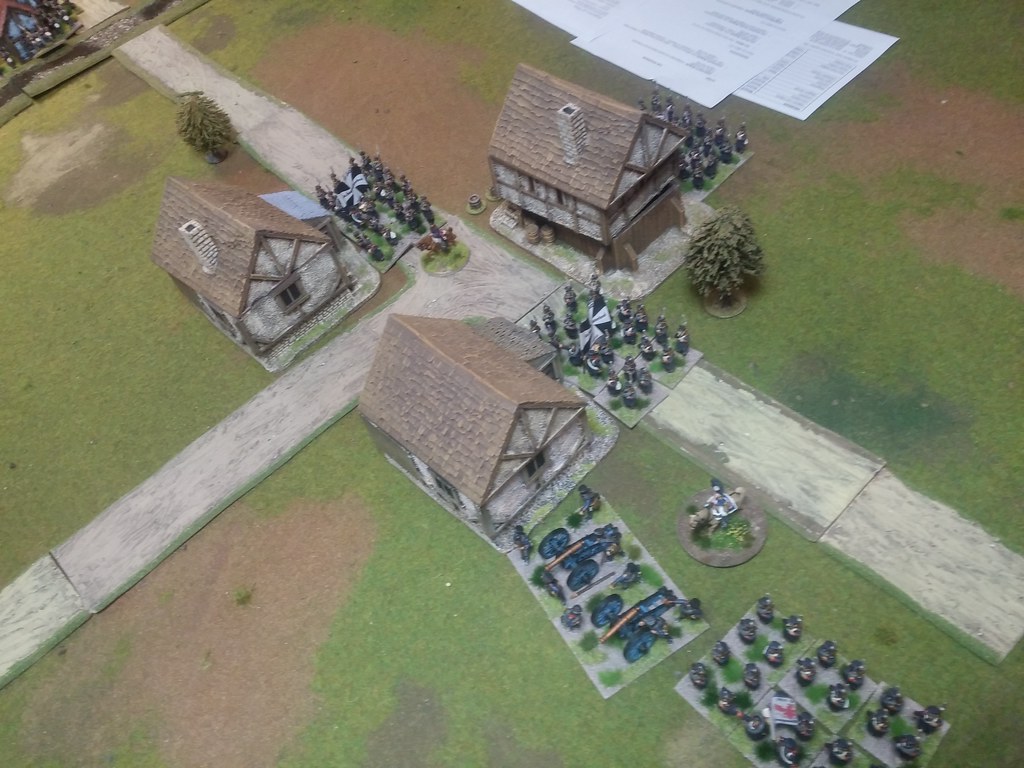
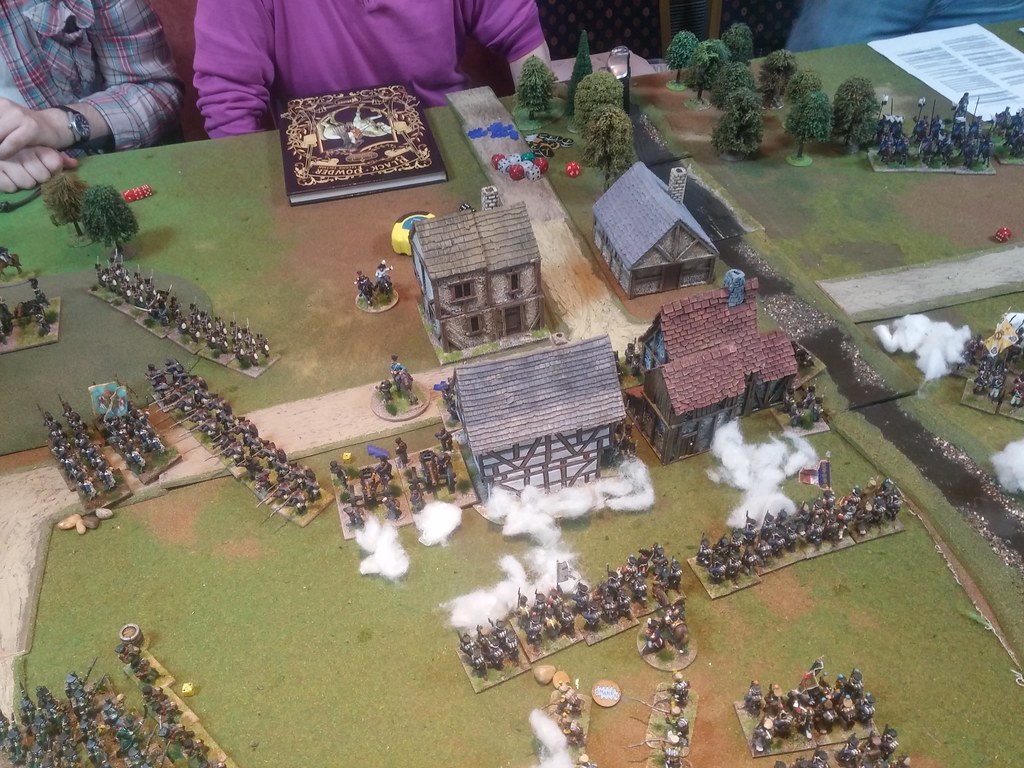
Our forces very quickly entered the table and soon Angus push his forces against Prussians in the Gross Weitzer. He was repulsed back and had to wait for my forces. My units slowly moved into the gap between Prussian forces. That surprised Peter, who was expecting me to assault his village. Finally my battalions and guns were on the left flank of the Gross Weitzer and then Prussian Landwehr cavalry arrived.
Nasze siły bardzo szybko wkroczyły na stół i wkrótce Angus pchnął swoje oddziały przeciw Prusakom w Gross Weitzer. Szybko też został odrzucony i musiał poczekać na moje siły. Moje oddziały powoli ruszyły w lukę pomiędzy pruskimi oddziałami. To zaskoczyło Petera, który spodziewał się ataku na jego wioskę. Ostatecznie moje bataliony i działa znalazły się na lewej flance Gross Weitzer i wtedy pojawiła się pruska kawaleria Landwehry.
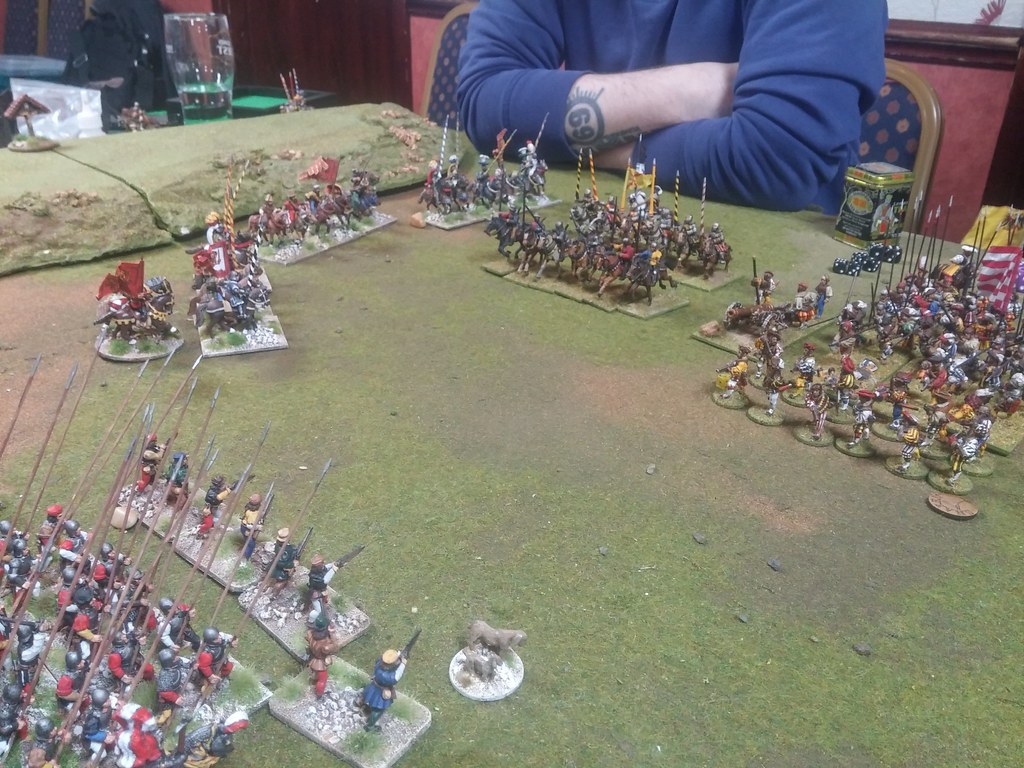
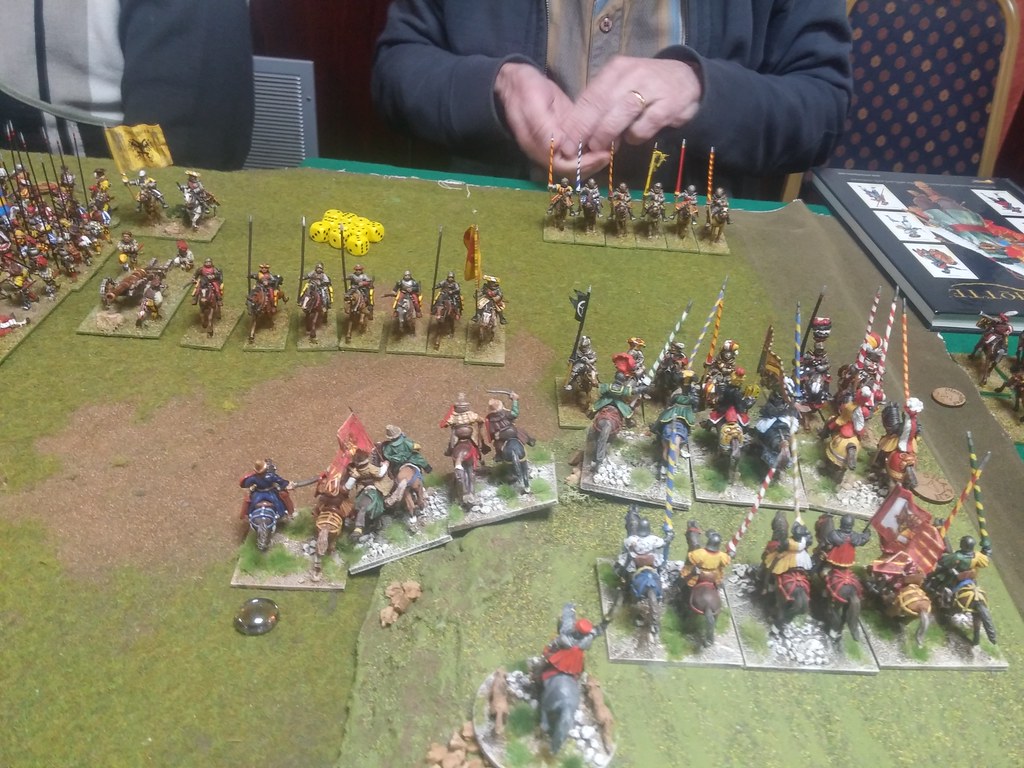
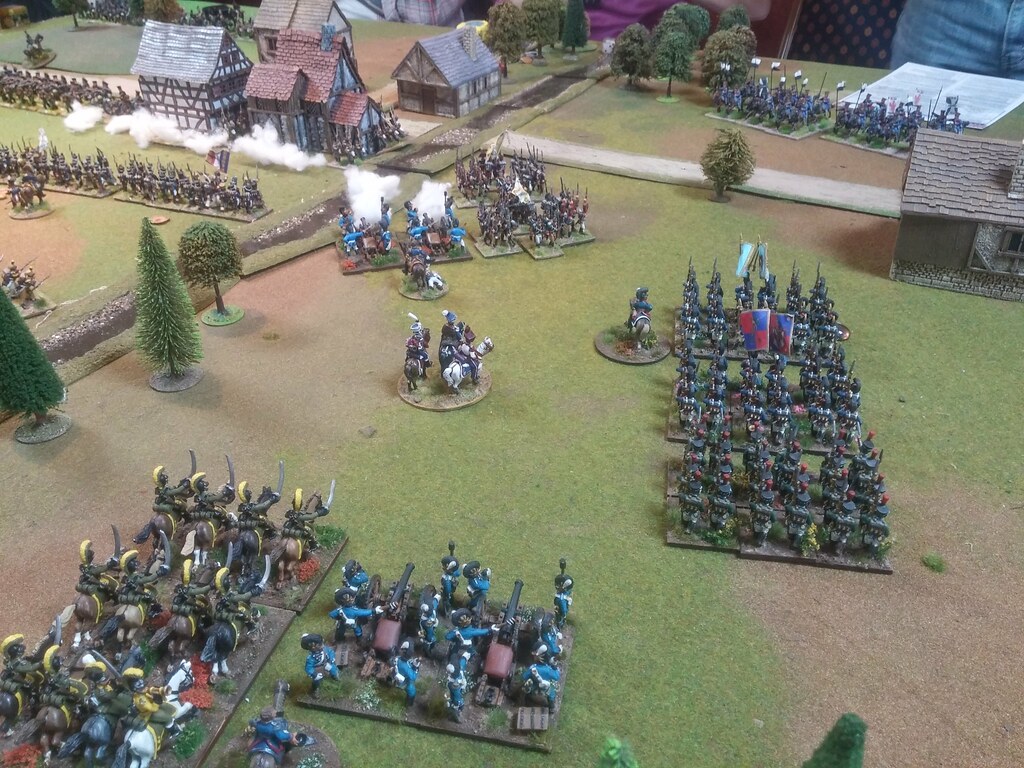
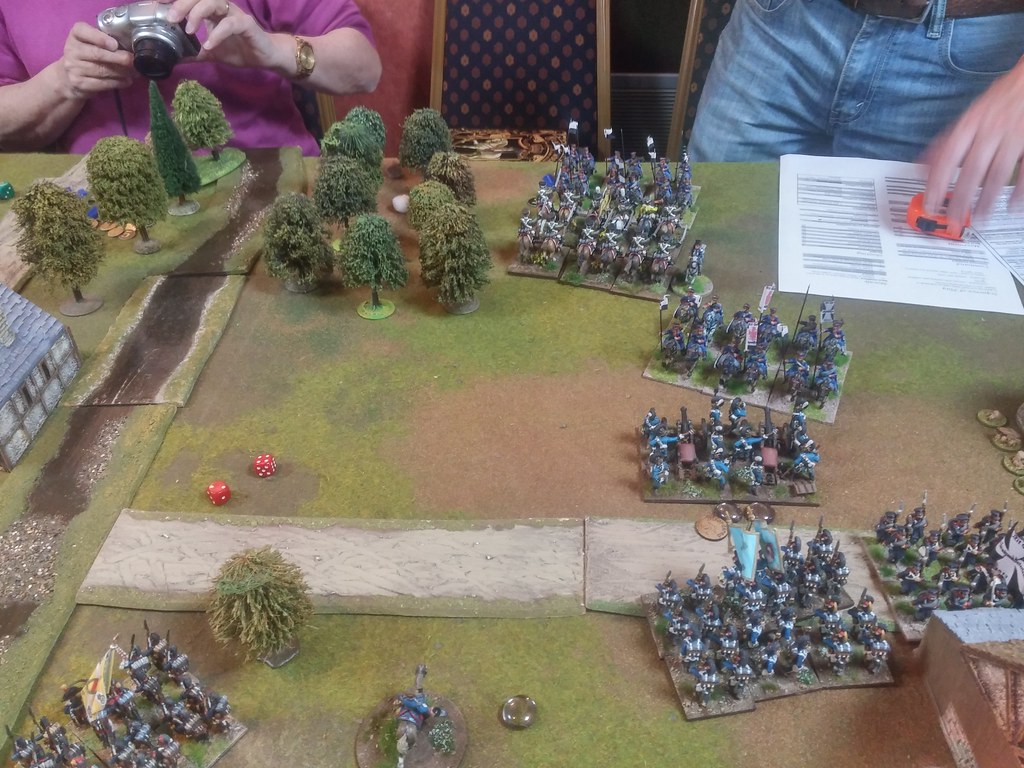
The Prussian cavalry was just an issue for my Dragoons, who destroyed one regiment of Uhlans and the second forced to withdraw. It appeared later again, but again get forced shaken to withdraw. The problem of Landwehr cavalry was sorted for good. In the meantime I prepared my Grauburgunder brigade to assault Gross Weitzer and Trollinger brigade to screen my forces against Peter.
Pruska kawaleria okazała się jedynie przeszkodą dla moich dragonów, którzy wpierw zniszczyli jeden z pułków ułanów drugi zmusili do wycofania się. Ten pojawił się potem ponownie, jednak znów został zmuszony do wycofania się, teraz juz ze znacznymi stratami i problem kawalerii Landwhry został ostatecznie rozwiązany. W międzyczasie przygotowałem brygadę Grauburgundera do ataku na Gross Weitzer a brygadę Trolligera by osłonił moje oddziały przed atakiem oddziałów Petera.
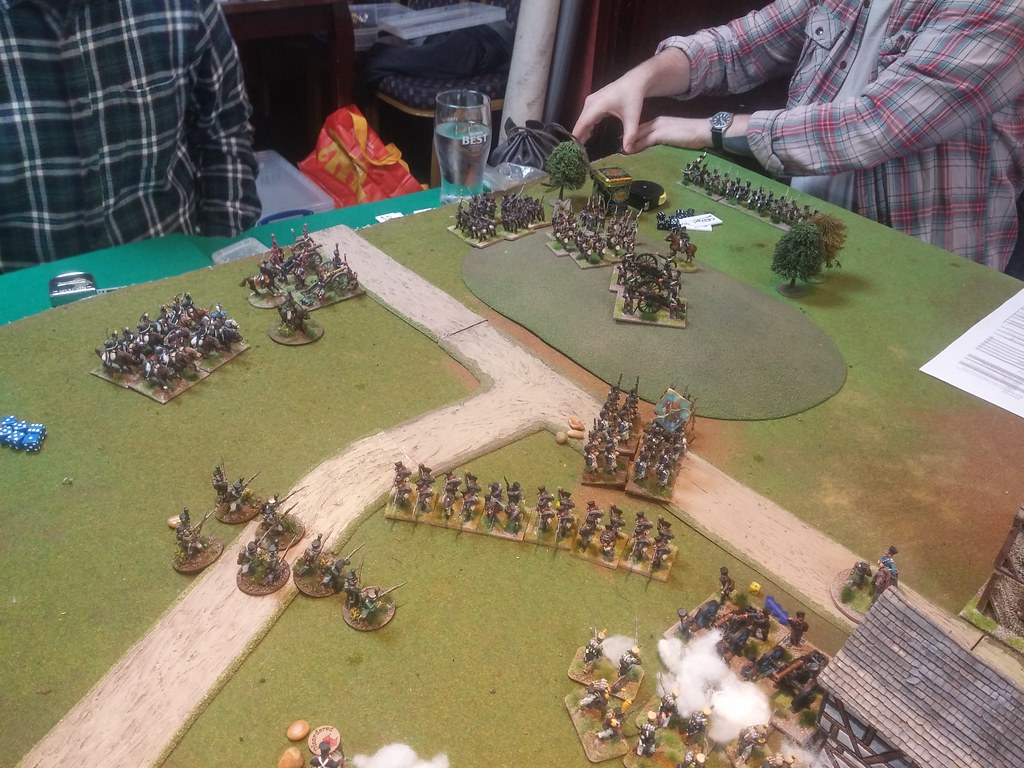
On the other side of the battlefield, Campbell together with Alisdair (who acted as Riesling and Merlot) assaulted Prussian positions on the Kölsch Hügel. Prussians get support of Von Bock brigade and for the most of the time the situation stayed unclear for both sides. Finally Campbell made a final push, but the hill remains in Prussian hands. Alisdair, who get some directions from me forget how to use the horse artillery and possible the hill would be cleared till this time if it would be use in right way. Anyway the hill was still in Prussian hands.
Po drugiej stronie pola walki, Campbell wraz z Alisdairem (którzy grali jako Riesling i Merlot) zaatakowali pruskie pozycje na Kölsch Hügel. Prusacy otrzymali wsparcie brygady Von Bocka i przez większość czasu sytuacja pozostawała niejasna dla obu stron. Ostatecznie Campbell zdecydował się na ostateczne natarcie, jednak wzgórze pozostało w pruskich rękach. Alisdair, który przed bitwą otrzymał ode mnie pewne wskazówki, jak walczyć konną artylerią, zapomniał o nich i być może gdyby użył jej tak jak mu podpowiedziałem, wzgórze było by już czyste od wrogich oddziałów. Mimo to było ono wciąż w rękach pruskich.
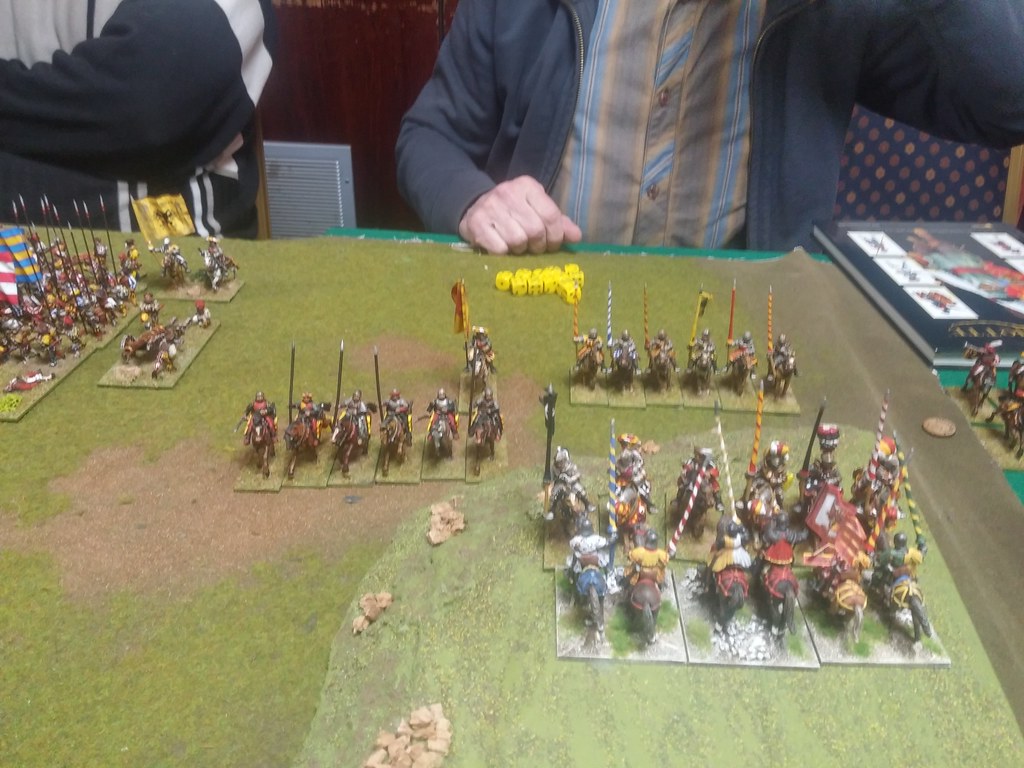
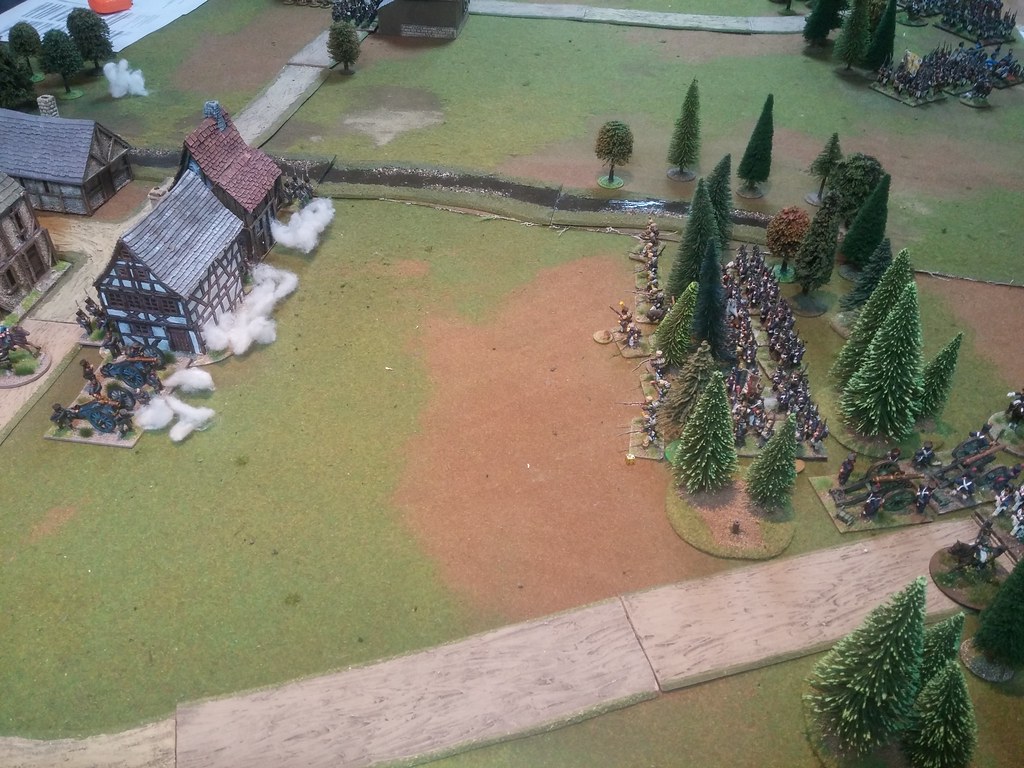
We've been in half way (turn 6), when final assault on Gross Weitzer happened. First from short distance I fired on village with my both artilleries and then my and Angus's units assaulted the village. Three from four buildings get in our hands and only one stayed in Prussian hands. In the next turn I was going to repeat the previous attack and push my artillery on streets of Gross Weitzer. Some concerns gave me Peter's actions but to support my Trollinger's Brigade I was going to push my cavalry around the Kottbusser and attack Peter's forces from the back.
Byliśmy już w połowie drogi (tura 6), kiedy nastąpił generalny szturm na Gross Weitzer. Wpierw przy użyciu moich baterii, na krótkim zasięgu ostrzelałem pruskie pozycje we wiosce i wtedy razem z oddziałami Angusa zaatakowaliśmy wioskę. Trzy z czterech budynków wpadło w nasze ręce, jeden wciąż pozostając w rękach pruskich. W następnej turze przygotowałem podobny atak jak poprzednio i ustawiłem artylerię na ulicach Gross Weitzer. Pewne moje obawy budziła akcja oddziałów Petera, lecz by wesprzeć brygadę Trollingera zamierzałem puścić moją kawalerię wokół Kottbusser i od tyłu zaatakować oddziały Petera.
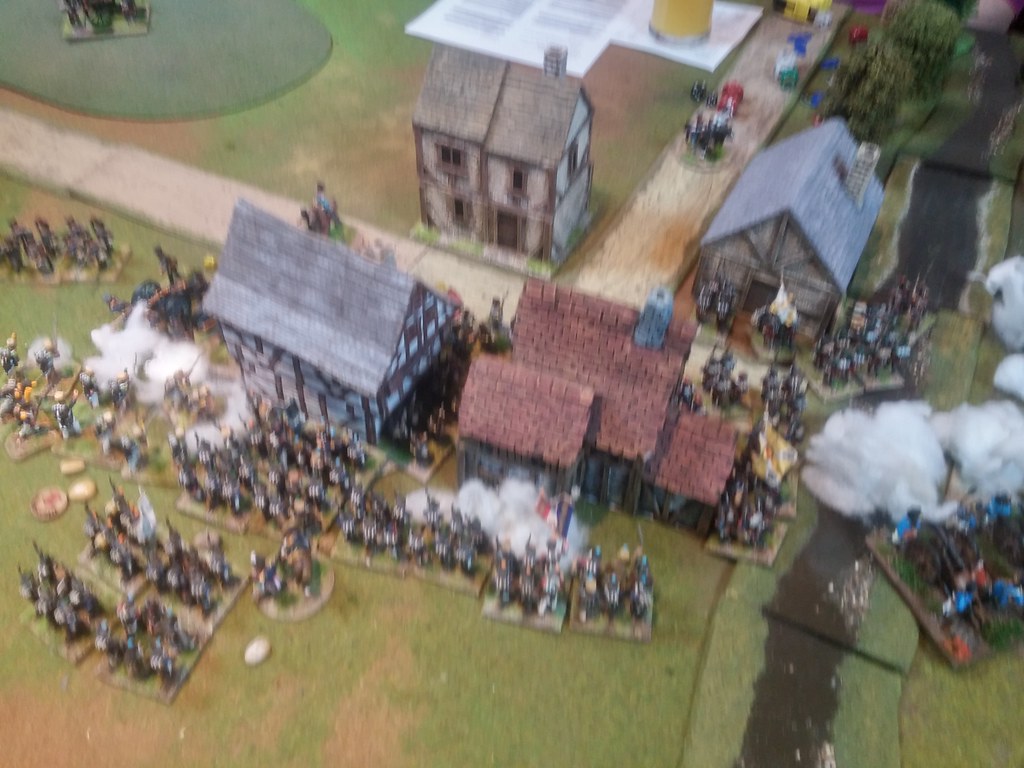

Finally the turn 8 arrived and Campbell together with Alisdair once more assaulted Prussian positions on Kölsch Hügel. With huge loses Prussians hold the hill, but the next assault possible would finish with disaster for Prussians. Sadly we were unable to check it as the time for the game was finished. Technically it was a draw, as none of the sides fully controlled the objectives. However I think, that next turns would bring clearance of Kölsch Hügel and last building of Gross Weitzer would be in our hands. Prussians had only one brigade left in reinforcements (the Von Dunkel's), which refused to arrive thanks to poor Bill's rolls (he usually got 1 or 2...). I will claim then minimal French victory.
Ostatecznie nadeszła tura 8 i Campbell, wraz z alisdairem jeszcze raz zaatakowali pruskie pozycje na Kölsch Hügel. Prusakom udało się je utrzymać, jednak tym razem z dużymi stratami i następny atak mógł zakończyć się dla Prusaków katastrofą. Niestety nie udało nam się o tym przekonać, ponieważ czas na grę się skończył. Technicznie rzecz biorąc był to remis, ponieważ żadna ze stron w pełni nie kontrolowała celów gry. Jednakże wydaje mi się, że następna tura przyniosła by nam zdobycie pozycji na Kölsch Hügel oraz zdobycie ostatniego budynku w Gross Weitzer. Prusacy mieli tylko jedną brygadę, która mogła przybyć na pole bitwy (Von Dunkela), która odmawiała przybycia, głównie dzięki bardzo złym rzutom Billa (zazwyczaj wyrzucał 1 albo 2...). Dlatego wydaje mi się, że gra zakończyła się minimalnym zwycięstwem Francuzów.
3. Links. Linki.
Angus:
Bill:
will be updated soon...
Michael (pure Prussian propaganda ;) ):
Campbell (SESWC):
Flickr: