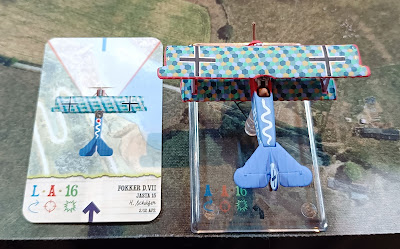
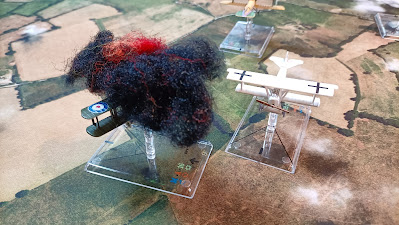
Another aerial game, this time set during World War I: Wings of Glory, requested by Alasdair.
UMPIRING: Tim Chant
1. Forces.
ENTENTE
GERMANS
2. The Game.
Our game was divided into two stages: the first involved extracting the British agent on the ground, and the second focused on engaging in air combat to drive the enemy away.
Jimmy fired the first shot at Ben, and that was his only action in the game for quite some time. More on that later. The first significant duel occurred on the other side, where Alasdair faced off against Michael. Both players scored hits, but Alasdair was hit particularly hard, resulting in his plane exploding. This marked the loss of the first unit plane in the game.
Meanwhile, Tim was on a mission in his two-seater plane to pick up the British spy. He was assisted by security provided by Andy and Ben's fighter planes, as well as his own. Initially, I was alone against them, but Michael soon joined me. Unfortunately, Jimmy decided to take a reconnaissance flight around the table.
Tim successfully landed, picked up the agent, and took off. Meanwhile, Michael found himself in the back of a two-seater plane but was hit by the rear gunner, causing the vehicle to catch fire and explode. I was left in pursuit of Tim, now surrounded by four planes, while Alasdair returned with his second plane and Jimmy continued his tour around the battlefield.
Each player piloting a fighter had the option to return to our game in their original plane or choose a new one. Alasdair opted to return in the same plane, while Michael decided to stick with the Fokker D VII model but flew with a different pilot. Meanwhile, I continued to chase Tim on my own. However, surrounded and alone, I made a mistake that ultimately cost me the plane. Tim shot me down, although Andy and Ben also contributed to my defeat.
That was when Jimmy joined the game, only to be shot down by Andy. At that moment, Tim's two-seater plane left the battlefield. The Entente had won the first part of the game. Now we were entering the second part, which focused on dominating the skies. The Entente still held the upper hand in the air.
The fight erupted once more as Jimmy returned with his plane, but Michael was quickly shot down. Eager for revenge, I first shot down Andy and then Ben. Meanwhile, Jimmy lost his second plane, leaving me all alone again. Realising I had to retreat, I turned back. The victory of the Entente was complete.
Links.
SESWC:
https://www.facebook.com/groups/631841809210352
FLICKR:
https://www.flickr.com/photos/asienieboje/albums/72177720327179552/


