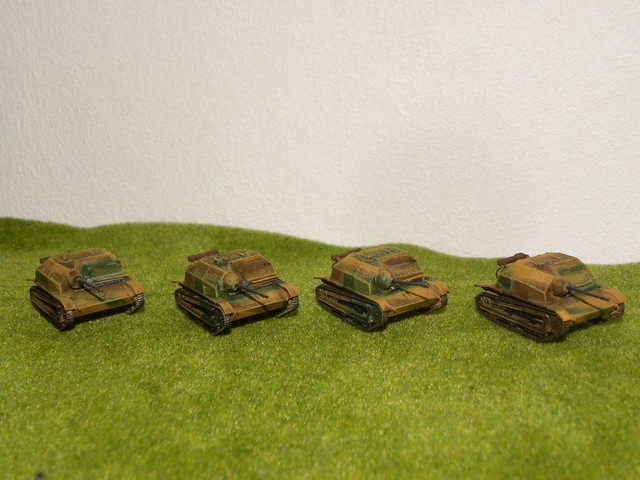
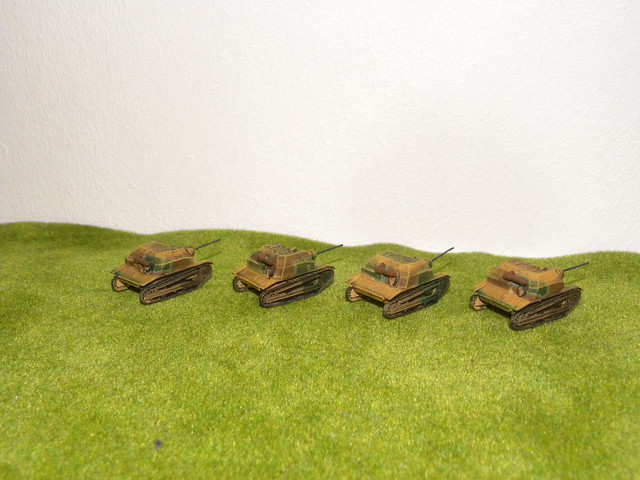
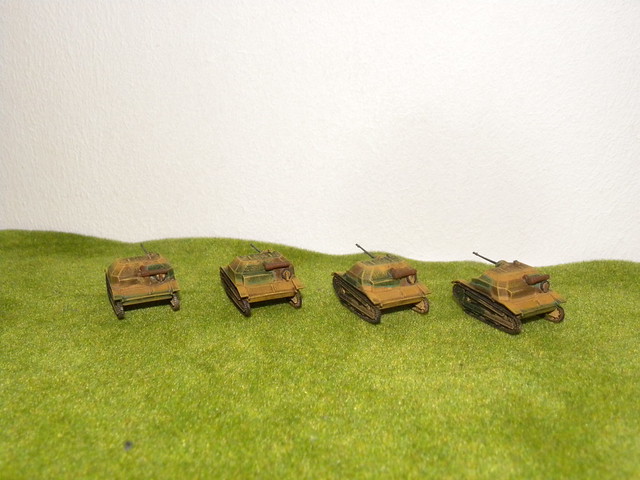
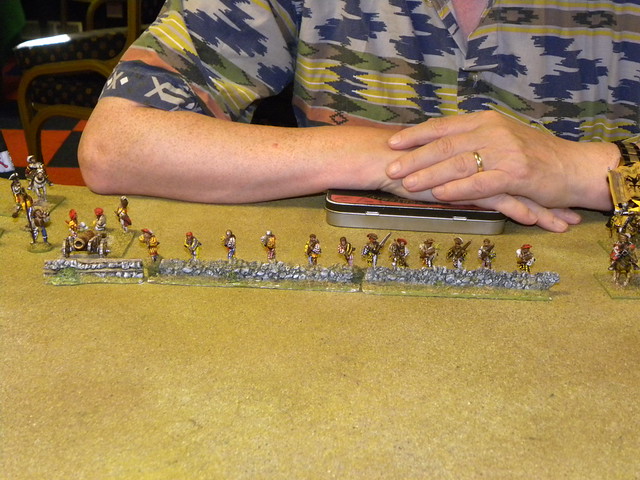
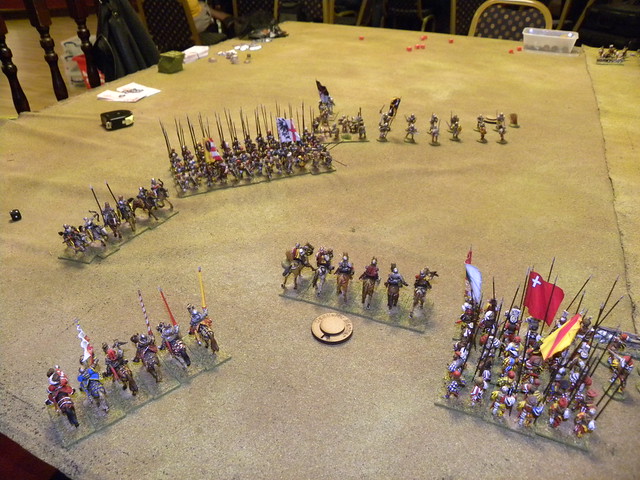
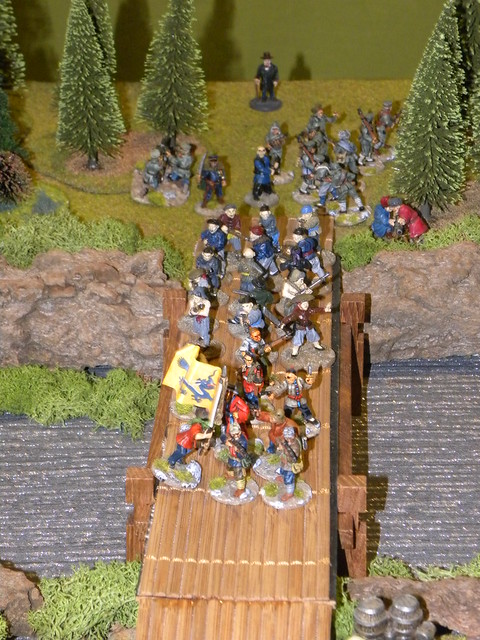
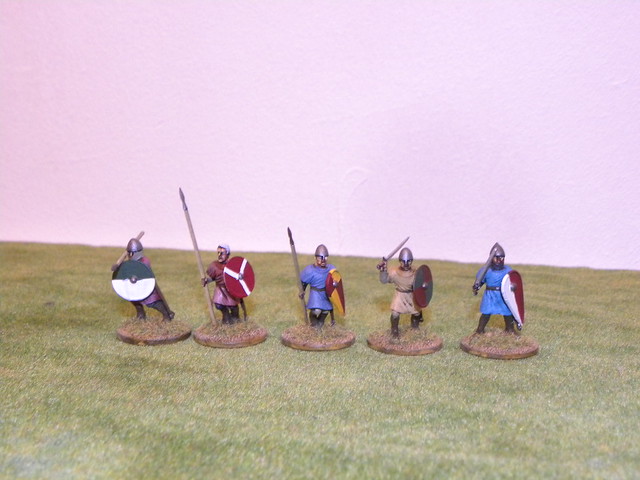
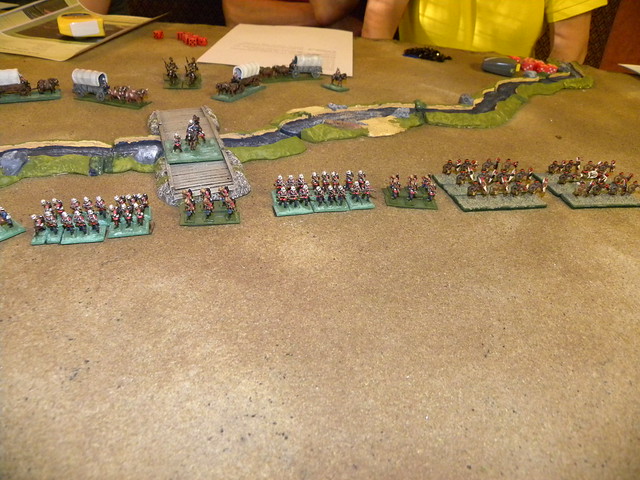
Last Thursday we tried a new Black Powder supplement: Zulu War. Donald Adamson bring all the figures and most of the terrains with him. It was first time we used this rules for 15mm figures. We halfed all ranges for that game, with change sequence of the turn (played in our club, such is initiative than shooting and then orders).
W ostatni czwartek wypróbowaliśmy nowy dodatek do Black Powder: Zulu War. Donald Adamson przyniósł na tą okoliczność swoje figurki i większość terenów. Był to pierwszy raz kiedy użyliśmy figurek w skali 15mm do tych zasad. W tym celu wszystkie odległości zostały zmniejszone o połowę i dodatkowo użyliśmy sekwencji tury obowiązującej w naszym klubie, czyli wpierw ruchów z inicjatywą, następnie strzelanie i dopiero wtedy rozkazy.
SCENARIO/SCENARIUSZ: Neil Smith
GAME UMPIRING/PROWADZENIE GRY: Donald Adamson
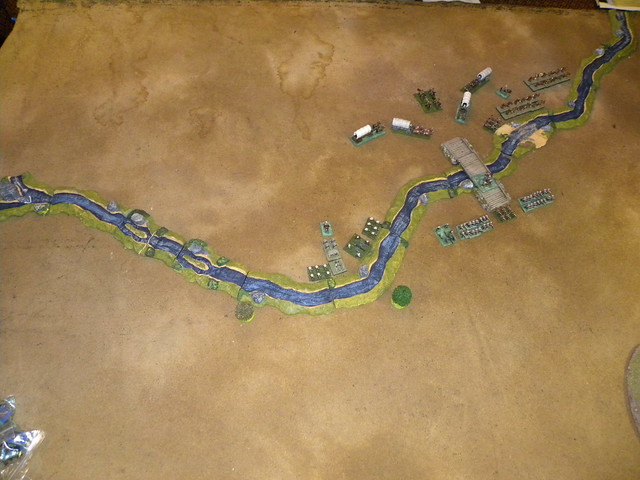
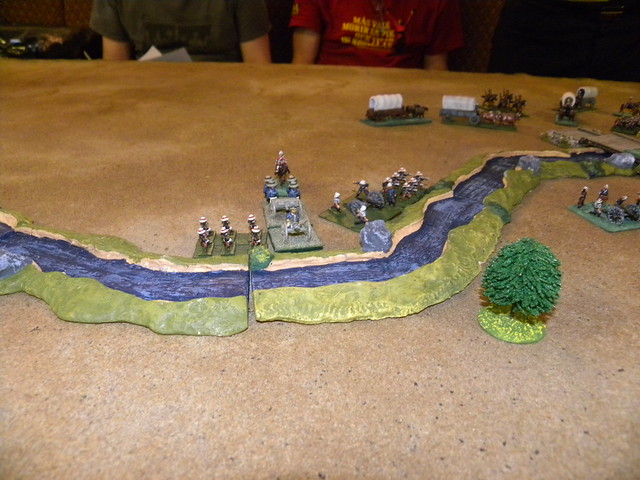
SCENERY/SCENERIA: Donald Adamson, Bill Gilchrist, SESWC
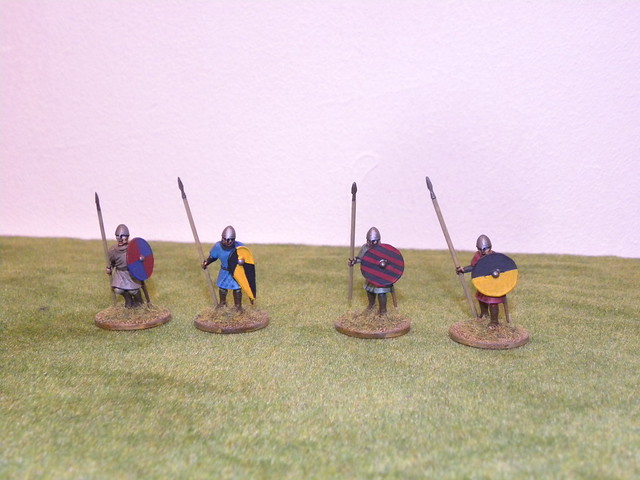
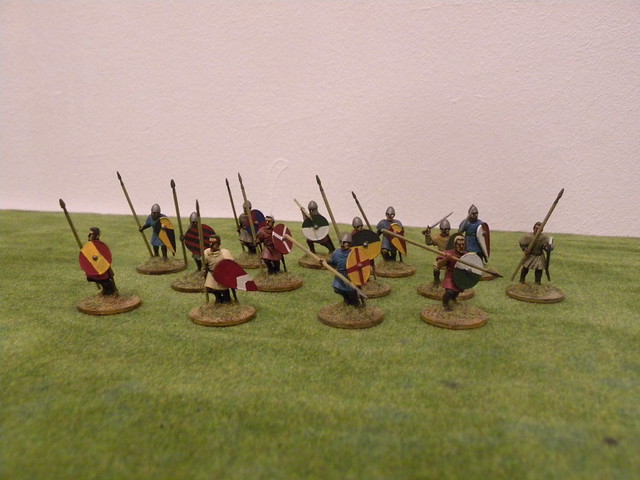
MODELS&FIGURES/ MODELE I FIGURKI: Donald Adamson
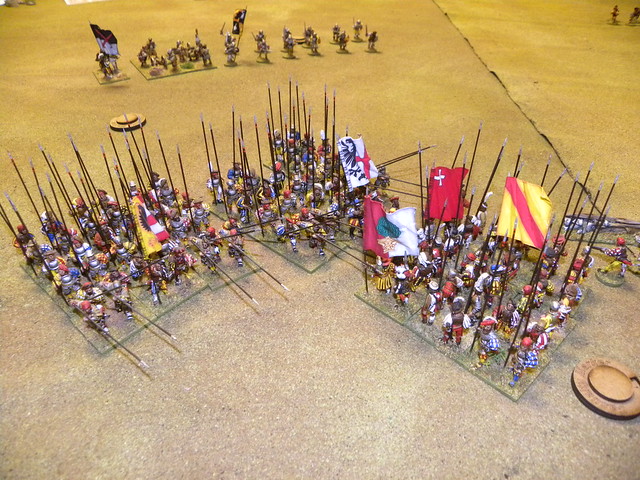
1. Forces. Siły.
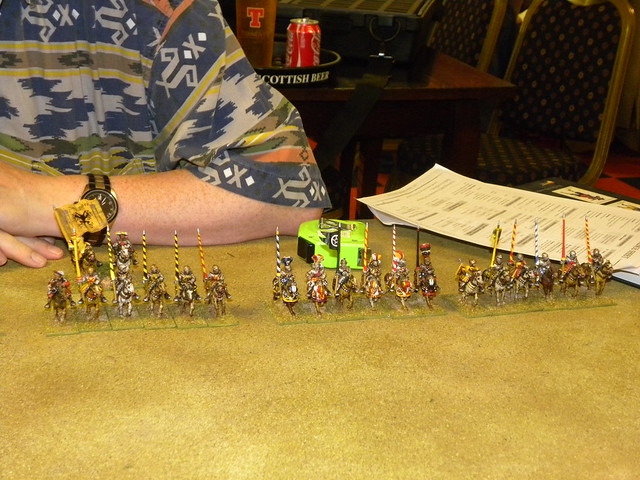
BRITISH/BRYTYJCZYCY
(Bill Gilchrist, Colin Jack, Michael Schneider)
Command Brigade:
3rd Regiment of Foot
99th Regiment of Foot
Royal Engineers
7 pounder gun
Naval Brigade:
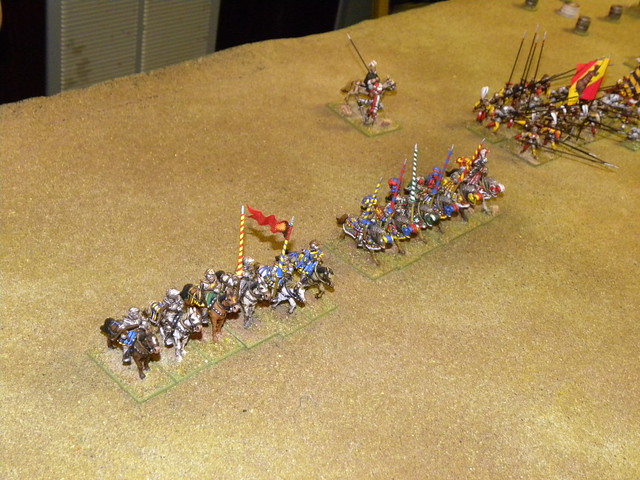
Squadron of Mounted Infantry
Stanger and Victoria Mounted Rifles
7 pounder gun
Gatling gun
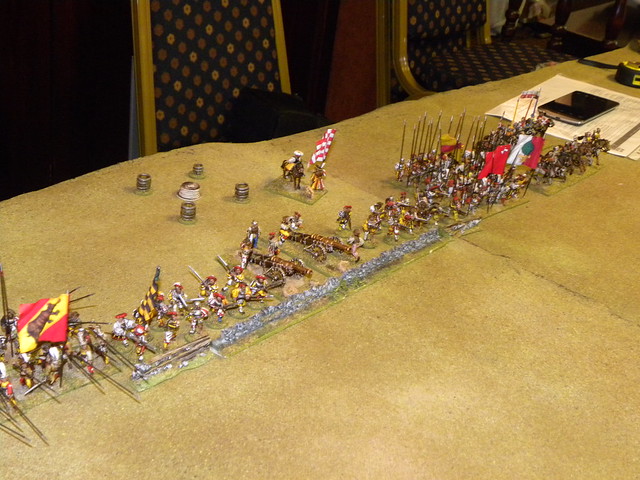
Natal Native Contingent Brigade:
Natal Hussars
1st Battalion, 2nd Regiment NNC
2nd Battalion, 2nd Regiment NNC
One Company Natal Native Pioneers
ZULU/ZULUSI
(Bartek Żynda, Campbell Hardie, Tim Watson)
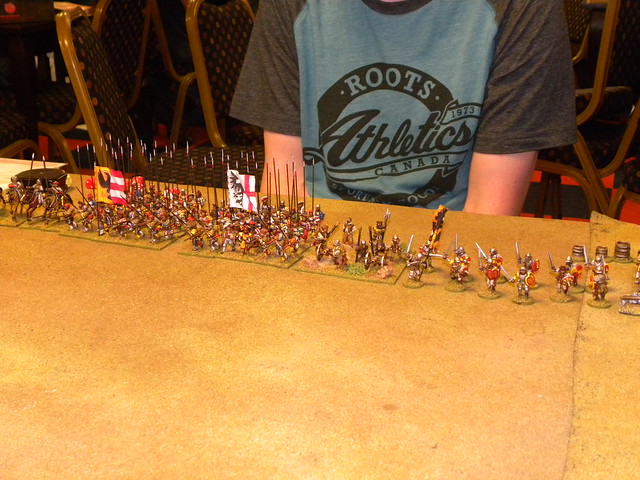
10 units
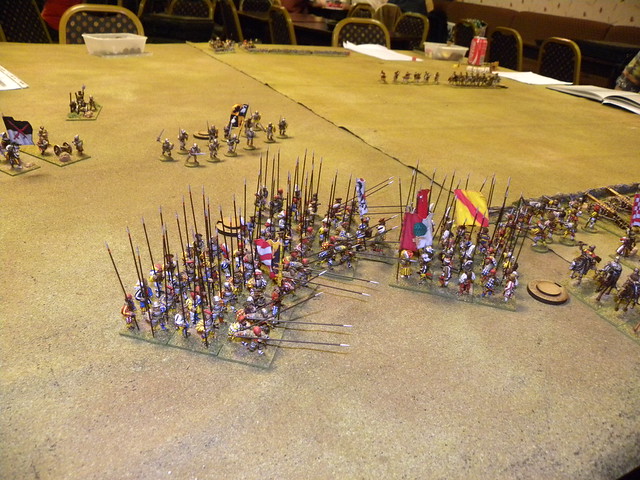
2. The Game. Gra.
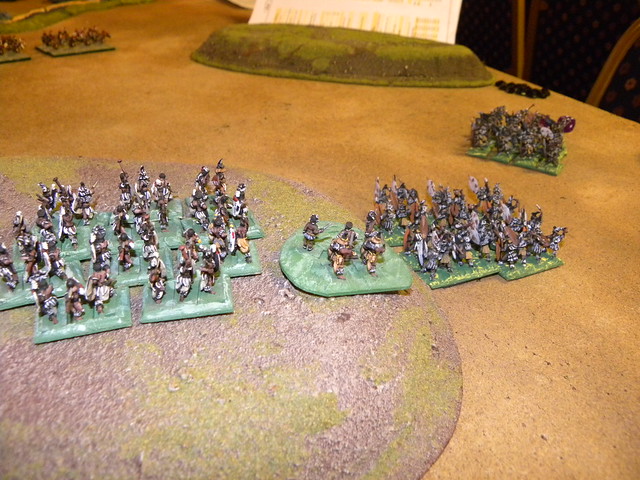
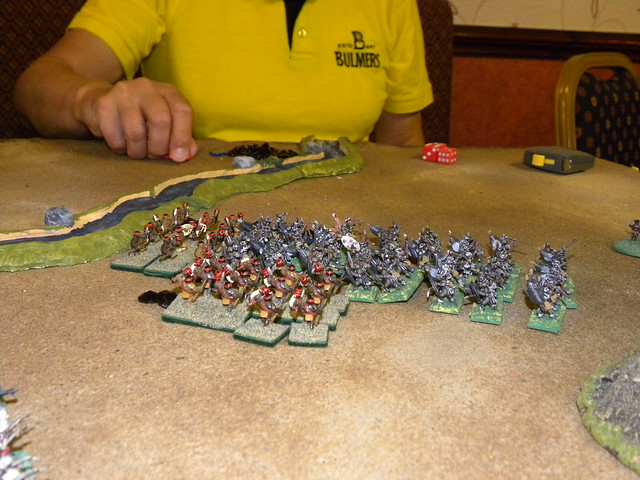
It was one of the fastest game we ever had. It was quite historical, however Zulu suffered much bigger casualties then in the original battle. But from the beginning. I divided Zulu troops into three columns and tried first to engage British troops in two separate battles. Unfortunately for me I lost my first unit very quickly. They moved to close to the British line and get in the range of their rifles. It was prelude of that what is going to happen during next few turns...
Była to jedna z najszybciej przez nas rozegranych gier. Odbyła się ona prawie tak jak ta oryginalna, z tą różnicą, że Zulusi ponieśli dużo większe straty. Ale od początku. Podzieliłem siły zuluskie na trzy kolumny i próbowałem związać Brytyjczyków w dwie oddzielne bitwy. Niestety dla mnie bardzo szybko straciłem jeden z moich oddziałów, który niefortunnie zbliżył się do brytyjskiej linii na odległość jej strzału. To było preludium tego co miało nas spotkać w toku kolejnych tur...
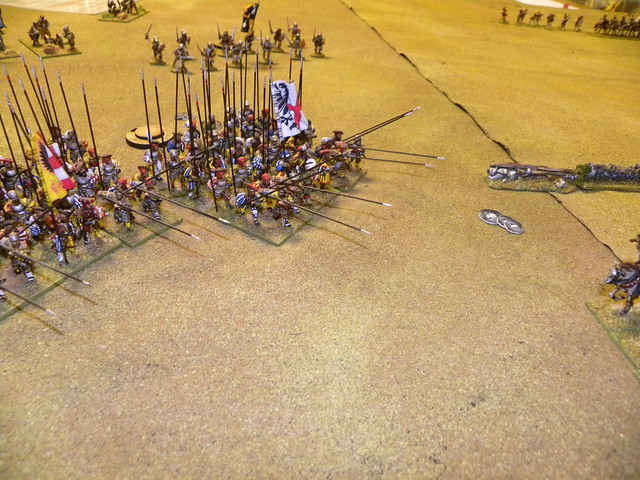
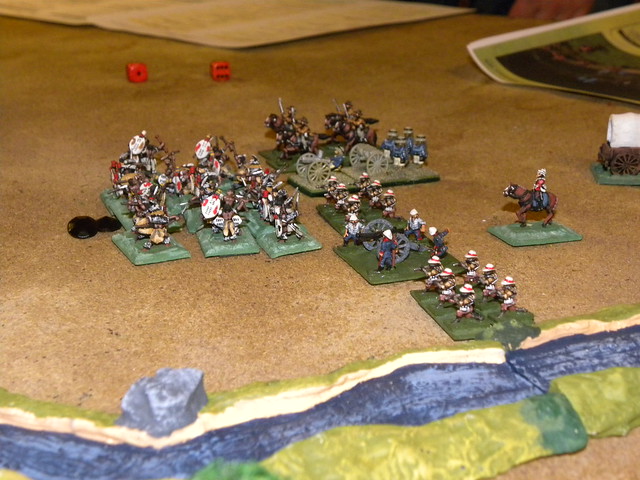
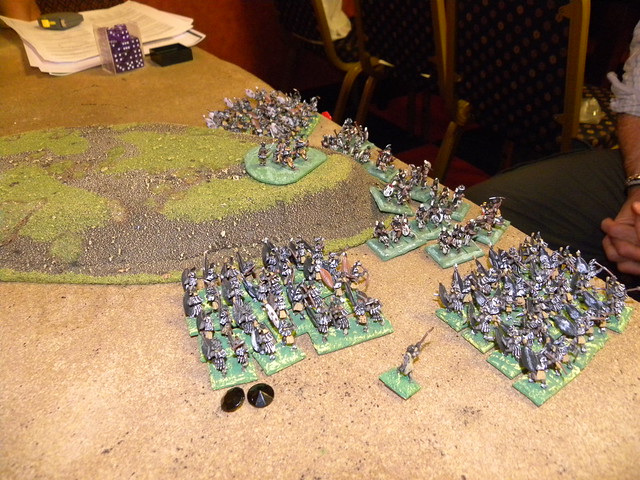
On our left flank, Campbell tried assault the Naval Brigade commanded by Michael. Over there he tasted the power of Gatling gun. Lucky for British it jammed in the moment when there was no more Zulu troops in front of them. In that way we lost another five units...
Na naszej lewej flance Campbell spróbował zaatakować pozycje Brygady Marynarki Wojennej dowodzonej przez Michaela. W tym miejscu spróbował potęgi działka Gatlinga. Na całe szczeście dla Brytyjczyków zacięło się ono dopiero w momencie, gdy już nie było tam żadnych oddziałów zuluskich. W ten sposób straciliśmy kolejne pięć oddziałów.
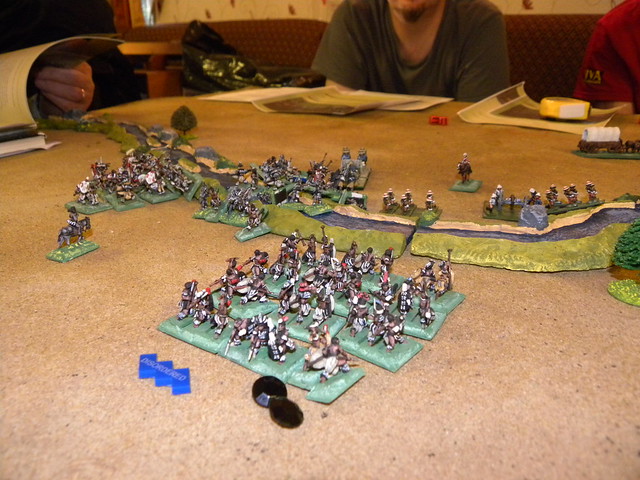
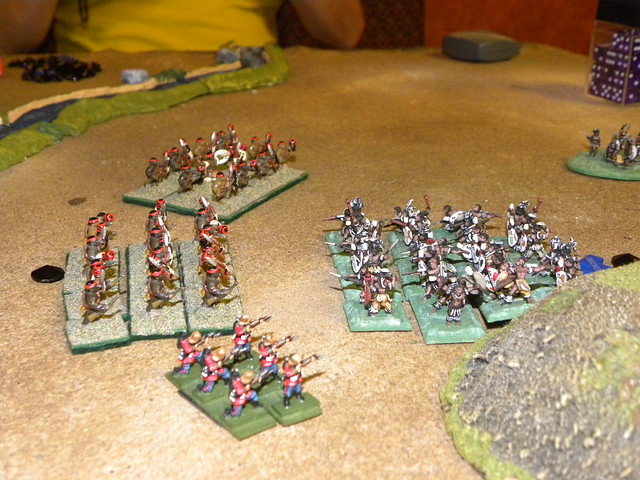
When Campbell's Zulu tested the Gatling gun fire, I moved back all my troops and together with Tim's troops decided to assault the Natal Brigade (they seemed to be the weakest part of the British troops). However Tim failed few times with ordering his troops and very quick my units were much ahead than his. I was ready for charge, but Bill managed to face upcoming Zulu and fired at them. They became disorganised and were not able to processed any other action than firing. In that way British finally suffered the first casualties. Then Tim finally managed to bring his troops, but it was to late. The new British line was formed and we lost another unit from their fire. After this we managed to get in touch in melee, but we lost it too. Finally with three units we had to withdraw from the field...
W czasie kiedy Campbell testował ogień działka Gatlinga, wycofałem moje oddziały i razem z jednostkami Tima ruszyłem w kierunku Brygady Natalu (wydawali się najsłabszą częścią brytyjskich sił). Jednakże Tim kilka razy nieskutecznie wydawał rozkazy i moi wojownicy szybko znaleźli się przed jego. Byłem gotowy do wykonania szarży, jednak Billowi udało się ustawić frontem swoje oddziały do moich i oddać strzał. To zdezorganizowało moje jednostki i nie były już w stanie wykonać innej akcji jak tylko strzelania. W ten sposób Brytyjczycy ponieśli swoje pierwsze strzały. W końcu Timowi udało się sprowadzić jego oddziały, ale było już za późno. Nowa brytyjska linia została uformowana i od ognia tej linii straciliśmy kolejny oddział. Udało nam się w końcu dopaść Natalczyków ale w walce wręcz również zostaliśmy pokonani. Z pozostałymi nam trzema oddziałami musieliśmy wycofać się z pola bitwy...
3. Summary. Podsumowanie.
The new supplement gives us opportunity of refight very interesting battles, however some troops are to strong according to the new book. Bill promised to look at them and prepare new list of the troops. Our battle was more or less the same as it was the original battle (British lost something about few soldiers, and Zulu around 300) - so this is good. Now is the time for Battle of Isandlwana ;) I hope we will have the opportunity to play it one day.
Nowy suplement daje nam możliwość odtworzenia wielu ciekawych bitew, jednakże pewne oddziały wydaje się, że maja zawyżone statystyki. Bill obiecał przyjrzeć się temu i przygotować nową listę oddziałów. Nasza bitwa zakończyła się mniej więcej z takim samym rezultatem jak prawdziwa (Brytyjczycy stracili tylko kilku żołnierzy, natomiast Zulusi coś koło 300) - to dobrze. Teraz czas na bitwę pod Isandlwana ;) Mam nadzieję kiedyś ją rozegrać.
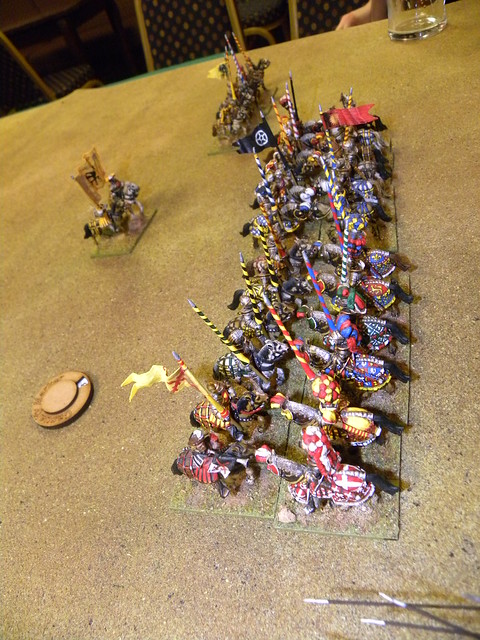
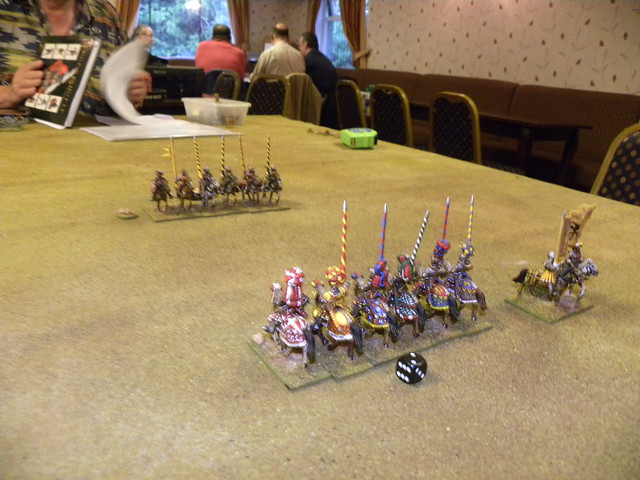
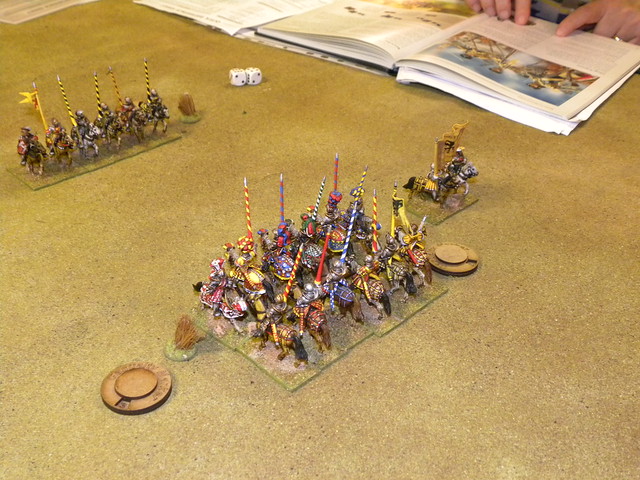
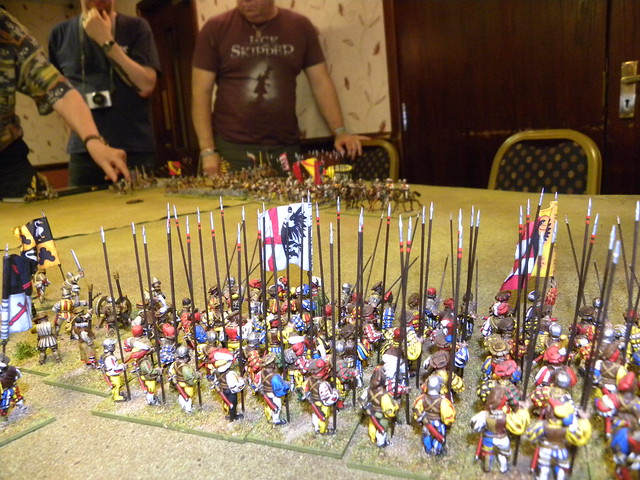
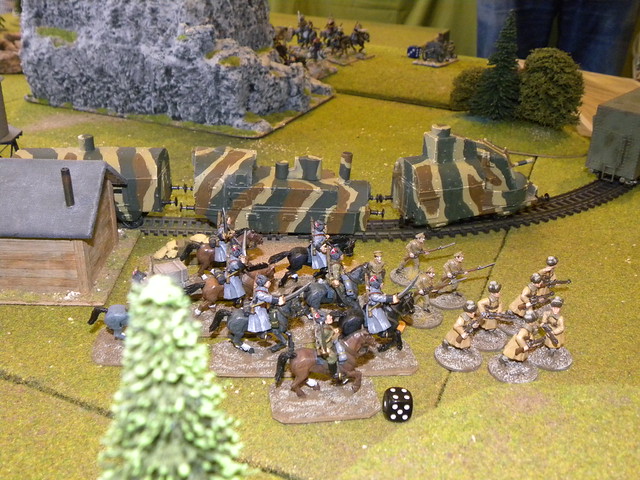
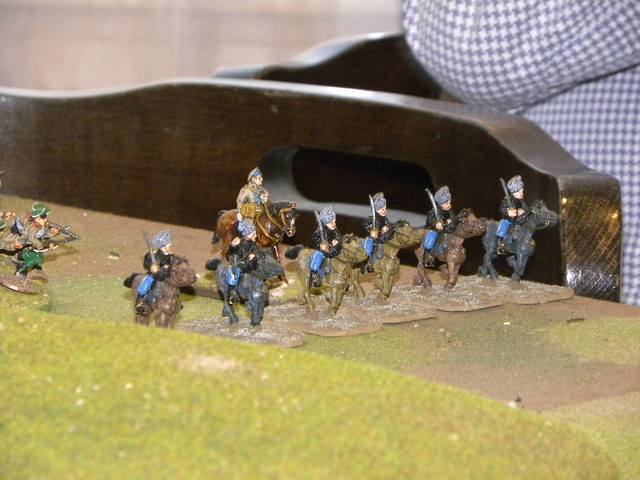
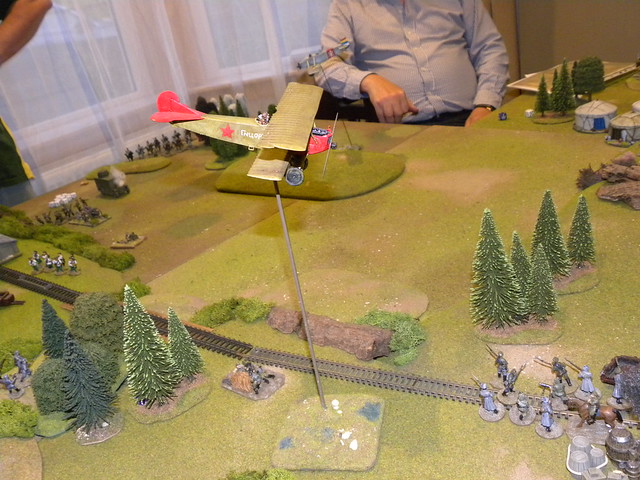
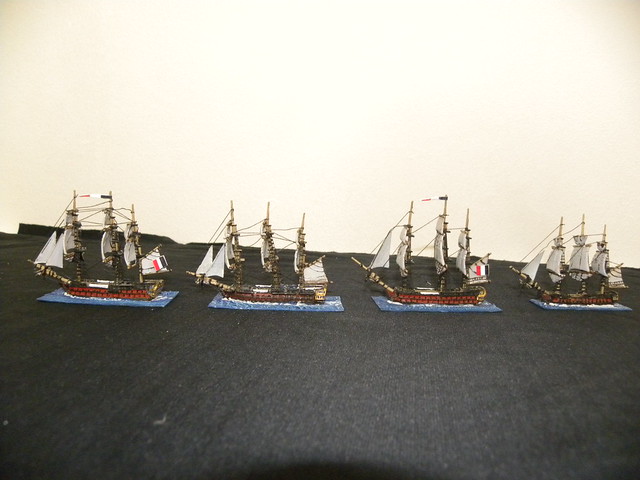
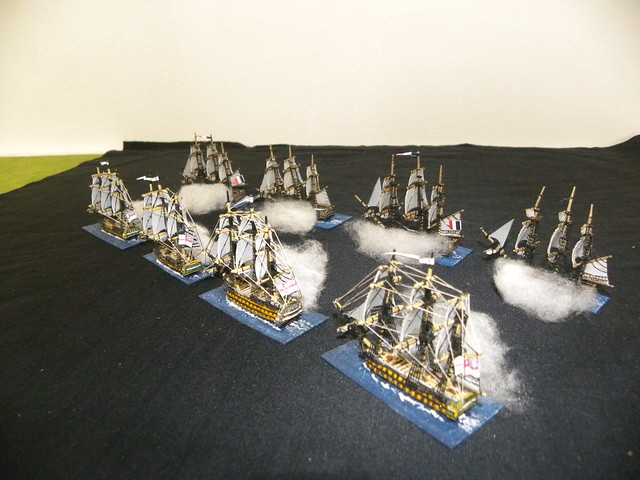
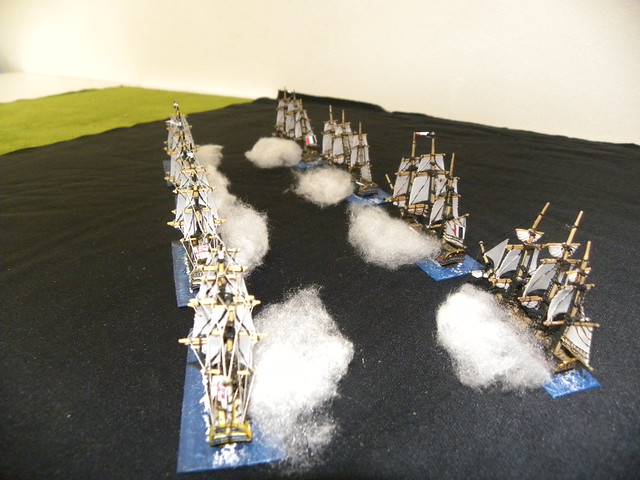
At the end the gallery on flickr:
Na koniec galeria na flickru: